Dinner

Creamy Tomato Basil Gnocchi One Pot Delight
Looking for a quick and tasty meal? This Creamy Tomato Basil Gnocchi One Pot Delight is just what you need! With simple ingredients and fast
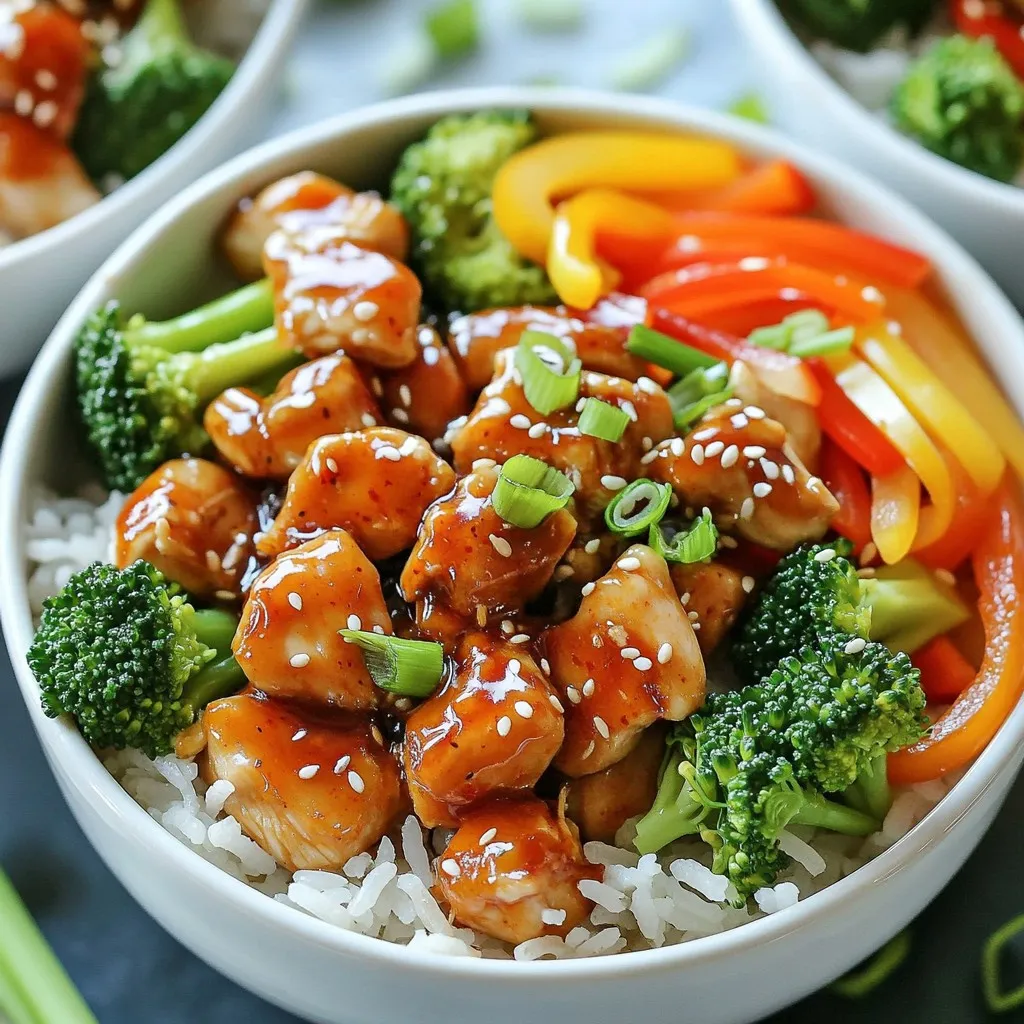
Savory Sweet Chili Chicken Rice Bowls Recipe
Are you ready to spice up your dinner routine? These Savory Sweet Chili Chicken Rice Bowls are simple and bursting with flavor. Imagine tender chicken,
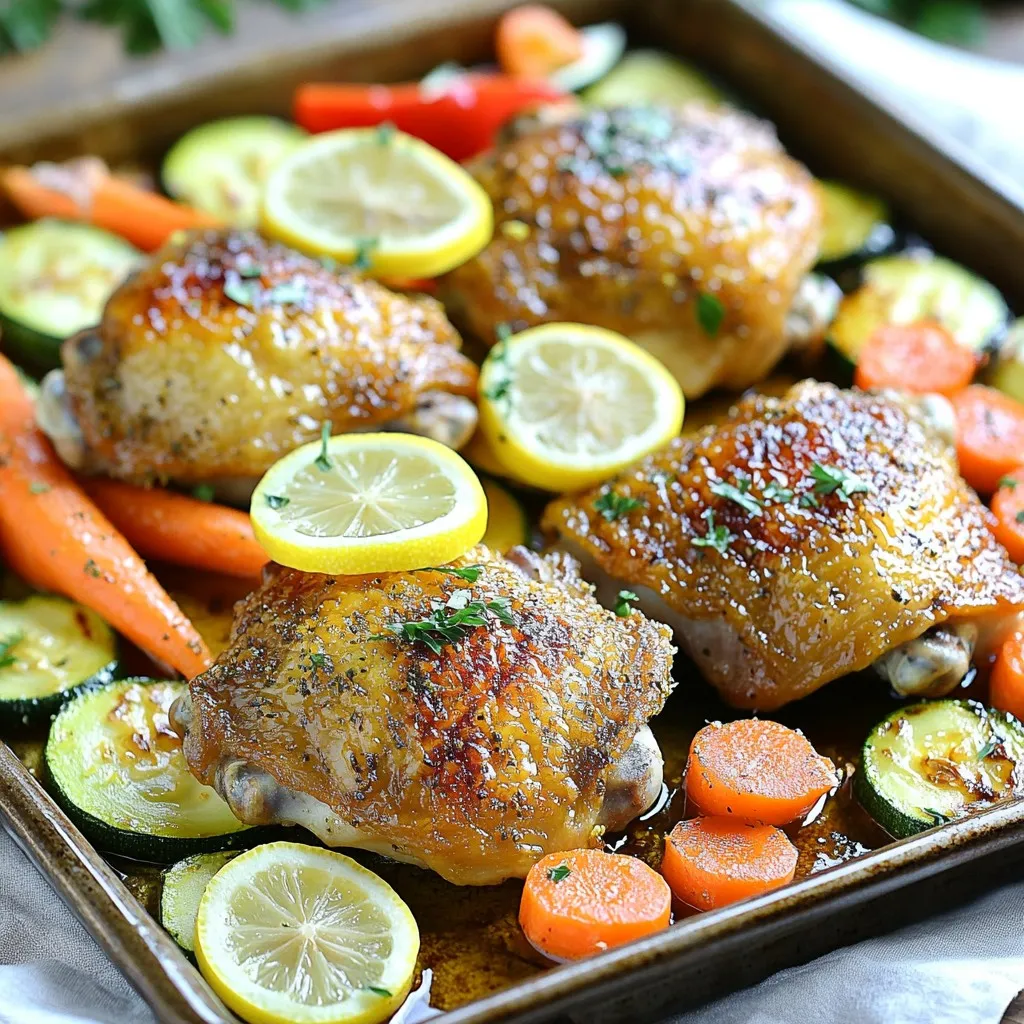
Sheet Pan Lemon Herb Chicken & Veggies Delight
Welcome to your new favorite weeknight dinner: Sheet Pan Lemon Herb Chicken & Veggies Delight! This easy recipe fills your kitchen with fresh flavors while
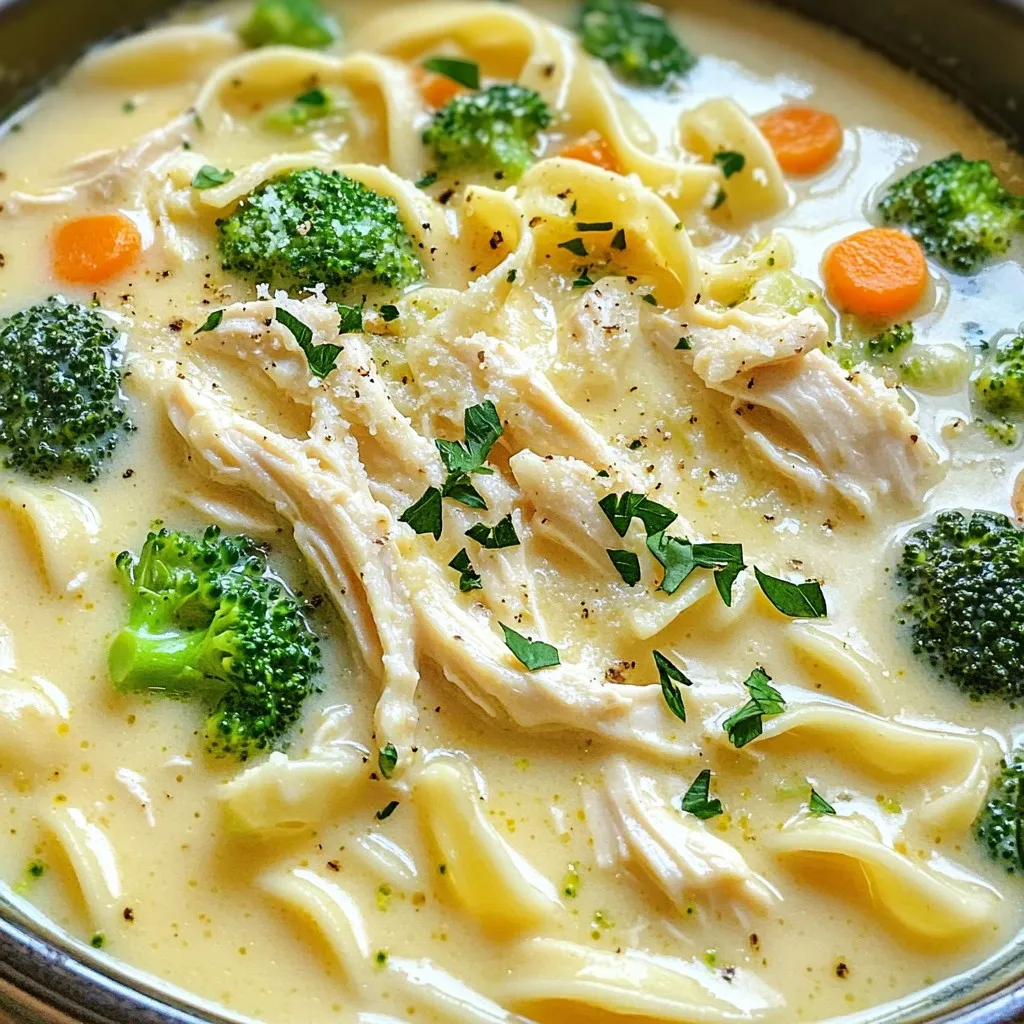
Slow Cooker Chicken Alfredo Soup Simple Comfort Meal
Looking for a cozy meal that warms you from the inside out? This Slow Cooker Chicken Alfredo Soup is the answer. You need just a
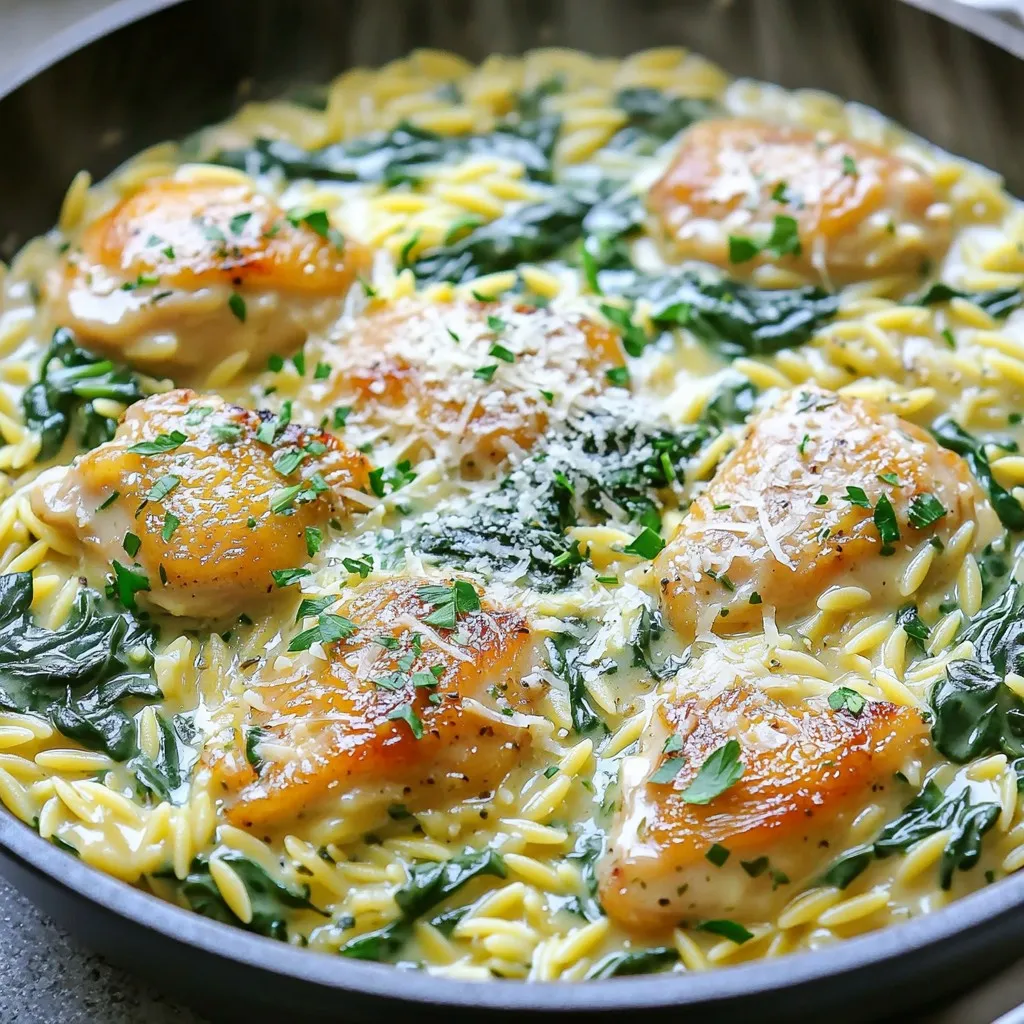
Creamy Garlic Herb Chicken Orzo Skillet Delight
Are you ready to whip up a dish that’s creamy, savory, and loaded with flavor? The Creamy Garlic Herb Chicken Orzo Skillet is your new
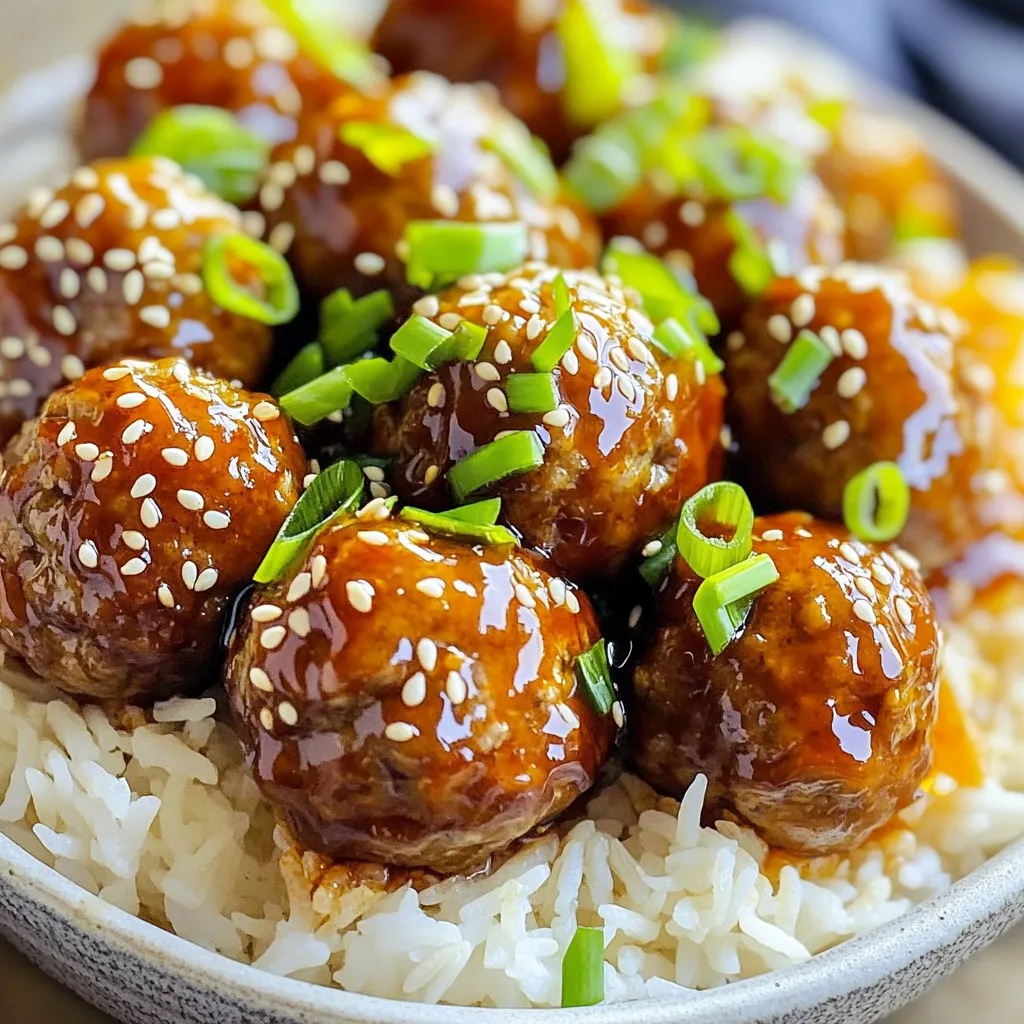
Slow Cooker Honey Garlic Meatballs Flavorful Delight
Are you ready to enjoy a tasty dinner with minimal effort? Slow Cooker Honey Garlic Meatballs are easy to make and full of flavor. With
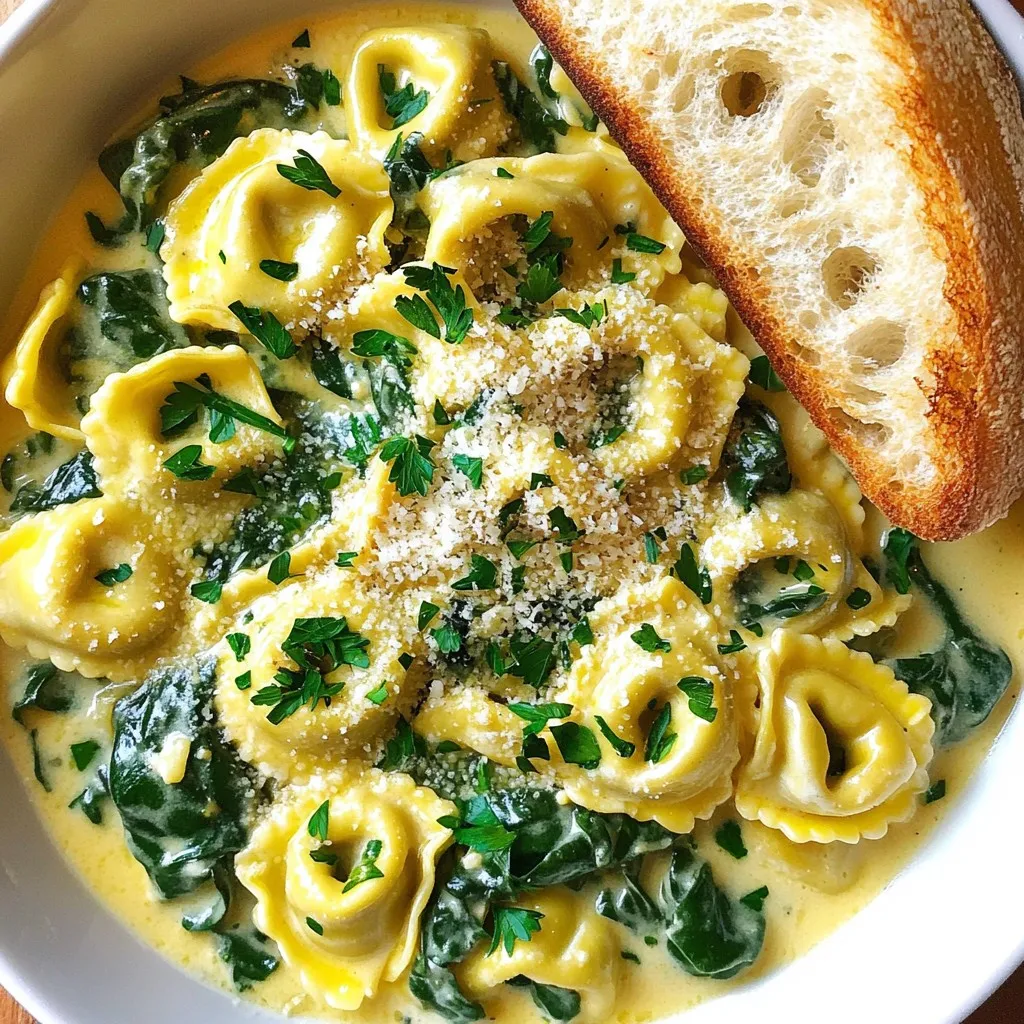
One-Pot Garlic Parmesan Tortellini & Spinach Delight
Welcome to my kitchen! Today, I’m excited to share my One-Pot Garlic Parmesan Tortellini & Spinach Delight. This dish combines rich flavors with simple steps,
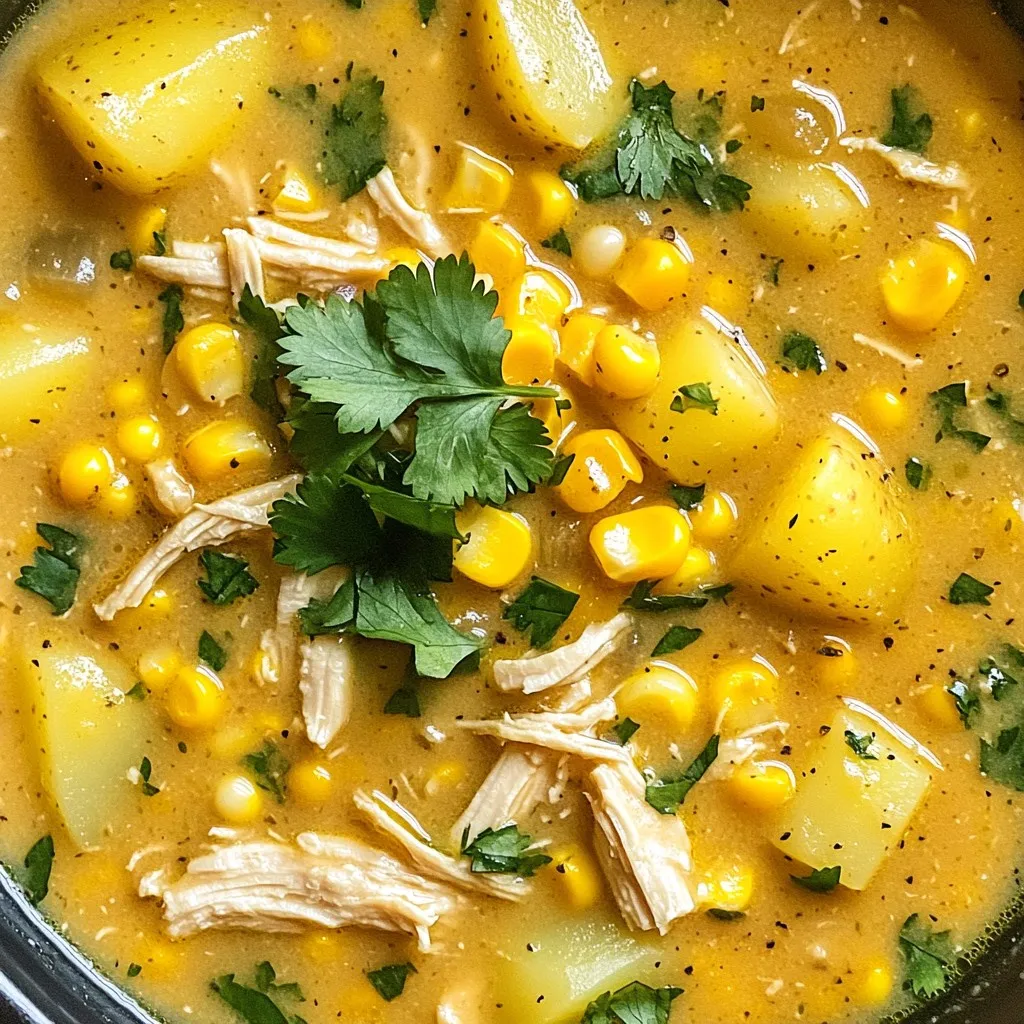
Savory Slow Cooker Chicken Corn Chowder Recipe
Are you ready to warm up your dinner table? This Savory Slow Cooker Chicken Corn Chowder recipe is perfect. Packed with flavor, it’s creamy, hearty,
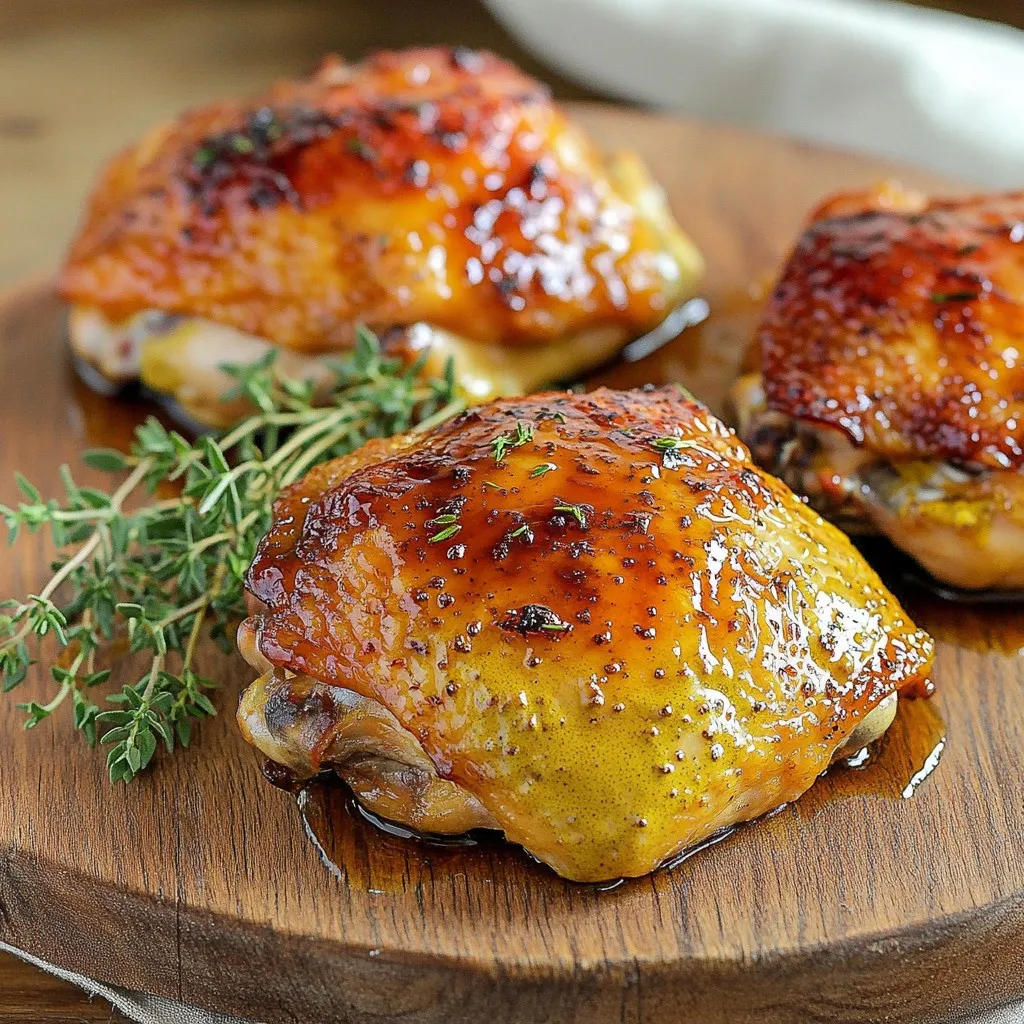
Air Fryer Maple Dijon Chicken Thighs Flavorful Recipe
Get ready to elevate your dinner game with my Air Fryer Maple Dijon Chicken Thighs! This flavorful recipe combines tender chicken with a sweet and
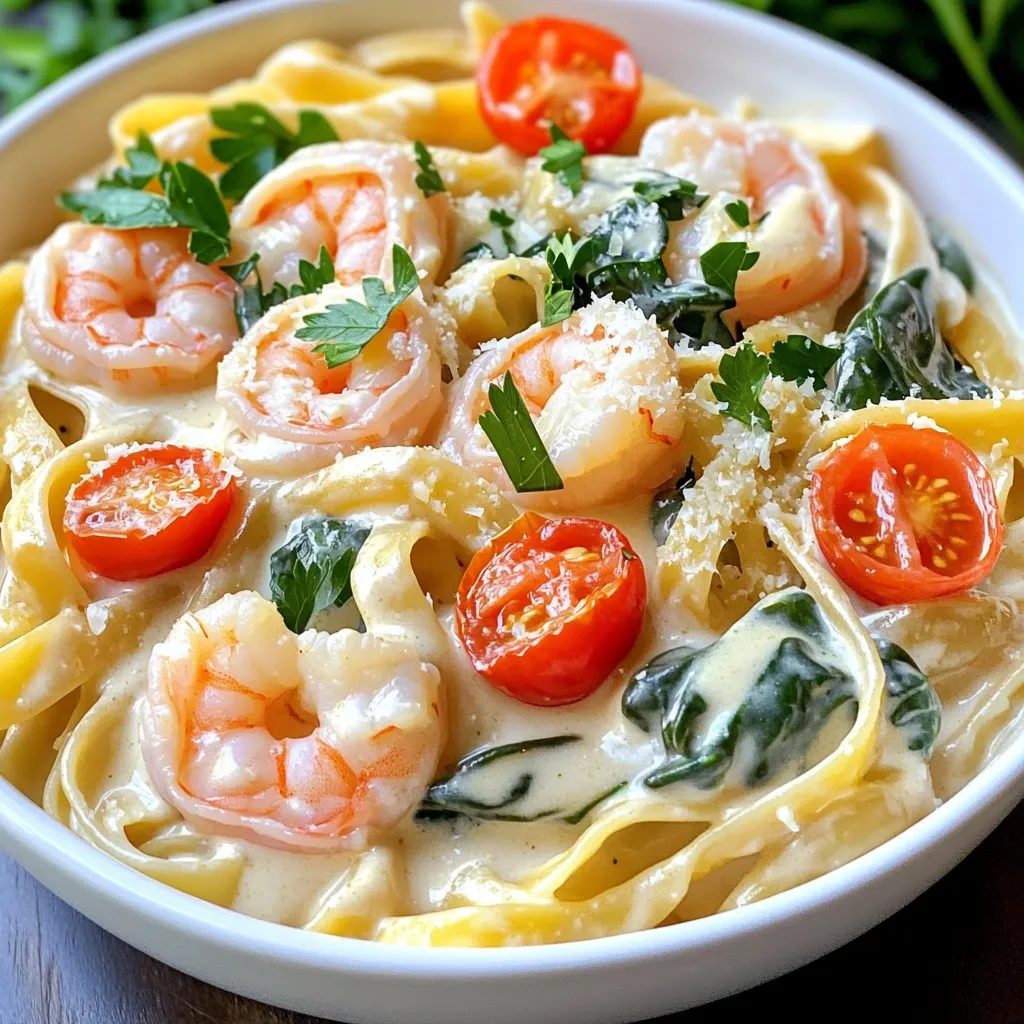
One-Pot Creamy Garlic Shrimp Pasta Delight
Looking for a quick and delicious dinner idea? Try my One-Pot Creamy Garlic Shrimp Pasta Delight! This simple recipe combines tender shrimp, flavorful garlic, and