Desserts
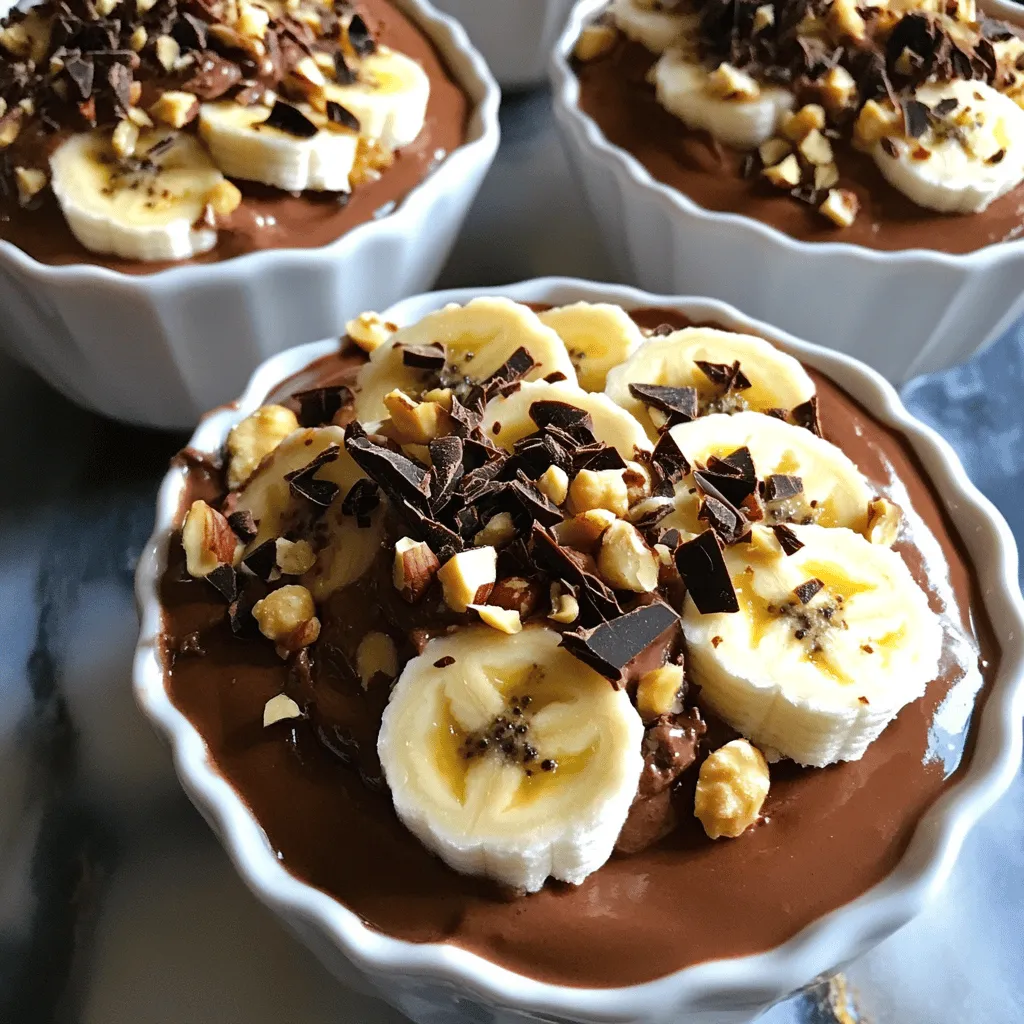
Protein Chocolate Peanut Butter Cottage Pudding Delight
Love a tasty treat that packs some serious protein? Meet your new favorite snack: Protein Chocolate Peanut Butter Cottage Pudding! This creamy delight is not
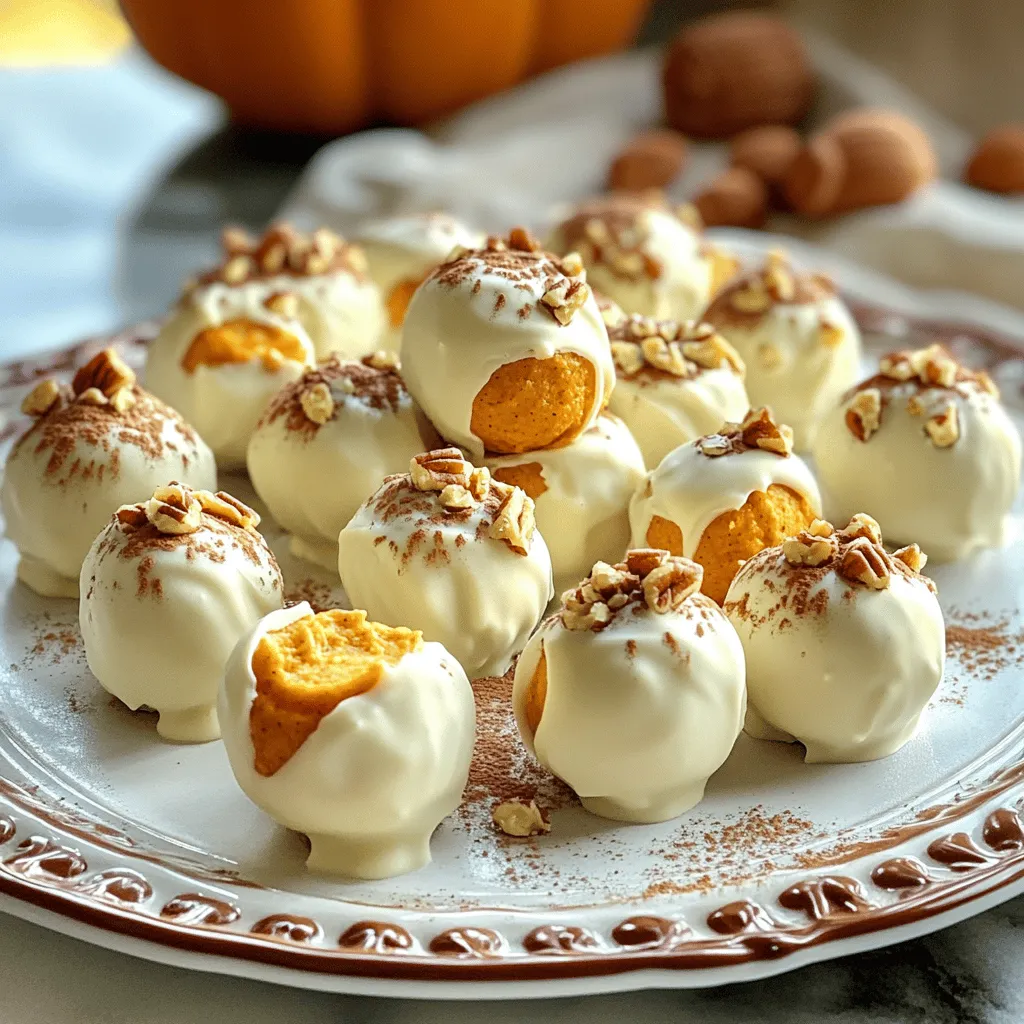
No-Bake Pumpkin Cheesecake Truffles Simple and Sweet
Get ready to indulge in a sweet treat that’s easy to make and perfect for fall! My No-Bake Pumpkin Cheesecake Truffles combine rich cream cheese,
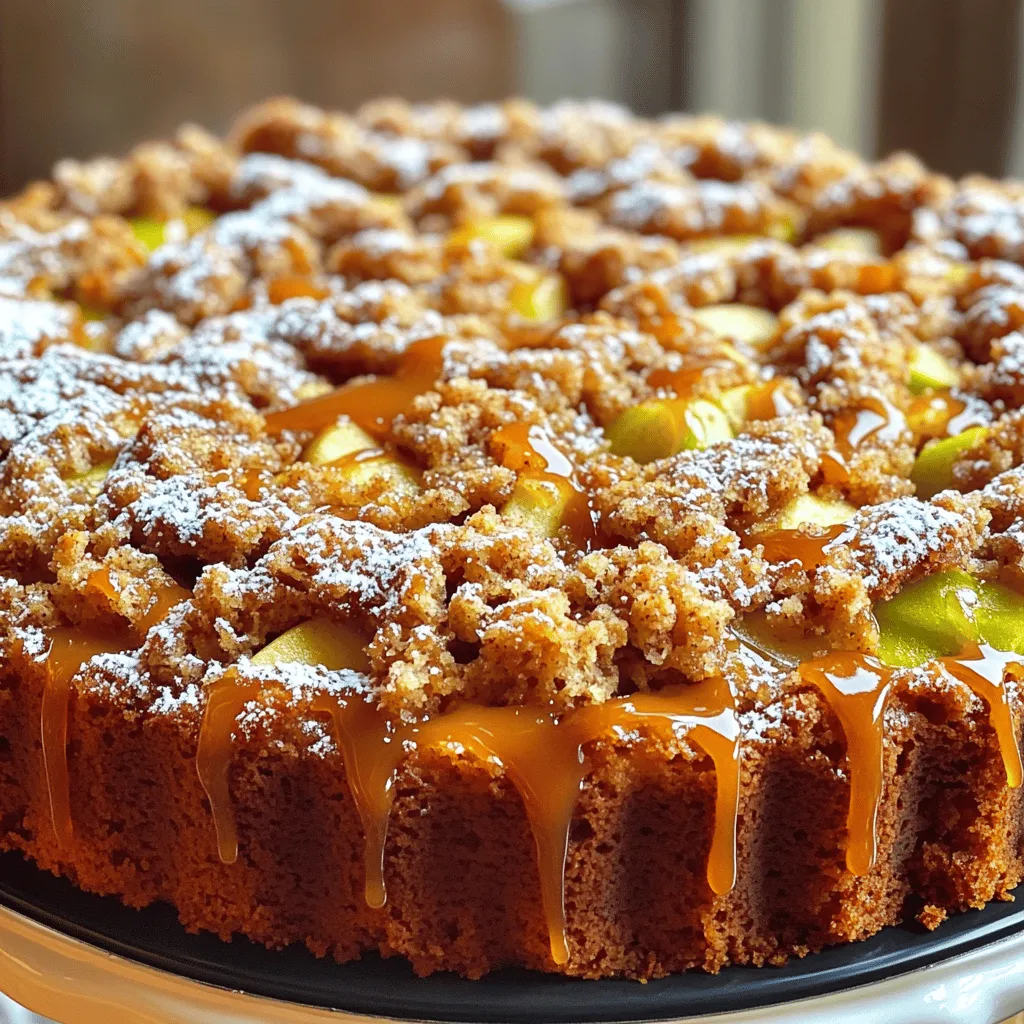
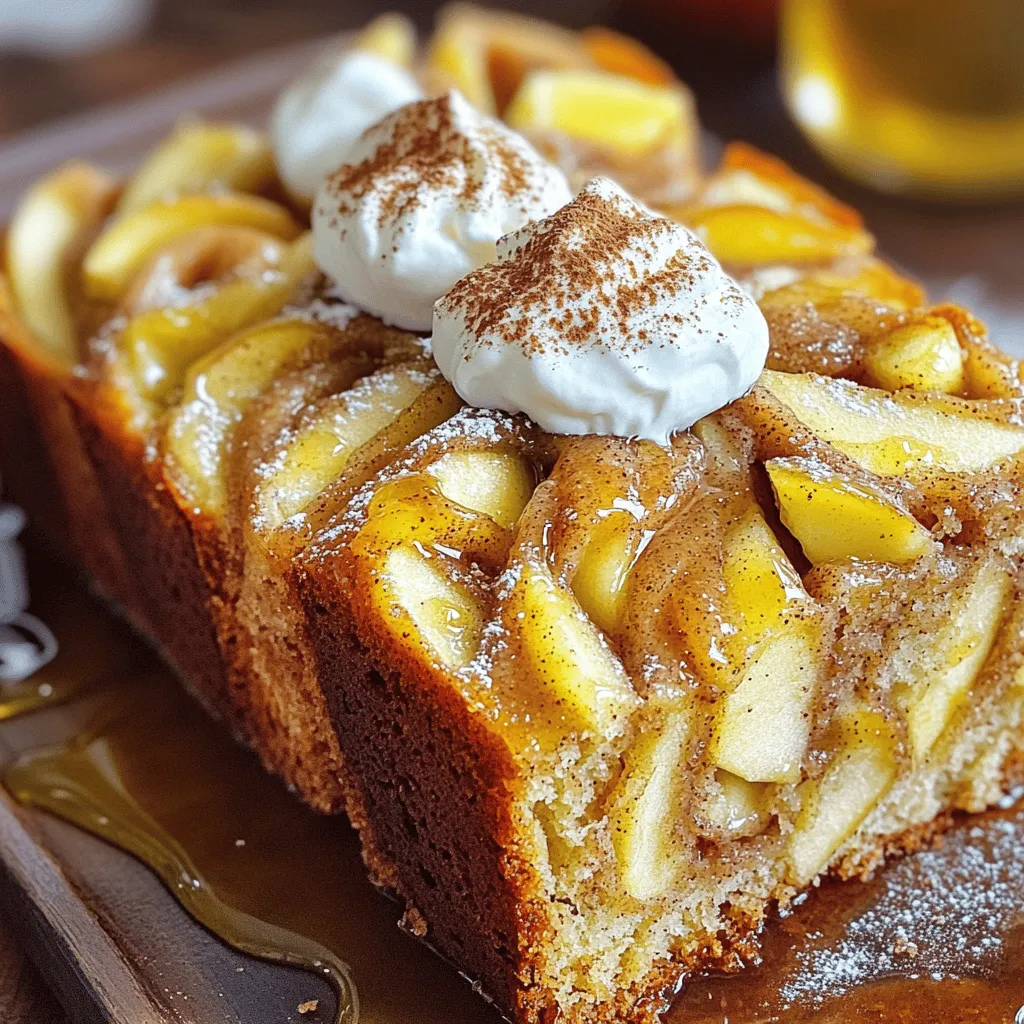
Caramel Apple Crumb Coffee Cake Savory Delight Recipe
Are you ready to bring a scrumptious twist to your coffee time? This Caramel Apple Crumb Coffee Cake combines sweet apples, rich caramel, and a
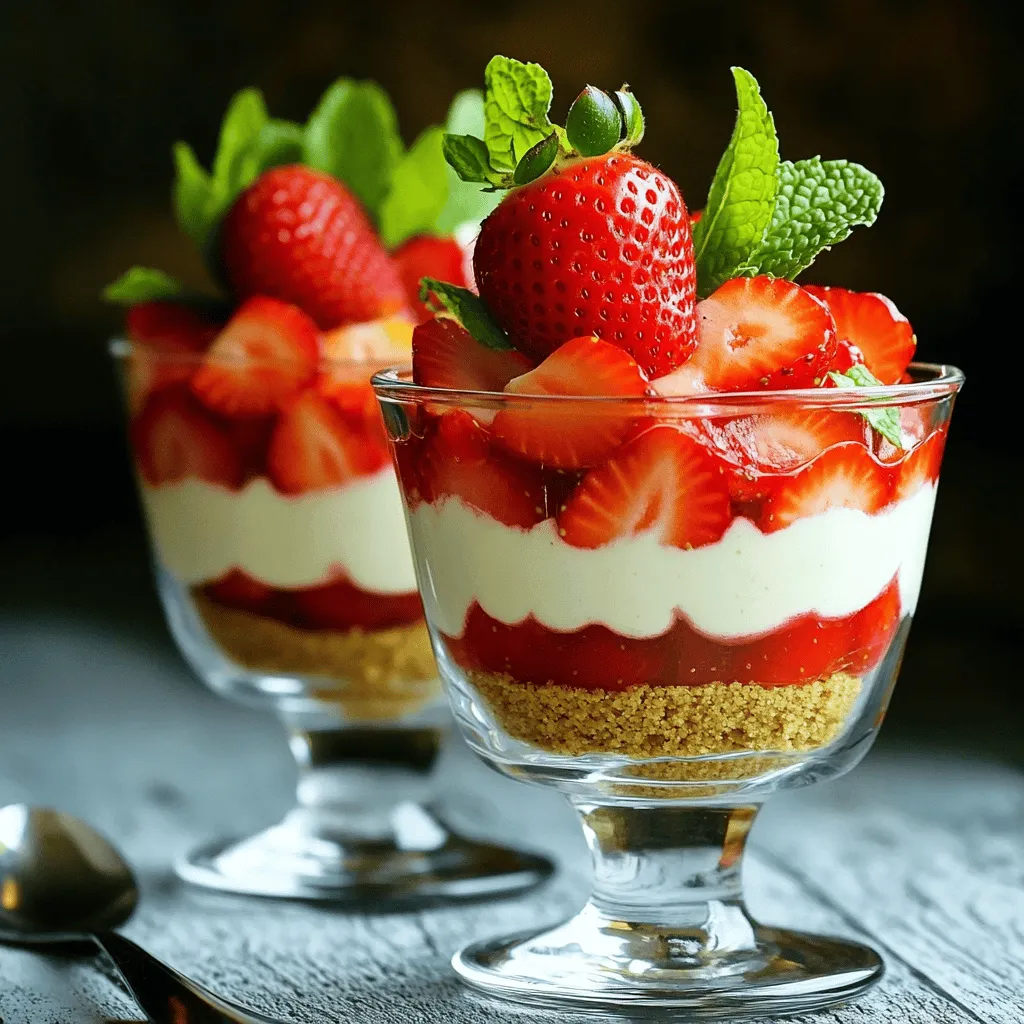
No-Bake Strawberry Cheesecake Parfaits Delightful Treat
Indulge your sweet tooth with my No-Bake Strawberry Cheesecake Parfaits! This delightful treat is simple to make and perfect for any occasion. You’ll need just
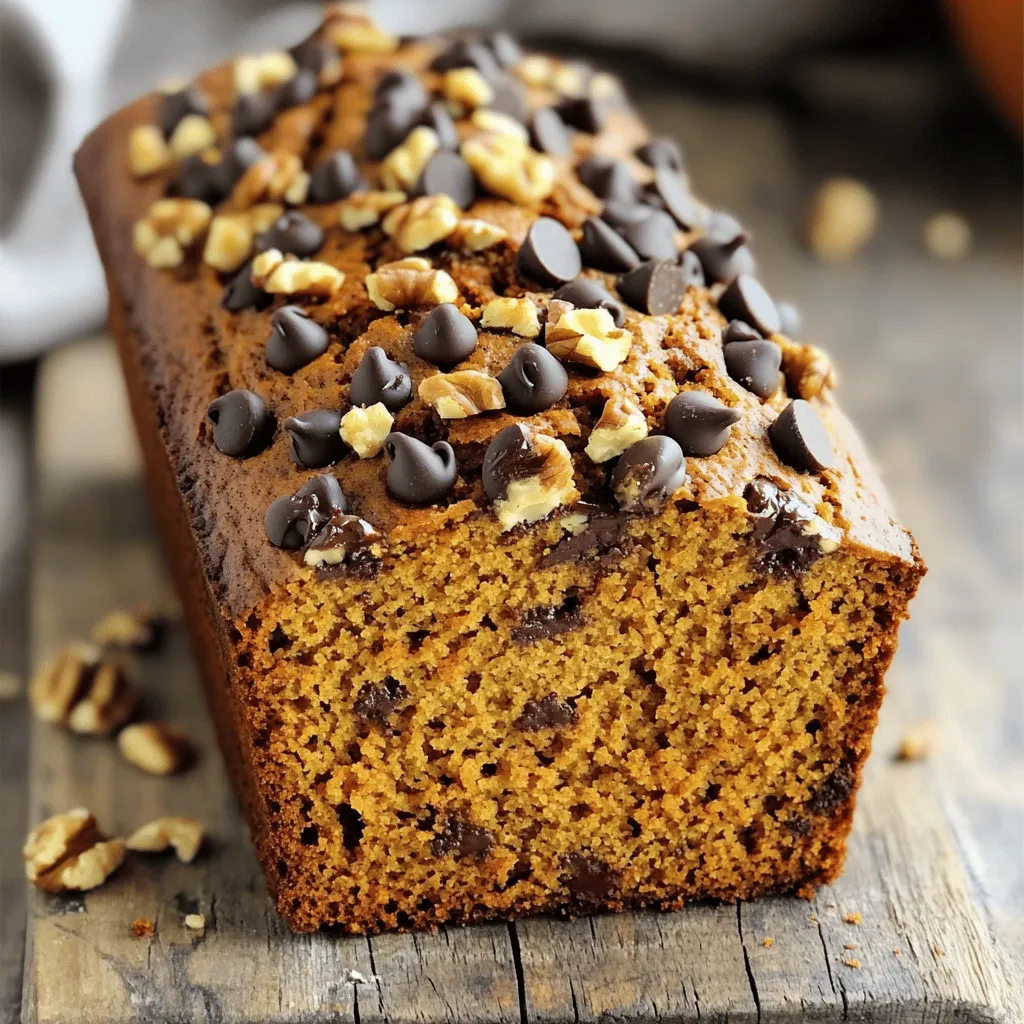
Chocolate Chip Pumpkin Bread Bakery Style Delight
Are you ready to elevate your baking game? Our Chocolate Chip Pumpkin Bread Bakery Style Delight recipe will transform your kitchen into a cozy bakery.
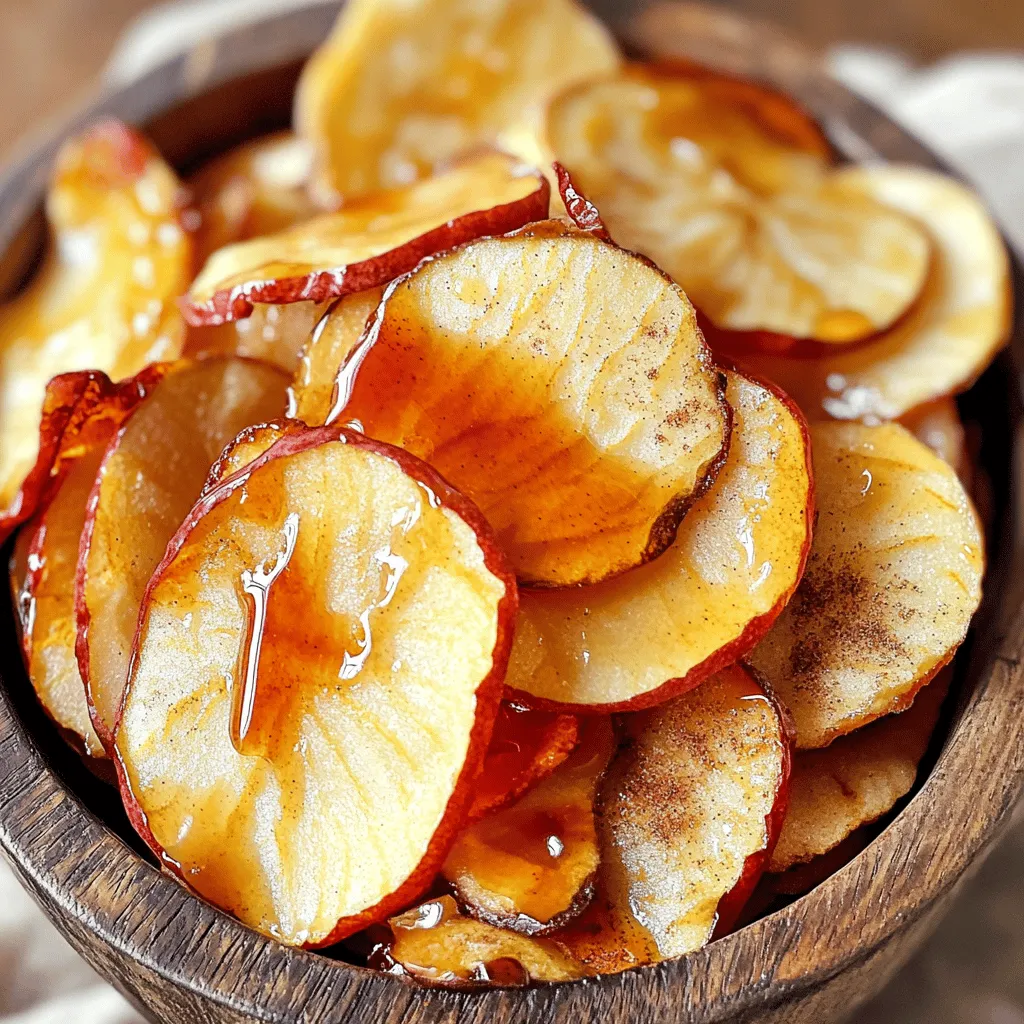
Crispy Air Fryer Maple Apple Chips Healthy Snack Option
Are you ready to indulge in a tasty and healthy snack? These Crispy Air Fryer Maple Apple Chips are simple to make and full of
Cinnamon Swirl Apple Bread Bakery Style Delight
Are you ready to bring the cozy scent of a bakery into your kitchen? This Cinnamon Swirl Apple Bread is not just any treat—it’s a
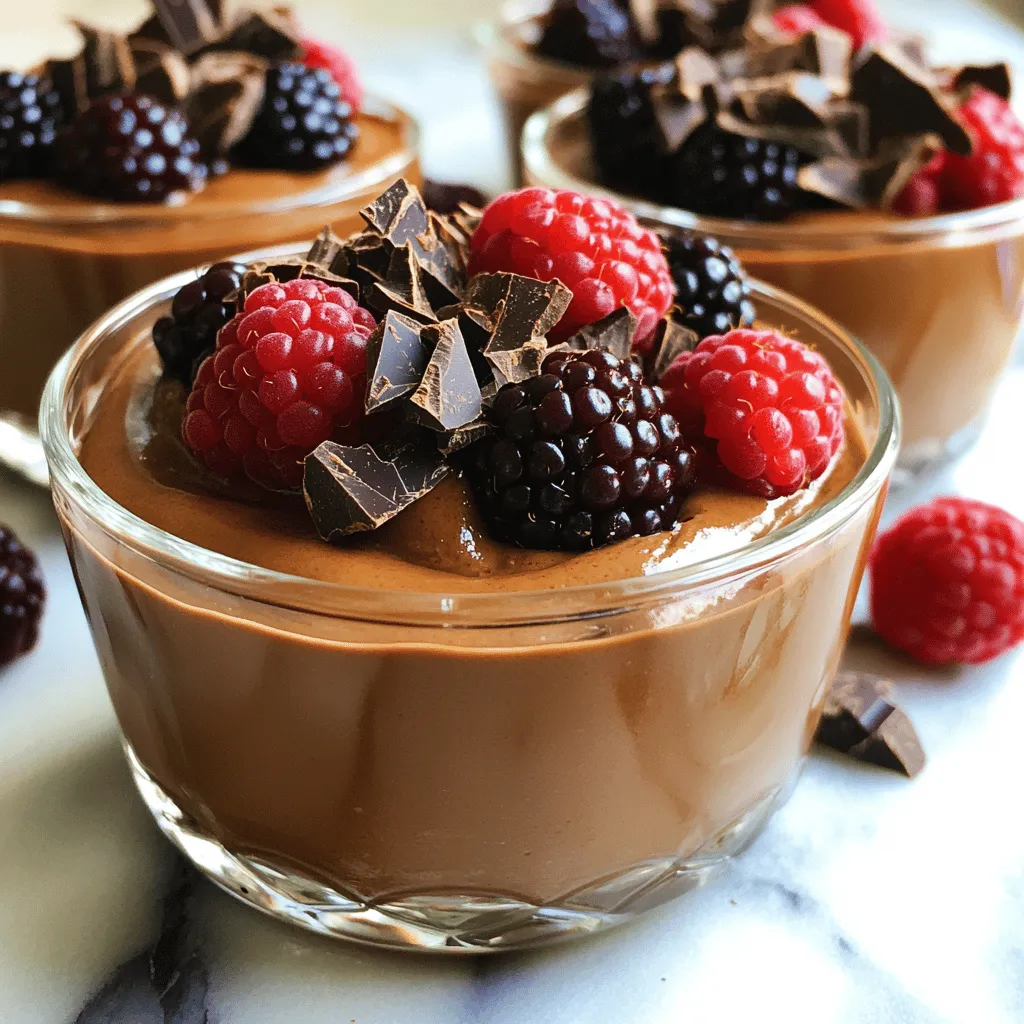
Protein Packed Cottage Cheese Chocolate Mousse Delight
Are you ready to indulge in a dessert that’s both tasty and packed with protein? This Protein Packed Cottage Cheese Chocolate Mousse Delight is the
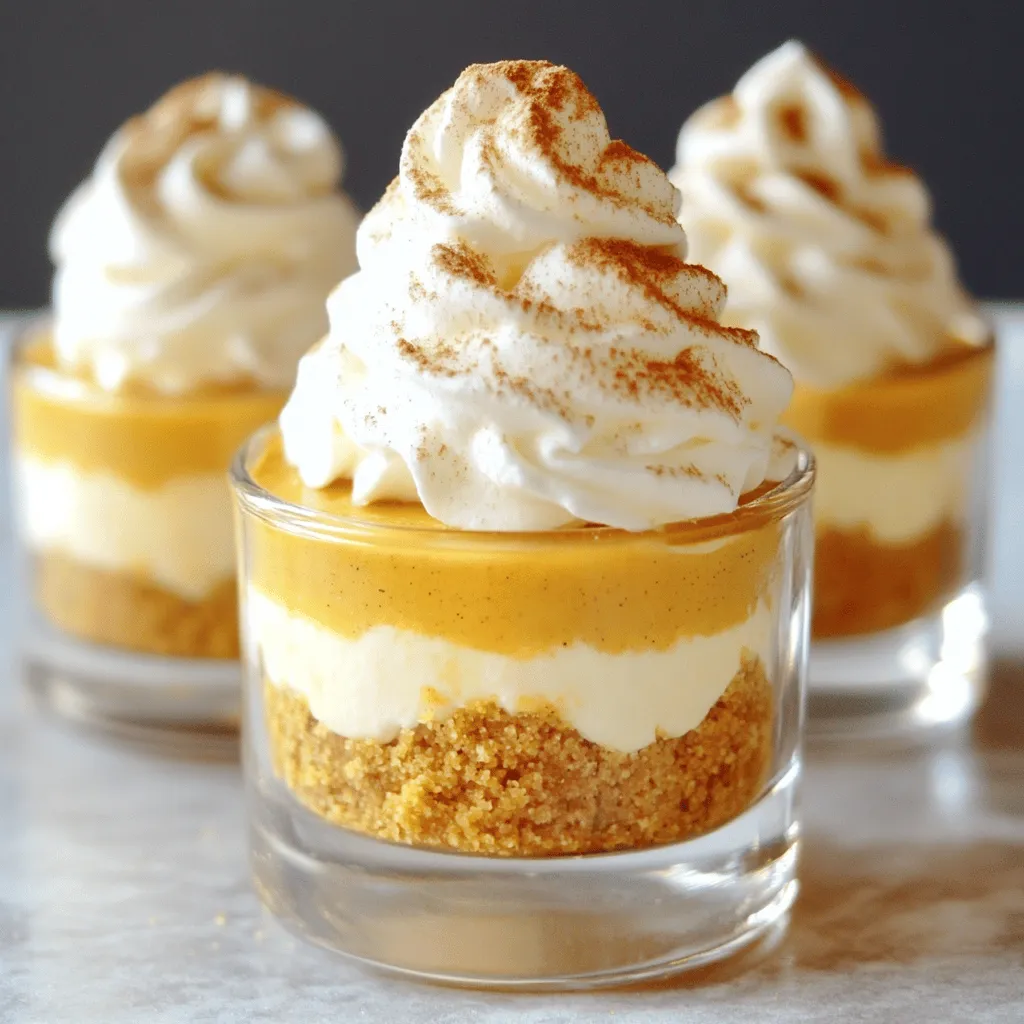
No Bake Pumpkin Cheesecake Cups Deliciously Easy Treat
Craving a simple yet delicious dessert? You’ll love these No Bake Pumpkin Cheesecake Cups! They come together quickly and require no oven. With creamy pumpkin
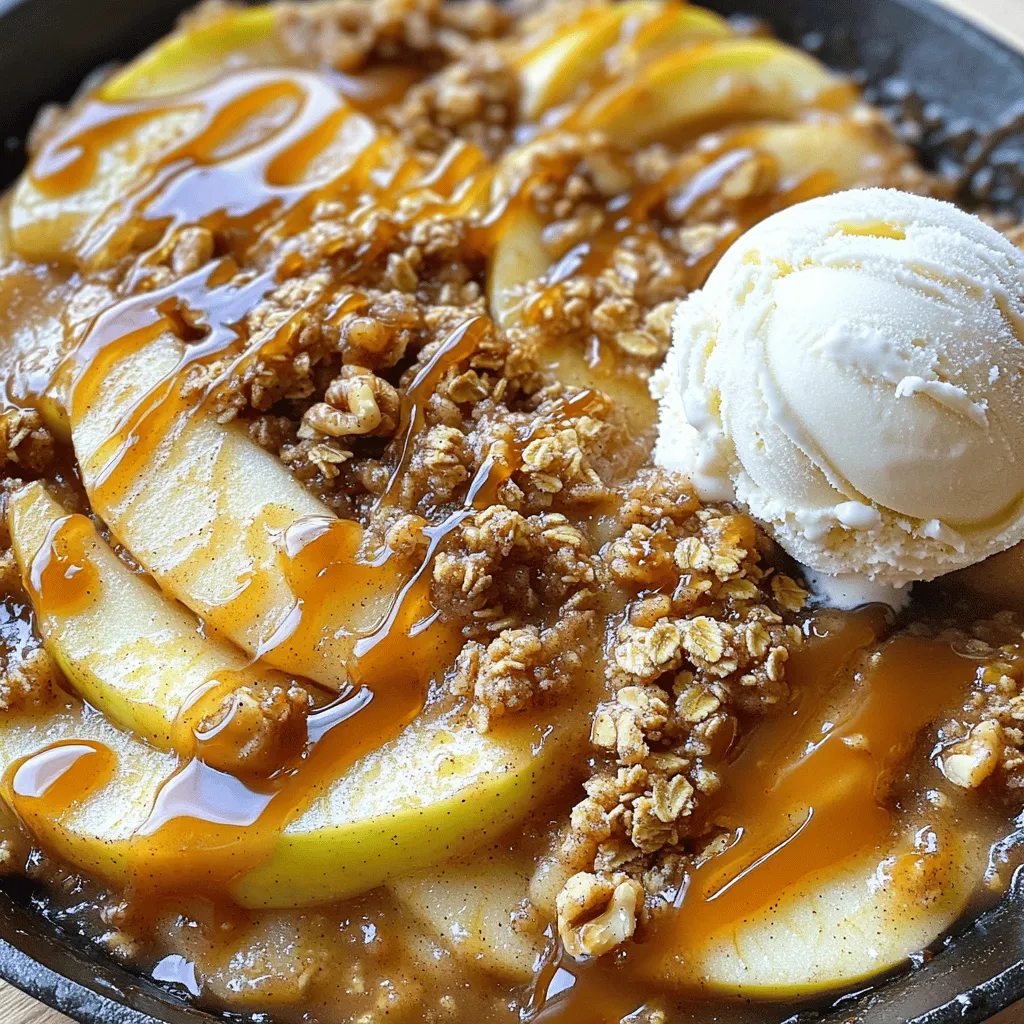
Skillet Caramel Apple Crisp Simple and Delightful Recipe
Are you ready to impress your family with a warm, sweet dessert? My Skillet Caramel Apple Crisp is simple and delightful! With juicy apples, a