Desserts
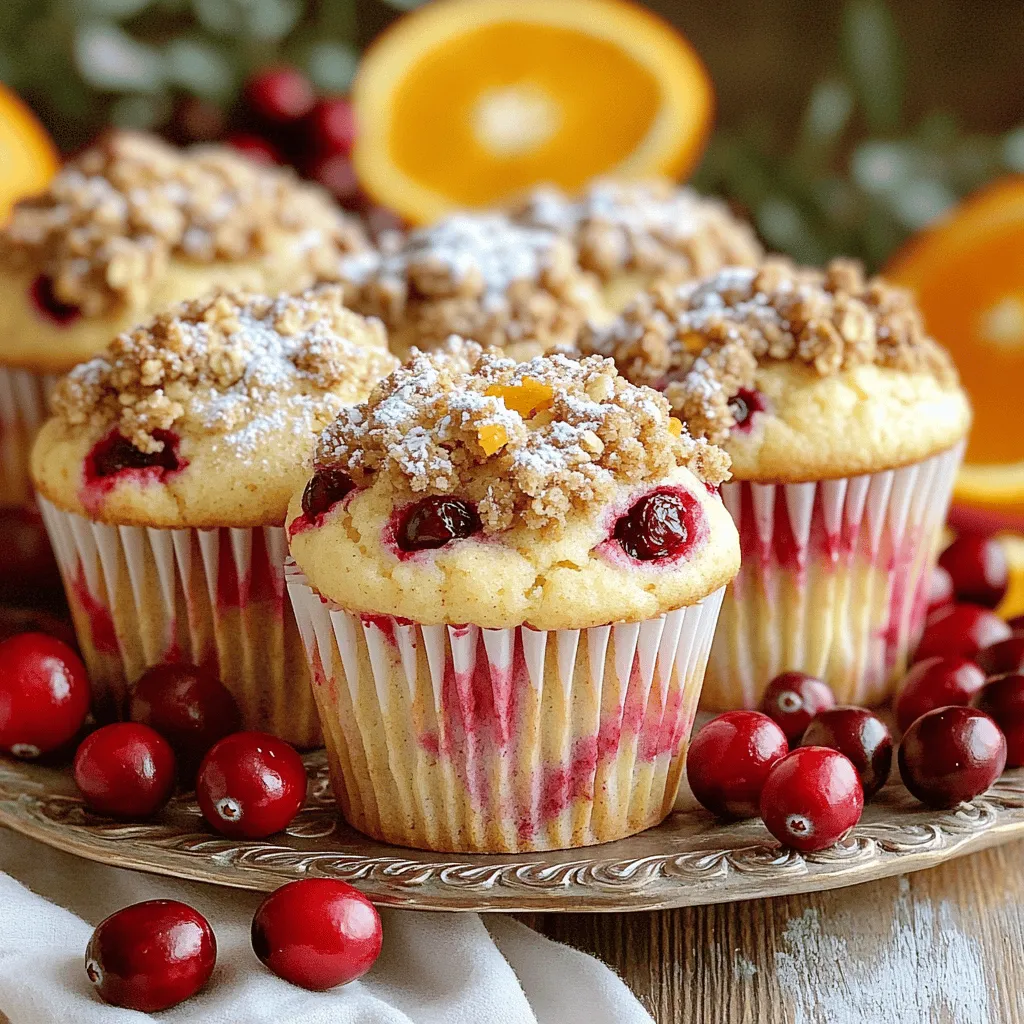
Bakery-Style Cranberry Orange Streusel Muffins Delight
If you crave bakery-style treats at home, these Cranberry Orange Streusel Muffins will wow you. Bursting with fresh flavors and topped with a sweet crunch,
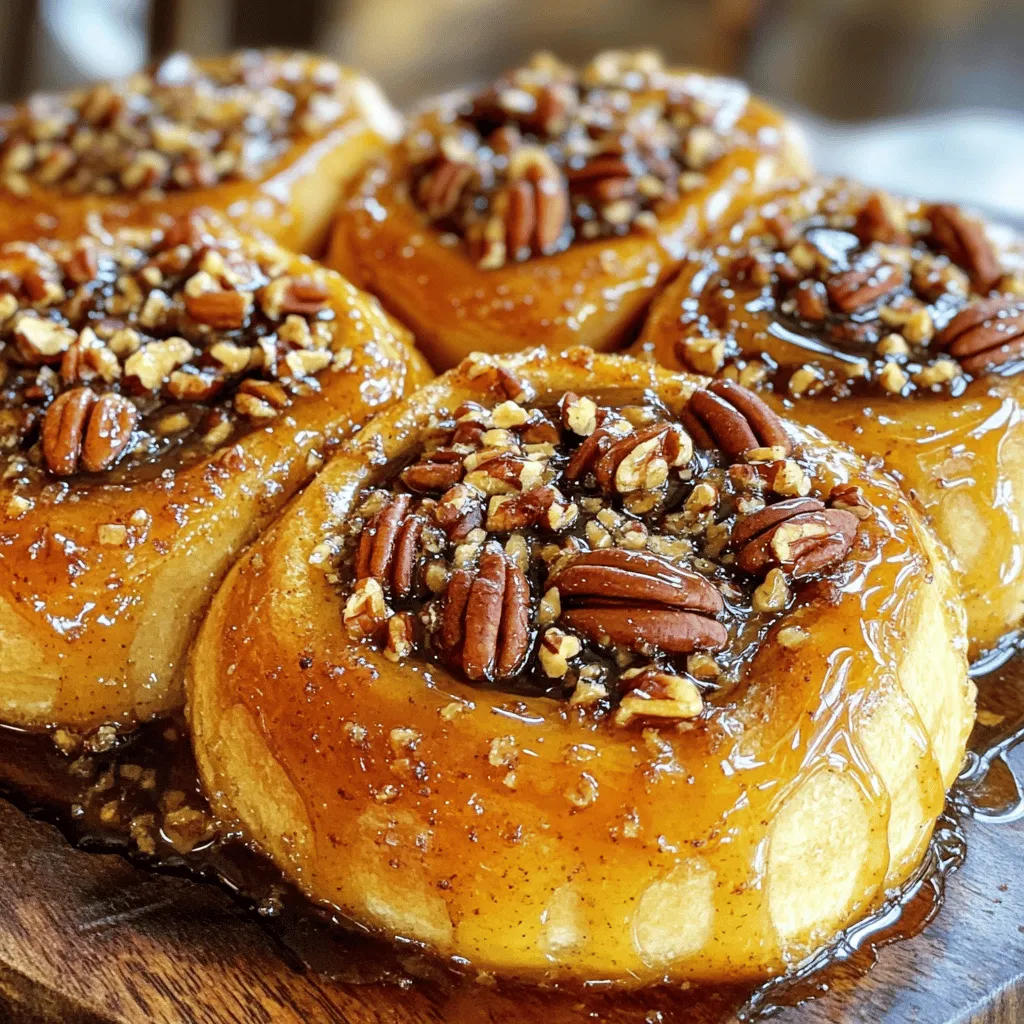
Maple Pecan Sticky Buns with Brown Butter Delight
Are you ready to indulge in a sweet treat that will make your mornings brighter? These Maple Pecan Sticky Buns with Brown Butter are the
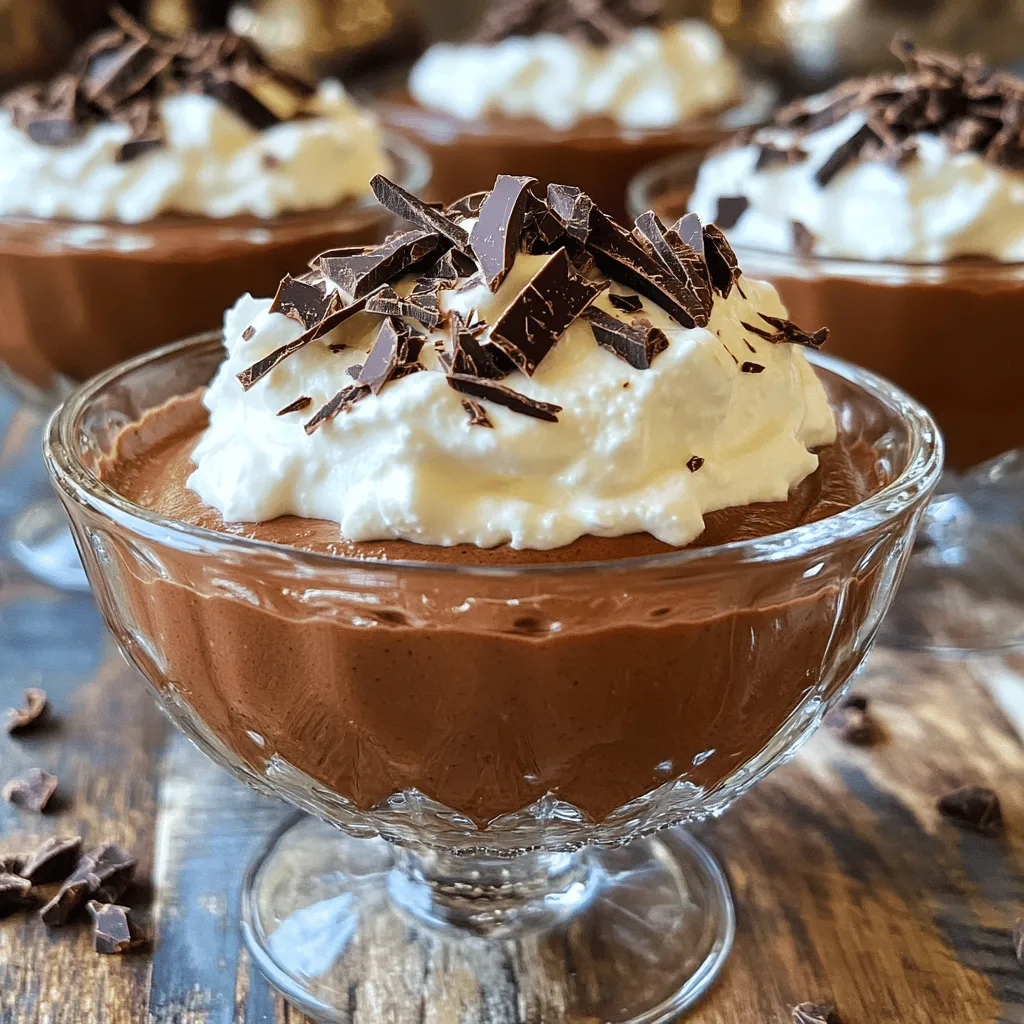
High-Protein Hot Cocoa Cottage Cheese Mousse Delight
Craving a cozy dessert that’s both delicious and healthy? Let me introduce you to my High-Protein Hot Cocoa Cottage Cheese Mousse Delight! Packed with protein
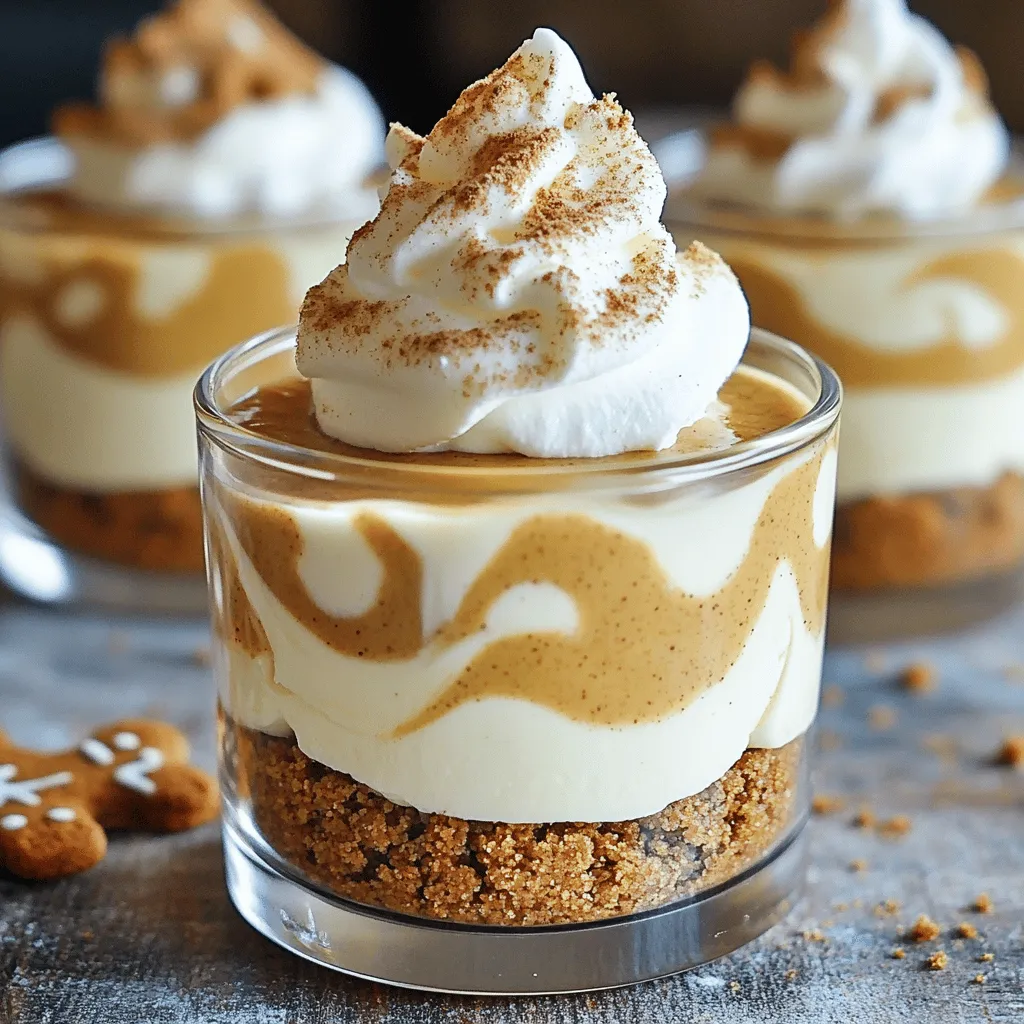
No-Bake Gingerbread Cheesecake Cups Delightful Flavor
Get ready to impress your guests with a delightful treat that requires zero baking! These No-Bake Gingerbread Cheesecake Cups blend the warm spices of gingerbread
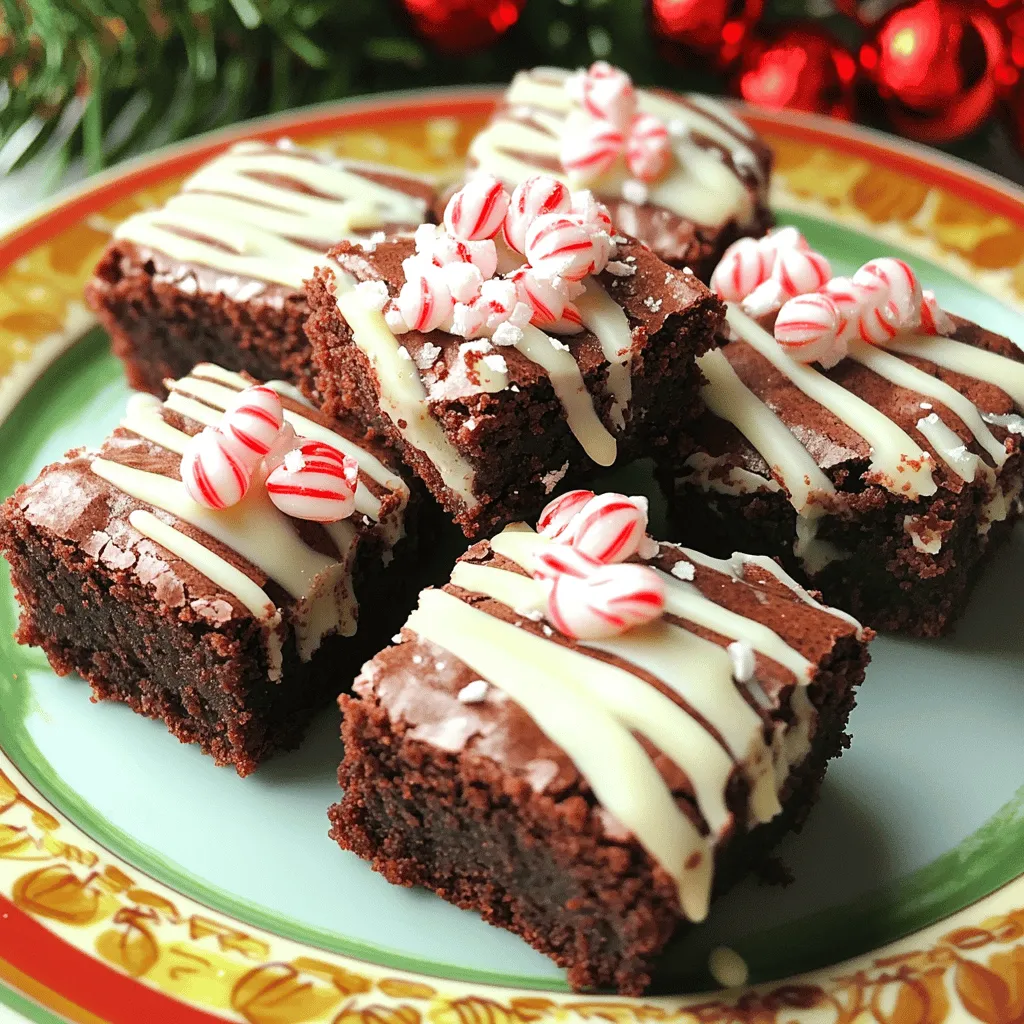
Air Fryer Peppermint Bark Brownie Bites Delight
Looking for a festive treat that’s easy to make and oh-so-delicious? Try making Air Fryer Peppermint Bark Brownie Bites! These tasty bites combine rich brownies
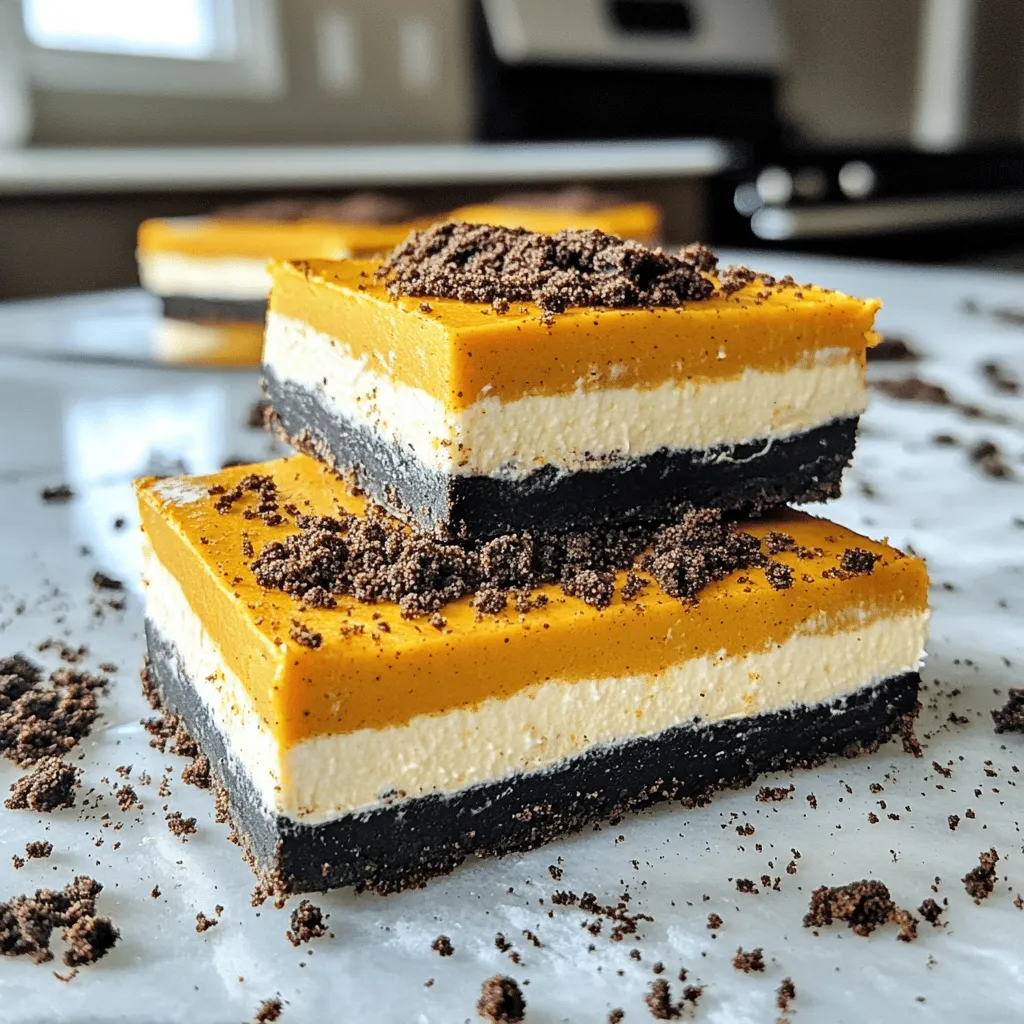
No-Bake Oreo Pumpkin Cheesecake Bars Delightful Treat
Looking for a fun fall treat? These No-Bake Oreo Pumpkin Cheesecake Bars are perfect for you! With a rich, creamy filling and a crunchy cookie
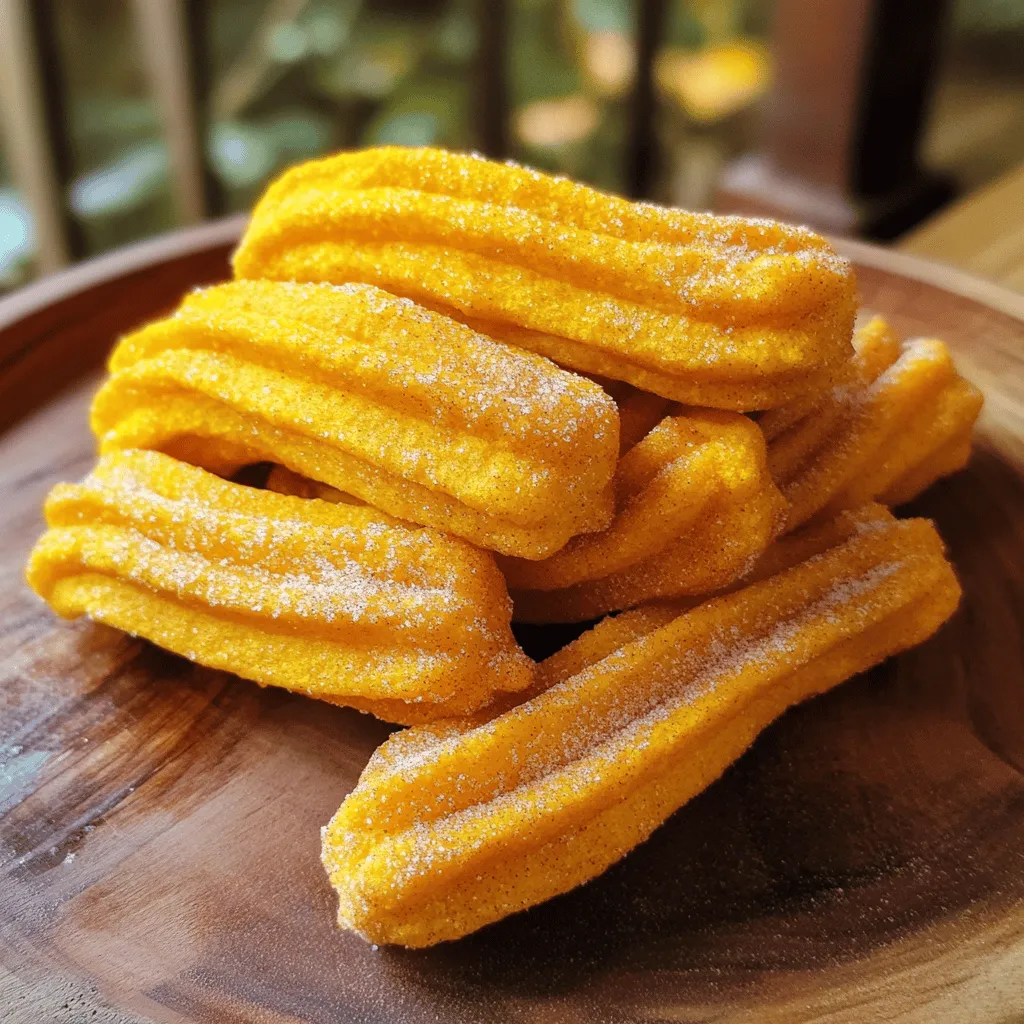
Air Fryer Pumpkin Churros with Cinnamon Sugar Delight
Get ready to delight your taste buds with Air Fryer Pumpkin Churros! These golden treats blend warm pumpkin flavor with the sweet kick of cinnamon
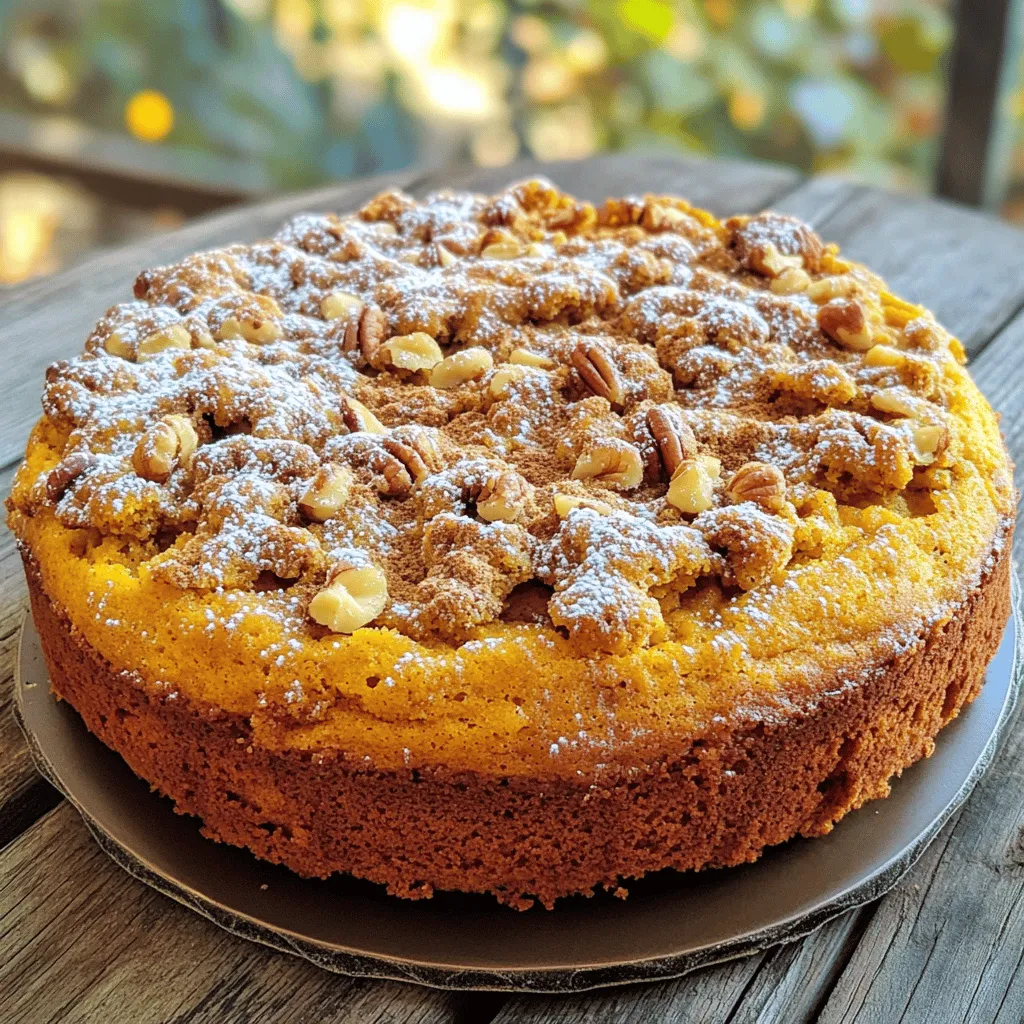
Pumpkin Spice Coffee Cake with Streusel Delight
Are you ready to welcome the cozy flavors of fall into your kitchen? Today, I’m sharing my favorite recipe for Pumpkin Spice Coffee Cake with
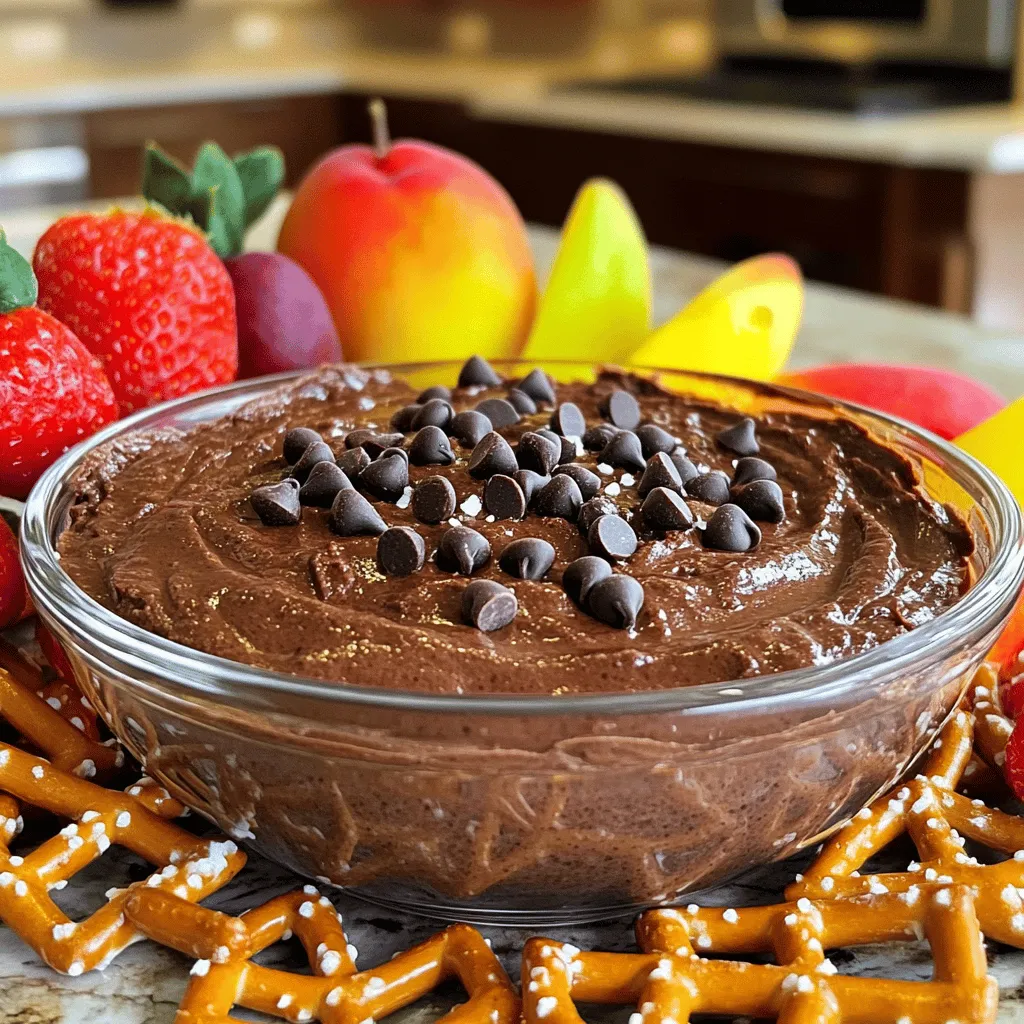
Protein Brownie Batter Greek Yogurt Dip Delight
Are you ready to indulge without the guilt? This Protein Brownie Batter Greek Yogurt Dip is your sweet solution! Packed with protein and rich chocolate
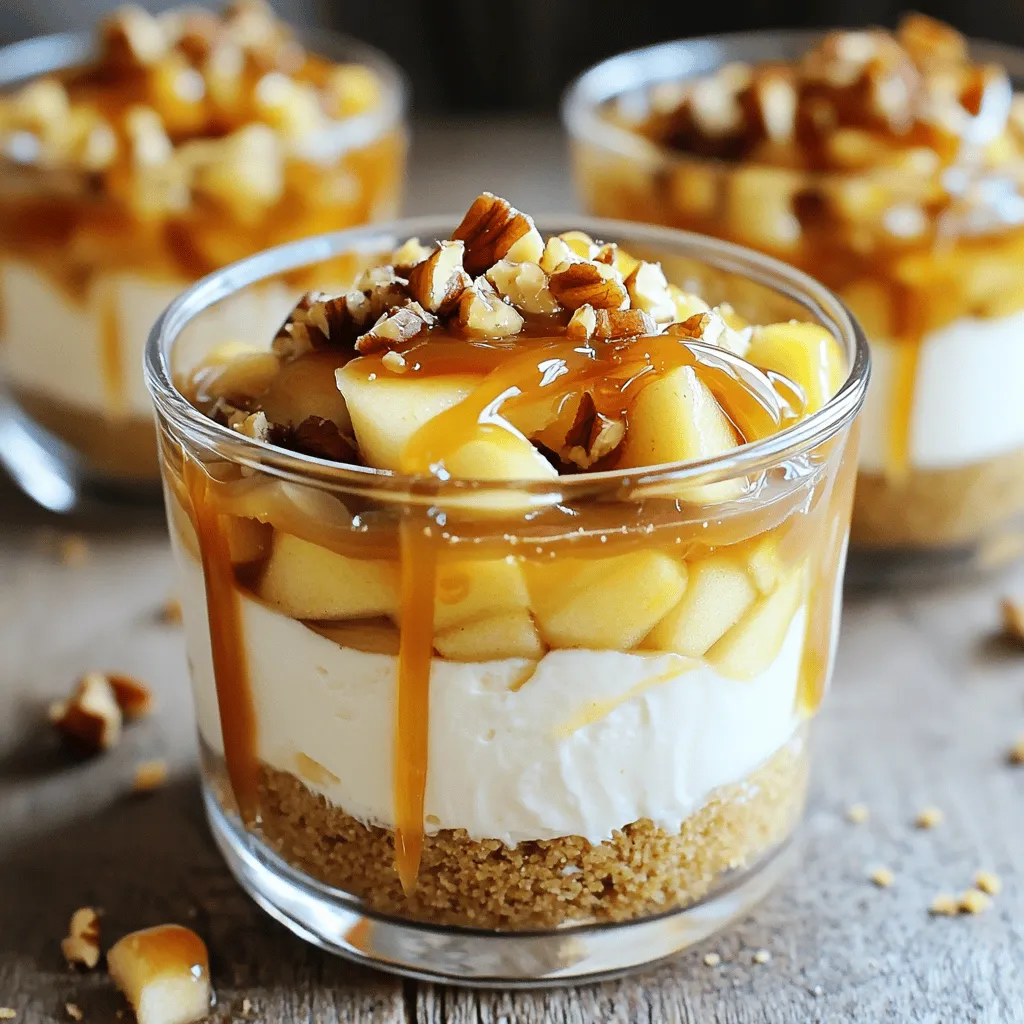
No Bake Caramel Apple Cheesecake Cups Delight
Indulging in dessert doesn’t have to involve baking. In this post, I’ll show you how to create delightful No Bake Caramel Apple Cheesecake Cups. With