Desserts
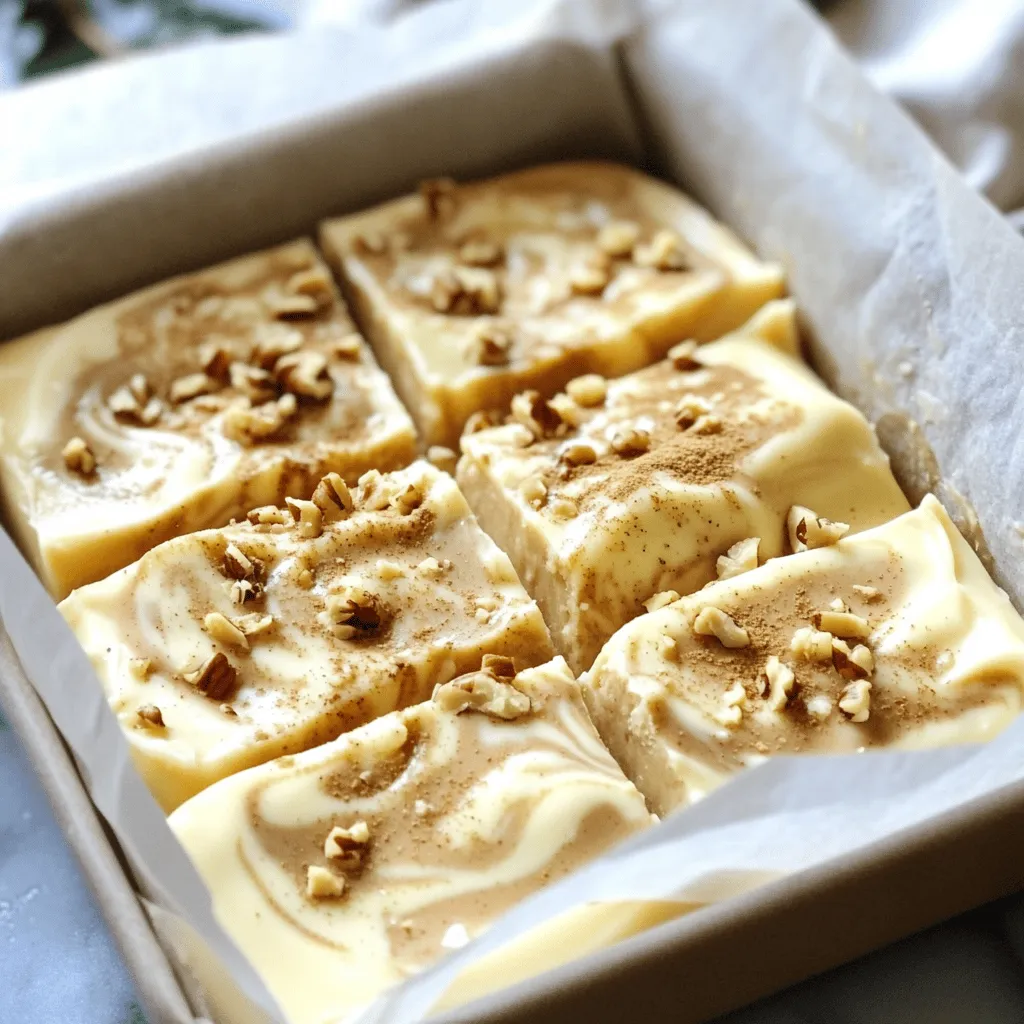
No-Bake Eggnog Nutmeg Swirl Fudge Simple Treat
Are you ready to whip up a delightful holiday treat without the oven? With my No-Bake Eggnog Nutmeg Swirl Fudge, you’ll impress family and friends
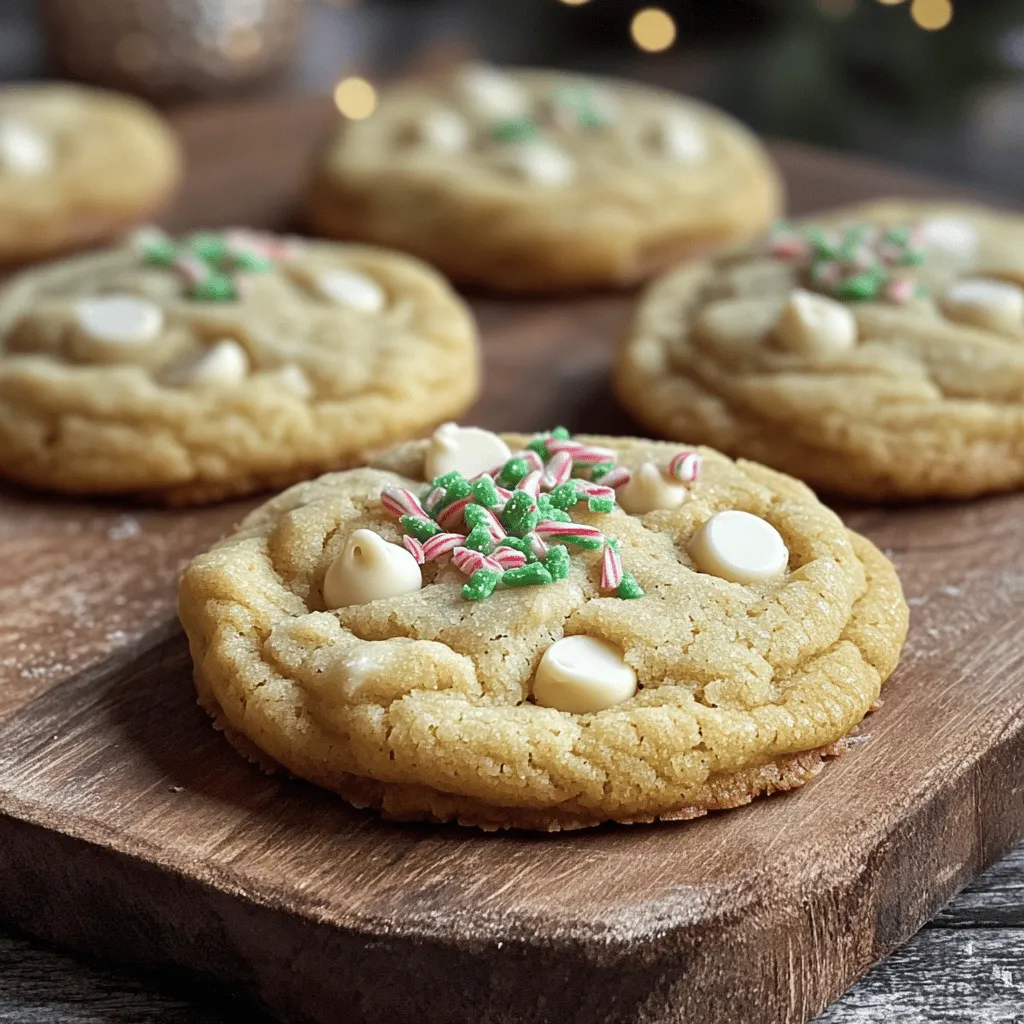
Air Fryer Peppermint White Chocolate Cookies Delight
Get ready for a holiday treat that will wow your taste buds! I’m excited to share my easy recipe for Air Fryer Peppermint White Chocolate
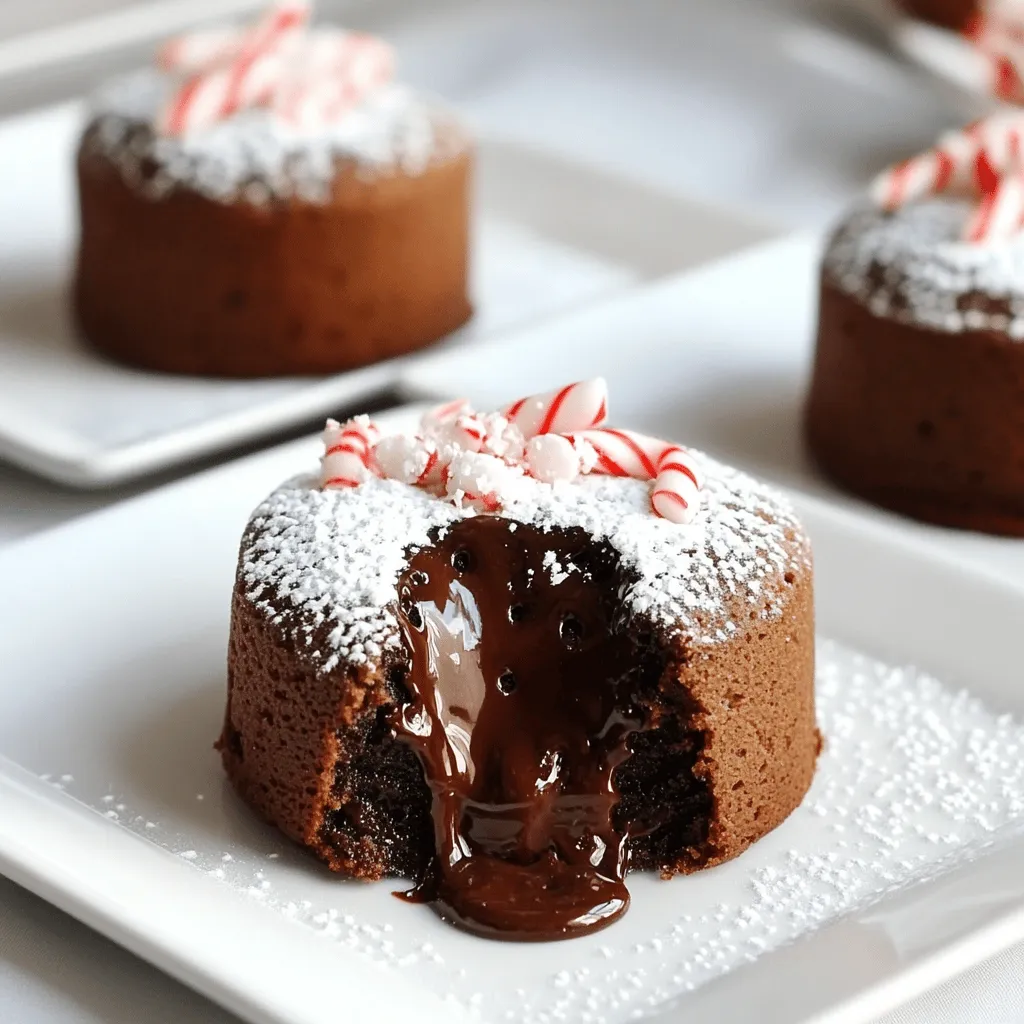
Peppermint Chocolate Lava Cakes Irresistible Delight
Indulging in Peppermint Chocolate Lava Cakes is pure joy. These little desserts burst with rich chocolate and refreshing peppermint flavor. They have a gooey center
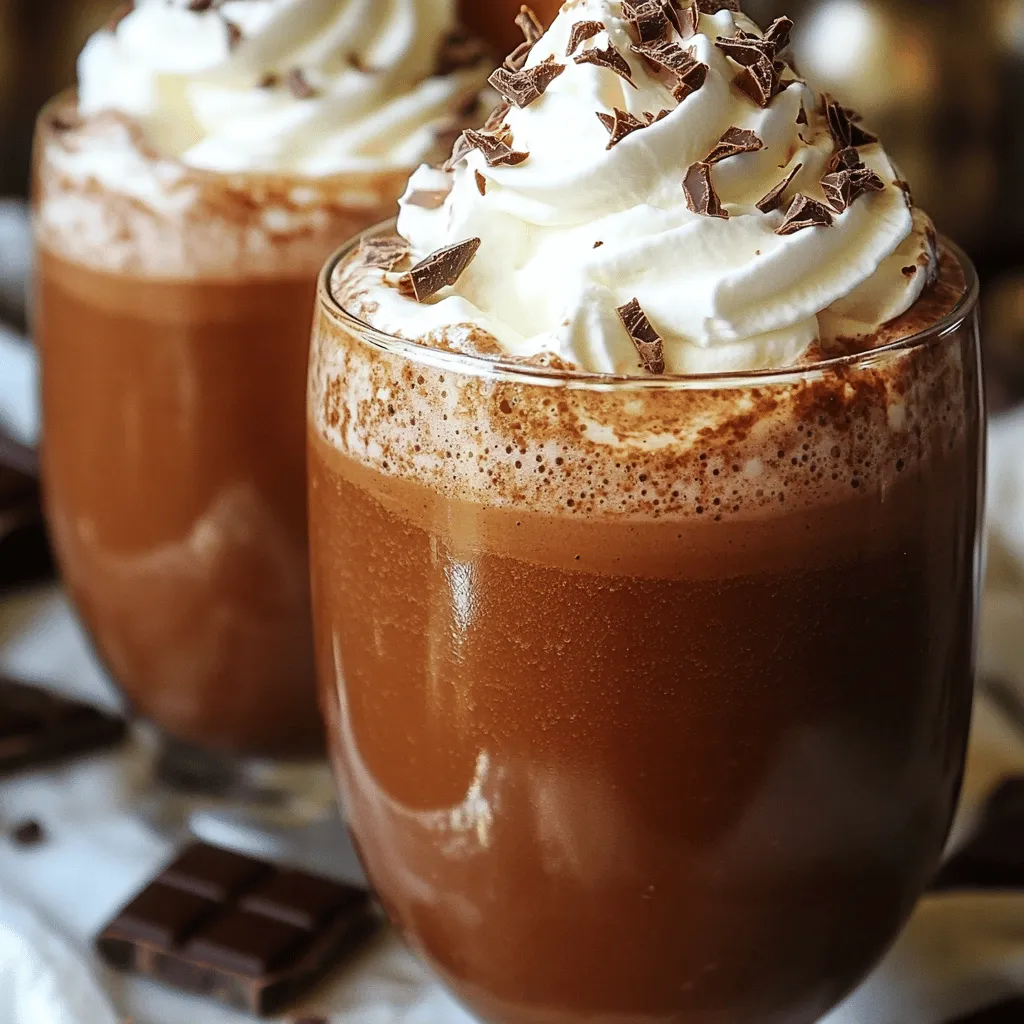
Protein Hot Cocoa Shake with Whipped Cream Delight
Indulging in a creamy Protein Hot Cocoa Shake with Whipped Cream is a treat you can enjoy guilt-free! This delicious drink combines rich chocolate flavor
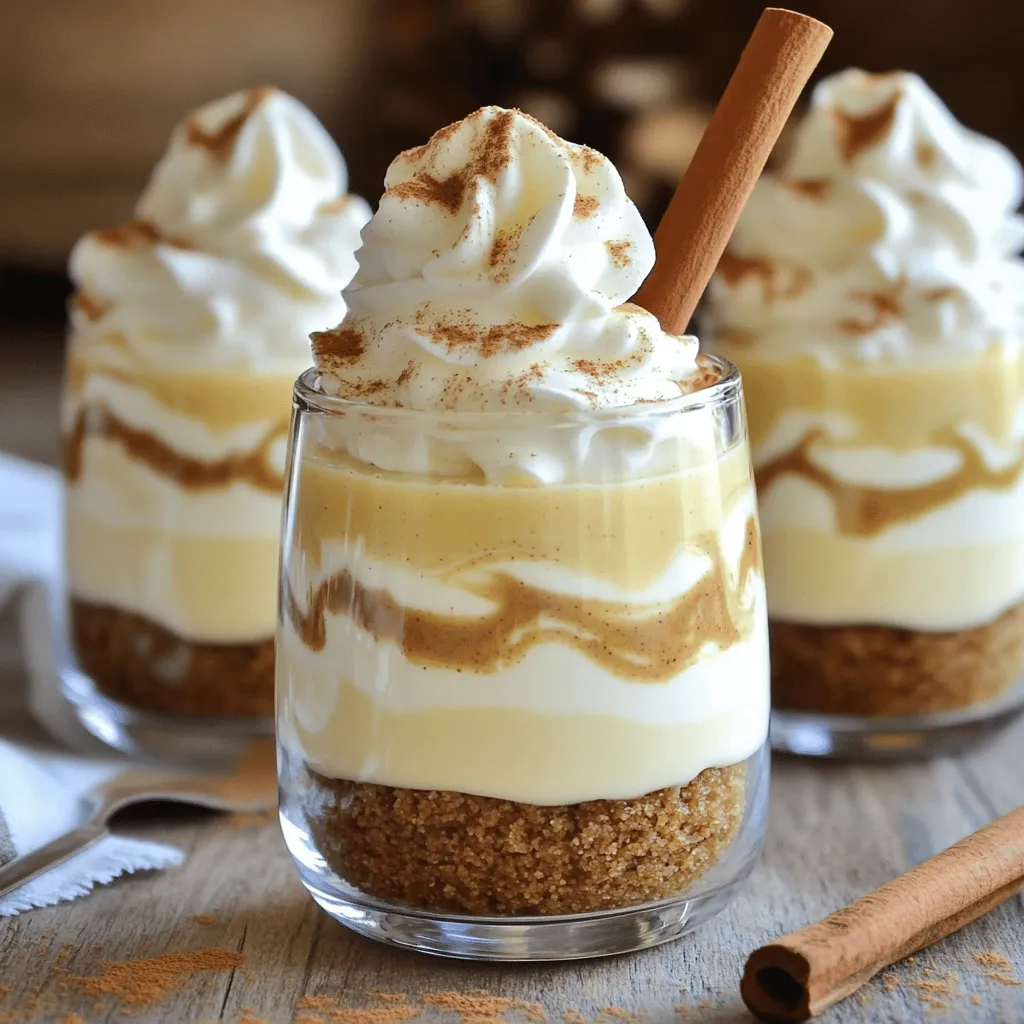
No-Bake Eggnog Cheesecake Cups Delightful Holiday Treat
Looking for a delightful holiday treat that’s quick and easy? You’ve come to the right place! These No-Bake Eggnog Cheesecake Cups are rich, creamy, and

Air Fryer Cinnamon Sugar Gingerbread Donut Holes Delight
Get ready to savor the sweet, cozy flavors of the season with my Air Fryer Cinnamon Sugar Gingerbread Donut Holes! These delightful bites combine warm
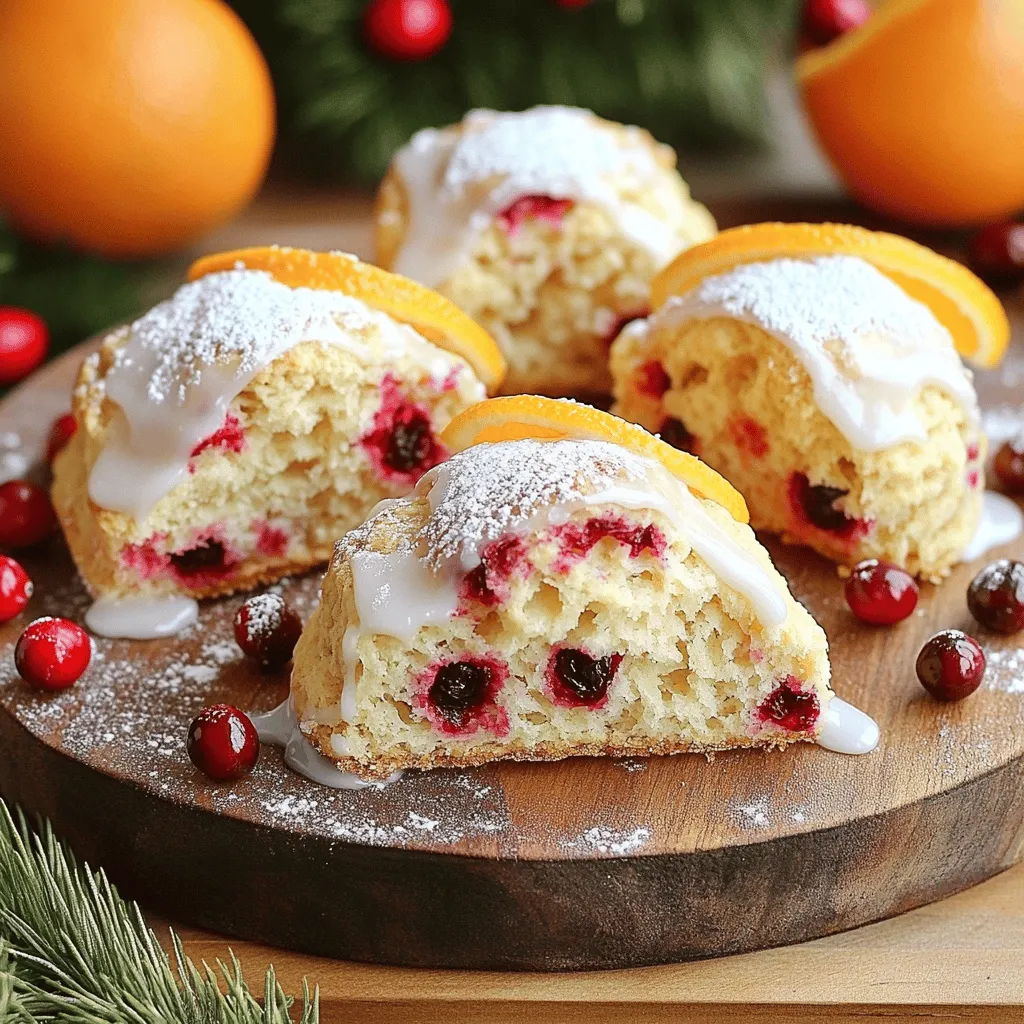
Warm Cranberry Orange Scones with Vanilla Glaze Delight
Craving a warm, sweet treat? These Cranberry Orange Scones with Vanilla Glaze will delight your taste buds. Perfect for breakfast or a cozy afternoon snack,
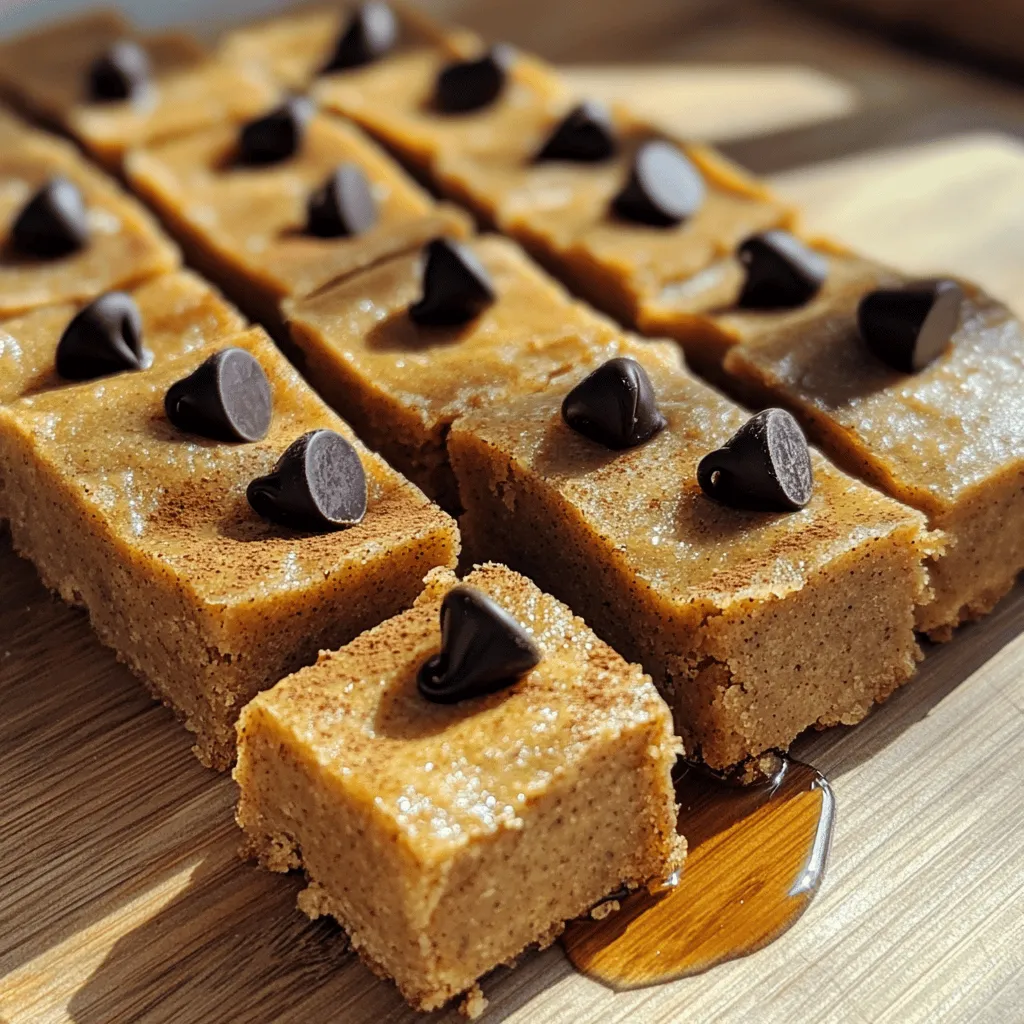
No-Bake Gingerbread Cookie Dough Bars Delight
Get ready to enjoy a tasty treat that requires no baking! My No-Bake Gingerbread Cookie Dough Bars are a perfect mix of flavors and textures.
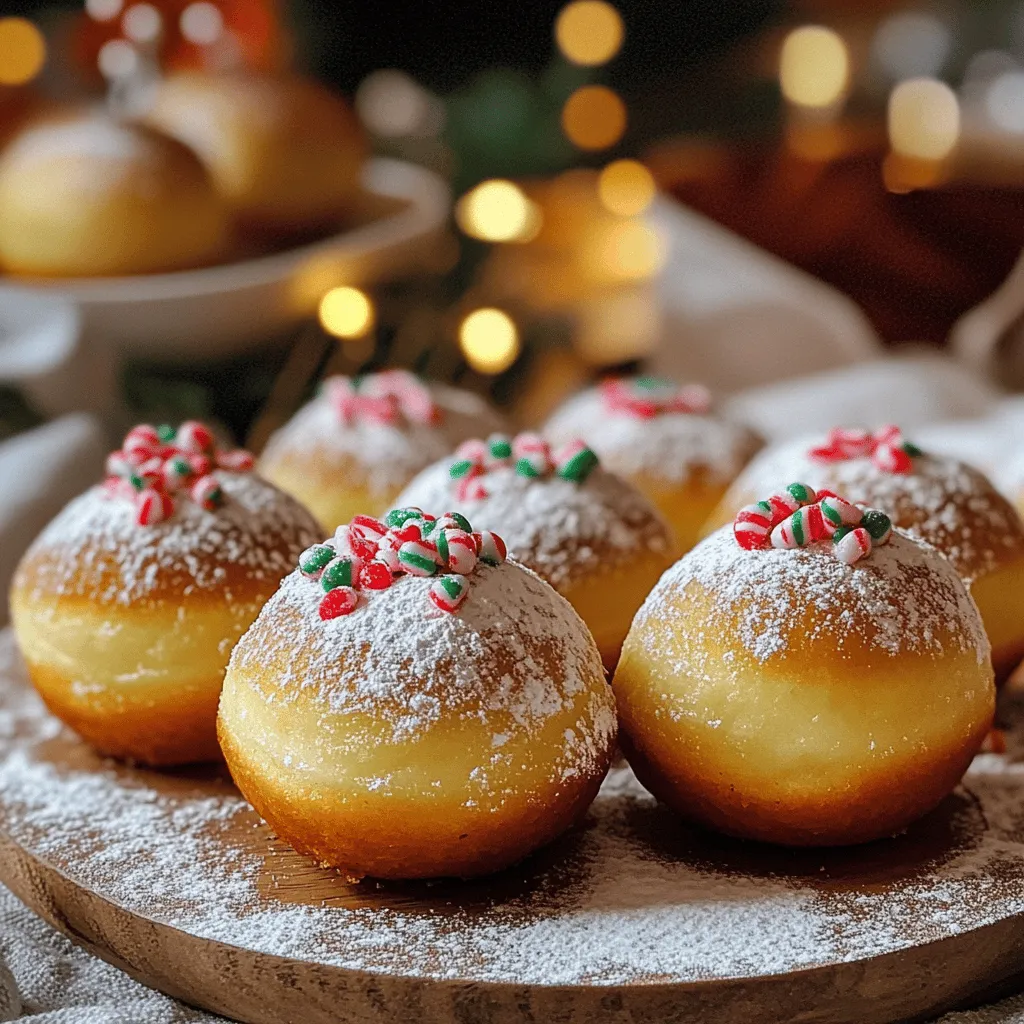
Air Fryer Peppermint Mocha Donut Holes Delight
Looking for a festive treat that combines the joy of donuts and peppermint mocha? Try my Air Fryer Peppermint Mocha Donut Holes! With simple ingredients
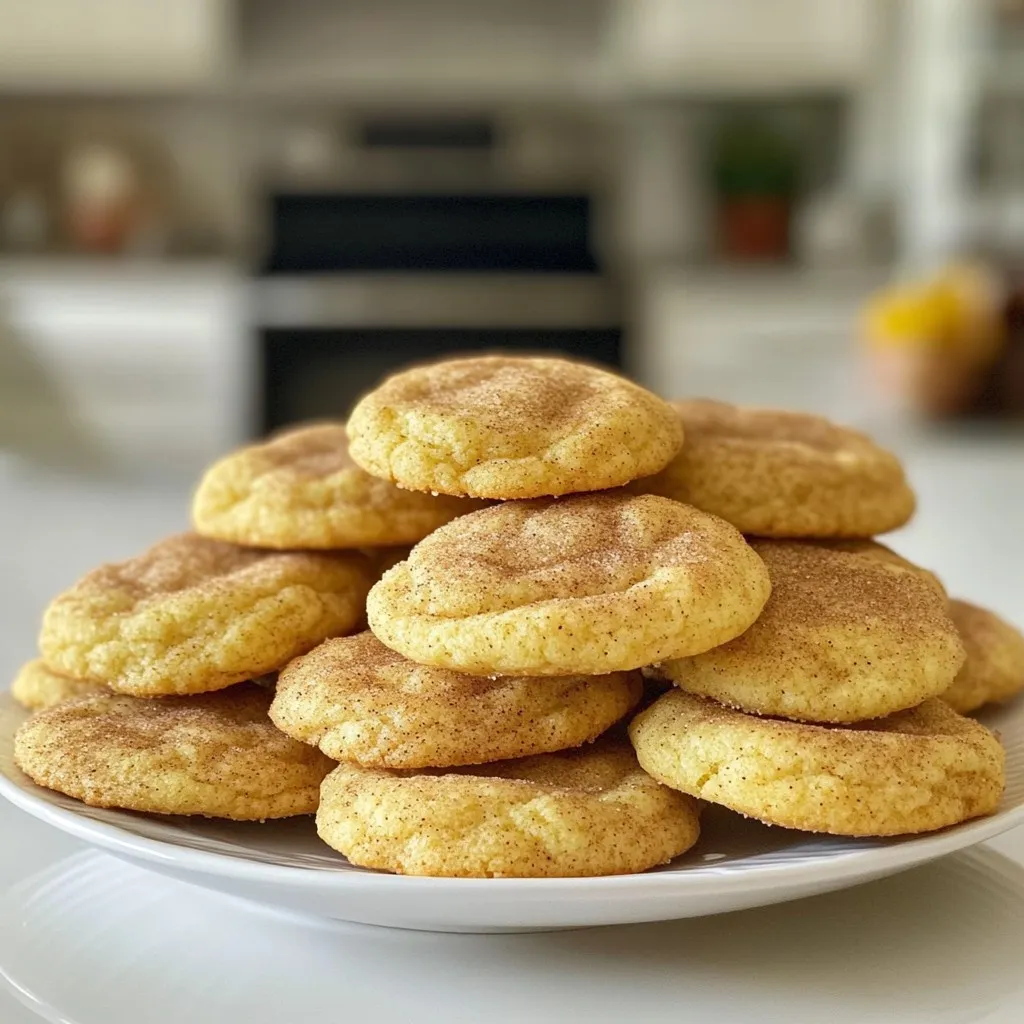
Soft & Chewy Snickerdoodle Cookies Easy to Make
If you crave the perfect soft and chewy cookie, you’re in the right place! Today, I’ll share my foolproof recipe for Snickerdoodle cookies that are