Desserts
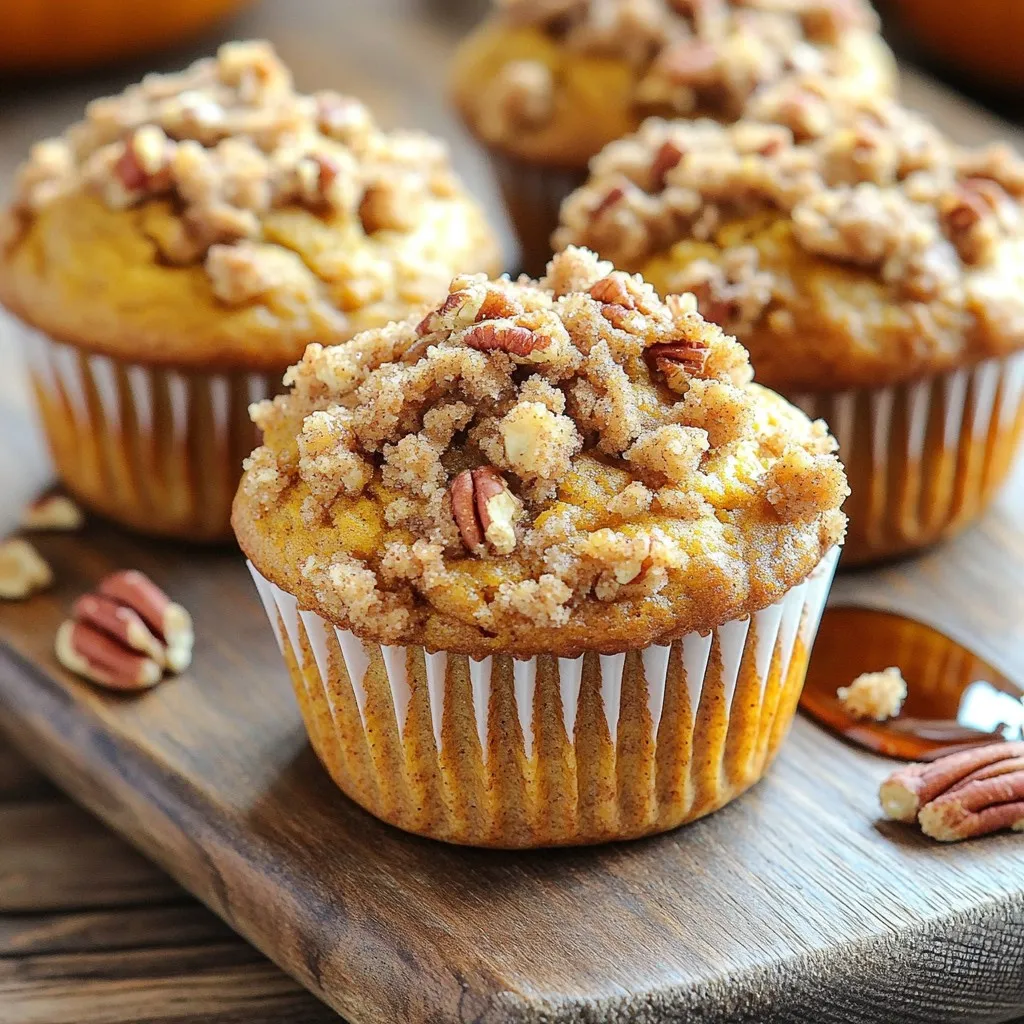
Maple Pecan Pumpkin Streusel Muffins Irresistible Treat
If you crave a warm and cozy treat, you’ll love these Maple Pecan Pumpkin Streusel Muffins! This easy recipe combines rich pumpkin puree and sweet
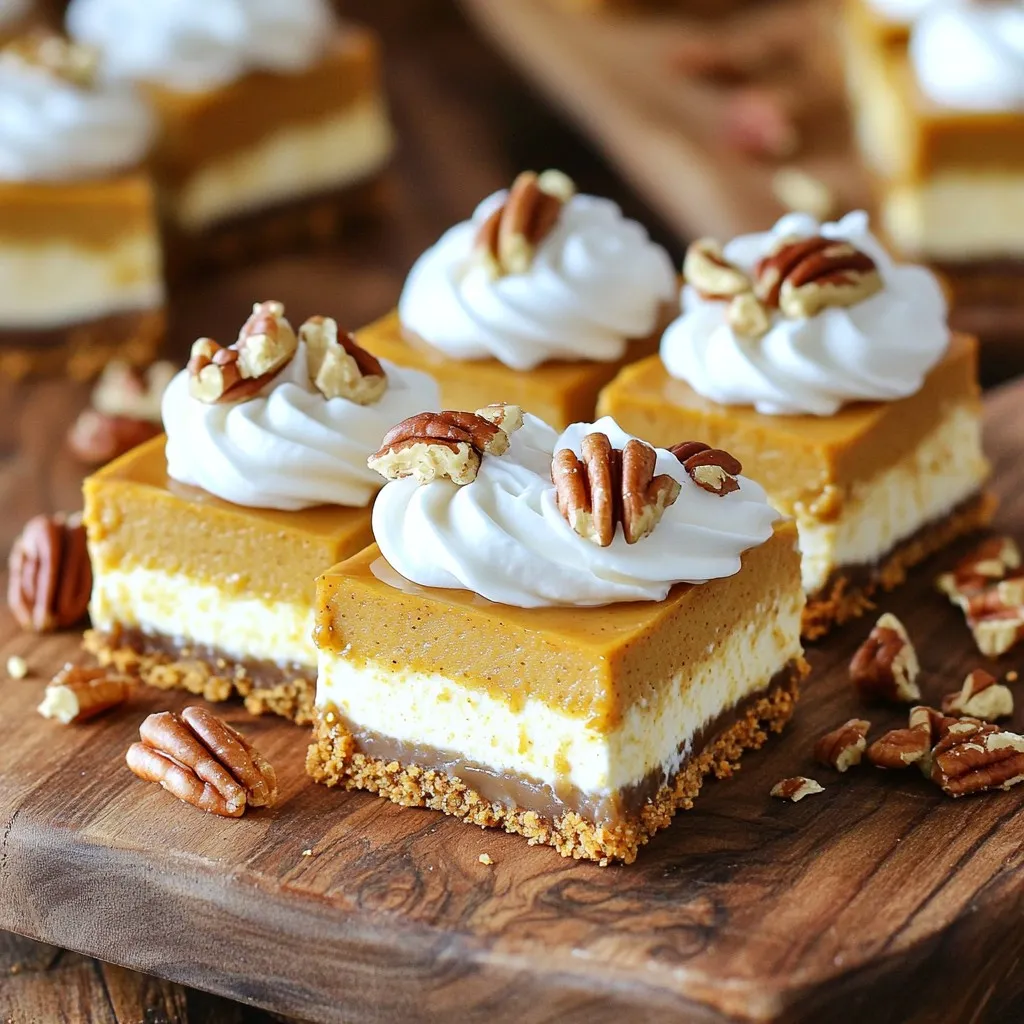
No-Bake Pumpkin Pie Cheesecake Bars Delightful Treat
Get ready to enjoy a sweet treat that requires no baking! These No-Bake Pumpkin Pie Cheesecake Bars combine creamy cheesecake with the warm flavors of
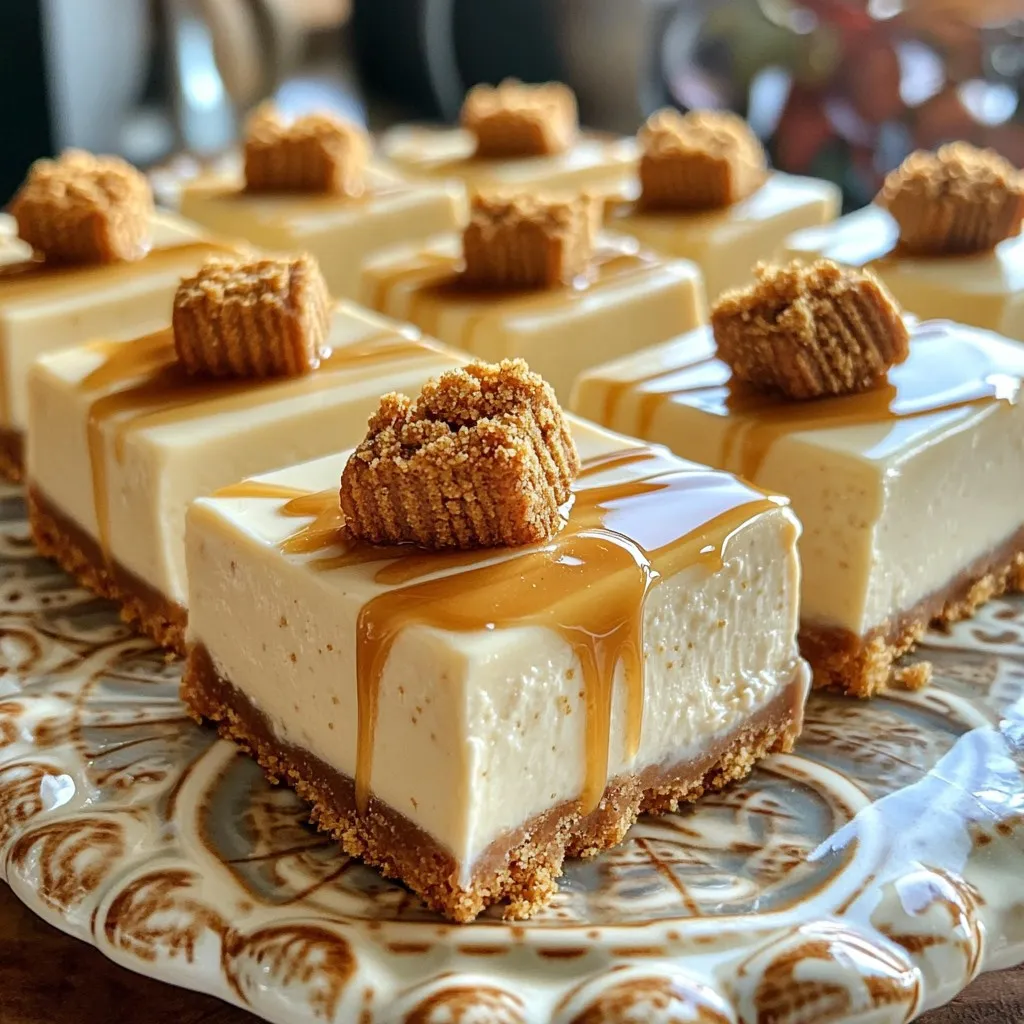
No-Bake Biscoff Cheesecake Bars Delicious Dessert Recipe
Are you ready to indulge in a dessert that requires no baking? The No-Bake Biscoff Cheesecake Bars are rich, creamy, and bursting with flavor. You
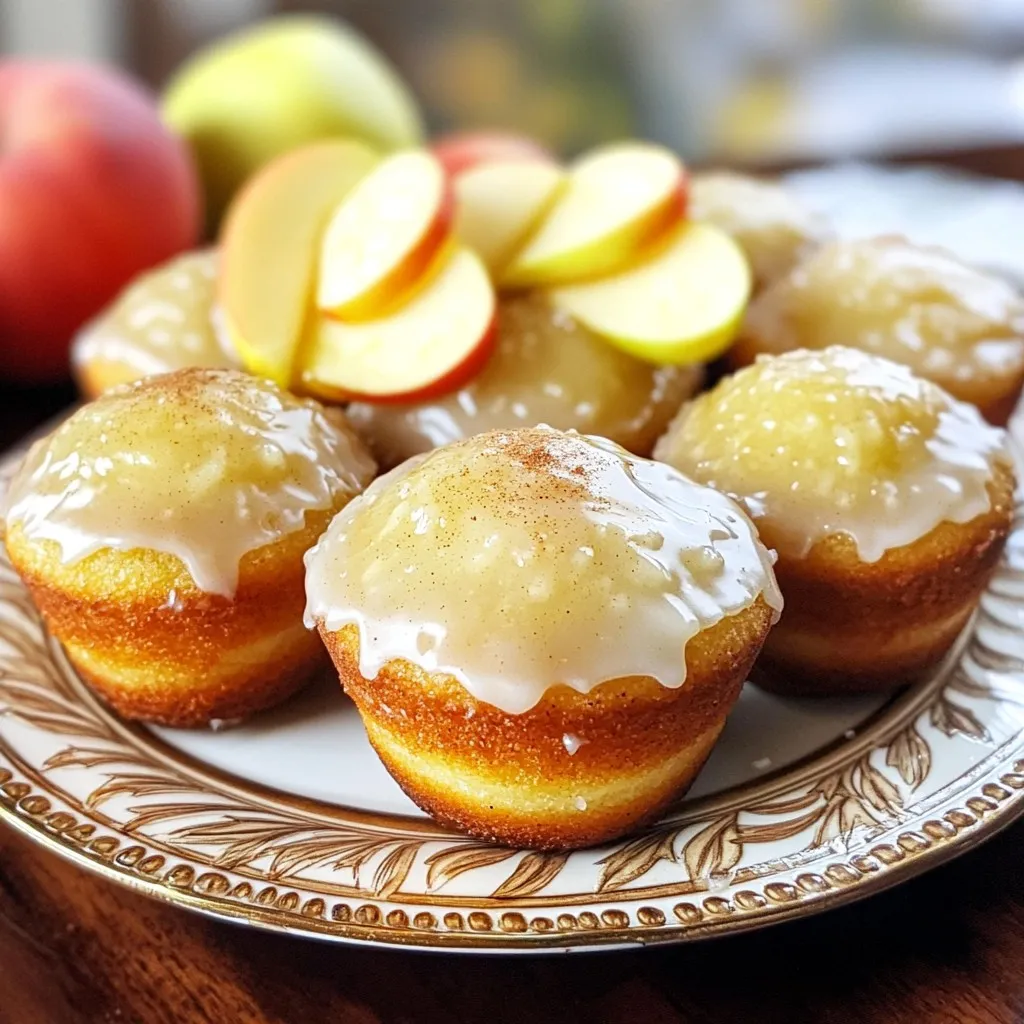
Maple Glazed Apple Cider Donut Muffins Delight
If you love the taste of fall, these Maple Glazed Apple Cider Donut Muffins will be your new favorite treat. Imagine soft muffins infused with
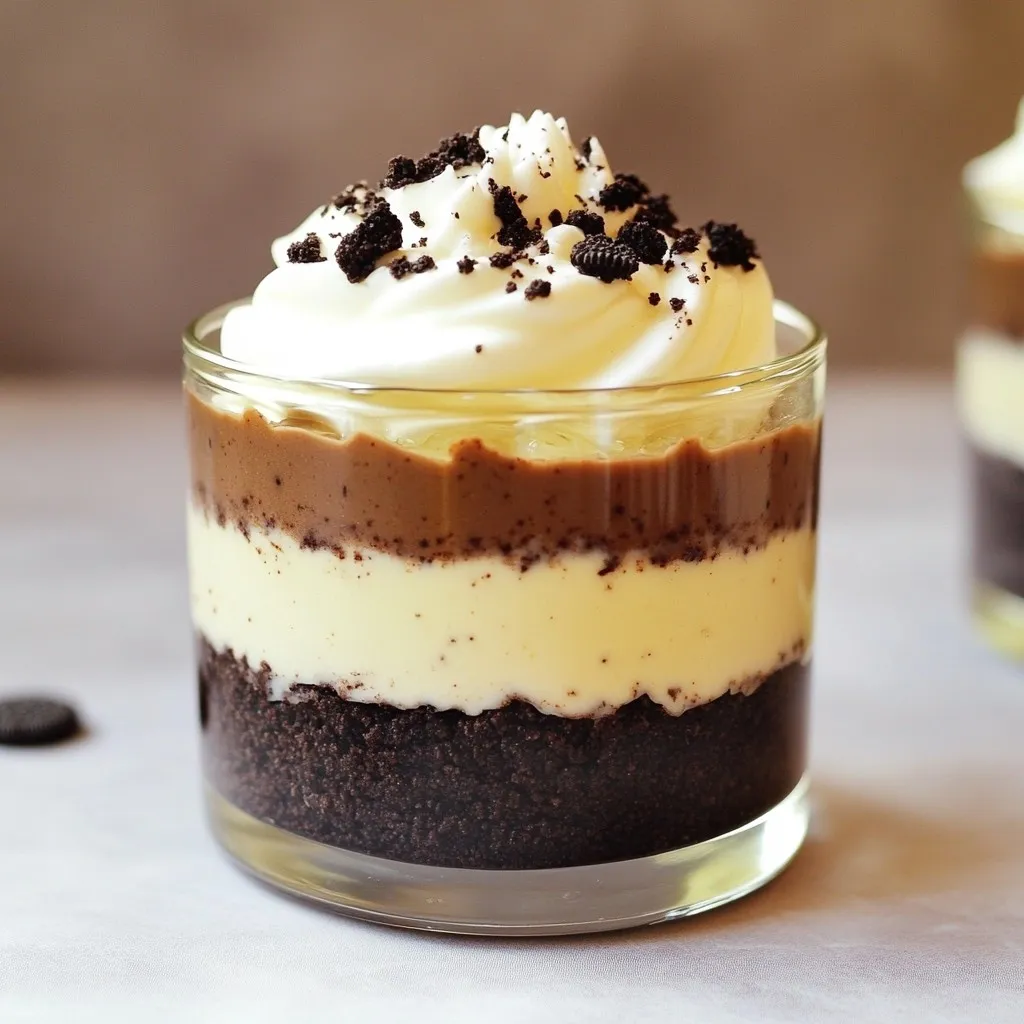
No Bake Oreo Cheesecake Cups Simple and Tasty Treat
Craving a simple yet delicious dessert? You’ll love these No Bake Oreo Cheesecake Cups! They combine rich cream cheese with crunchy Oreo cookie crust for
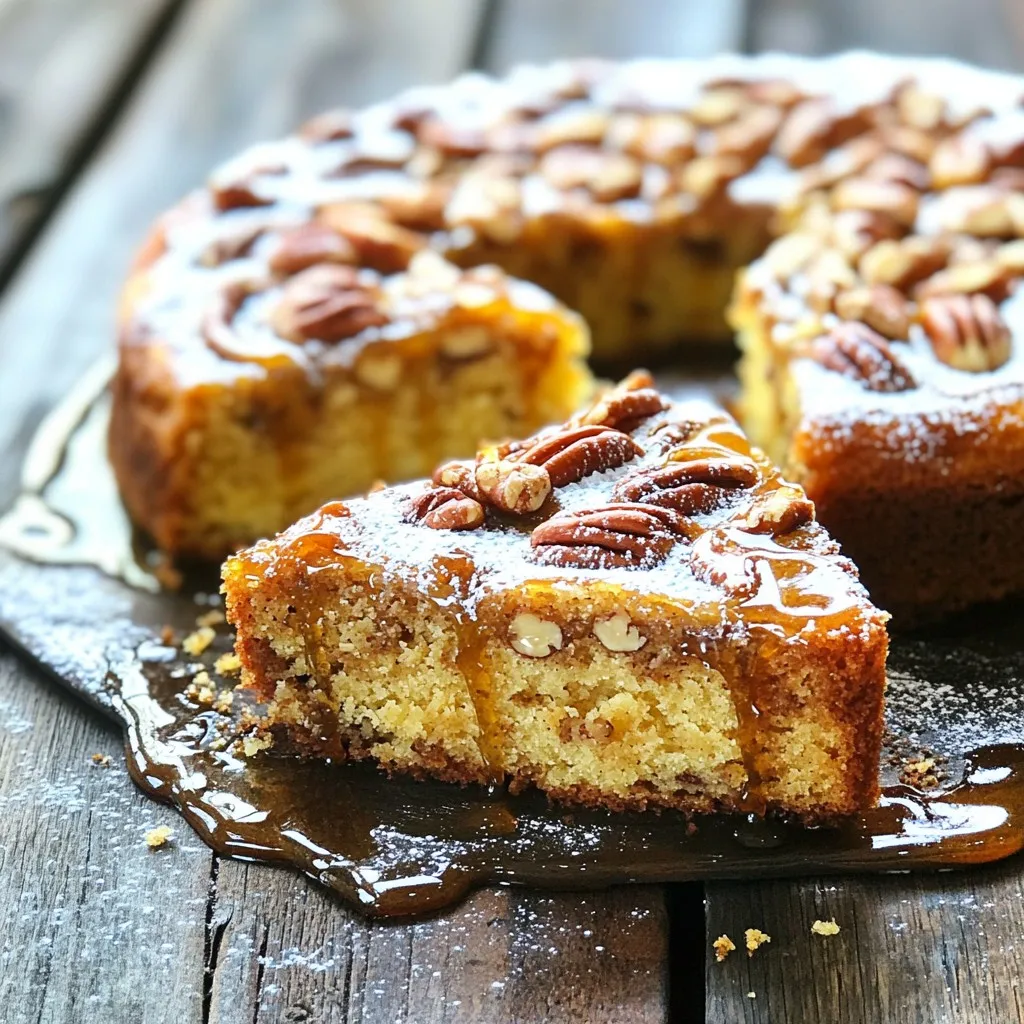
Bakery Style Maple Pecan Coffee Cake Delight
Looking for a warm, sweet treat to brighten your day? My Bakery Style Maple Pecan Coffee Cake Delight combines rich maple syrup and crunchy pecans
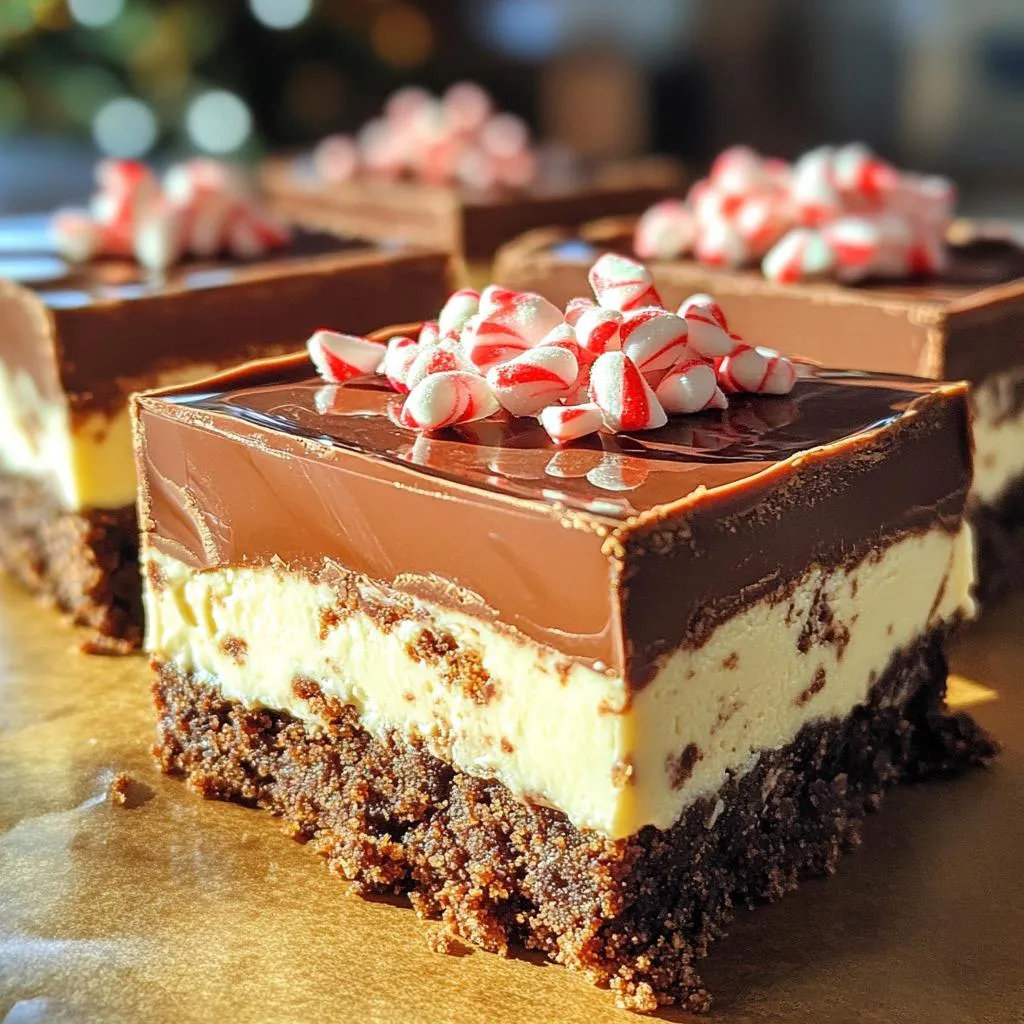
No-Bake Peppermint Chocolate Cheesecake Bars Delight
Are you ready for a sweet treat that skips the oven? No-Bake Peppermint Chocolate Cheesecake Bars are the perfect holiday dessert! With creamy layers of
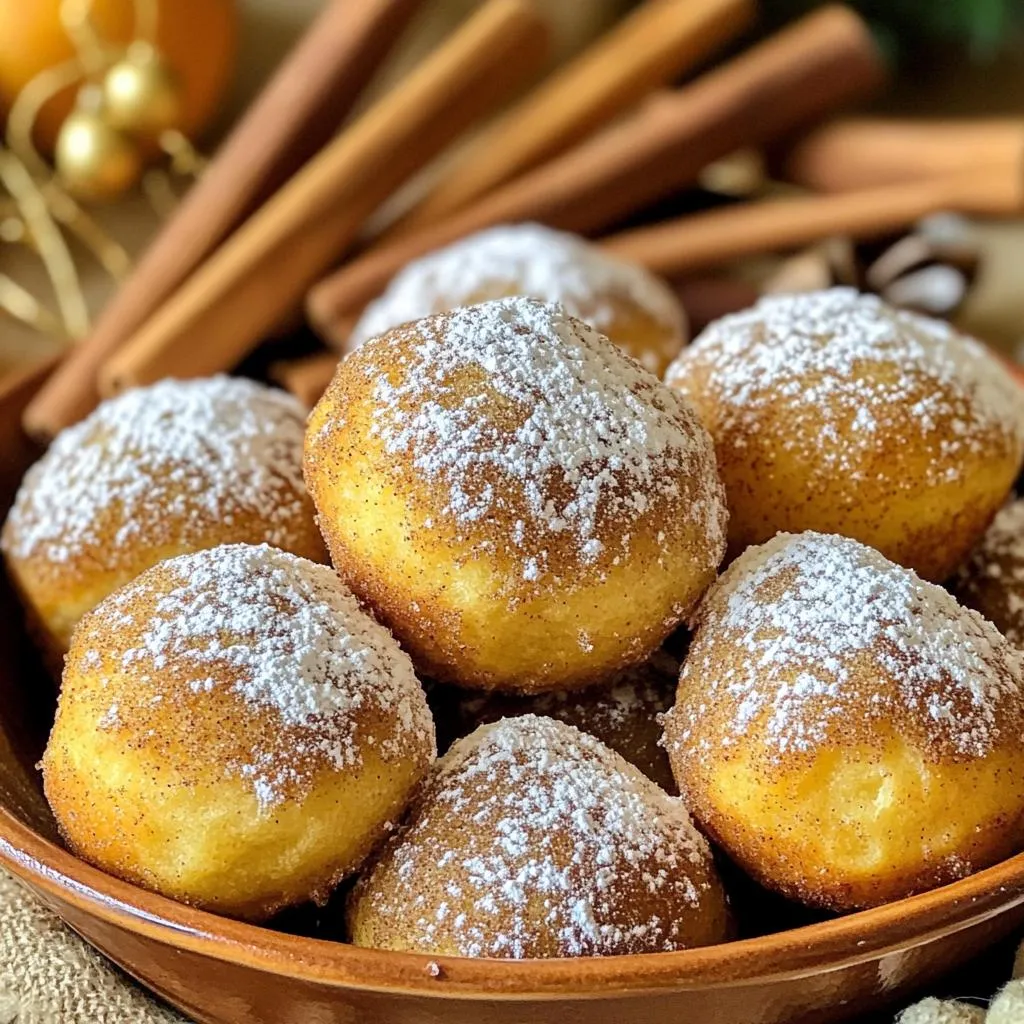
Air Fryer Gingerbread Donut Holes Easy and Delicious Recipe
Are you ready to create the most delicious holiday treat in minutes? My Air Fryer Gingerbread Donut Holes are easy to whip up and bursting
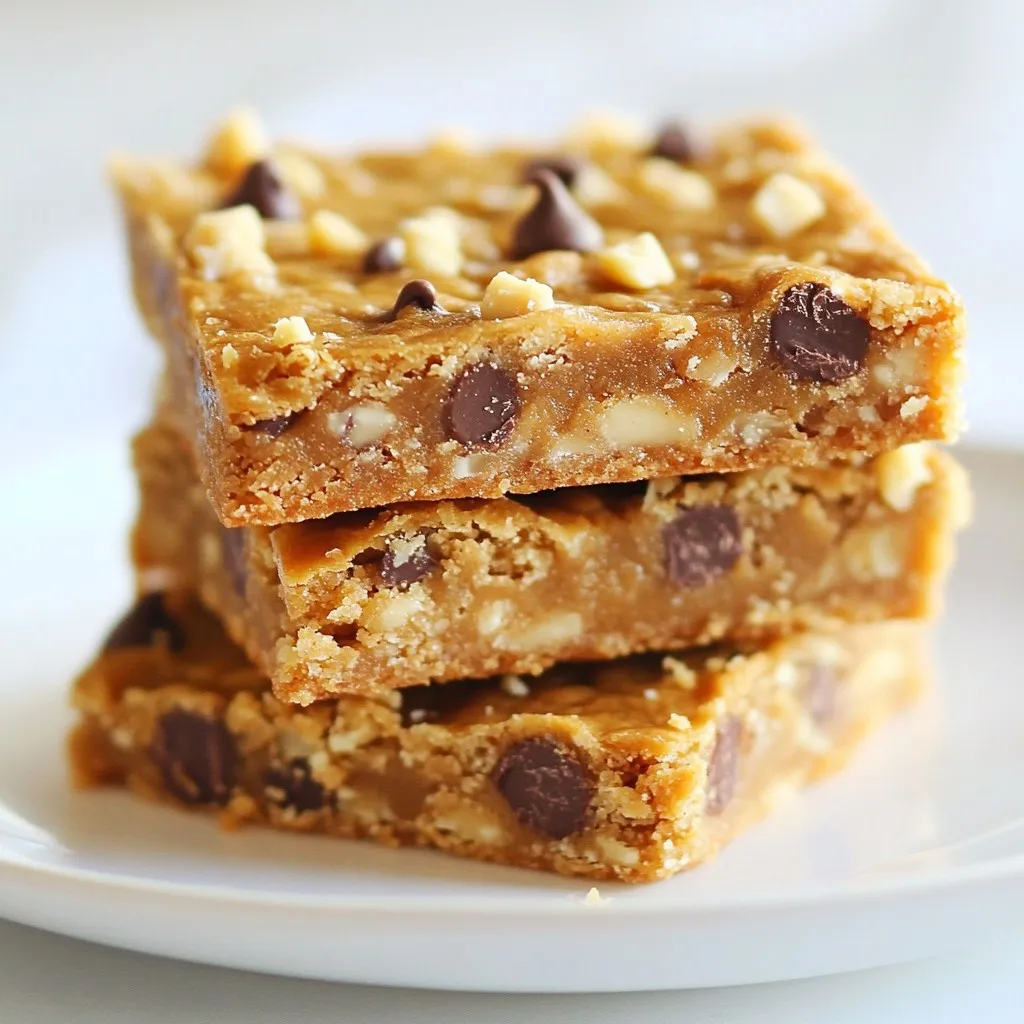
No-Bake Peanut Butter Bars Simple and Tasty Treat
Craving a sweet treat that’s easy to make? Look no further! These No-Bake Peanut Butter Bars are simple, tasty, and require just a few ingredients.
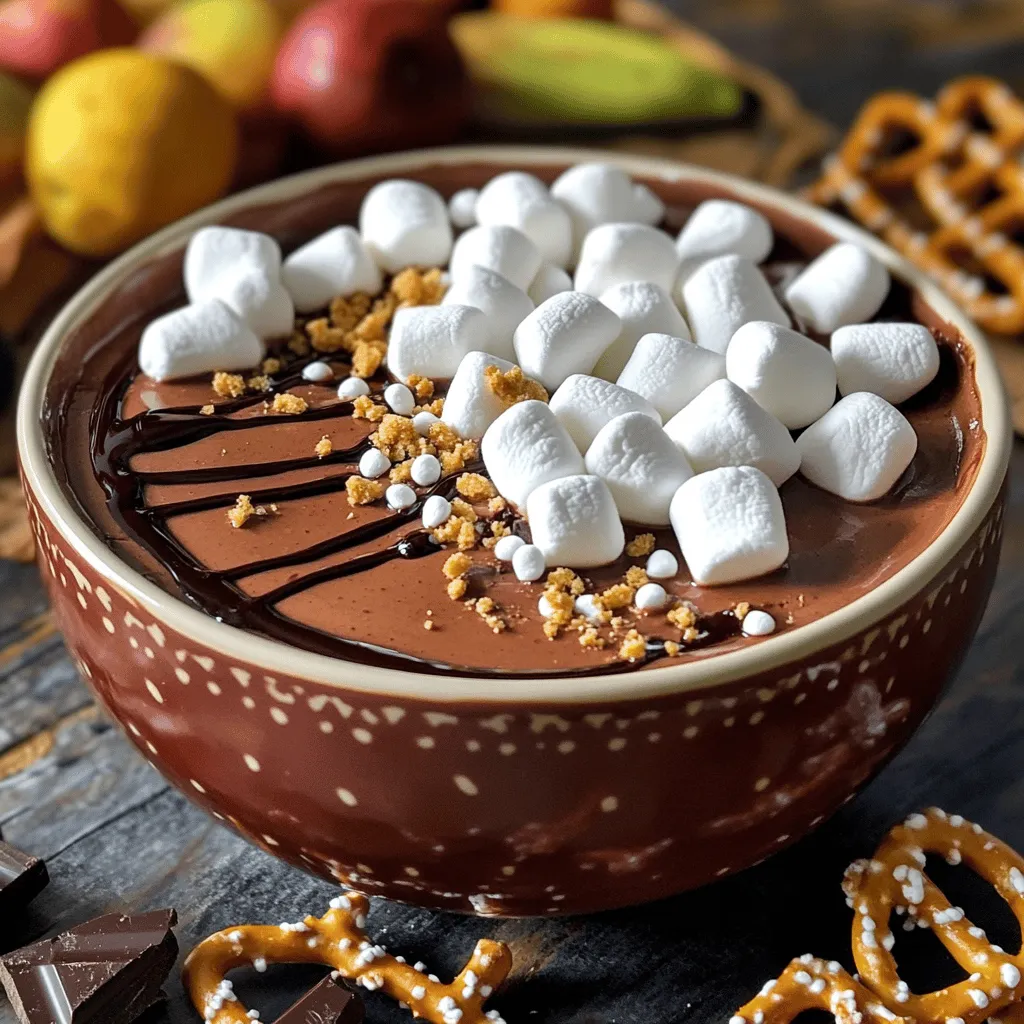
High-Protein Hot Cocoa Cheesecake Dip Delight
Are you ready to impress your taste buds with something special? Enter my High-Protein Hot Cocoa Cheesecake Dip Delight! This smooth and creamy dip is