Desserts
![To make the best chocolate chip cake, you need a few simple ingredients. Here is the list of what you'll need: - 1 ¾ cups all-purpose flour - 1 cup granulated sugar - ½ cup packed brown sugar - ½ cup unsalted butter, softened - 3 large eggs - 1 teaspoon pure vanilla extract - 1 teaspoon baking powder - ½ teaspoon baking soda - ½ teaspoon fine salt - 1 cup buttermilk - 1 cup semi-sweet chocolate chips - ½ cup chopped walnuts (optional) These ingredients create a cake that is rich and full of flavor. The chocolate chips add sweetness, while the walnuts give a nice crunch if you choose to include them. Each item plays a key role in making this cake delicious and moist. I always recommend using fresh ingredients for the best taste. For instance, fresh eggs and real vanilla extract will elevate your cake. Plus, using room temperature butter and buttermilk helps create a smooth batter. This cake is not just a treat; it's an experience. For the complete recipe and detailed instructions, check out the Full Recipe section. Happy baking! First, preheat your oven to 350°F (175°C). Choose your pan size: a 9x13 inch rectangular cake pan works well. You can also use two 9-inch round pans. Grease and flour your pan to help the cake come out easily. In a large bowl, combine ½ cup of softened butter, 1 cup of granulated sugar, and ½ cup of packed brown sugar. Beat these together at a medium speed until the mixture is light and fluffy. This should take about 2-3 minutes. This step adds air to the mixture, helping your cake rise. Next, add 3 large eggs, one at a time. Mix well after each egg to ensure they blend smoothly. After the last egg, stir in 1 teaspoon of pure vanilla extract. This will give your cake a lovely flavor. In a separate bowl, whisk together 1 ¾ cups of all-purpose flour, 1 teaspoon of baking powder, ½ teaspoon of baking soda, and ½ teaspoon of fine salt. Make sure there are no lumps. This mix helps the cake rise and gives it structure. Now, it's time to combine the wet and dry mixes. Gradually add the dry mixture to the wet mixture. Alternate this with 1 cup of buttermilk, starting and ending with the dry mix. Mix just until combined. Be careful not to overmix, as this keeps your cake tender. Gently fold in 1 cup of semi-sweet chocolate chips and ½ cup of chopped walnuts, if you like. Ensure that they are evenly spread throughout the batter. This adds great flavor and texture to your cake. Pour the batter into your prepared pan(s) and smooth the top with a spatula. Place the pan in the oven and bake for 25-30 minutes. To check if it's done, insert a toothpick into the center of the cake. It should come out clean or with a few moist crumbs. Once baked, take the cake out of the oven and let it cool in the pan for about 10 minutes. After that, carefully transfer it to a wire rack to cool completely. Cooling is key before you add any frosting or toppings. Check out the [Full Recipe] for more details! To get a soft and tender cake, I focus on mixing techniques. When you cream the butter and sugars, mix until light and fluffy. This takes about 2-3 minutes. After adding eggs one at a time, it’s crucial to mix gently. When you add the dry ingredients, mix just until combined. Overmixing can make your cake tough. Use a spatula to fold in the chocolate chips. This keeps them evenly spread without overworking the batter. Even baking is key for a great chocolate chip cake. Ensure your oven is preheated to 350°F (175°C) before baking. Use the middle rack for even heat. If you use round pans, check for domed tops. To avoid this, gently tap the pans on the counter before baking. This helps the batter settle. Keep an eye on the cake as it bakes. Use a toothpick to check for doneness; it should come out clean with some crumbs. Serving your chocolate chip cake can be fun! For a beautiful look, dust slices with powdered sugar. This adds elegance. You can also serve a slice with a scoop of vanilla ice cream. A fresh sprig of mint on top makes it pop. For a more festive touch, add colorful sprinkles or chocolate shavings. These small details make your cake even more inviting. For the full recipe, check out the Heavenly Chocolate Chip Delight Cake page! {{image_4}} You can change the taste of your chocolate chip cake by using different types of chocolate. Try dark chocolate chips for a rich flavor. You can also use milk chocolate for a sweeter cake. If you are feeling creative, mix in white chocolate chips. Adding a swirl of peanut butter or caramel can give your cake a twist too. These options let you make a cake that fits your taste. To make a lighter version of the cake, swap some ingredients. Use unsweetened applesauce instead of half the butter. This keeps the cake moist while cutting down on fat. You can also use whole wheat flour in place of all-purpose flour. This adds fiber, making it a healthier choice. For a lower sugar option, reduce sugar by one-third. The cake will still taste great. If you need a gluten-free cake, you can still enjoy this recipe! Replace all-purpose flour with a gluten-free all-purpose blend. Make sure it has xanthan gum for better texture. You can also use almond flour or coconut flour. Just adjust the amount of liquid in the recipe since these flours absorb more moisture. This way, everyone can enjoy a slice of your delicious cake. For the complete recipe, check out the Full Recipe section. To keep your cake fresh, wrap it tightly in plastic wrap. You can also use an airtight container. Store it at room temperature for up to three days. If you want to keep it longer, place it in the fridge. Just remember, the cake might dry out a bit in the fridge. Always let it come back to room temperature before serving. Freezing is a great option if you want to save some cake for later. Slice the cake into pieces. Wrap each piece in plastic wrap, then place them in a freezer bag. This helps keep them safe from freezer burn. The cake can last in the freezer for about three months. When you’re ready to enjoy it, just take a slice out and let it thaw at room temperature. If you prefer, you can quickly warm it in the microwave for about 10-15 seconds. Enjoy your delicious cake anytime! For the full recipe and more details, check the Full Recipe. You can tell when the cake is done by checking a few signs. The top should look golden brown and feel firm to touch. If you insert a toothpick into the center, it should come out clean or have only a few moist crumbs. This means the cake is perfectly baked. If the toothpick has wet batter, give it a few more minutes. Yes, you can use different types of sugar. Granulated sugar gives a sweet base, while brown sugar adds moisture and a rich flavor. Mixing them can create a nice balance. If you want a deeper taste, try using dark brown sugar. Just remember, the type of sugar can change the cake's texture. If you don’t have buttermilk, you can use plain yogurt or sour cream. Mix one cup of yogurt or sour cream with a little water to thin it out. You can also use milk with a splash of vinegar or lemon juice. Let it sit for a few minutes before using. This will mimic the acidity of buttermilk. Yes, you can make this cake in advance. Bake it and let it cool completely. Then wrap it tightly in plastic wrap or foil. Store it at room temperature for a few days or in the fridge for longer freshness. You can also freeze it for up to three months. Just thaw it in the fridge when you’re ready to serve. For the best taste, frost it just before serving. You can find the Full Recipe for more details on preparation. You now know all the steps to create a delicious chocolate chip cake. We covered the key ingredients, preparation, baking tips, and even storage. Remember to mix carefully for the best texture and feel free to try new flavors. If you have leftovers, storing them right keeps them fresh and tasty. Whether you bake this as a treat or special occasion, enjoy the process and the results! Happy baking!](https://roastedflavors.com/wp-content/uploads/2025/07/4d9b76bc-5570-4e35-b24c-47050f1866dd.webp)
The Best Chocolate Chip Cake Irresistible and Simple
Are you ready to bake something amazing? This Chocolate Chip Cake is simple and delicious. You only need a few basic ingredients, yet it tastes
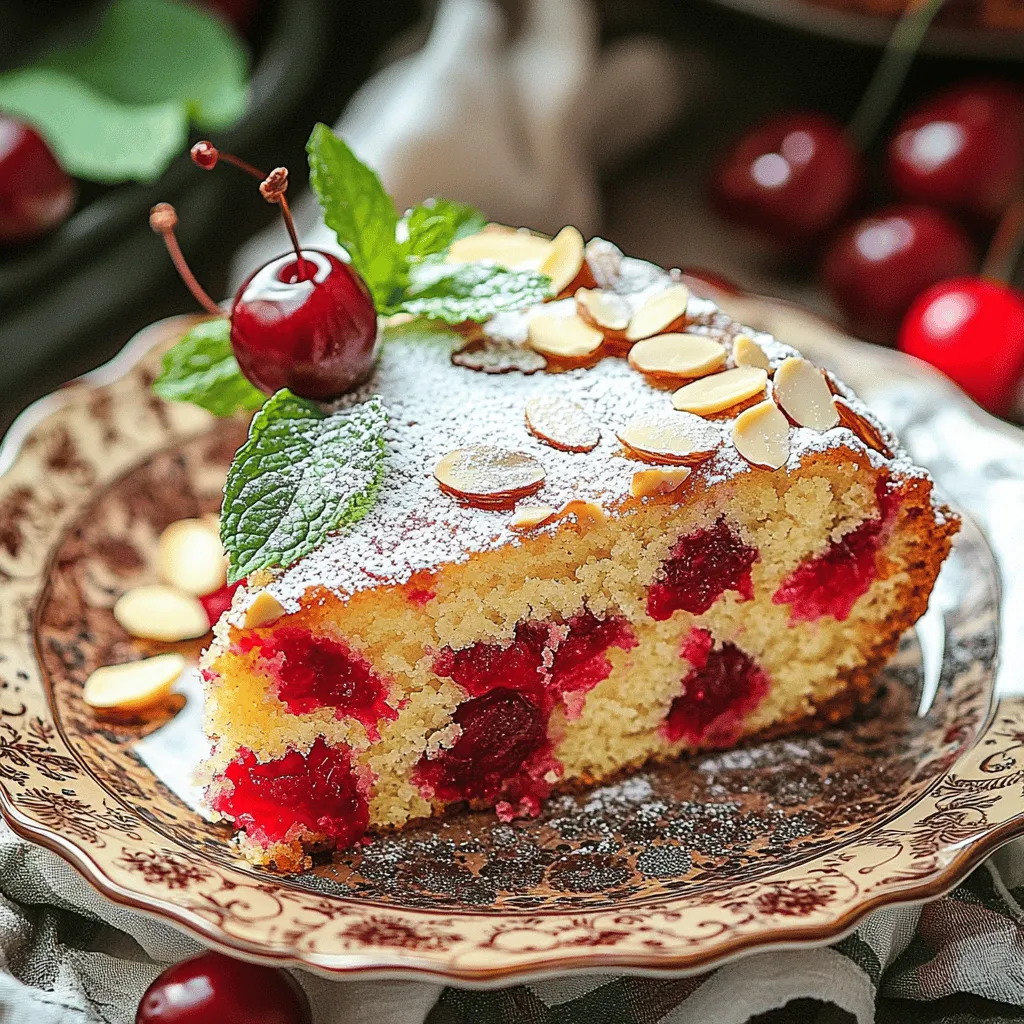
Cherry Almond Cake Delightful and Easy Recipe
If you’re looking for a sweet treat that combines the juicy goodness of cherries with the nutty flavor of almonds, you’re in the right place!
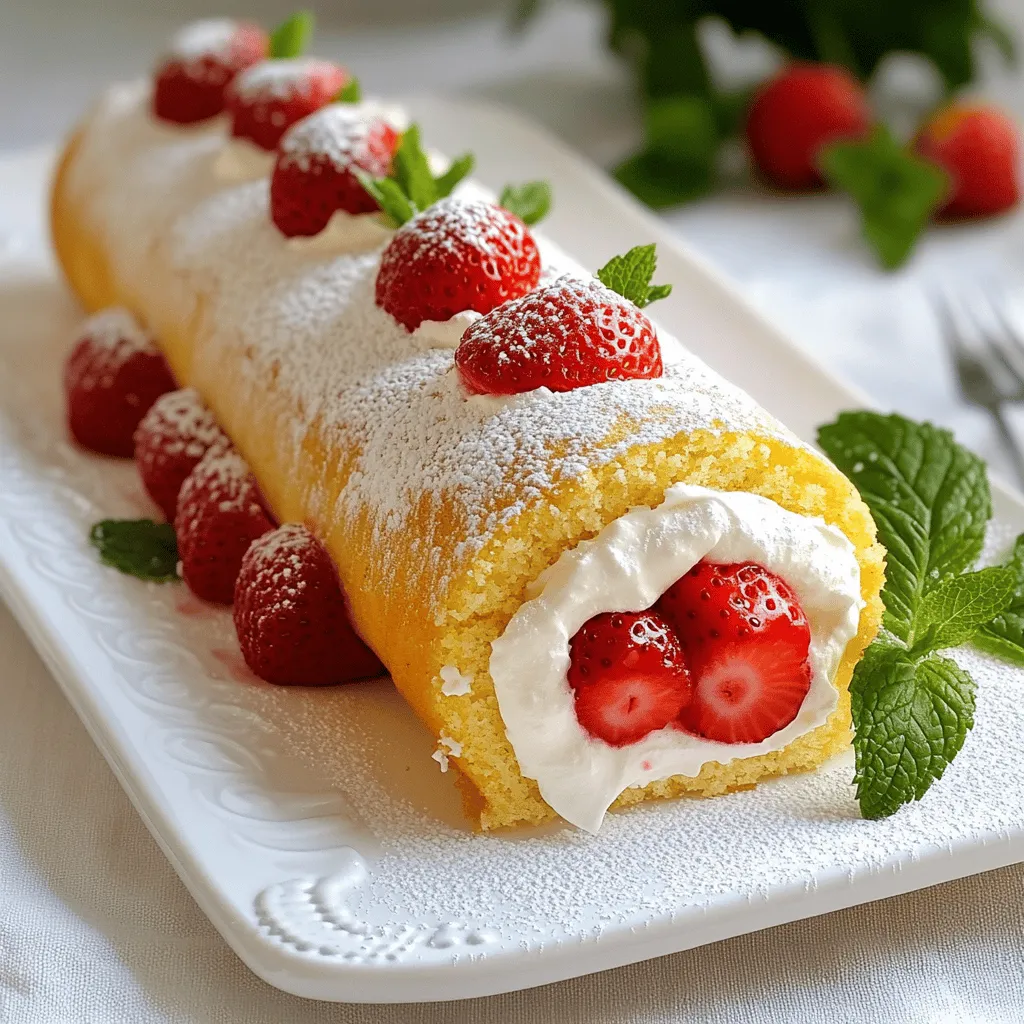
Airy Strawberry Roll Cake Light and Fluffy Delight
Are you ready to impress your family and friends with a sweet treat? The Airy Strawberry Roll Cake is a light, fluffy delight that combines
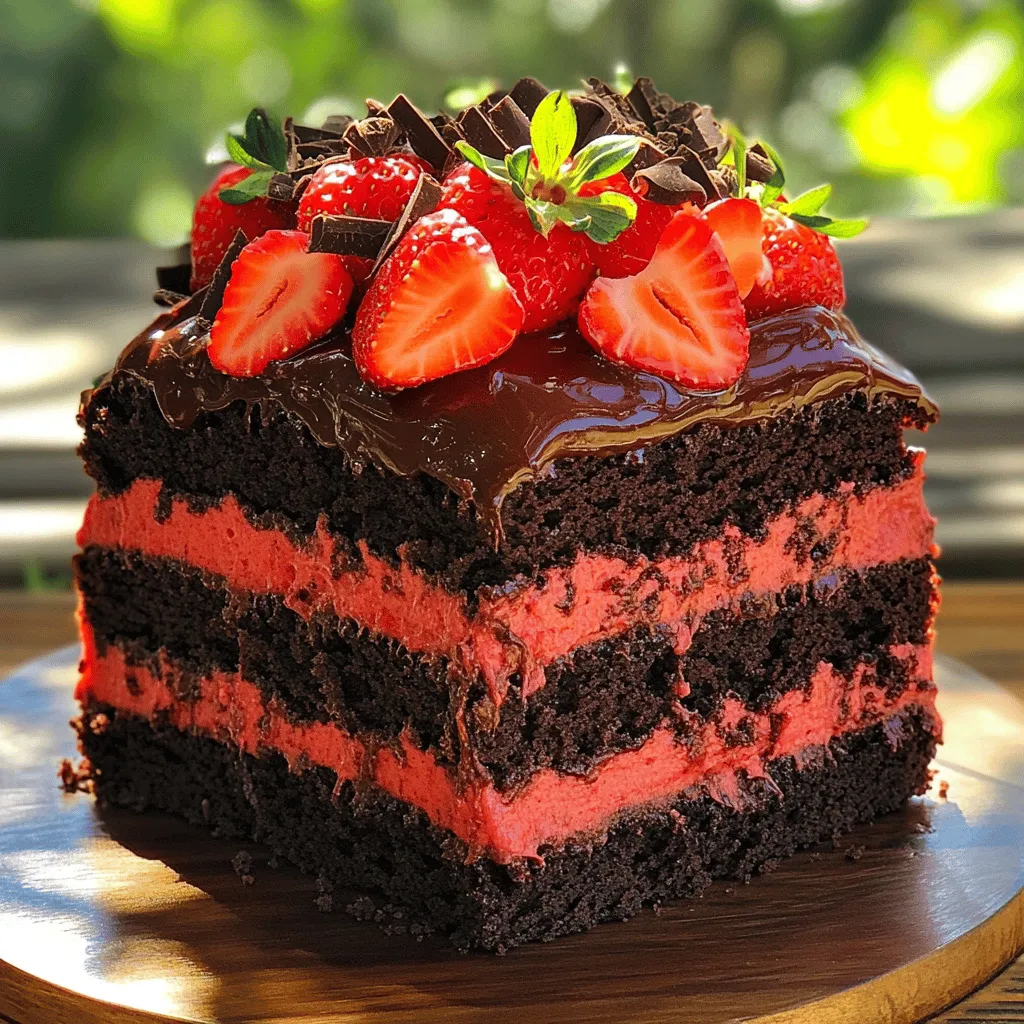
Fluffy Chocolate Cake with Strawberry Mousse Delight
Get ready to delight your taste buds with this Fluffy Chocolate Cake with Strawberry Mousse! This rich chocolate cake pairs beautifully with a light and
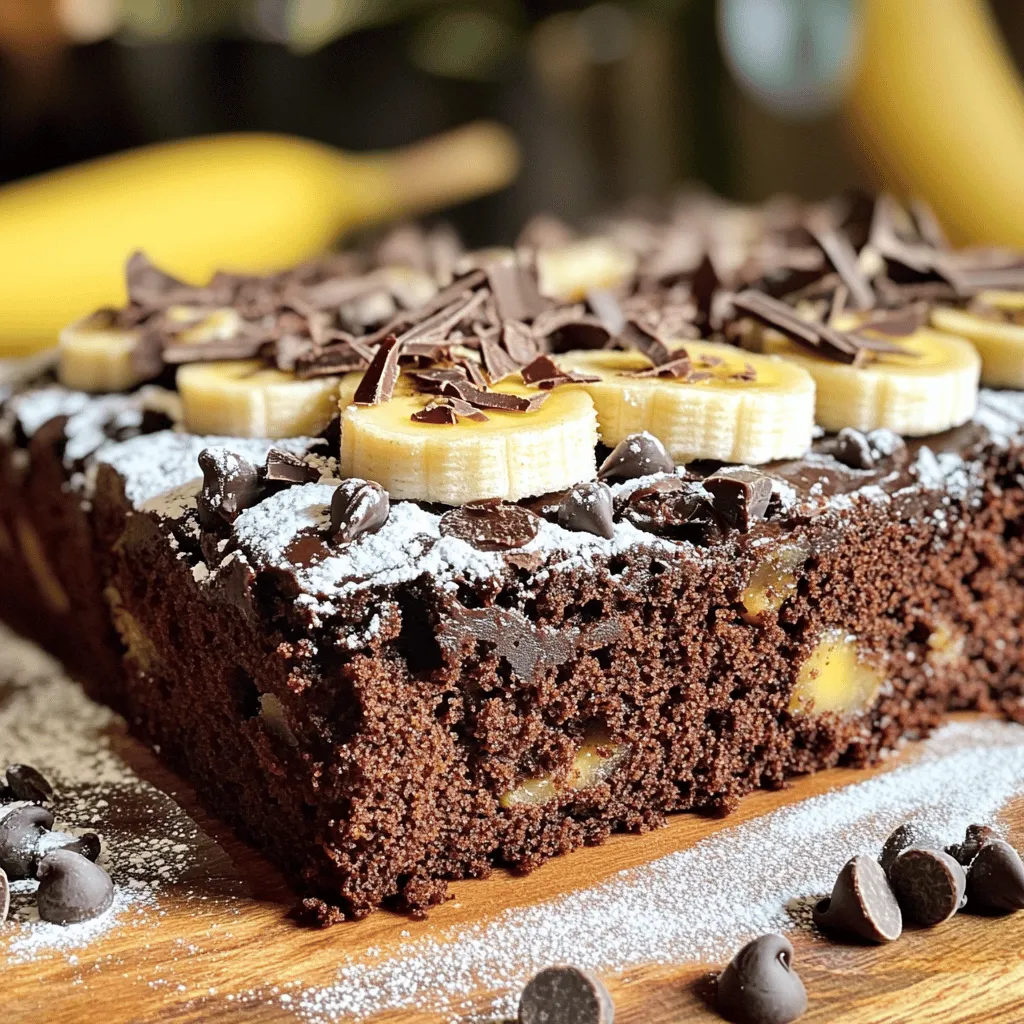
Chocolate Banana Applesauce Cake Simple and Tasty Treat
If you love chocolate and bananas, you’ll adore this Chocolate Banana Applesauce Cake! It’s easy, tasty, and perfect for any occasion. In this post, I’ll
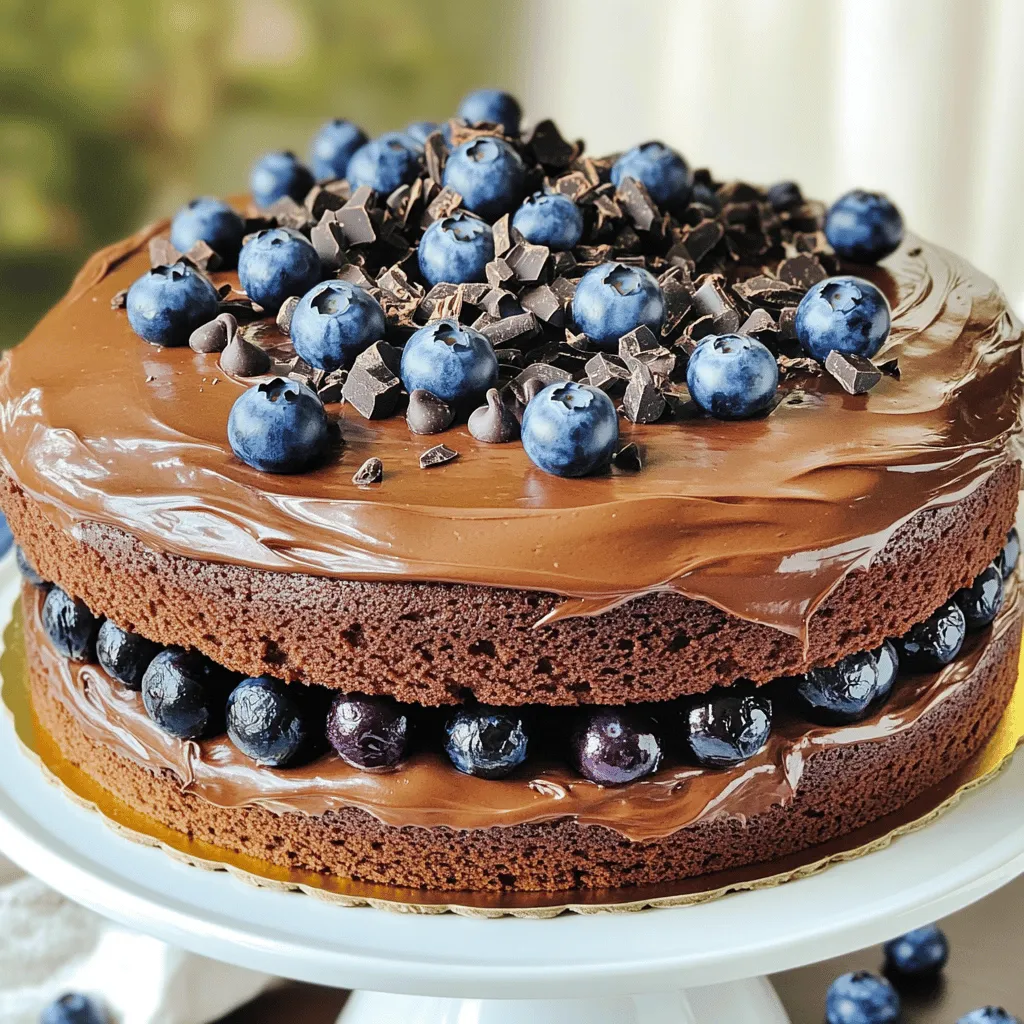
Savory Blueberry Chocolate Cake Simple and Sweet Treat
Are you ready for a delicious twist on dessert? My Savory Blueberry Chocolate Cake combines rich cocoa and juicy blueberries for a treat you won’t
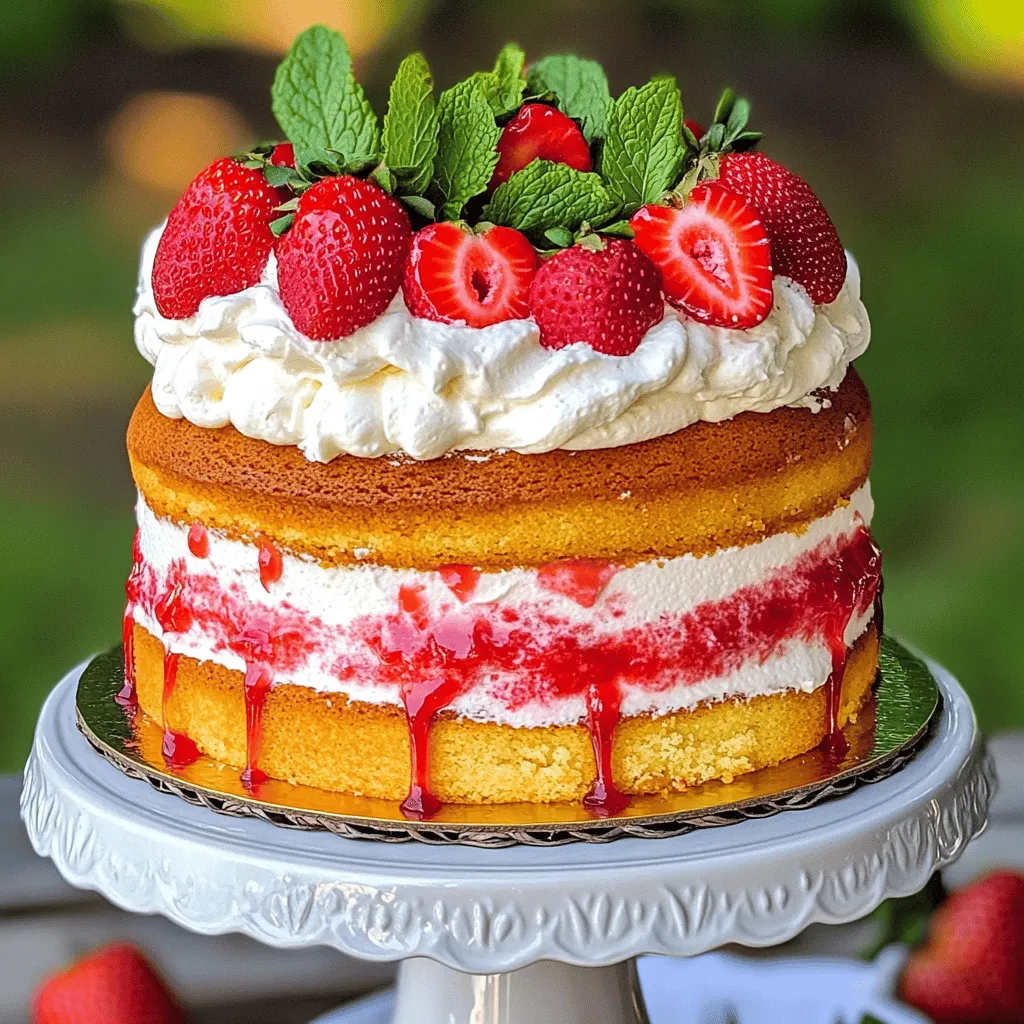
Best Strawberry Cake Ever Delightfully Delicious Dessert
If you love cake and berries, you’re in for a treat! This recipe for the best strawberry cake ever is simple, fun, and packed with
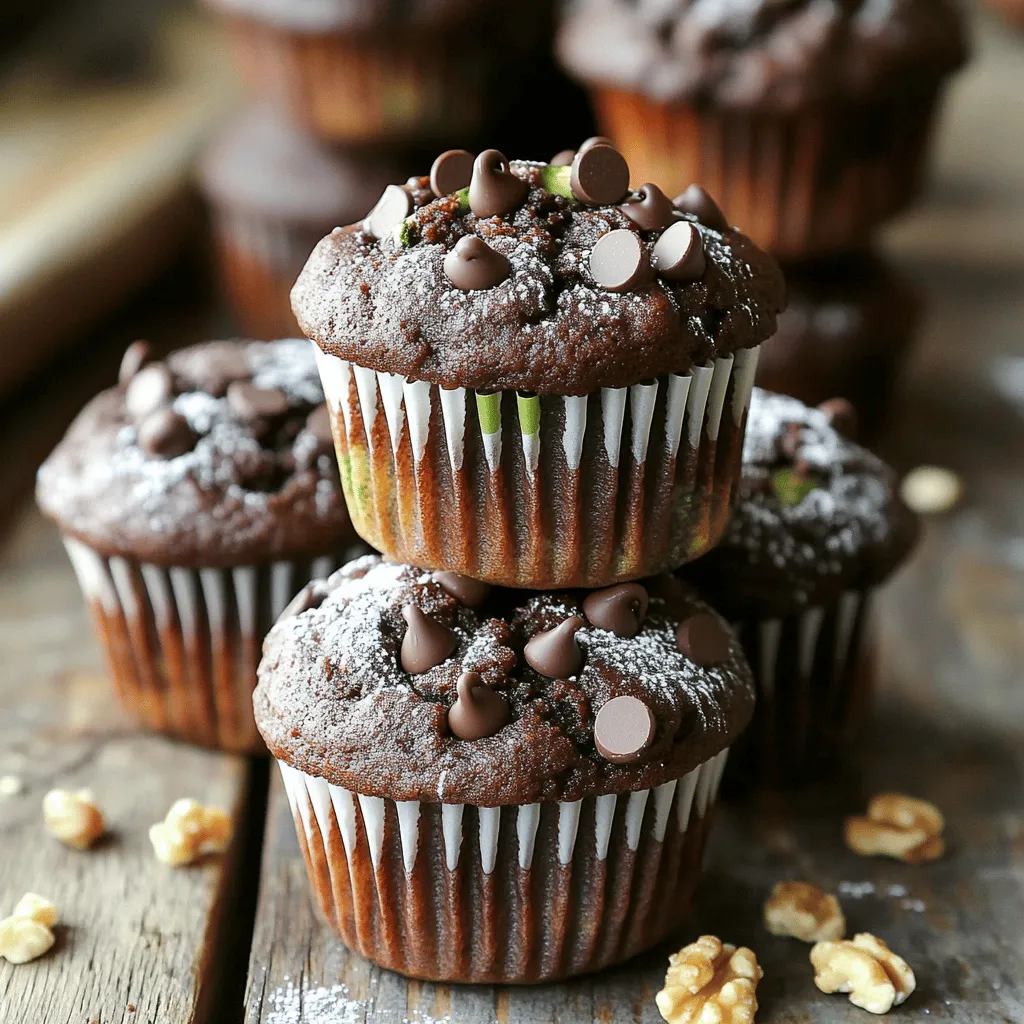
Bakery Style Double Chocolate Zucchini Muffins Delight
If you love rich and moist muffins, you’re in for a treat! Our Bakery Style Double Chocolate Zucchini Muffins are the perfect blend of chocolate
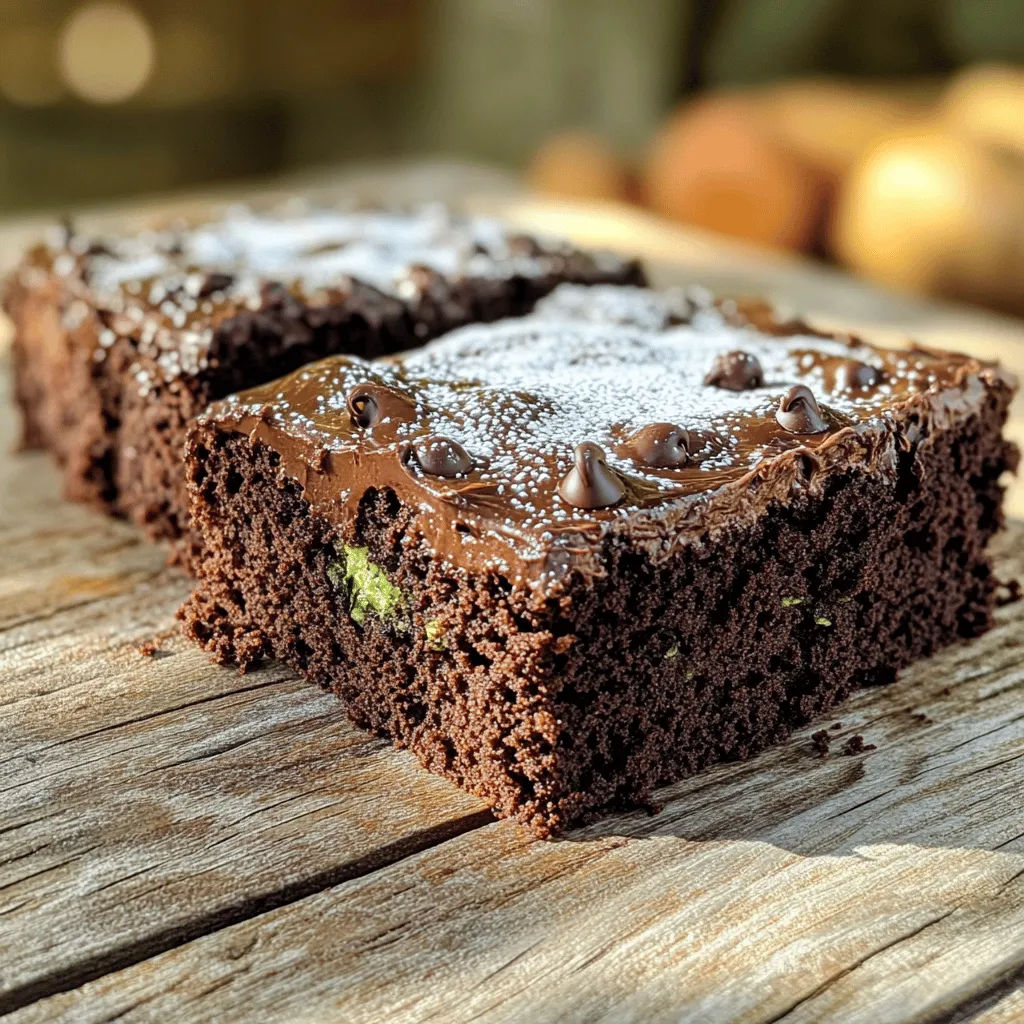
Double Chocolate Zucchini Cake Rich and Indulgent Treat
Are you ready to indulge in a rich, chocolaty delight that’s also secretly healthy? My Double Chocolate Zucchini Cake combines moist zucchini with rich chocolate
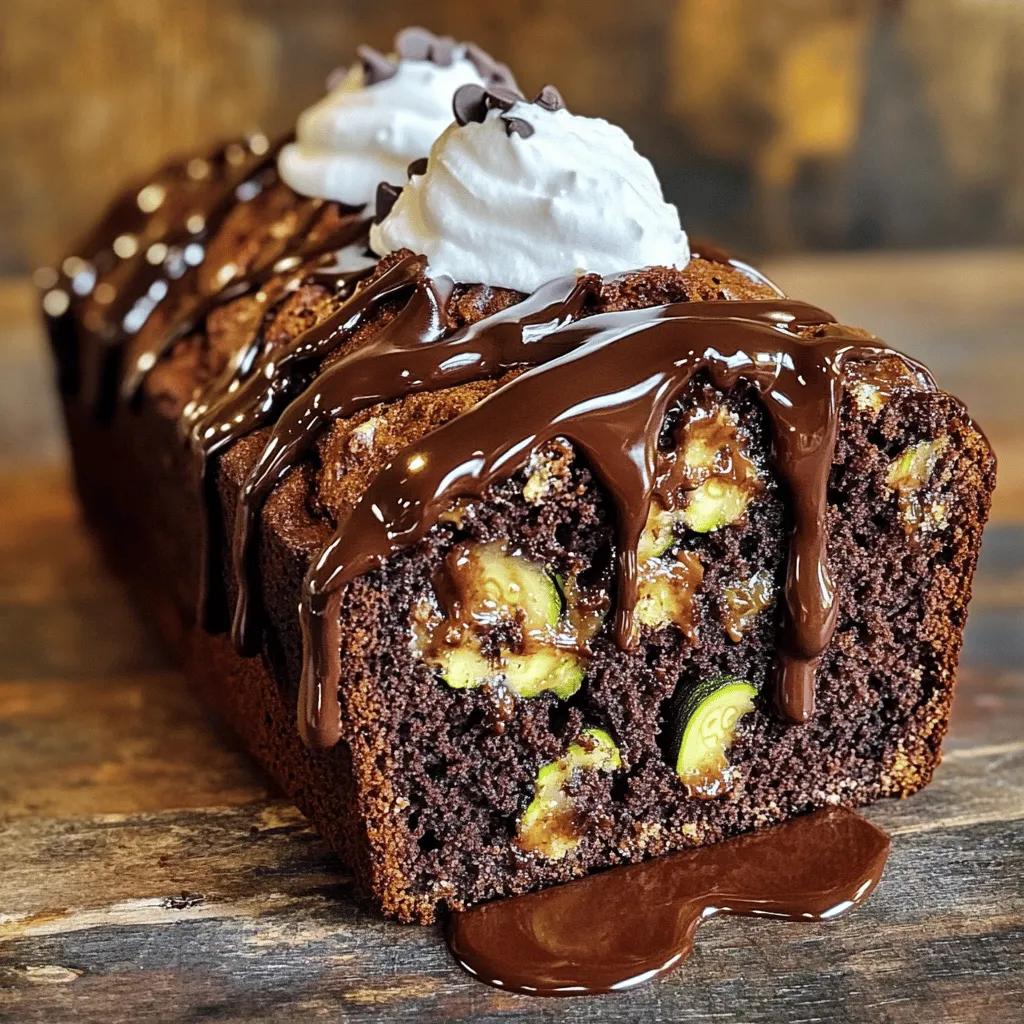
Irresistible Chocolate Zucchini Banana Bread Delight
If you’ve ever craved a delicious treat that’s both sweet and wholesome, you’re in for a treat! My Irresistible Chocolate Zucchini Banana Bread combines rich