Desserts

Chai Cinnamon Rolls Fluffy and Flavorful Treat
Get ready to delight your taste buds with my favorite treat: Chai Cinnamon Rolls! These fluffy rolls pack a punch of warm spices, perfect for
![To make this easy zucchini coffee cake, you need some simple ingredients. Here’s a list: - 2 cups grated zucchini (about 2 medium zucchinis) - 1½ cups all-purpose flour - 1 cup granulated sugar - ½ cup packed brown sugar - 1 teaspoon baking soda - ½ teaspoon baking powder - ½ teaspoon salt - 1 teaspoon ground cinnamon - ½ teaspoon ground nutmeg (optional) - 3 large eggs - ½ cup vegetable oil - 1 teaspoon pure vanilla extract - ½ cup chopped walnuts or pecans (optional) - ½ cup semi-sweet chocolate chips (optional) These ingredients combine to create a moist and flavorful cake. The zucchini adds moisture without a strong flavor. You can change this recipe to fit your taste. Here are some fun ideas: - Nuts: Add walnuts or pecans for crunch. - Chocolate: Toss in chocolate chips for sweetness. - Spices: Try adding ginger or allspice for a warm twist. - Fruits: Mix in dried cranberries or raisins for extra flavor. You can also adjust the spices to make the cake your own. If you have dietary needs, here are some swaps: - Gluten-free flour: Use a gluten-free blend instead of all-purpose flour. - Sugar alternatives: Try coconut sugar or a sugar substitute. - Egg replacements: Use flax eggs for a vegan option (1 tablespoon of flaxseed meal mixed with 2.5 tablespoons of water equals one egg). - Oil: Substitute with applesauce for less fat. These swaps help you enjoy this cake, no matter your diet. For the complete recipe, check out the Full Recipe section. 1. Preheat the oven: Start by heating your oven to 350°F (175°C). Grab a 9x13 inch baking pan. Grease and flour it, or use parchment paper for easy removal. This step is key for a great bake. 2. Prepare the zucchini: Rinse the zucchinis well and cut off both ends. Using a box grater, grate the zucchinis finely. To remove extra moisture, place the grated zucchini in a clean kitchen towel. Gather the ends of the towel and twist it to squeeze out the liquid. Set the drained zucchini aside for later. 3. Mix dry ingredients: In a large bowl, combine all-purpose flour, granulated sugar, brown sugar, baking soda, baking powder, salt, ground cinnamon, and nutmeg. Use a whisk to mix these ingredients well until they're lump-free. This helps them blend better in the cake. 4. Combine wet ingredients: In another bowl, crack the eggs and whisk them. Add vegetable oil and pure vanilla extract. Keep whisking until the mixture is well combined and slightly frothy. This creates a nice base for your cake. 5. Combine mixtures: Slowly pour the wet mixture into the dry ingredients. Use a spatula or wooden spoon to stir until just combined. Be careful not to overmix, as this can change the cake's texture. Gently fold in the prepared zucchini, and if you want, add chopped nuts or chocolate chips for extra texture and flavor. 6. Bake the cake: Pour the batter into your prepared baking pan. Spread it evenly with a spatula. Place the pan in the preheated oven and bake for about 30-35 minutes. The cake is done when a toothpick inserted in the center comes out clean or with a few moist crumbs. 7. Cool the cake: Once baked, let the cake cool in the pan for about 10 minutes. Then, carefully transfer it to a wire rack to cool completely. This ensures it stays moist and has the right texture. 8. Serve: After it cools, slice the cake into squares. Enjoy your deliciously moist zucchini coffee cake! For an extra treat, you can dust it with powdered sugar or add a dollop of whipped cream. To keep your coffee cake moist, use fresh zucchini. Fresh zucchini has more water. Grate the zucchini finely for even mixing. After grating, remove excess water. Use a clean towel to wring it out. This helps prevent a soggy cake. You can also add a bit more oil. This adds moisture without making it too heavy. When grating zucchini, choose medium-sized zucchinis. They tend to have the best flavor. Use a box grater or food processor for quick grating. Grate the zucchini just before mixing. This way, it stays fresh. Remember to remove the ends before grating. Place the grated zucchini in a towel to remove moisture. This step is key for a great texture. Serve your zucchini coffee cake warm or at room temperature. A light dusting of powdered sugar adds a nice touch. You can also top it with whipped cream. Pair it with a hot cup of coffee for a perfect snack. This cake is great for breakfast or as a treat. For a fun twist, try adding chocolate chips. The sweetness balances the zucchini perfectly. For the full recipe, check out the instructions above. {{image_4}} You can turn your zucchini coffee cake into a chocolate chip dream. Just add ½ cup of semi-sweet chocolate chips to the batter. This small change brings a sweet twist to the cake. The chocolate pairs well with the moist zucchini. Kids and adults will love this version! Want to jazz up your cake? Try adding spices! Ground nutmeg gives a warm flavor. A teaspoon of pumpkin spice can also add a cozy touch. You can even mix in some lemon zest for a fresh kick. These simple additions can change the flavor and make it unique. For a gluten-free cake, swap out the all-purpose flour. Use a gluten-free blend instead. Check that your baking powder is gluten-free too. You can also make it healthier by using applesauce instead of half the oil. This keeps it moist while cutting down on fat. Enjoy these variations to suit your taste! Check the Full Recipe for more ideas. To keep your zucchini coffee cake fresh, store it in an airtight container. You can also wrap it tightly in plastic wrap. This method protects the cake from drying out. Place it in the fridge if you plan to eat it within a week. For longer storage, consider freezing it. For freezing, first cool the cake completely. Then, cut it into squares. Wrap each piece in plastic wrap and place them in a freezer-safe bag. Be sure to remove as much air as possible. This helps prevent freezer burn. You can freeze the cake for up to three months. To reheat the cake, take a piece out of the fridge or freezer. If it’s frozen, let it thaw in the fridge overnight. For a quick warm-up, use the microwave. Heat it for about 15-30 seconds. For a crispier texture, place it in the oven at 350°F (175°C) for about 10 minutes. Enjoy your slice with coffee for a tasty treat! Remember to check the [Full Recipe] for more details. Yes, you can use frozen zucchini. Just make sure to thaw and drain it well. Frozen zucchini may have more water than fresh, so drying it helps keep the cake from being too wet. No, you do not need to peel the zucchini. The skin adds color and nutrients to your cake. Just wash the zucchini well before grating. To make this zucchini coffee cake vegan, replace eggs with flax eggs or applesauce. Use plant-based oil instead of vegetable oil. You can also swap regular chocolate chips for dairy-free ones. This way, you keep the flavor while making it vegan! For the complete recipe, check out the [Full Recipe]. This blog post covered how to make zucchini coffee cake. We discussed the main ingredients and possible mix-ins. You learned step-by-step instructions for preparing and baking the cake. I shared tips for keeping it moist and how to serve it best. We explored fun variations and storage tips. Zucchini coffee cake is easy and tasty. Feel free to get creative with ingredients. Enjoy baking and sharing your delicious creation!](https://roastedflavors.com/wp-content/uploads/2025/07/ebfaa264-15f8-488d-8f2e-7ea00957b84c.webp)
Easy Zucchini Coffee Cake Simple and Tasty Treat
Welcome to the world of Easy Zucchini Coffee Cake! This simple and tasty treat is perfect for breakfast or a snack. You’ll love how the
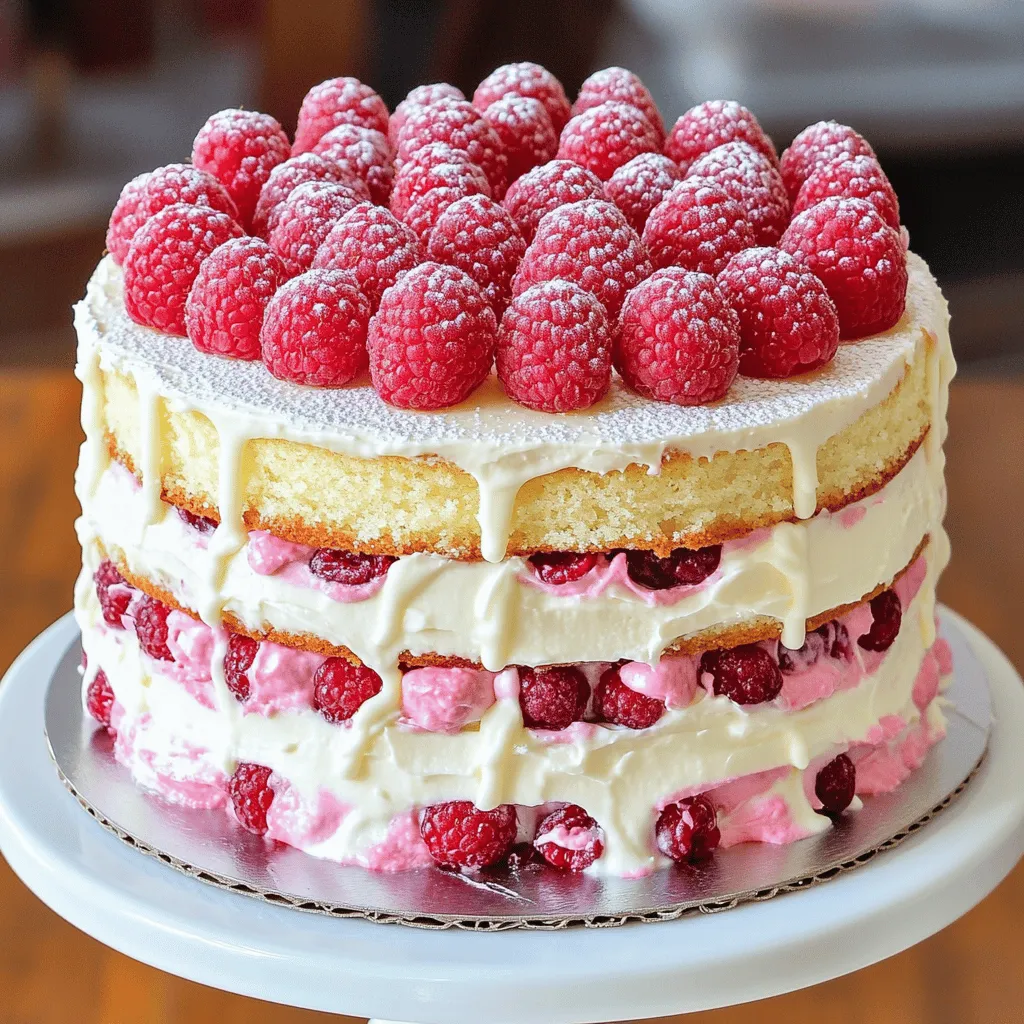
White Chocolate Raspberry Cake Rich and Heavenly Delight
Indulge in the bliss of a White Chocolate Raspberry Cake—a treat that balances sweet and tart perfectly. This rich and heavenly delight is easier to

Easy Chocolate Zucchini Cake Simple and Delicious Treat
If you love chocolate and want to sneak in some veggies, this Easy Chocolate Zucchini Cake is for you! This moist and tasty treat combines
Best Low Carb Zucchini Brownies Delicious and Easy Treat
Are you looking for a tasty treat that won’t derail your low-carb diet? You’ve come to the right place! Today, I’ll show you how to
![- 2 cups grated zucchini - 1 cup all-purpose flour - 1/2 cup unsweetened cocoa powder - 1/2 cup coconut sugar - 1/2 teaspoon baking soda - 1/2 teaspoon baking powder - 1/4 teaspoon fine sea salt - 1/2 cup unsweetened applesauce - 1/4 cup almond milk - 1/4 cup vegetable oil - 1 teaspoon pure vanilla extract - 1/2 cup vegan chocolate chips - Optional: Ground cinnamon The ingredients for vegan chocolate zucchini bread are simple and easy to find. The star of the show is the grated zucchini. It adds moisture and nutrition. You won’t taste it much, but it makes the bread rich and fluffy. Using unsweetened cocoa powder gives a bold chocolate flavor without extra sugar. Coconut sugar is a great choice here. It adds sweetness with a hint of caramel flavor. If you can’t find it, brown sugar works well, too. The applesauce acts as a natural sweetener and keeps the bread moist. Almond milk makes it creamy without dairy. You can use any non-dairy milk you like. The vegetable oil helps bind everything together. Vanilla extract adds a lovely aroma. Finally, don't forget the vegan chocolate chips. They melt beautifully and bring extra chocolatey goodness. If you want a warm spice note, add ground cinnamon for a nice touch. This vegan chocolate zucchini bread is not just tasty; it’s also packed with nutrients. The zucchini is low in calories but high in vitamins. Cocoa powder is rich in antioxidants. Each slice offers a delicious way to sneak in some veggies! If you want to make this treat, check out the [Full Recipe]. - Preheat the oven to 350°F (175°C). - Prepare the loaf pan by greasing it or lining it with parchment paper. This helps with easy removal later. - In a large bowl, combine the grated zucchini and applesauce. Mix until well blended. - In another bowl, whisk together the all-purpose flour, cocoa powder, coconut sugar, baking soda, baking powder, salt, and cinnamon if using. Ensure these dry ingredients are mixed evenly. - Gradually add the dry mixture to the zucchini and applesauce mixture. Stir gently, being careful not to overmix. - Pour in the almond milk, vegetable oil, and vanilla extract. Mix until smooth. - Fold in the vegan chocolate chips, ensuring they are evenly spread in the batter. - Transfer the batter to the prepared loaf pan. Smooth the top with a spatula. - Bake for 45-55 minutes. Check doneness by inserting a toothpick in the center. It should come out clean. - After baking, let the bread cool in the pan for about 10 minutes. Then, move it to a wire rack to cool completely. For the complete recipe, check the Full Recipe section. - Avoiding overmixing: Mix your batter until just combined. Overmixing makes the bread dense. You want a light, airy texture. - How to ensure even baking: Use a light-colored loaf pan. Dark pans can cause the edges to cook too fast. Position the pan in the center of the oven for best results. - Using a toothpick for doneness: Insert a toothpick into the center of the bread. If it comes out clean or with a few crumbs, your bread is done. If it has wet batter, bake for a few more minutes. - Coconut sugar alternatives: You can swap coconut sugar for brown sugar or cane sugar. Each will give a slightly different taste but will work well. - Non-dairy milk options: Almond milk is great, but you can use oat milk, soy milk, or coconut milk too. Each adds a unique flavor to your bread. - Enhancing flavor with add-ins: Try adding chopped nuts, dried fruit, or seeds. These can add crunch and extra taste. You could even mix in a bit of ground cinnamon for warmth. For the full recipe, check out the Vegan Chocolate Zucchini Bread section above. Enjoy baking! {{image_4}} You can easily change the flavor of your vegan chocolate zucchini bread. Adding nuts or seeds gives it a nice crunch. Try folding in 1/2 cup of chopped walnuts or pecans. Sunflower seeds can also work well. Both add protein and healthy fats. You can also spice it up with nutmeg or cinnamon. Adding 1/2 teaspoon of nutmeg gives a warm flavor. If you love cinnamon, use the optional ground cinnamon from the recipe. Both spices complement the chocolate and zucchini nicely. If you need a gluten-free option, swap the all-purpose flour for almond or oat flour. These flours work well and keep the bread moist. Just make sure your baking soda and powder are gluten-free too. For nut-free adaptations, use sunflower seed butter instead of almond milk. This change keeps the bread creamy without nuts. You can also use oat milk or soy milk as good substitutes. These options ensure that everyone can enjoy this delicious treat. For the full recipe, check the earlier section. Enjoy playing with these variations! To keep your vegan chocolate zucchini bread fresh, store it at room temperature. Use a bread box or an airtight container. This way, it stays moist and tasty. Avoid placing it in the fridge, as that can dry it out. For best results, enjoy it within three to five days. You can freeze slices of your vegan chocolate zucchini bread easily. First, wrap each slice in plastic wrap. Then, place them in a zip-top bag. This helps keep the bread from getting freezer burn. When you're ready to eat, just take out a slice and thaw it at room temperature. For reheating, you can pop the slice in the microwave for about 15 seconds. Or, place it in a toaster oven until warm. This bread tastes great fresh out of the oven, but it still holds its flavor after freezing. Enjoy your moist and delicious treat anytime! For the complete recipe, check out the Full Recipe. Can I use frozen zucchini? Yes, you can use frozen zucchini. Just thaw it first and drain any extra water. This helps keep the bread from getting too wet. How long does it last? Vegan chocolate zucchini bread lasts about 3-5 days in the fridge. Keep it in an airtight container to keep it fresh. Can I add more chocolate chips? Absolutely! Feel free to add more chocolate chips. Just make sure not to add too many, so the bread bakes well. Why is my bread too dense? A dense bread may happen if you overmix the batter. Mix just until combined. Also, check your oven temperature. If it's too low, the bread can be dense. What can I do if my bread is too dry? If your bread is dry, it could be due to too much flour or baking time. To fix it, add a bit more applesauce next time. For this batch, serve it with a spread or dip. Can I prepare the batter in advance? Yes, you can make the batter a day ahead. Just cover it well and keep it in the fridge. When ready, bake it fresh. Tips for meal prep with this recipe For meal prep, you can bake multiple loaves. Slice and freeze them. This way, you have a treat ready whenever you want! This blog post covered a delicious zucchini bread recipe. We explored ingredients, from zucchini to vegan chocolate chips. You learned how to prepare, mix, and bake. I shared tips for even baking and ingredient swaps. You now know variations for different diets and storage options. Enjoy making this bread, and don’t hesitate to try your flair. Simple tweaks can turn it into your favorite treat. Happy baking!](https://roastedflavors.com/wp-content/uploads/2025/07/bf055940-4722-4a52-a4c5-19c536c400a4.webp)
Vegan Chocolate Zucchini Bread Moist and Delicious Treat
Craving something sweet yet healthy? This Vegan Chocolate Zucchini Bread is your answer! Packed with moistness and rich chocolate flavor, it uses simple ingredients like
![To make this Frozen Chocolate Strawberry Cake, you will need the following ingredients. - 1 cup chocolate wafer cookies, finely crushed - 4 tablespoons unsalted butter, melted - 2 cups fresh strawberries, hulled and halved - 2 cups heavy cream - 1 cup powdered sugar - 1 teaspoon vanilla extract - 1/2 cup chocolate ganache (store-bought or homemade) - Optional: Fresh mint leaves for garnish The chocolate wafer cookies form a rich base. The butter helps bind the cookies together. Fresh strawberries add flavor and bright color. Heavy cream provides a fluffy texture. Powdered sugar sweetens the cream. Vanilla adds a warm aroma. Chocolate ganache gives a rich finish. Mint leaves can dress up the cake. Each ingredient plays a key role in making this cake a delight. I love how simple it is, yet it tastes fancy! This cake is perfect for parties or just a sweet treat at home. To start, we need to make the crust. In a medium bowl, mix 1 cup of finely crushed chocolate wafer cookies with 4 tablespoons of melted unsalted butter. Stir until the crumbs soak up all the butter. Next, transfer this mixture into a 9-inch springform pan. Press it firmly using a flat-bottomed glass to make a smooth base. Once done, place the pan in the freezer for 15 minutes to set the crust. Now, let’s prepare the filling. In a blender, puree half of the 2 cups of hulled strawberries until smooth. For the other half, chop them into small pieces and set aside. This gives our filling a nice texture. Next, we will whip the cream. In a large bowl, use a hand mixer to whip 2 cups of heavy cream on medium speed. When it starts to thicken, gradually add 1 cup of powdered sugar and 1 teaspoon of vanilla extract. Keep whipping until soft peaks form. This step is key for sweet, flavored cream. With the crust ready and the filling made, it’s time to layer the cake. Take the crust from the freezer. Pour the strawberry filling over it and smooth the top with a spatula. To finish, drizzle 1/2 cup of chocolate ganache over the filling. Use a knife to swirl the ganache into the filling for a marble effect. Cover the cake tightly with plastic wrap and freeze for at least 4 hours, or overnight if you can wait. Before serving, let it sit at room temperature for 10 minutes to make slicing easier. Don't forget to check out the Full Recipe for all details! To make a great crust, use finely crushed chocolate wafer cookies. Mix them well with melted butter to coat every crumb. Press the mixture firmly into the bottom of your springform pan. This helps the crust hold its shape. Don’t skip the freezing step! It helps the crust set and makes it easier to slice later. Whipping the cream is key to a light texture. Start at medium speed until it thickens. Add in the powdered sugar and vanilla gradually. Keep whipping until you see soft peaks. This means the cream is airy and sweet, perfect for blending with strawberries. Avoid over-mixing, as it can turn your cream grainy. When it's time to serve, let the cake sit for about 10 minutes outside the freezer. This makes slicing easier. For a beautiful presentation, garnish with fresh mint leaves and extra strawberries. For clean cuts, dip your knife in hot water first. This will help you get perfect slices every time! {{image_4}} You can add nuts to your cake for a tasty crunch. I love using chopped walnuts or almonds. Just mix in about half a cup of nuts into your strawberry filling. This will give the cake a nice texture and a fun twist. You can also sprinkle some nuts on top for extra flair. If you want a dairy-free cake, you can switch some ingredients. Use coconut cream instead of heavy cream. It gives a nice flavor and texture. For the ganache, choose dairy-free chocolate. This way, everyone can enjoy this delightful treat without dairy. Feel free to play with different fruits! Blueberries, raspberries, or even bananas can work great. Just chop them up and fold them into the filling like you do with strawberries. Each fruit brings its own flavor and makes the cake unique. Try mixing and matching to find your favorite. For a full recipe and detailed steps, check out the [Full Recipe]. After you make the Frozen Chocolate Strawberry Cake, you might have some leftovers. Store any leftover cake in the freezer. Use plastic wrap to cover it tightly. This helps keep it fresh and prevents freezer burn. If you want to keep it longer, put it in an airtight container. It can last up to three months in the freezer. Don’t forget to label it with the date so you know when you made it! If you want to freeze the whole cake, you can do that too! After you finish making it, wrap it in plastic wrap. Then, place it in a freezer-safe container. This keeps the cake safe from frost. When you’re ready to enjoy it later, just follow the thawing tips below. Freezing keeps the flavors fresh and delicious. Thawing is easy! Take the cake out of the freezer and remove the wrap. Let it sit at room temperature for about 10 minutes. This makes it easier to slice. For best taste, don’t rush the thawing. You can also put it in the fridge overnight if you plan to eat it the next day. This helps keep the cake nice and cool without melting it too fast. Enjoy your treat! Yes, you can make this cake a day ahead. It actually tastes better when chilled overnight. This allows the flavors to blend well. Just cover it tightly with plastic wrap and store it in the freezer. If you don’t have chocolate wafer cookies, try using graham crackers or Oreos. Both options work well as a crust. Just crush them finely and mix with melted butter. The cake is ready when it is firm and holds its shape. You can check by gently pressing the top. If it feels solid, it's good to go. Let it sit at room temperature for about 10 minutes before slicing. Yes, you can use frozen strawberries, but thaw them first. Drain any excess liquid to keep the filling from getting too watery. This helps maintain the cake's texture and flavor. You can store the cake in the freezer for up to three months. Just make sure it's well-wrapped to prevent freezer burn. When ready to enjoy, let it thaw in the fridge overnight before serving. You now have all the steps to create a delicious Chocolate Strawberry Cake. We explored ingredients, including chocolate wafer cookies and fresh strawberries. You learned how to prepare, whip, and layer the cake for the best results. I shared tips for the perfect crust and cream texture, plus fun variations. Feel free to store leftovers and know how to freeze or thaw your cake. Enjoy making this treat for any occasion!](https://roastedflavors.com/wp-content/uploads/2025/07/3a1ab1cb-e325-443b-aab6-407179e88c71.webp)
Frozen Chocolate Strawberry Cake Delightful No-Bake Treat
Are you ready to impress with a delicious dessert that requires no baking? This Frozen Chocolate Strawberry Cake is your perfect go-to treat. With layers
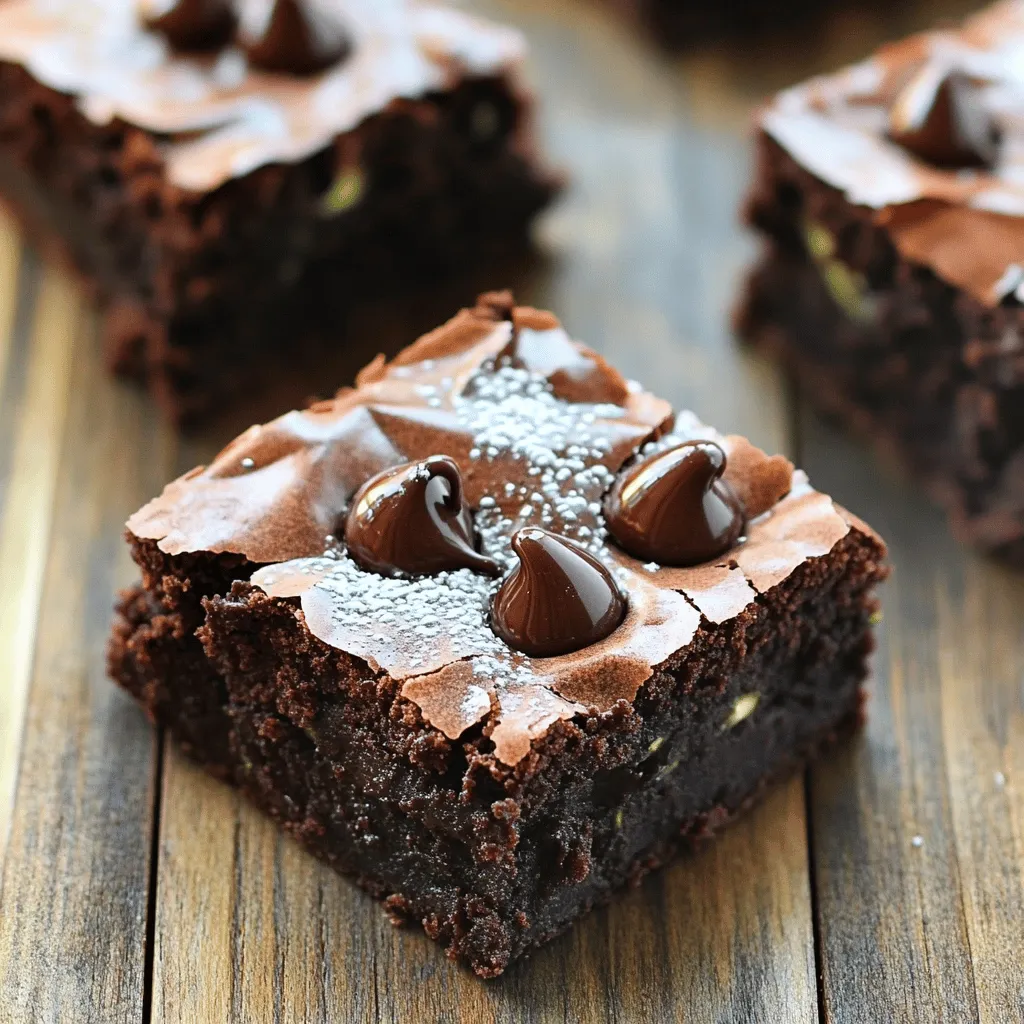
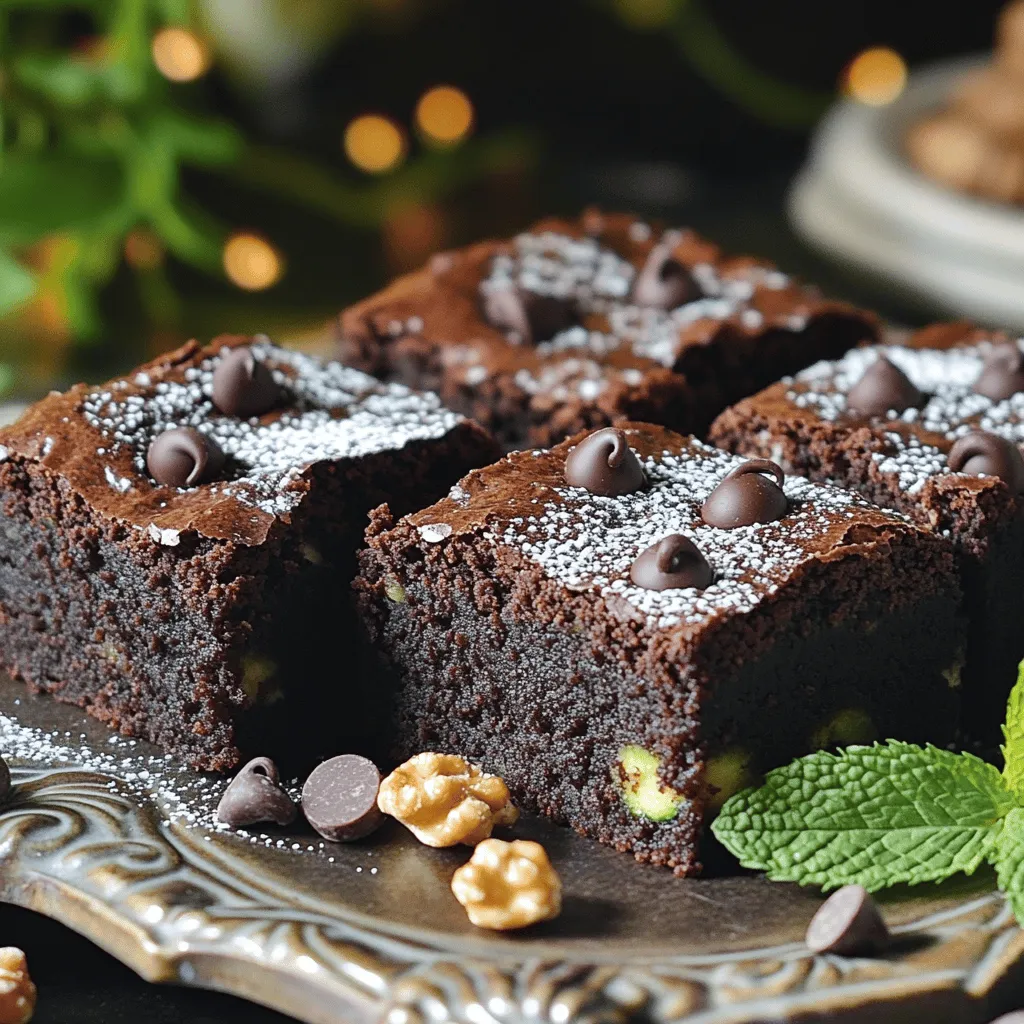
Moist Sour Cream Zucchini Brownies Irresistible Delight
If you’re looking for a tasty twist on traditional brownies, you’re in the right place! These Moist Sour Cream Zucchini Brownies are rich, soft, and
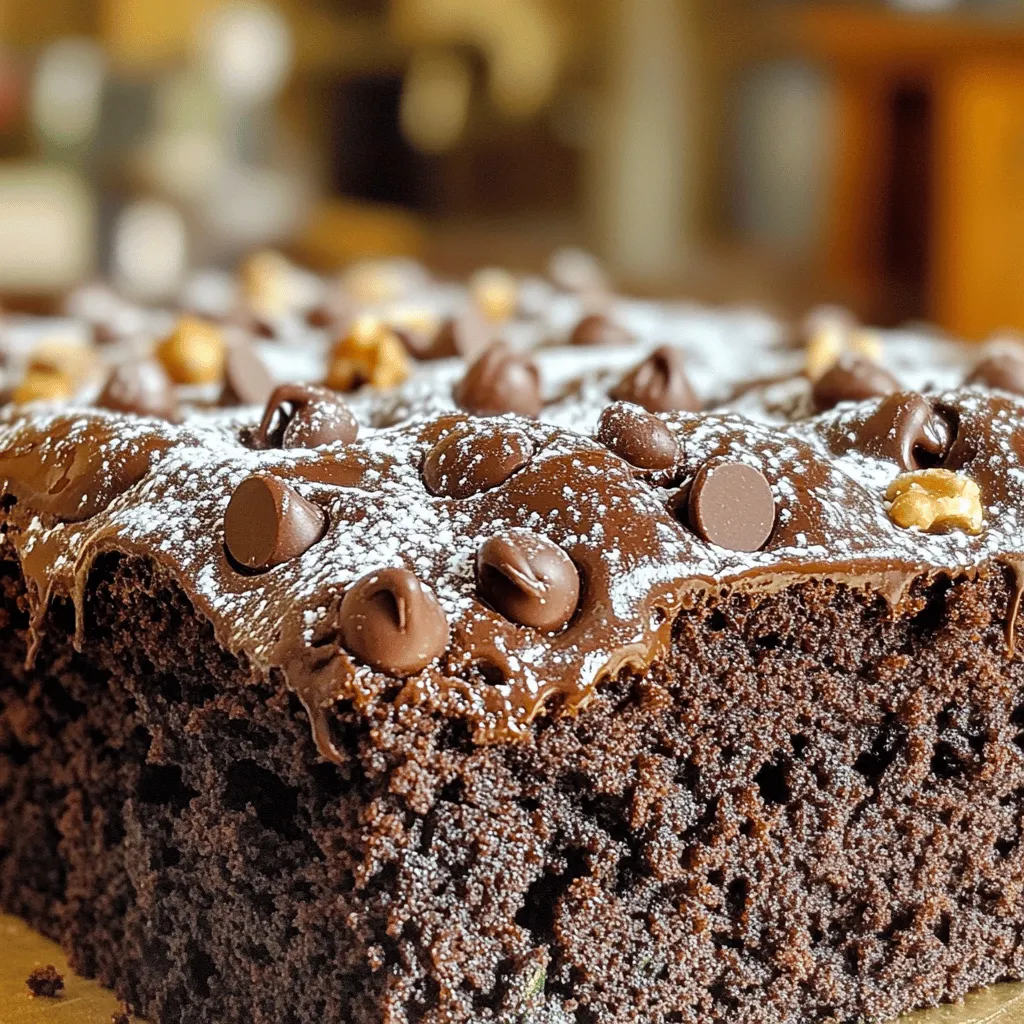
Chocolate Lover’s Zucchini Cake Delightful and Easy
If you love chocolate and want to sneak in some veggies, this Chocolate Lover’s Zucchini Cake is perfect for you! This moist and rich cake
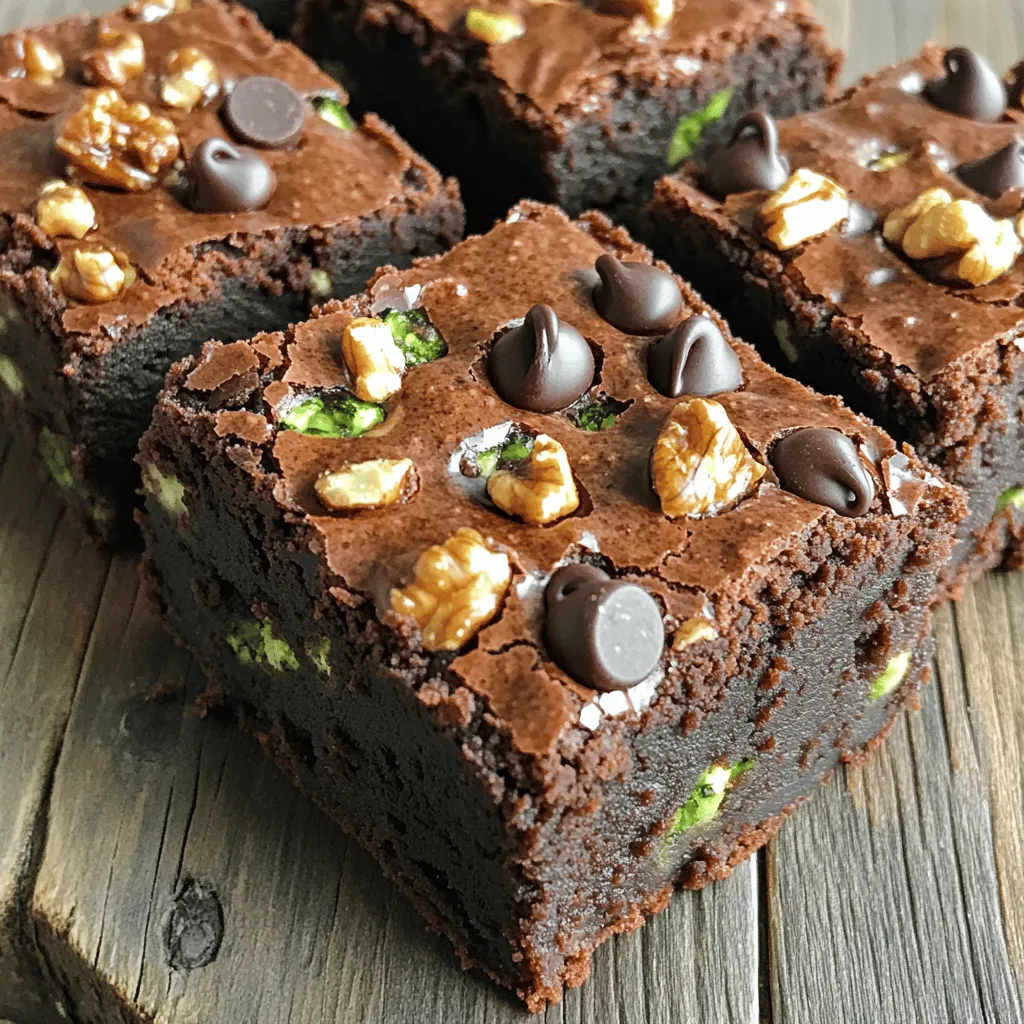
Zucchini Brownies Flavorful and Moist Delight
If you’re craving a sweet treat that feels indulgent but is packed with hidden goodness, you’ll want to try my Zucchini Brownies! These fudgy delights