Desserts
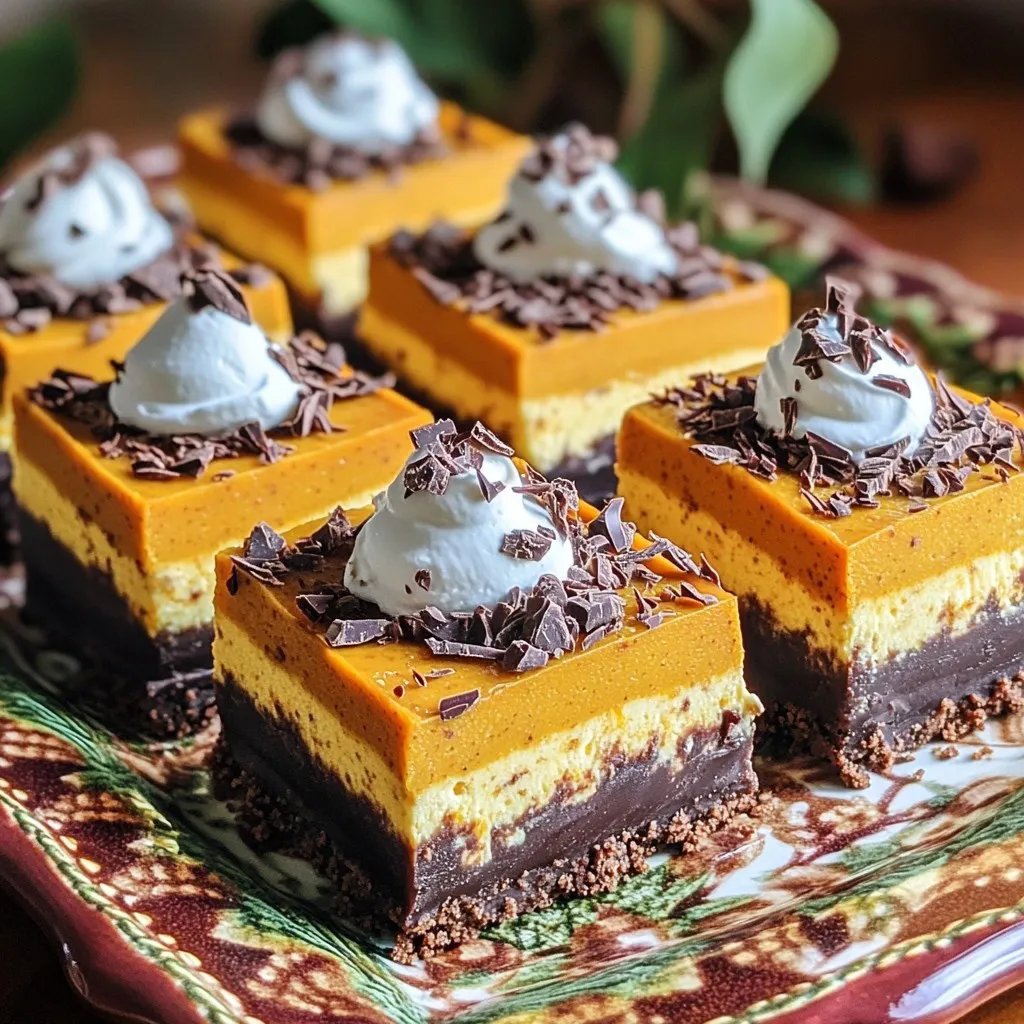
No Bake Chocolate Pumpkin Cheesecake Bars Delight
Get ready to delight your taste buds with a treat that combines chocolate and pumpkin in the best way! These No Bake Chocolate Pumpkin Cheesecake

Pumpkin Cream Cheese Coffee Cake Tasty Fall Dessert
Fall is here, and that means it’s time for pumpkin treats! This Pumpkin Cream Cheese Coffee Cake is the perfect blend of cozy flavors and
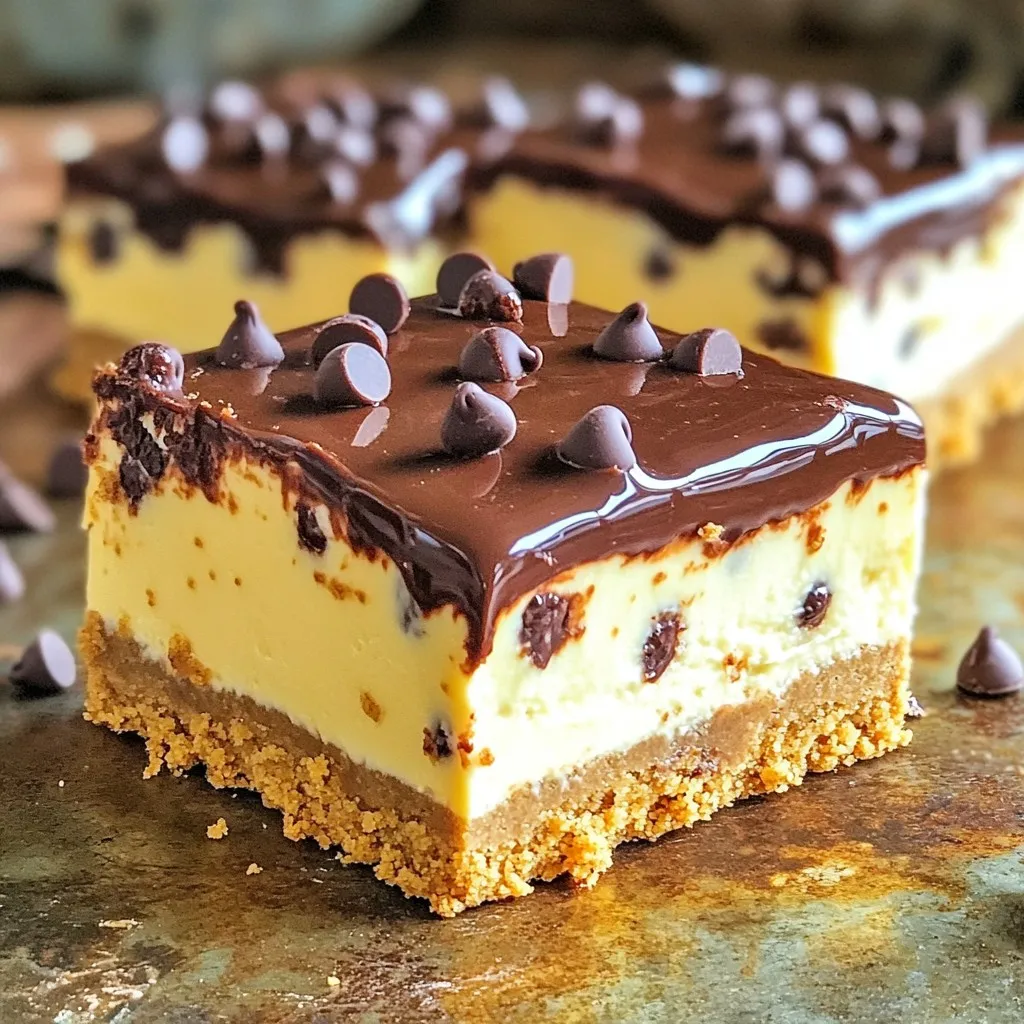
No-Bake Cookie Dough Cheesecake Bars Delight Await
Get ready for a sweet treat that’s easy to make! These No-Bake Cookie Dough Cheesecake Bars combine rich flavors and creamy texture without turning on
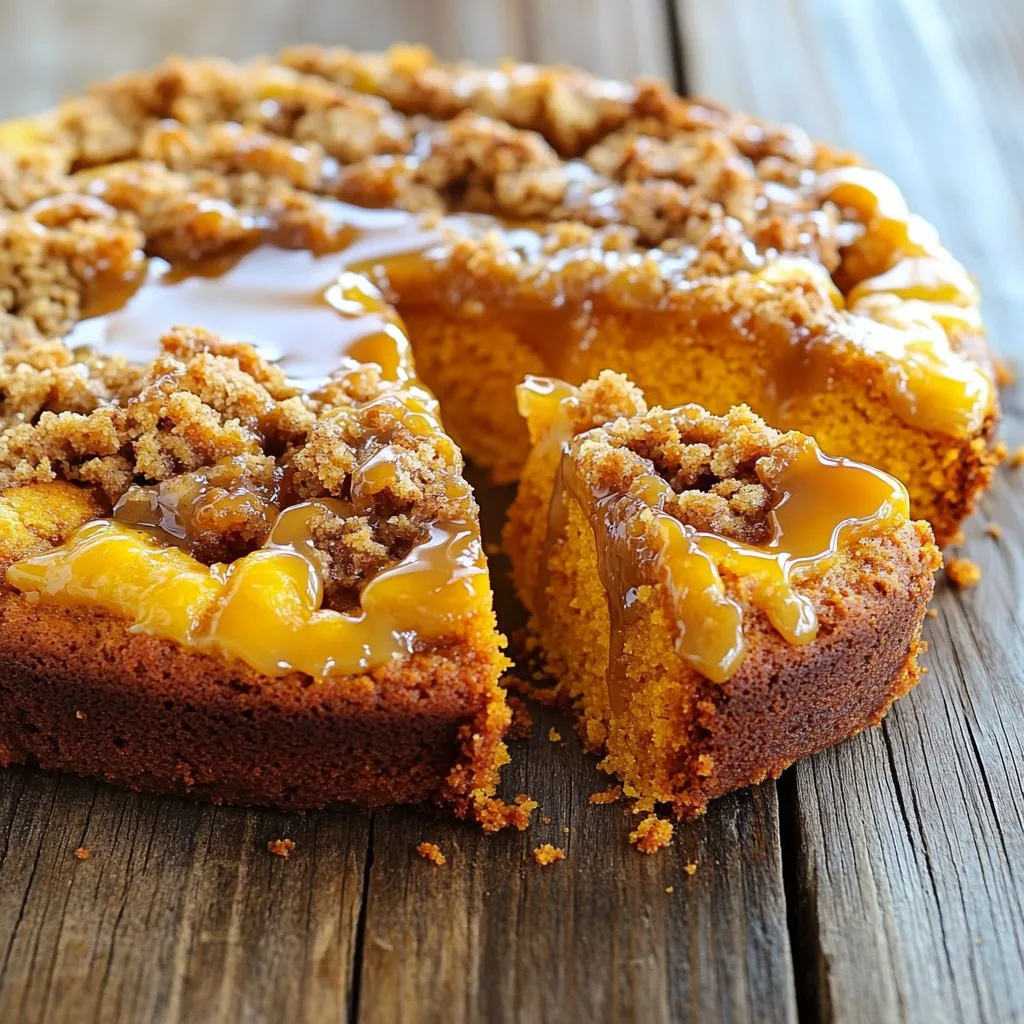
Pumpkin Streusel Coffee Cake with Maple Glaze Delight
Get ready to enjoy a slice of heaven! My Pumpkin Streusel Coffee Cake with Maple Glaze will warm your heart and delight your taste buds.
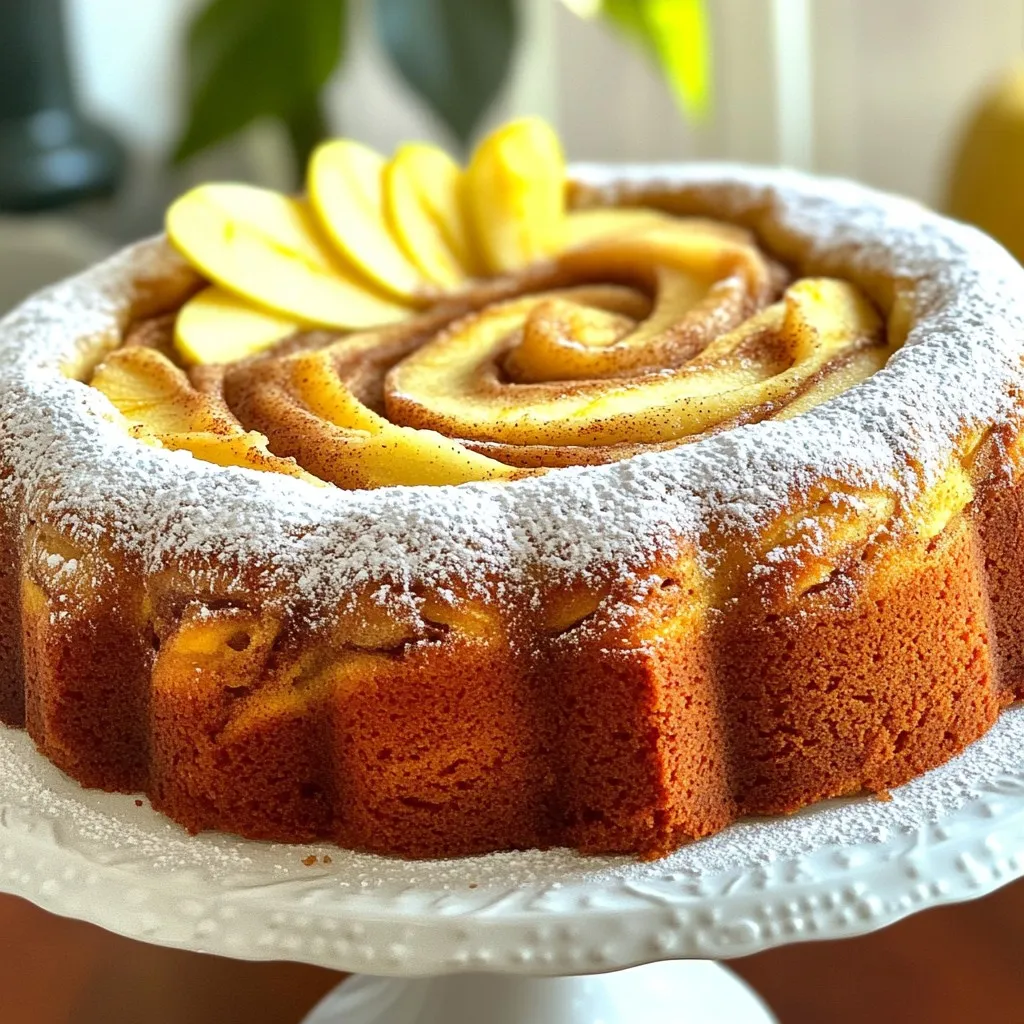
Apple Cinnamon Swirl Pound Cake Delightful and Soft
Are you ready to bake something truly scrumptious? The Apple Cinnamon Swirl Pound Cake is both delightful and soft, capturing the warm flavors of fall
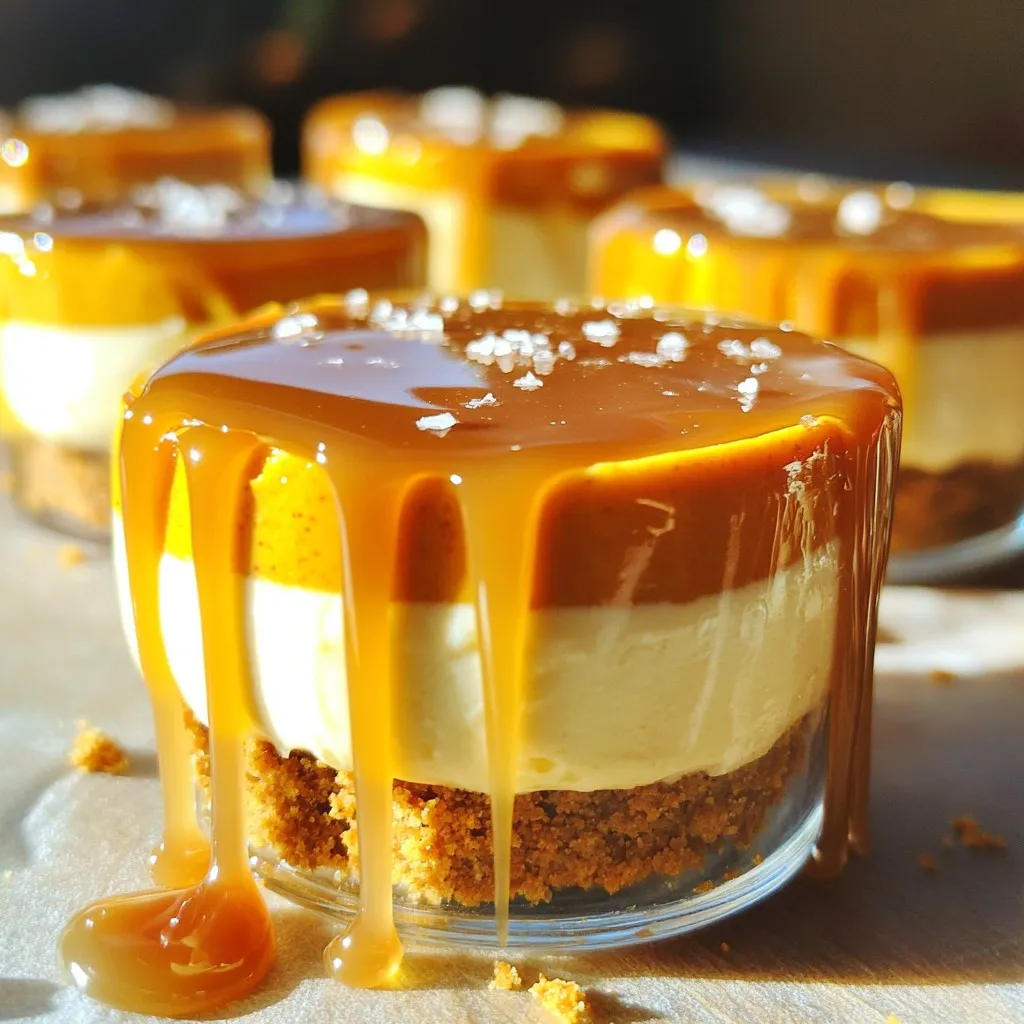
No-Bake Salted Caramel Pumpkin Cheesecake Cups Delight
Looking for a dessert that wows with little effort? These No-Bake Salted Caramel Pumpkin Cheesecake Cups are perfect! Creamy pumpkin filling, a crunchy graham cracker
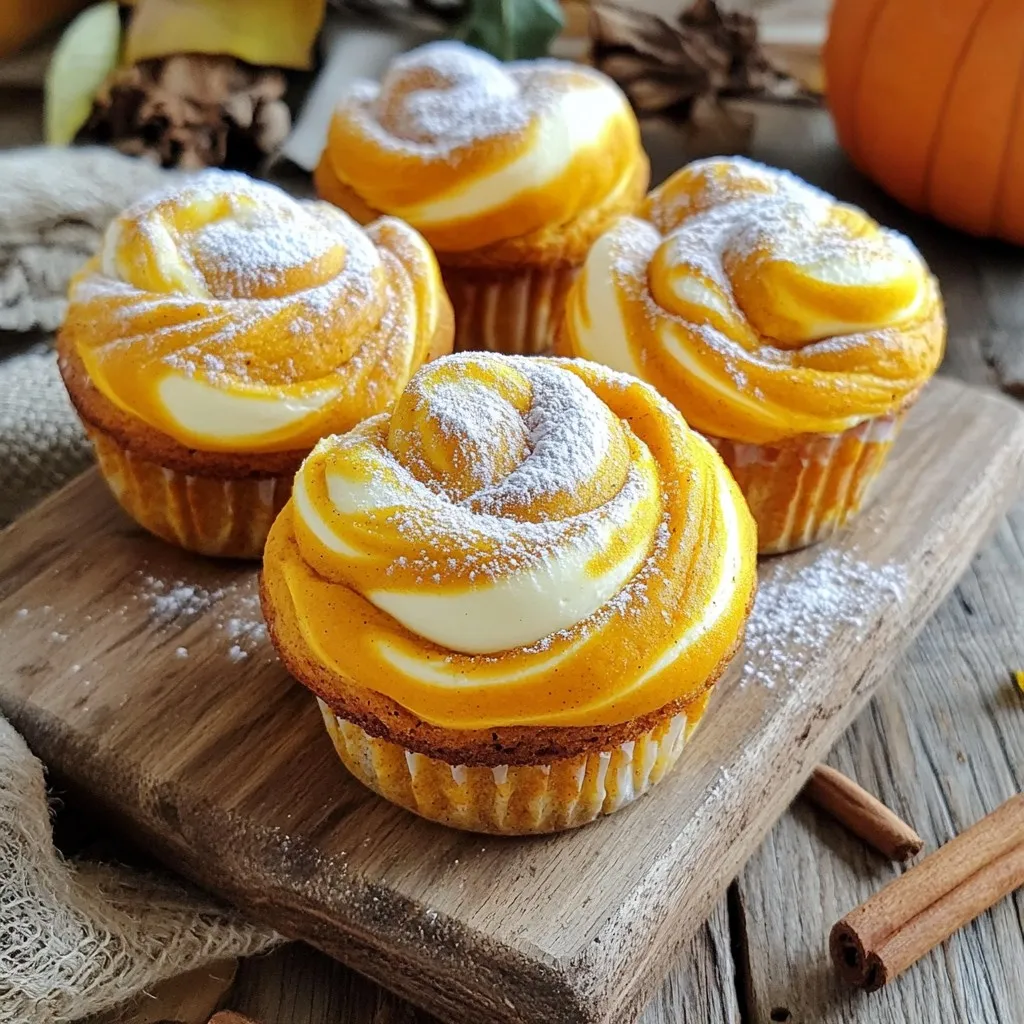
Pumpkin Cream Cheese Muffin Bread Irresistible Delight
Are you ready to dive into a warm slice of autumn bliss? My Pumpkin Cream Cheese Muffin Bread combines rich pumpkin flavor with a creamy,
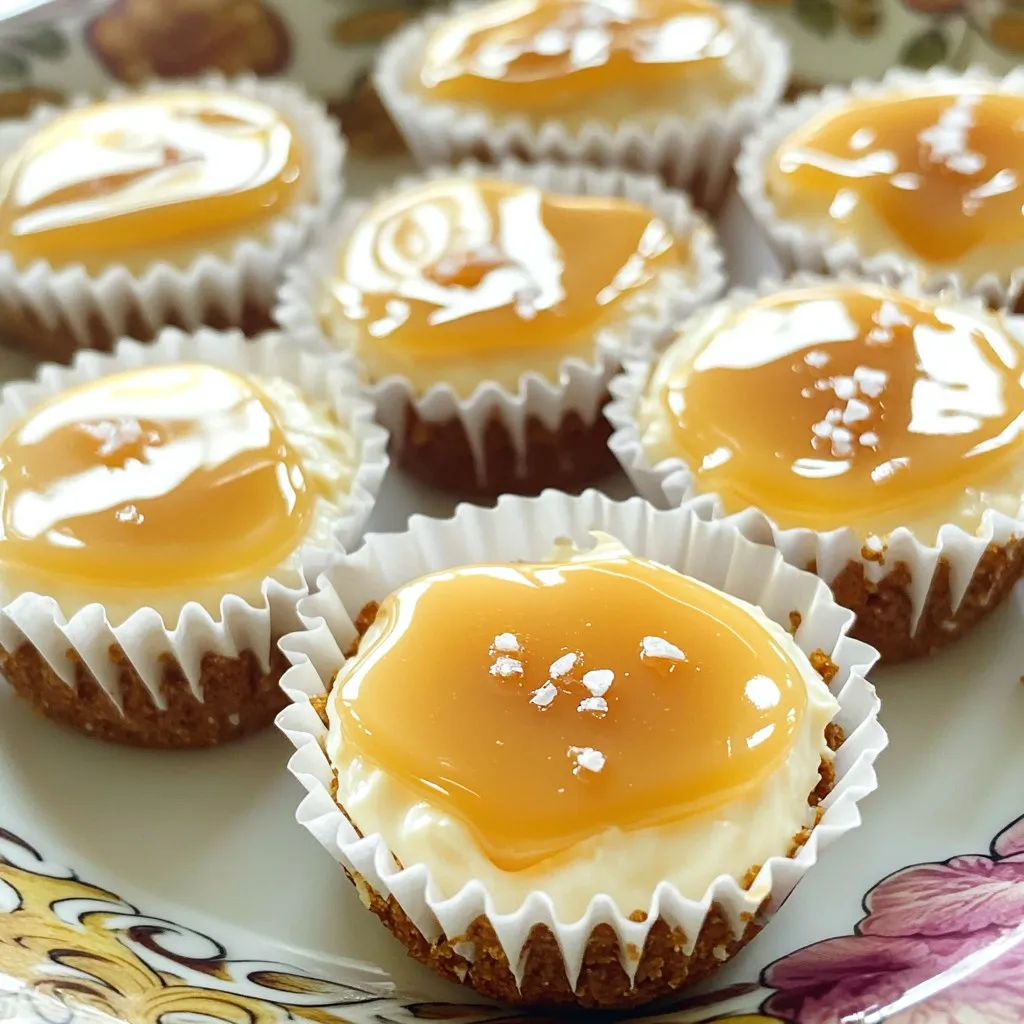
No-Bake Salted Caramel Pretzel Cheesecake Bites Delight
Are you ready to indulge in a sweet treat that’s simple and delicious? My no-bake salted caramel pretzel cheesecake bites are the perfect snack for
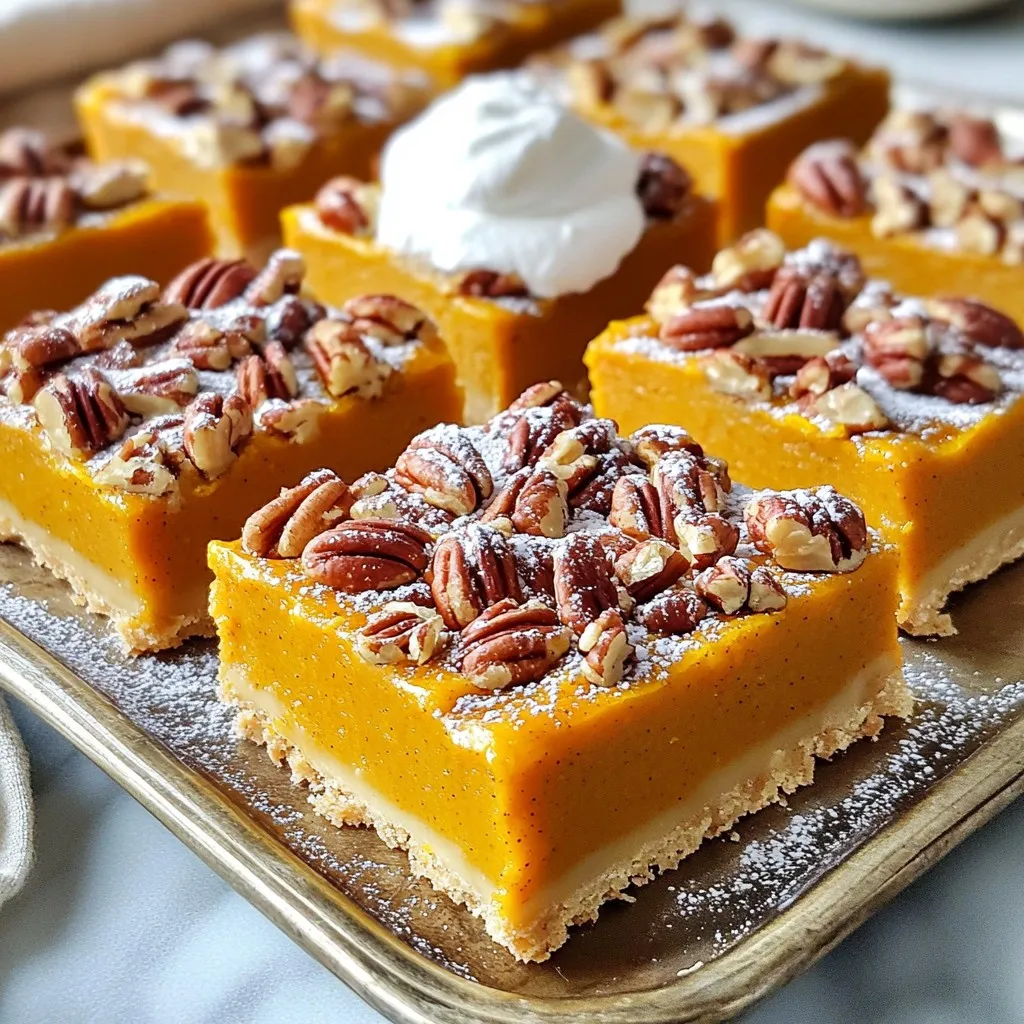
Pumpkin Pecan Pie Bars Tasty and Simple Dessert
Looking for a dessert that combines the warmth of fall flavors with a simple recipe? You’re in the right place! My Pumpkin Pecan Pie Bars
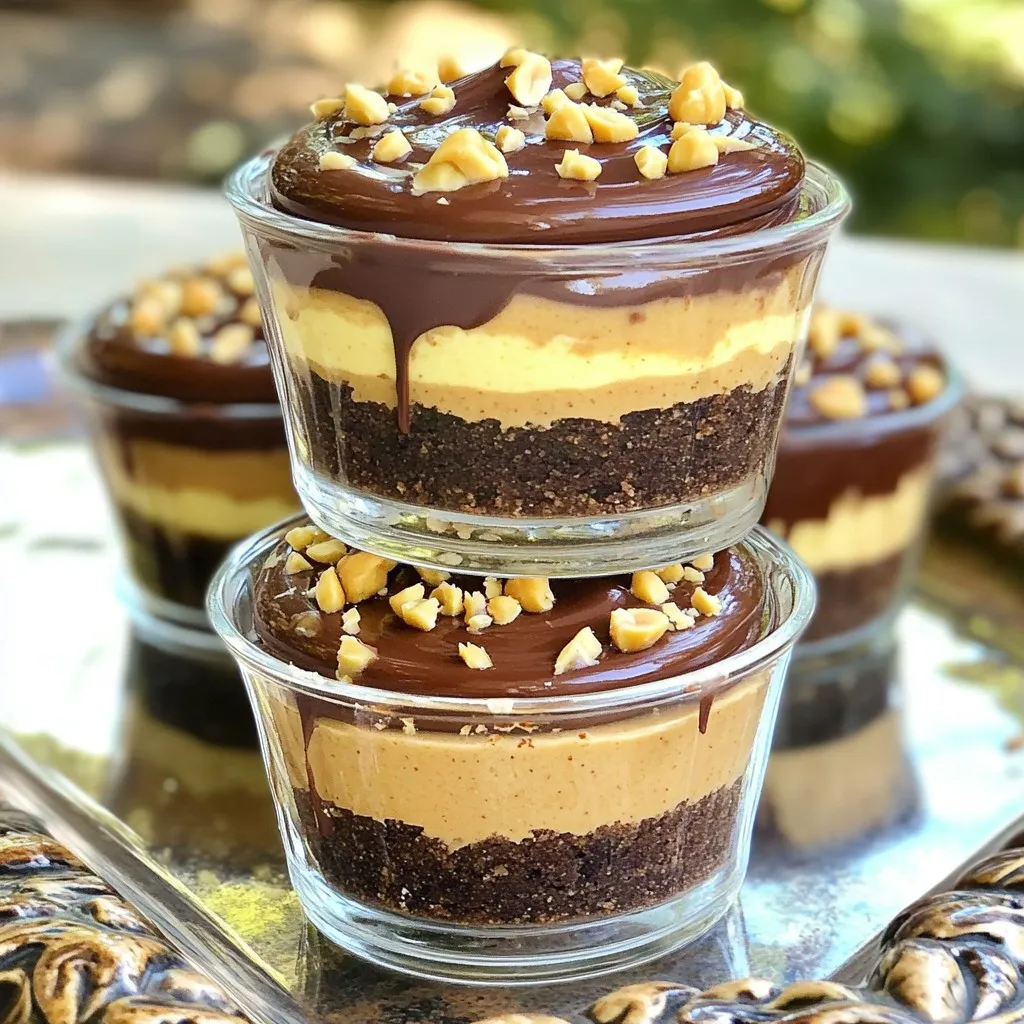
No-Bake Chocolate Peanut Butter Cheesecake Cups Delight
Get ready for a sweet treat that’s simple and indulgent! My No-Bake Chocolate Peanut Butter Cheesecake Cups delight your taste buds with rich chocolate and