Desserts
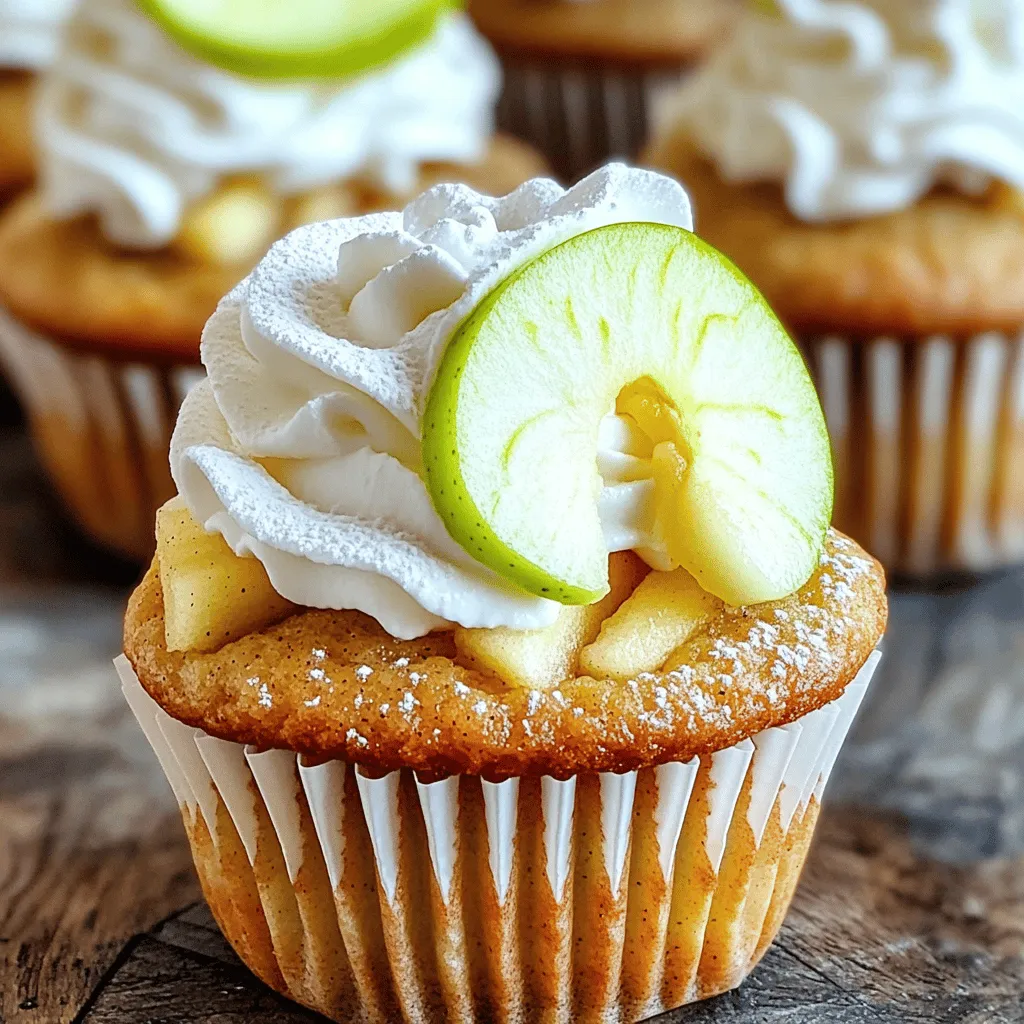
Apple Pie Cupcakes Delightful and Simple Recipe
Get ready to indulge in a sweet twist on a classic dessert! Apple Pie Cupcakes are not only delightful but also simple to make. In
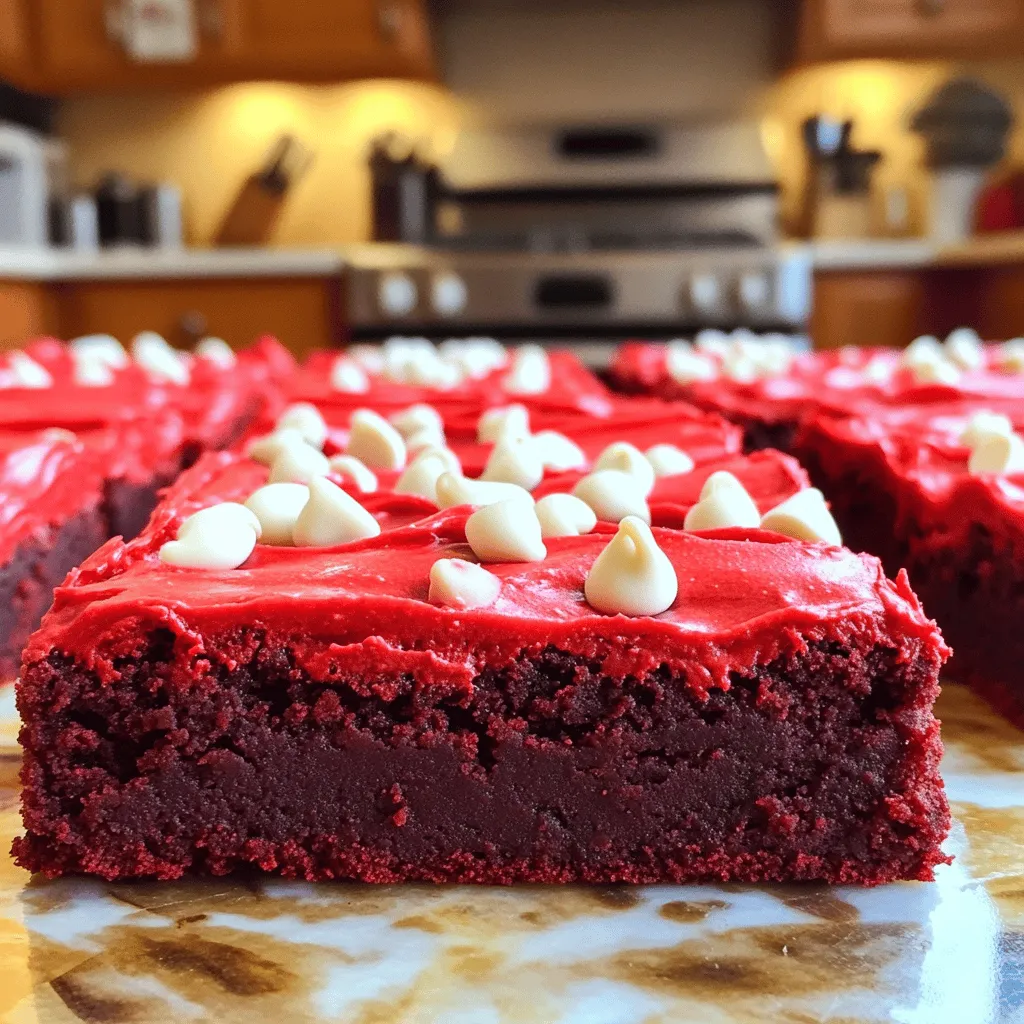
The Best Fudgy Red Velvet Brownies Delightful Treat
Are you ready to indulge in the ultimate dessert? These fudgy red velvet brownies are rich, chewy, and oh-so-delicious! In this article, I’ll guide you
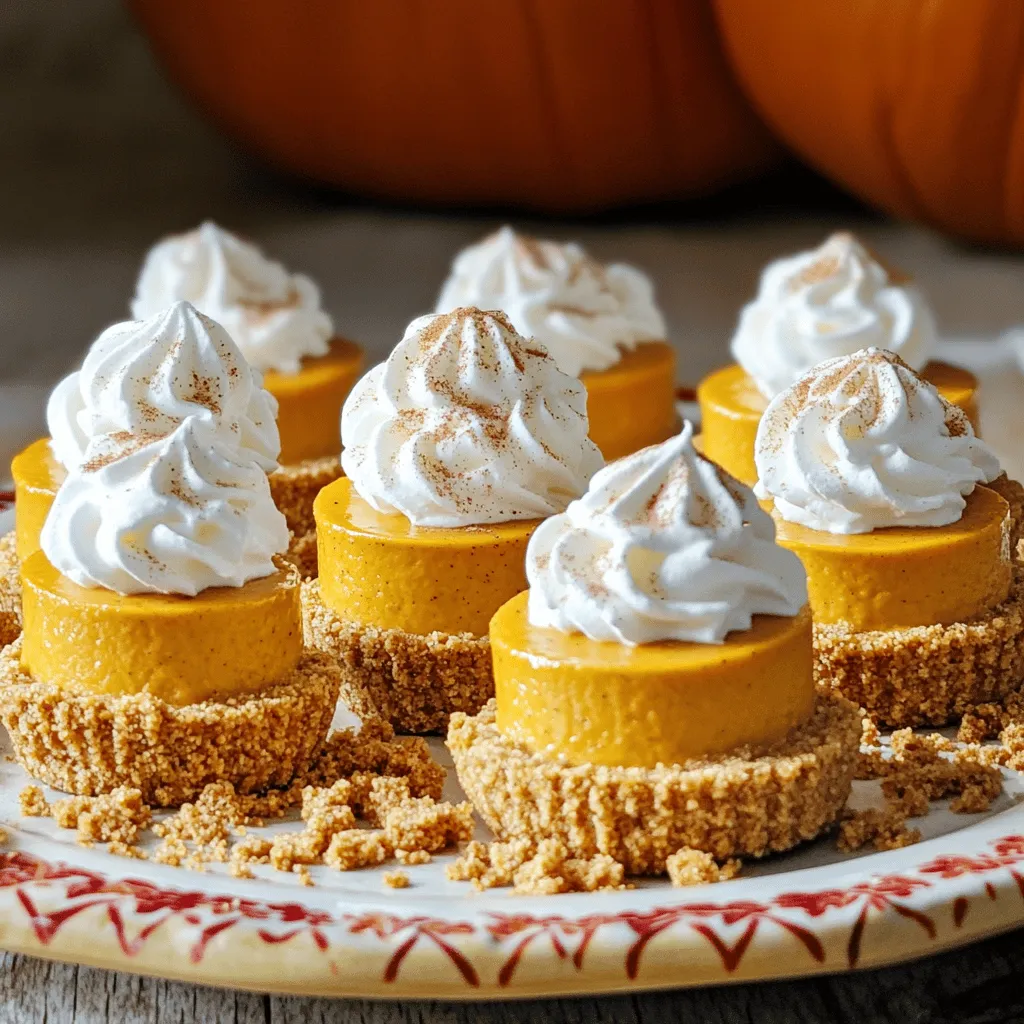
No-Bake Pumpkin Mini Cheesecakes Creamy Delight
Get ready to delight your taste buds with my no-bake pumpkin mini cheesecakes! This creamy treat combines smooth pumpkin with a crunchy crust, making it
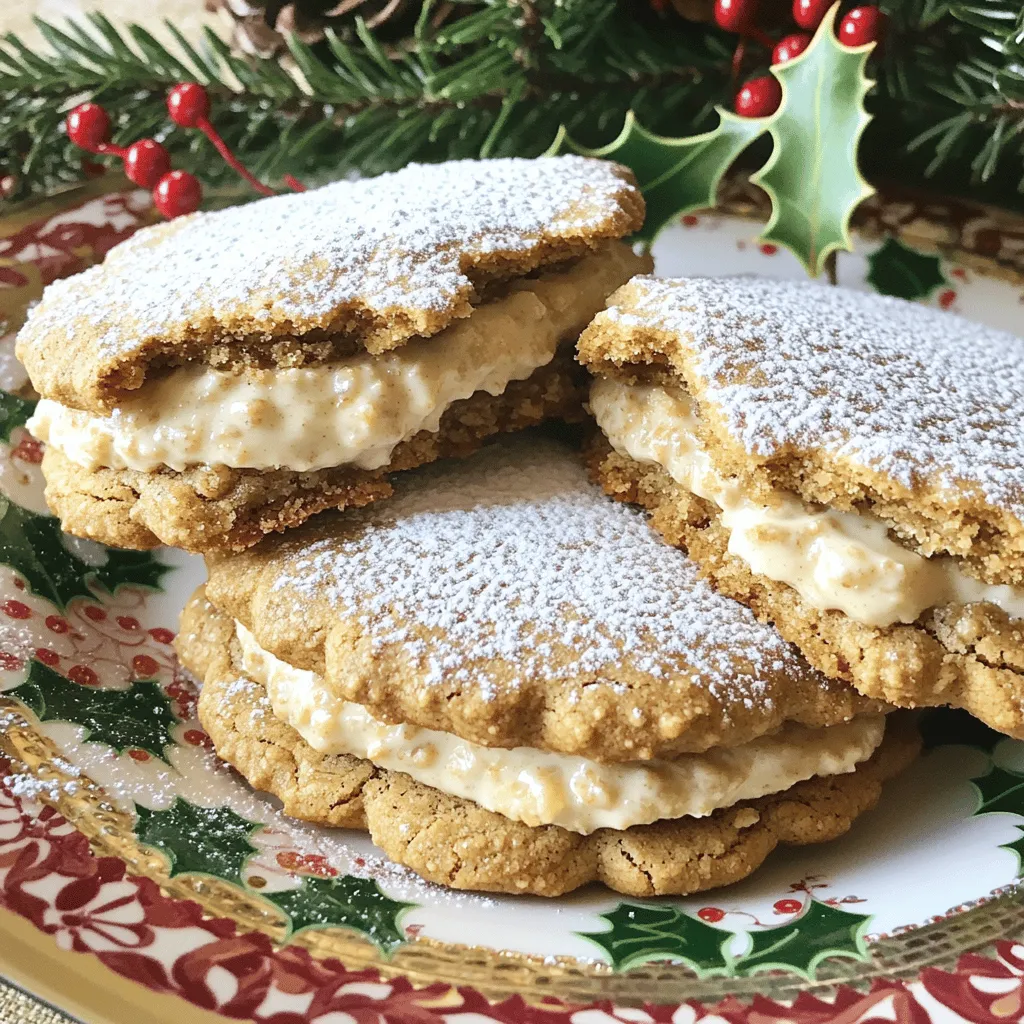
Incredible Gingerbread Oatmeal Cream Pies Delight
Are you ready to whip up a treat that combines the best flavors of the season? These Incredible Gingerbread Oatmeal Cream Pies are not only
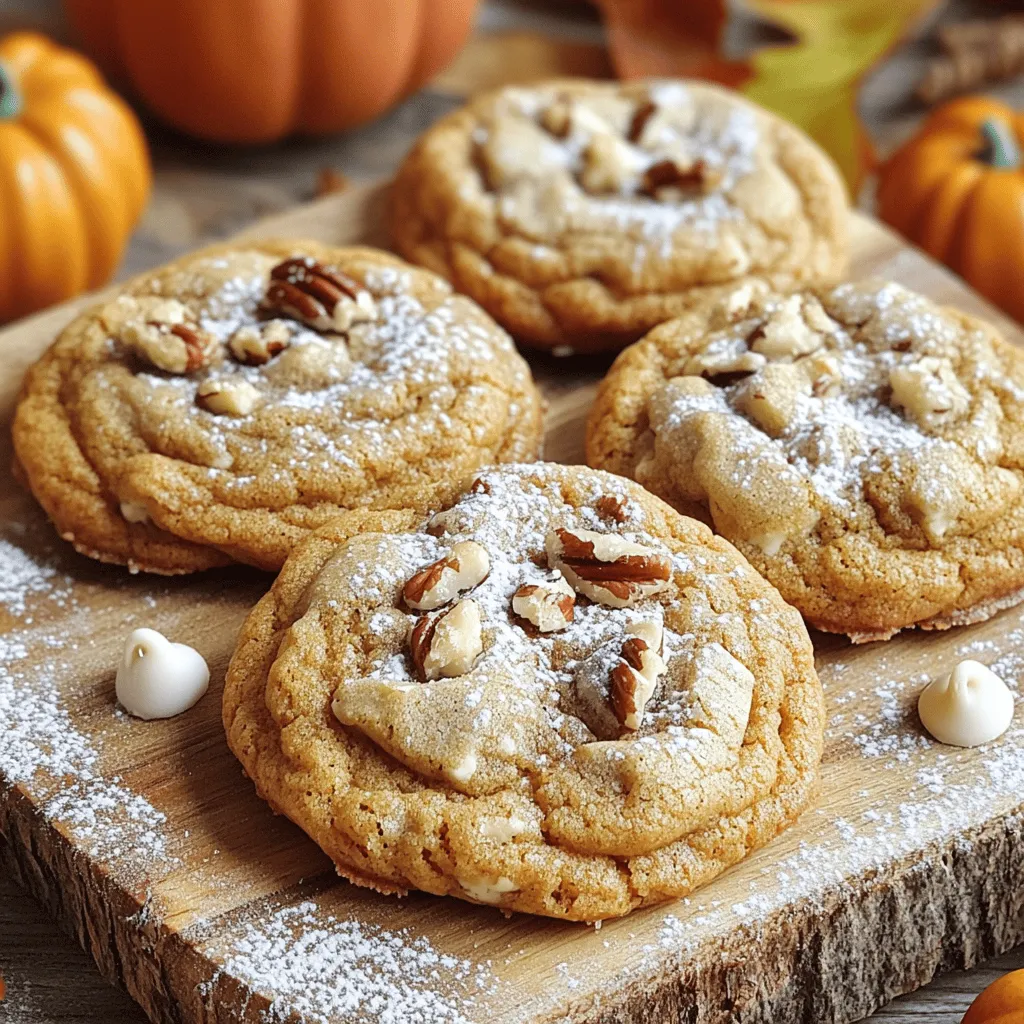
Maple Pumpkin Cookies Irresistible Fall Treats
If you’re looking for a sweet way to celebrate fall, look no further! These Maple Pumpkin Cookies are the perfect blend of flavors, bringing comfort
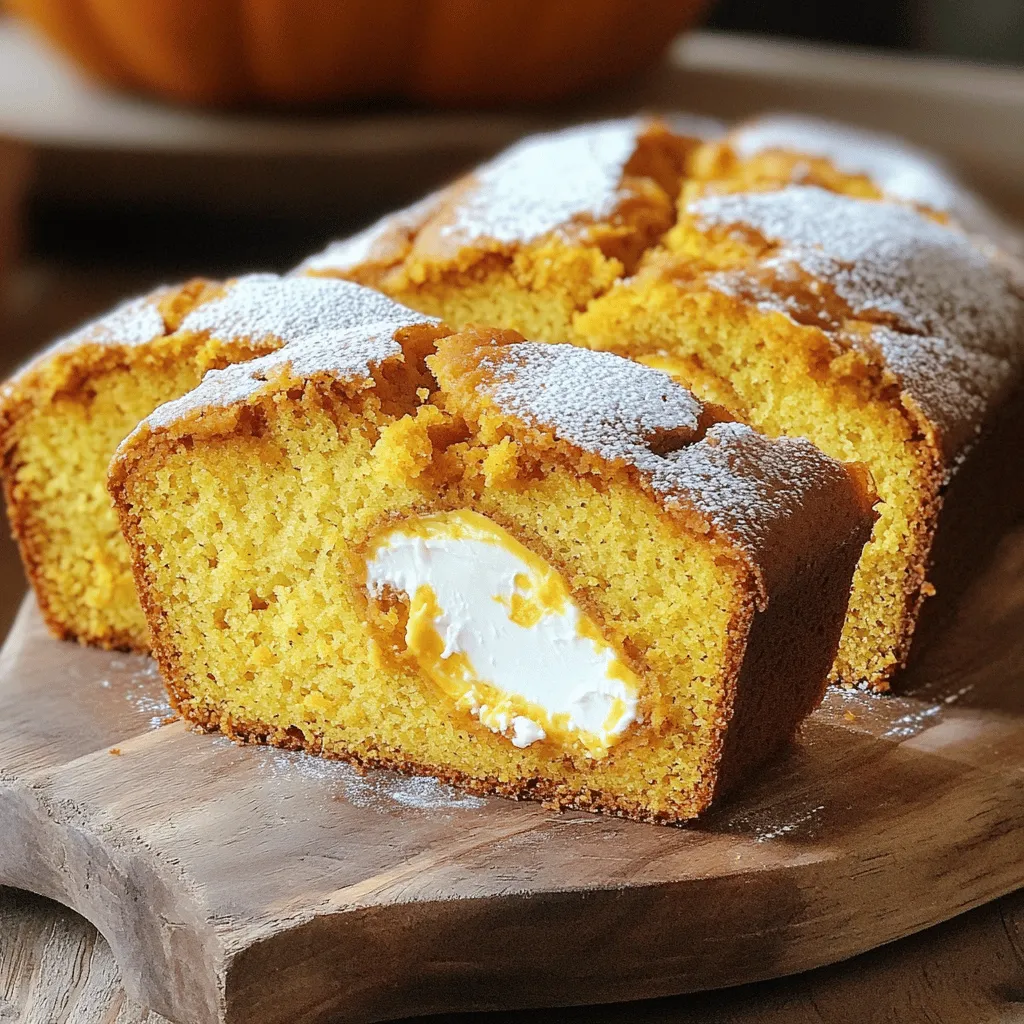
Cream Cheese Filled Pumpkin Bread Irresistible Delight
Are you ready for a treat that combines the warm flavors of fall with a creamy surprise? Look no further! My Cream Cheese Filled Pumpkin
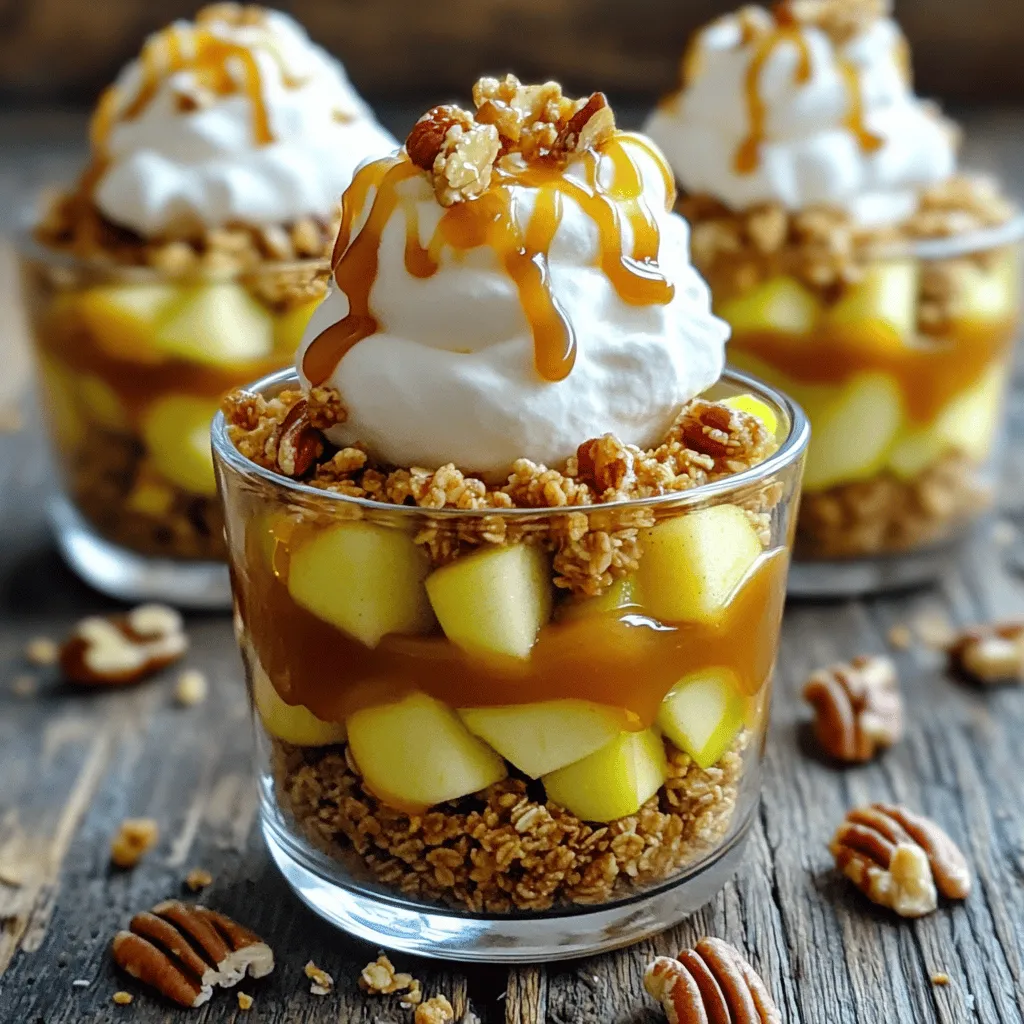
Caramel Apple Dessert Cups Tasty and Simple Treat
Craving something sweet and easy? Let’s whip up Caramel Apple Dessert Cups! These delightful treats combine crunchy apples, creamy caramel, and granola for a fun
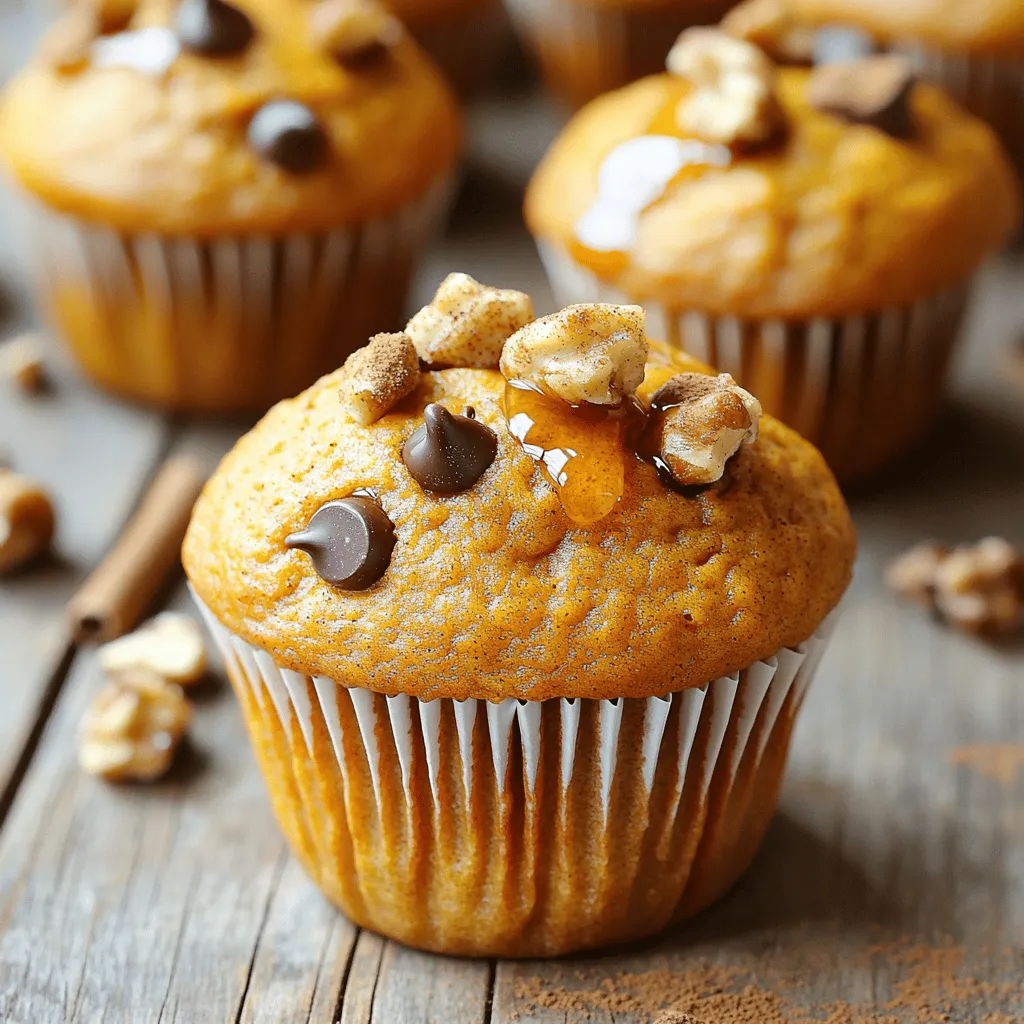
My Best Pumpkin Muffins Recipe Simple and Delicious
Welcome to my simple and delicious pumpkin muffins recipe! If you love warm, fluffy muffins, you’re in for a treat. These muffins are easy to
![To make a classic pumpkin spice cake roll, you need a few simple ingredients. Here’s what to gather: - 1 cup all-purpose flour - 1 teaspoon baking powder - 1 teaspoon baking soda - 1 teaspoon ground cinnamon - 1/2 teaspoon ground nutmeg - 1/2 teaspoon ground ginger - 1/4 teaspoon ground cloves - 1/2 teaspoon salt - 3 large eggs - 1 cup granulated sugar - 1 cup pumpkin puree (not pumpkin pie filling) - 1 teaspoon vanilla extract - 1 cup cream cheese, softened - 1/4 cup unsalted butter, softened - 2 cups powdered sugar - 1 teaspoon vanilla extract (for the frosting) - Optional: Chopped pecans or walnuts for garnish These ingredients blend together to create a moist, spiced cake that rolls up beautifully. Each element plays a key role, from the spices that bring warmth to the pumpkin that adds moisture. Remember, using pure pumpkin puree is crucial for the right flavor. You can find the full recipe [here]. 1. Preheat your oven to 375°F (190°C). This is key for a good rise. 2. Prepare a 15x10-inch jelly roll pan by lining it with parchment paper. Leave some paper hanging over the edges. This helps with easy removal later. Lightly grease the parchment with cooking spray or butter. 3. In a medium bowl, sift together the dry ingredients. Combine 1 cup of all-purpose flour, 1 teaspoon baking powder, 1 teaspoon baking soda, and your spices: 1 teaspoon ground cinnamon, 1/2 teaspoon ground nutmeg, 1/2 teaspoon ground ginger, 1/4 teaspoon ground cloves, and 1/2 teaspoon salt. Mix well and set it aside. 1. In a large mixing bowl, beat together 3 large eggs and 1 cup of granulated sugar. Whisk them until the mixture is pale and fluffy, about 5 minutes. 2. Add in 1 cup of pumpkin puree and 1 teaspoon of vanilla extract. Mix until everything is well combined. 3. Gently incorporate the dry mixture into the pumpkin mix using a spatula. Fold carefully to avoid overmixing. You want a nice, light texture. 1. Pour the batter into the prepared jelly roll pan. Use a spatula to spread it evenly. 2. Bake the cake for 13-15 minutes. It should spring back when you touch the center lightly. 3. Once baked, remove the cake from the oven. Dust the top with powdered sugar while it’s warm. 4. Place a clean kitchen towel over the top. Carefully invert the cake onto the towel, removing the parchment paper. 5. Roll the cake up tightly from the short end. Use the towel to help you. Let it cool completely in this rolled position. This process is easy and fun. Once you master these steps, you can enjoy the delicious flavors of the classic pumpkin spice cake roll. For the full recipe, check out the instructions in the earlier section. To get the perfect texture for your cake roll, do not overmix the batter. When you fold the dry ingredients into the wet, stop mixing as soon as you don't see any flour. This will keep your cake light and fluffy. When rolling the cake, do it while it's warm. Use a clean kitchen towel for help. Start from the short end and roll it tightly. This will help prevent cracking. For smooth cream cheese frosting, beat the cream cheese and butter until they are creamy. Avoid lumps by mixing well. Add powdered sugar slowly to keep it smooth. You can try adding flavors like maple or orange zest for a fun twist. These flavors will give your frosting a unique taste. Garnishing your cake roll can make it look special. Dust it with powdered sugar right before serving. You can also add chopped pecans or walnuts for some crunch. For drinks, pair it with warm cider or a pumpkin spice latte. These pairings will enhance your fall experience and delight your guests. For the full recipe, check the Classic Pumpkin Spice Cake Roll section. {{image_4}} You can change flavors in your pumpkin spice cake roll. For a fun twist, try adding chocolate. Use cocoa powder in the batter for a rich taste. You can also drizzle melted chocolate over the top for a sweet finish. Another option is caramel. Swirl caramel sauce in the cream cheese frosting. This gives it a lovely, sweet flavor that pairs well with pumpkin. You can also switch up the spices. Instead of just cinnamon, nutmeg, and ginger, add cardamom or allspice. These spices can give your cake roll a unique twist. If you need a gluten-free option, swap the all-purpose flour for a gluten-free blend. Many blends work well in baking, making your cake just as tasty. For a vegan version, replace eggs with flaxseed meal. Mix one tablespoon of flaxseed with three tablespoons of water and let it sit until it thickens. Use plant-based butter and vegan cream cheese in the frosting. This way, everyone can enjoy this fall treat! Explore the Full Recipe for more details. To keep your classic pumpkin spice cake roll fresh, store it properly. First, wrap the cake roll tightly in plastic wrap. This keeps air out and prevents drying. You can also place it in an airtight container for extra protection. Make sure to refrigerate it right after it cools. It stays fresh for up to a week in the fridge. If you want to enjoy it later, freezing is a great option. Freezing your cake roll is easy and a good way to save it. Start by letting the cake cool completely. Then, roll it up with the cream cheese frosting inside. Wrap it well in plastic wrap or aluminum foil. This will prevent freezer burn. To thaw, take it out of the freezer and place it in the fridge overnight. This slow thaw keeps the texture nice. If you need it faster, you can let it sit at room temperature for a couple of hours. Once thawed, dust with powdered sugar and enjoy! Freezing does not change the taste or quality much, so it’s a smart choice for busy days. Can I make this cake roll ahead of time? Yes, you can make this cake roll a day or two in advance. Just keep it wrapped in plastic wrap in the fridge. This helps the flavors blend nicely. What to do if the cake cracks while rolling? If the cake cracks, don't worry! You can still fix it. Just use frosting to cover the cracks. It will still taste amazing. How long will the cake roll last in the refrigerator? The cake roll lasts about five days in the fridge. Just remember to keep it covered. What can I use if I don’t have cream cheese? If you don’t have cream cheese, you can use mascarpone cheese. It gives a similar creamy texture. Greek yogurt is another option, but it will be tangier. How to make a pumpkin spice cake roll without baking soda? If you want to skip baking soda, use baking powder instead. Just double the amount. This helps the cake rise well without baking soda. For the full recipe, check out the Classic Pumpkin Spice Cake Roll details. Enjoy baking! In this post, we explored the classic pumpkin spice cake roll. I shared the essential ingredients and detailed steps for preparation, mixing, baking, and rolling. I included tips for perfect texture and frosting techniques, plus tasty variations to try. Remember, proper storage keeps your cake fresh, whether refrigerated or frozen. This delightful treat is not just fun to make; it brings joy to every occasion. I hope you feel inspired to create your own pumpkin spice cake roll. Enjoy each bite!](https://roastedflavors.com/wp-content/uploads/2025/08/2a126a52-c53b-45ed-9526-2a3c7229e7e1.webp)
Classic Pumpkin Spice Cake Roll Tasty Fall Delight
Fall is here, and there’s no better treat than a Classic Pumpkin Spice Cake Roll! This delightful dessert combines warm spices and creamy frosting, making
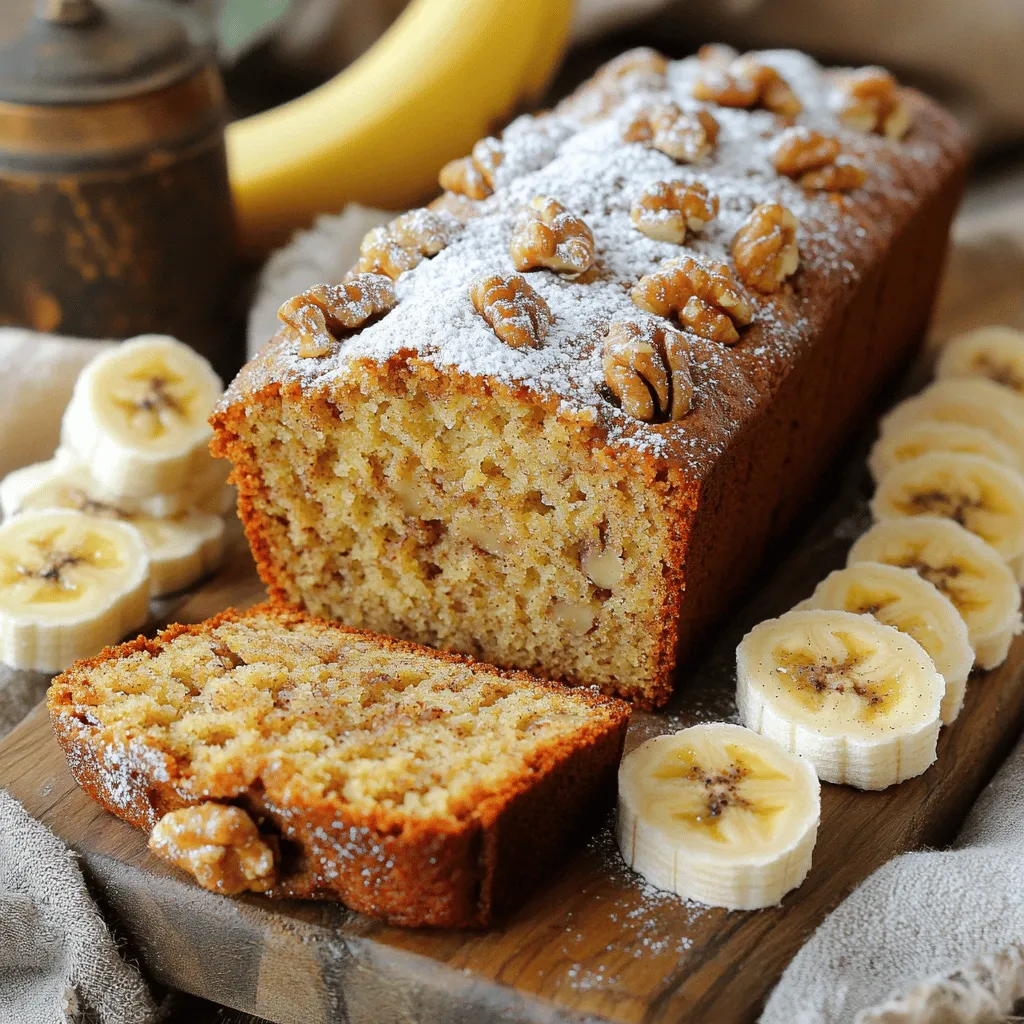
Cinnamon Crunch Banana Bread Irresistible Delight
Are you ready for a treat that smells amazing and tastes even better? This Cinnamon Crunch Banana Bread is an irresistible delight that you won’t