Desserts
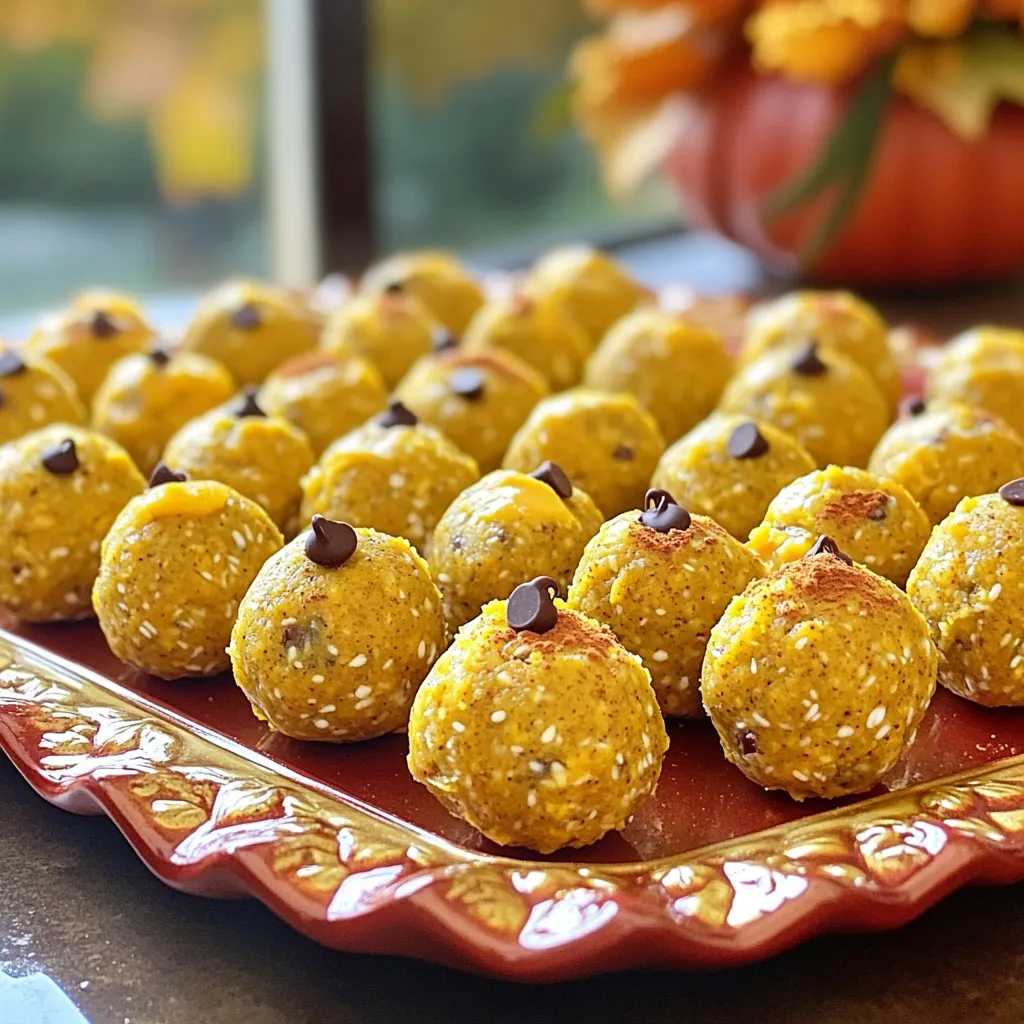
Pumpkin Spice No-Bake Energy Balls for Quick Fuel
Are you looking for a quick and tasty snack that fuels your day? My Pumpkin Spice No-Bake Energy Balls are the perfect solution! Packed with
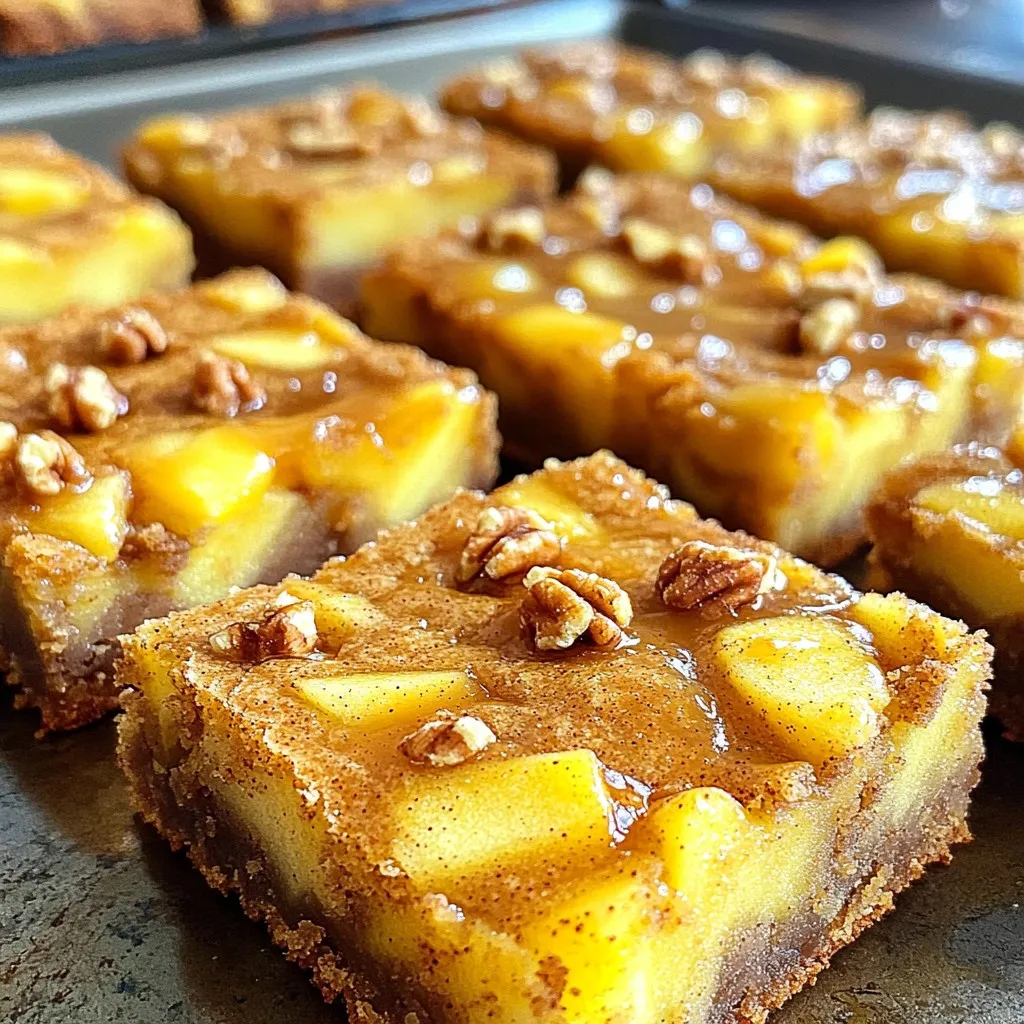
Brown Butter Apple Cinnamon Blondies Delightful Treat
Welcome to your new favorite dessert: Brown Butter Apple Cinnamon Blondies! These blondies are a warm, flavorful treat perfect for any occasion. The rich, nutty
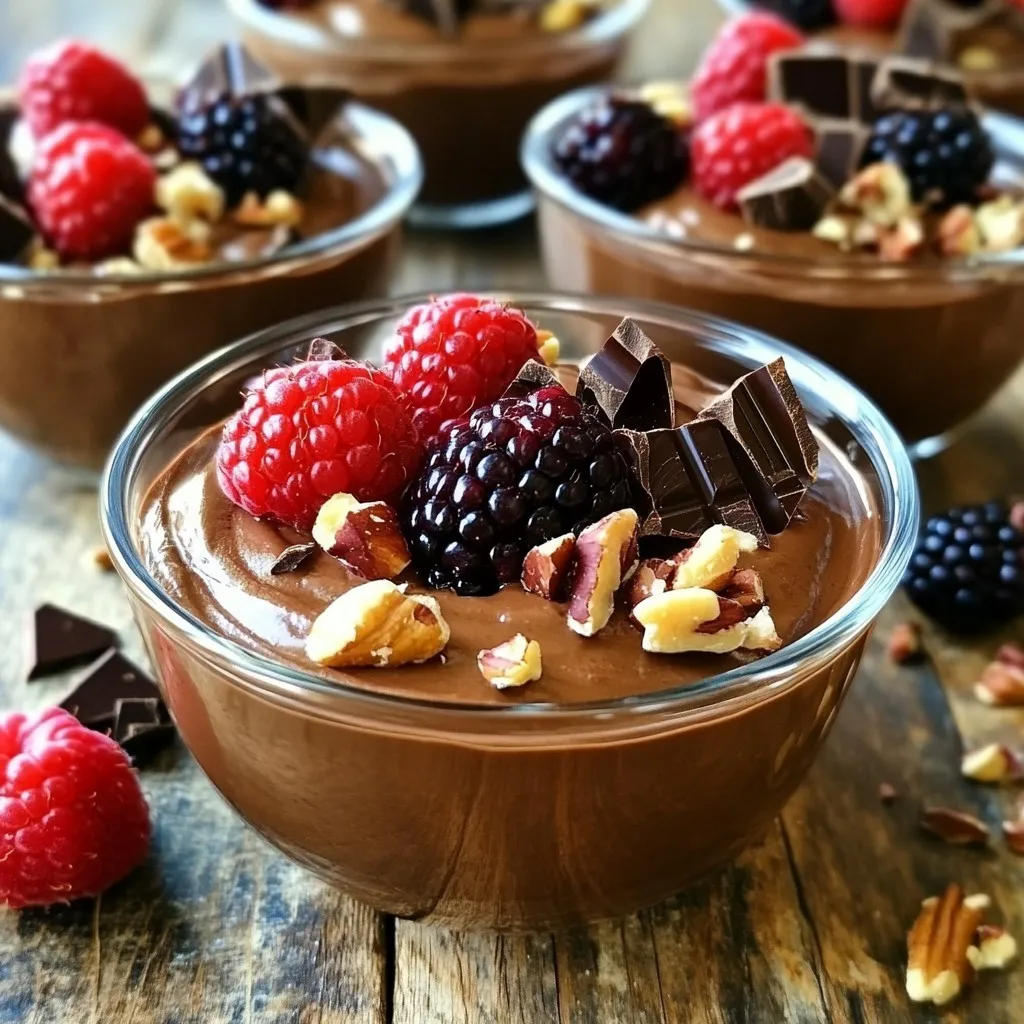
Protein Cottage Cheese Chocolate Mousse Delightful Treat
Looking for a dessert that’s both delicious and packed with protein? You’re in the right place! This Protein Cottage Cheese Chocolate Mousse is not just
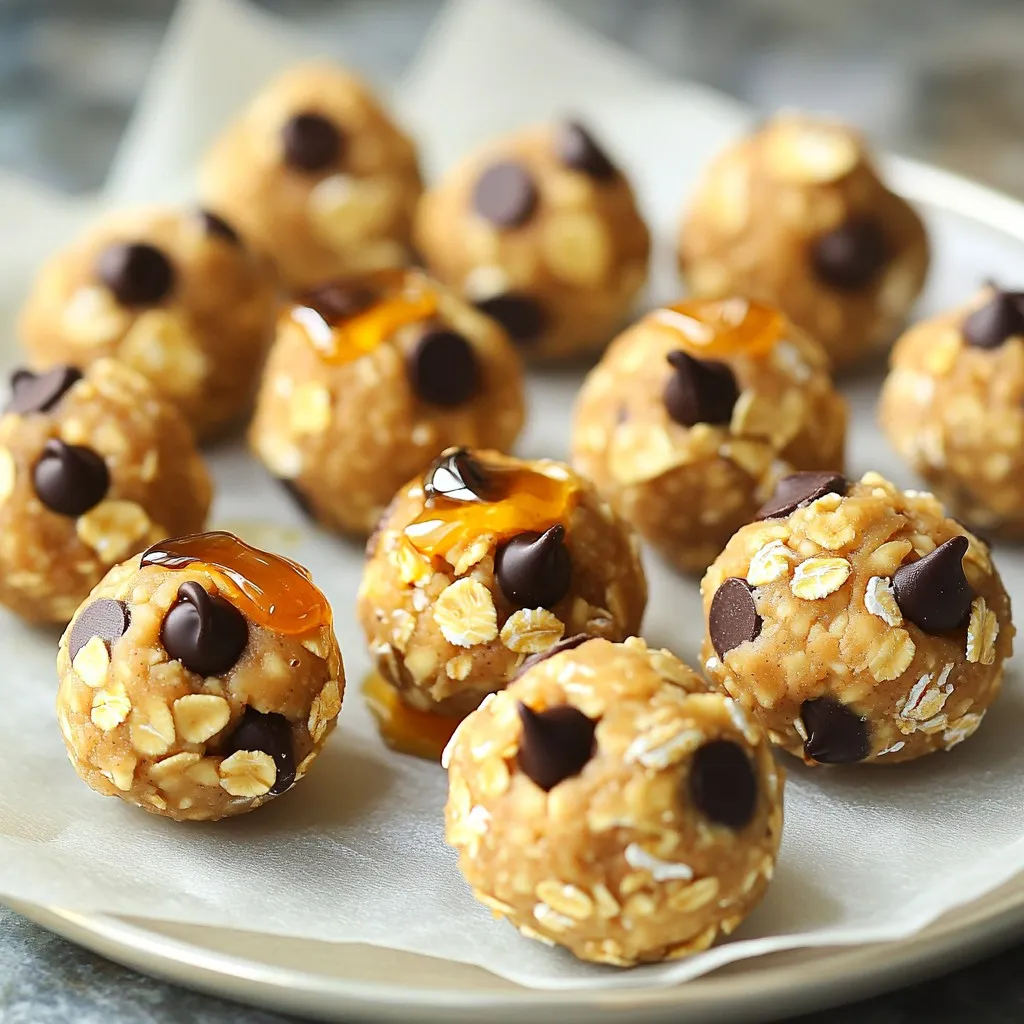
No-Bake Cookie Dough Protein Bites Simple and Fast
If you’re craving something sweet but want to keep it healthy, I’ve got the perfect treat for you: No-Bake Cookie Dough Protein Bites! These easy-to-make
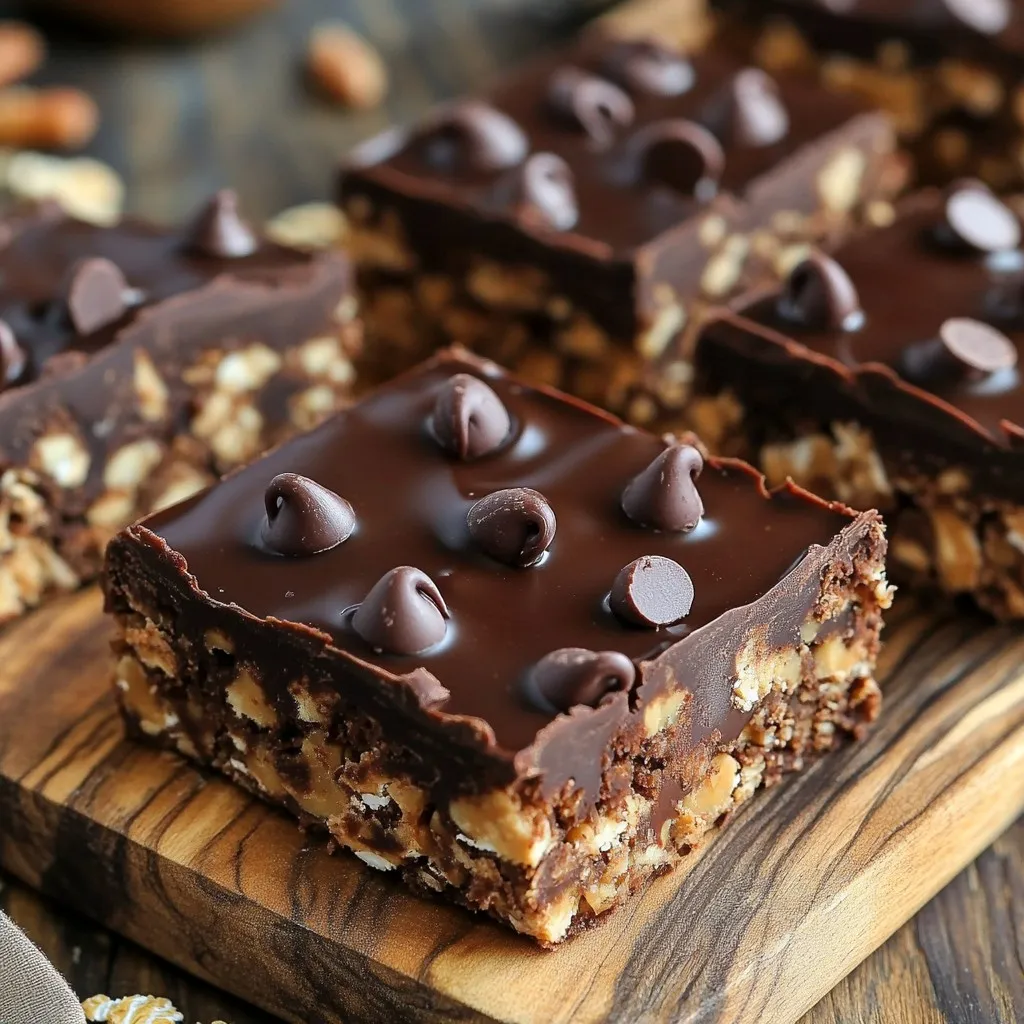
No-Bake Chocolate Peanut Butter Protein Bars Delight
Craving a tasty yet healthy snack? Look no further! These No-Bake Chocolate Peanut Butter Protein Bars are the perfect treat. They are simple to make
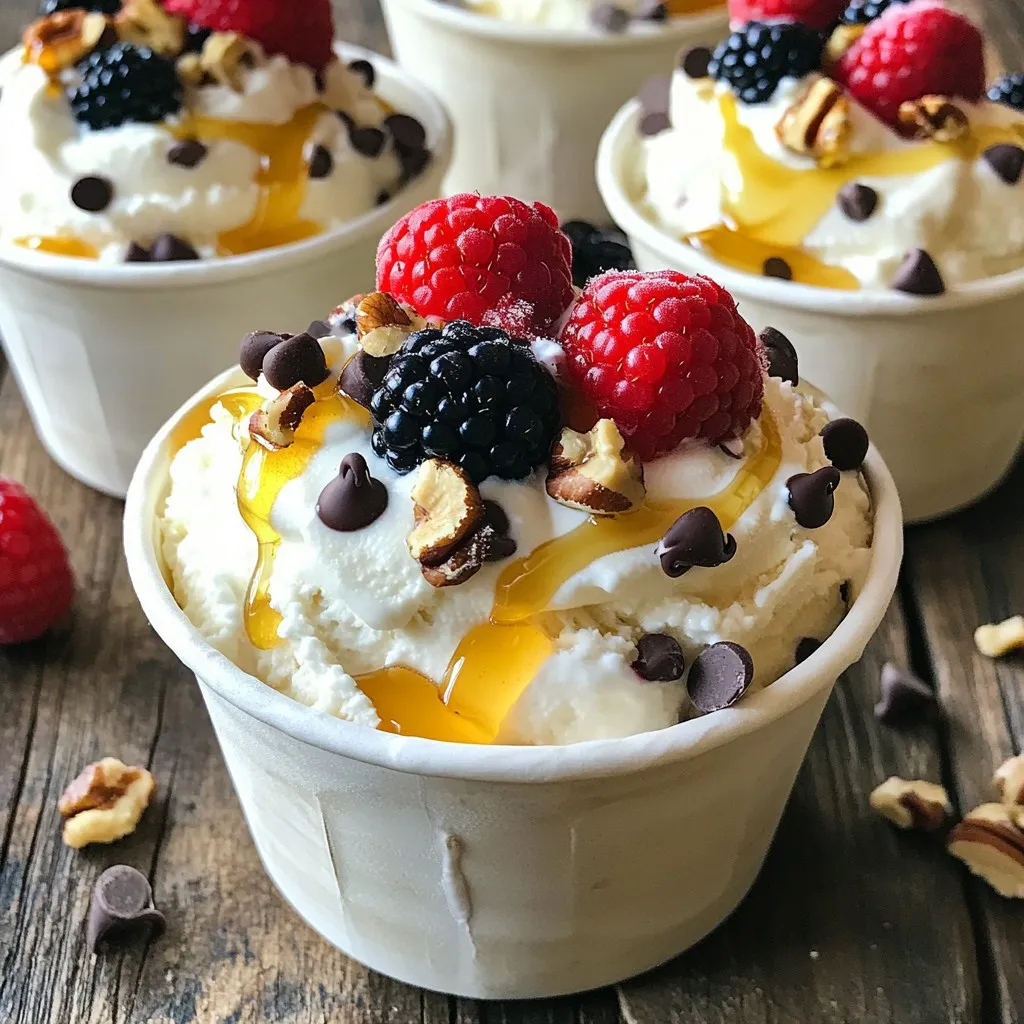
High-Protein Cottage Cheese Ice Cream Cups Delight
Looking for a delicious way to enjoy dessert while packing in protein? You’re in the right place! My High-Protein Cottage Cheese Ice Cream Cups are
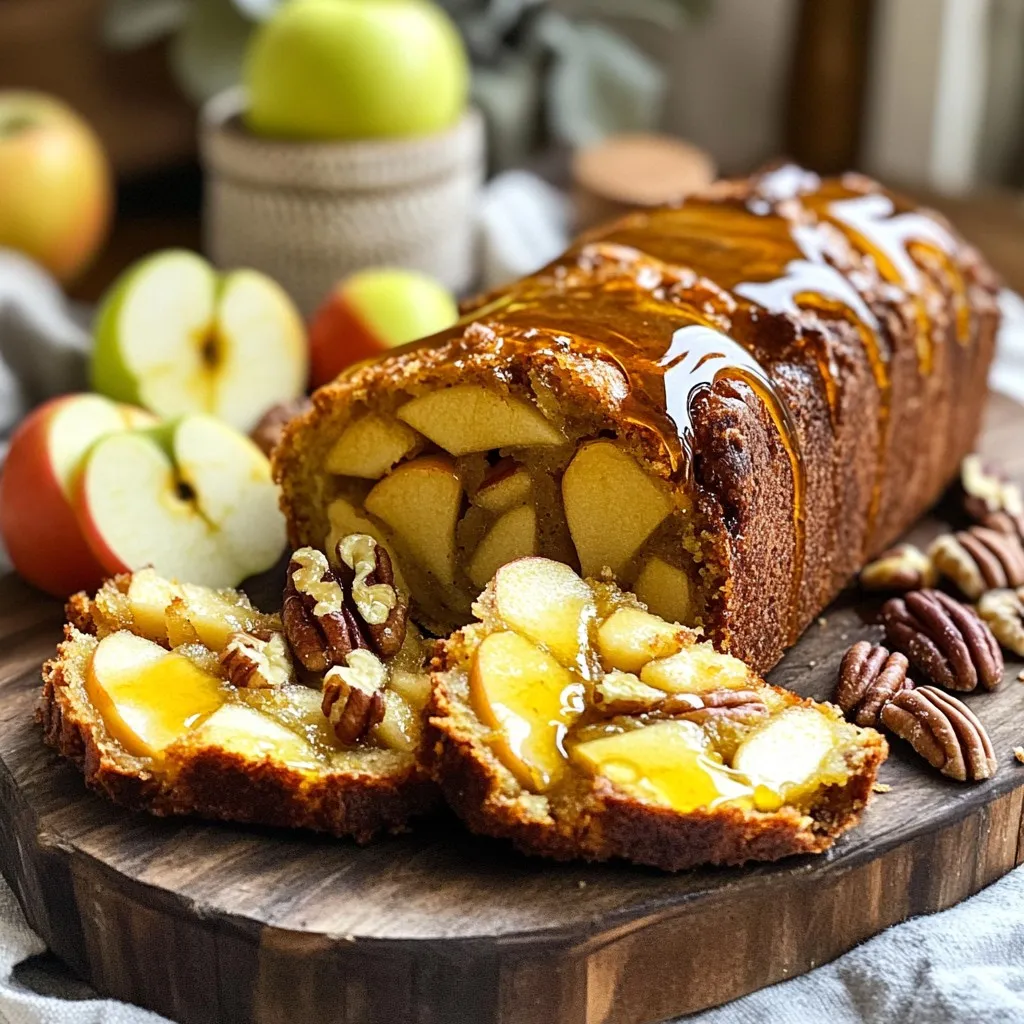
Maple Apple Fritter Loaf Delightfully Easy Recipe
Looking for a delightful treat that’s easy to make? This Maple Apple Fritter Loaf is your answer! With warm spices, sweet apples, and rich maple
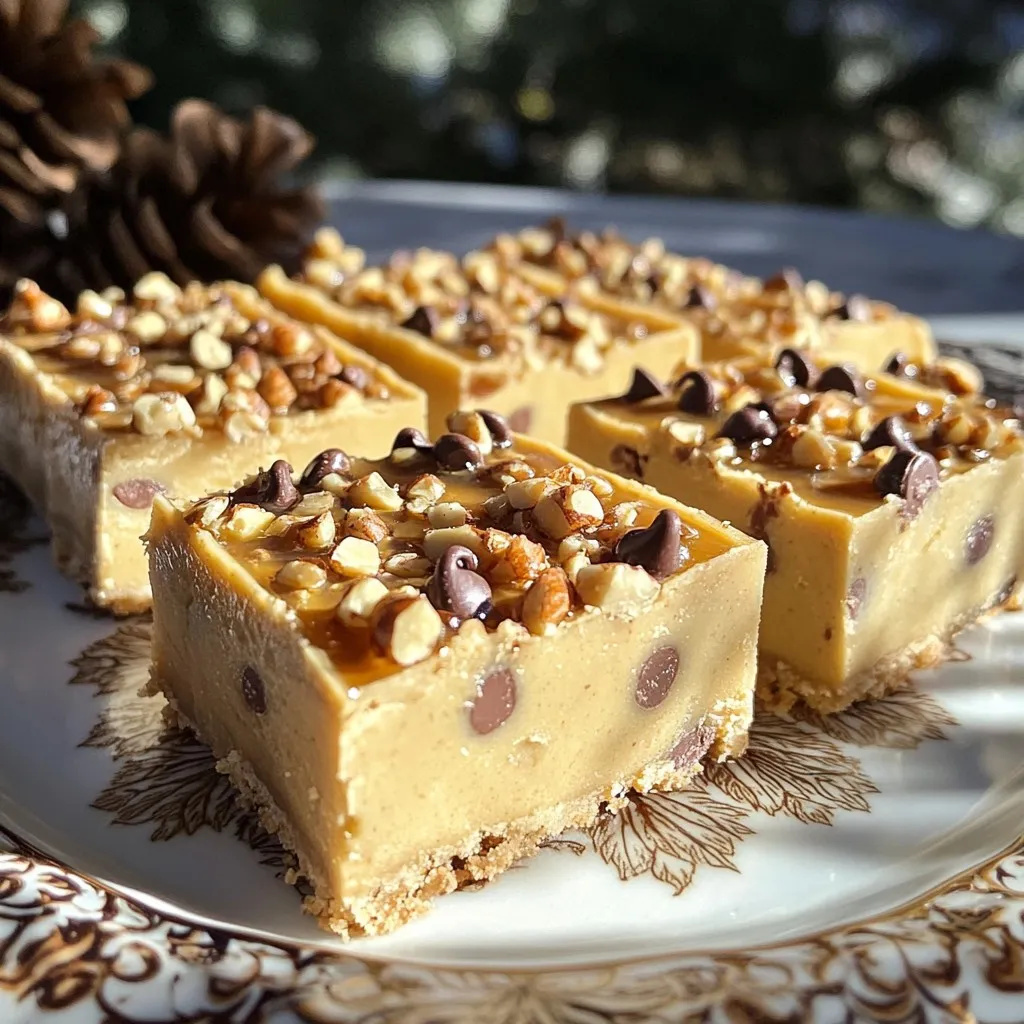
No-Bake Cookie Dough Bars Tasty and Simple Treat
If you crave sweets but want a quick fix, these No-Bake Cookie Dough Bars are perfect for you! They are tasty, simple, and require no
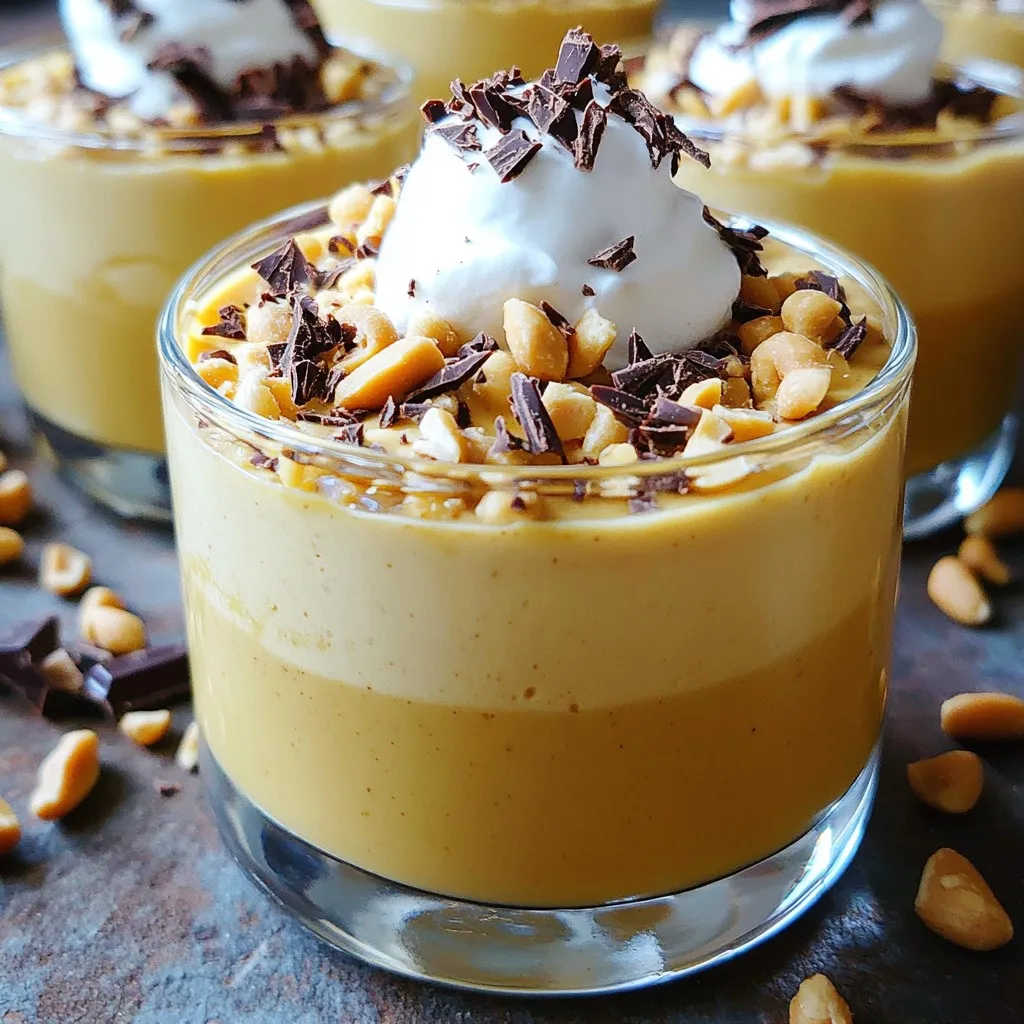
Protein Peanut Butter Yogurt Mousse Creamy Delight
Are you ready for a treat that’s both delicious and nutritious? My Protein Peanut Butter Yogurt Mousse is the perfect blend of creamy goodness and
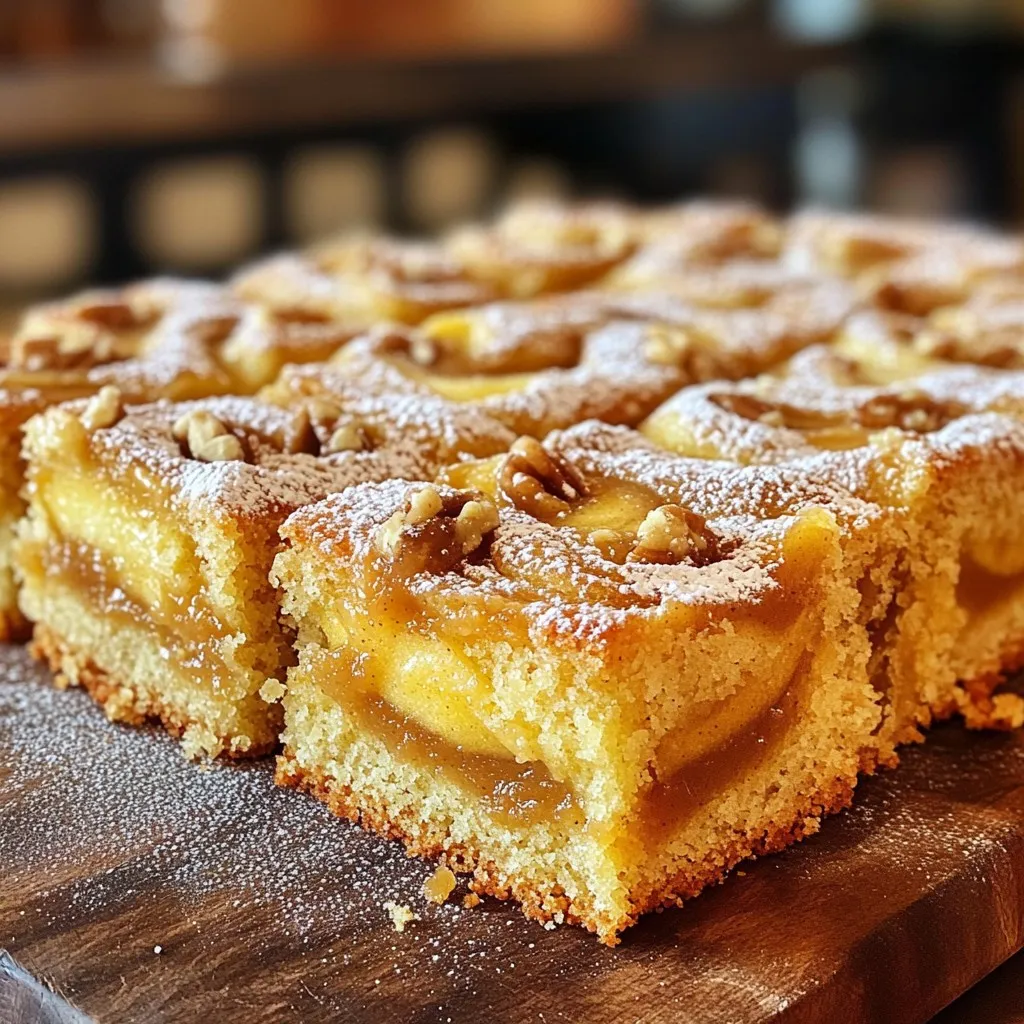
Apple Butter Swirl Coffee Cake Delightful and Simple
Enjoy the rich flavors of fall with my Apple Butter Swirl Coffee Cake. This delightful treat combines warm spices and sweet apple butter, making it