Desserts
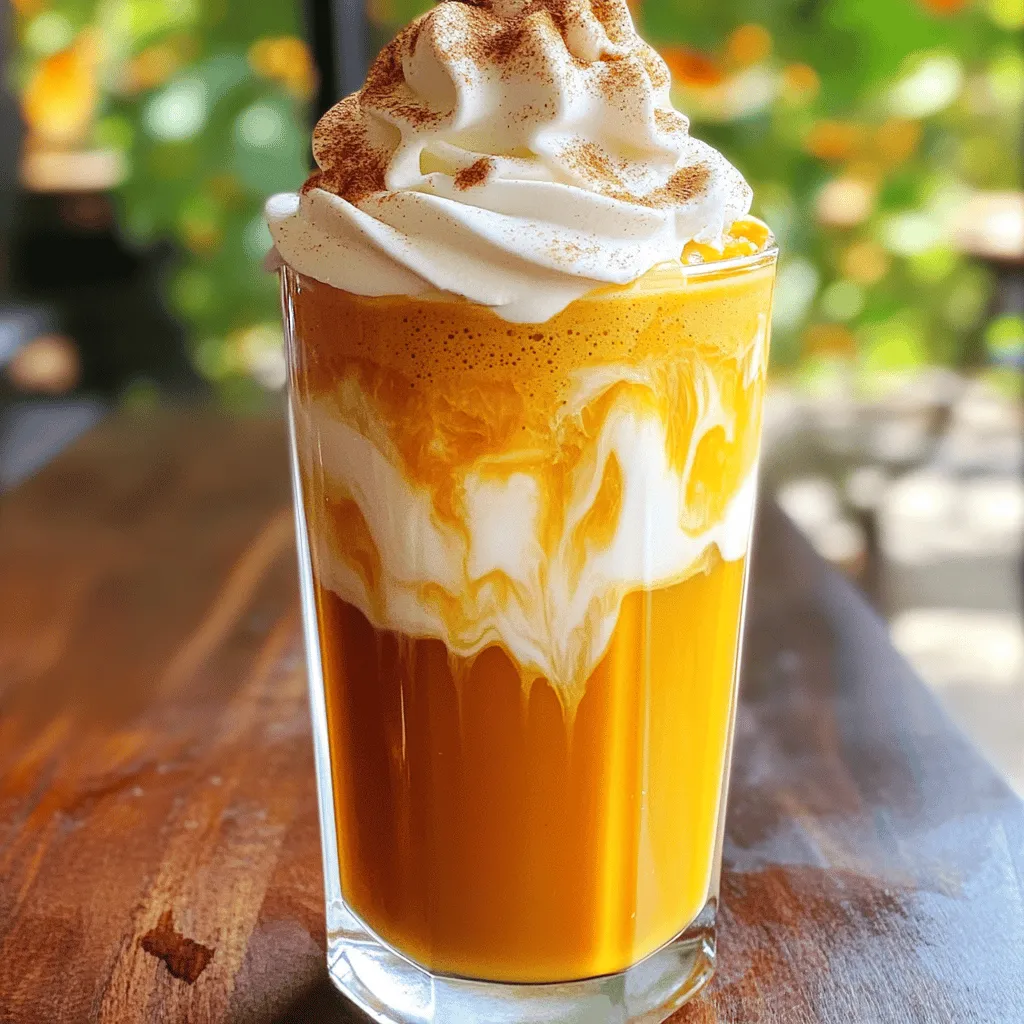
Pumpkin Spice Cold Brew Savory Seasonal Delight
Are you ready to savor the taste of fall? My Pumpkin Spice Cold Brew is a delicious twist on your favorite seasonal drink. With easy
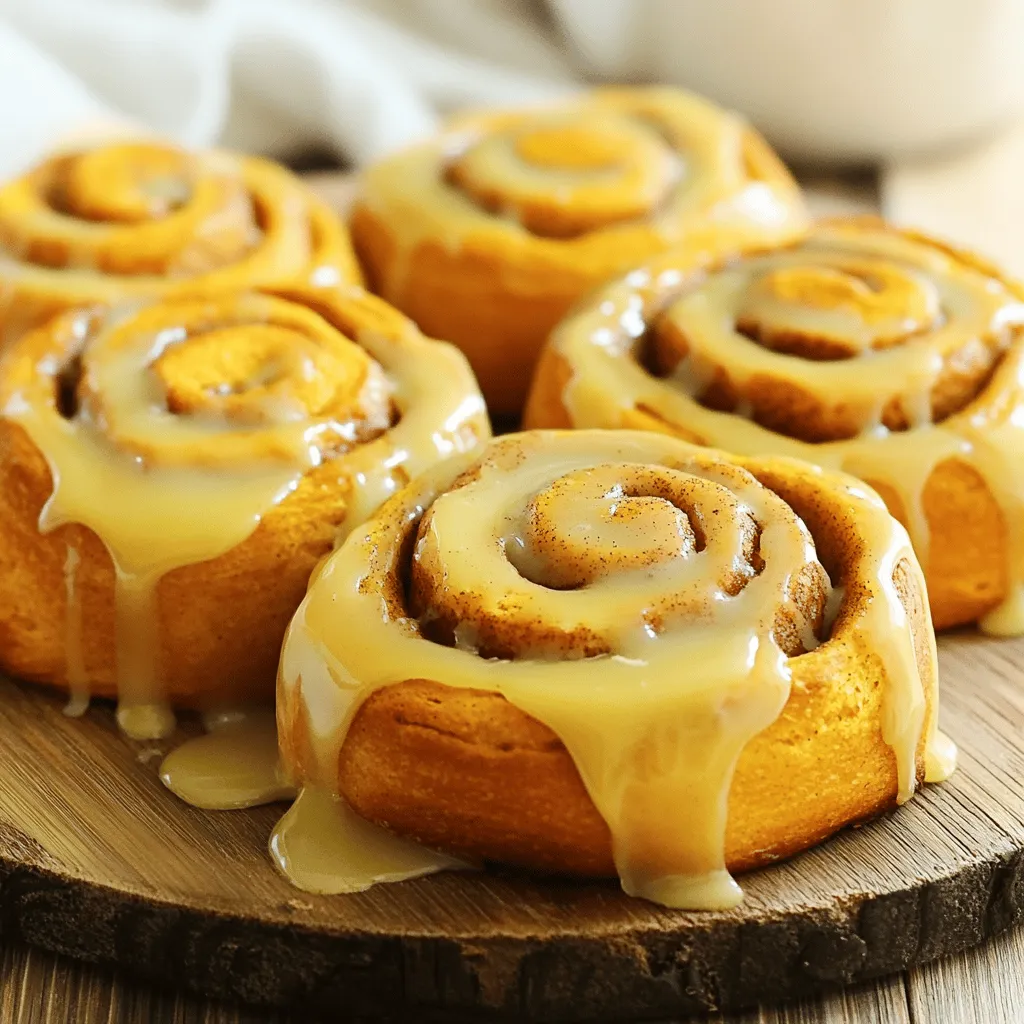
Small Batch Pumpkin Cinnamon Rolls Soft and Yummy Treat
Craving a soft and yummy treat? These small batch pumpkin cinnamon rolls are everything you need! Perfect for a cozy morning, they blend warm spices

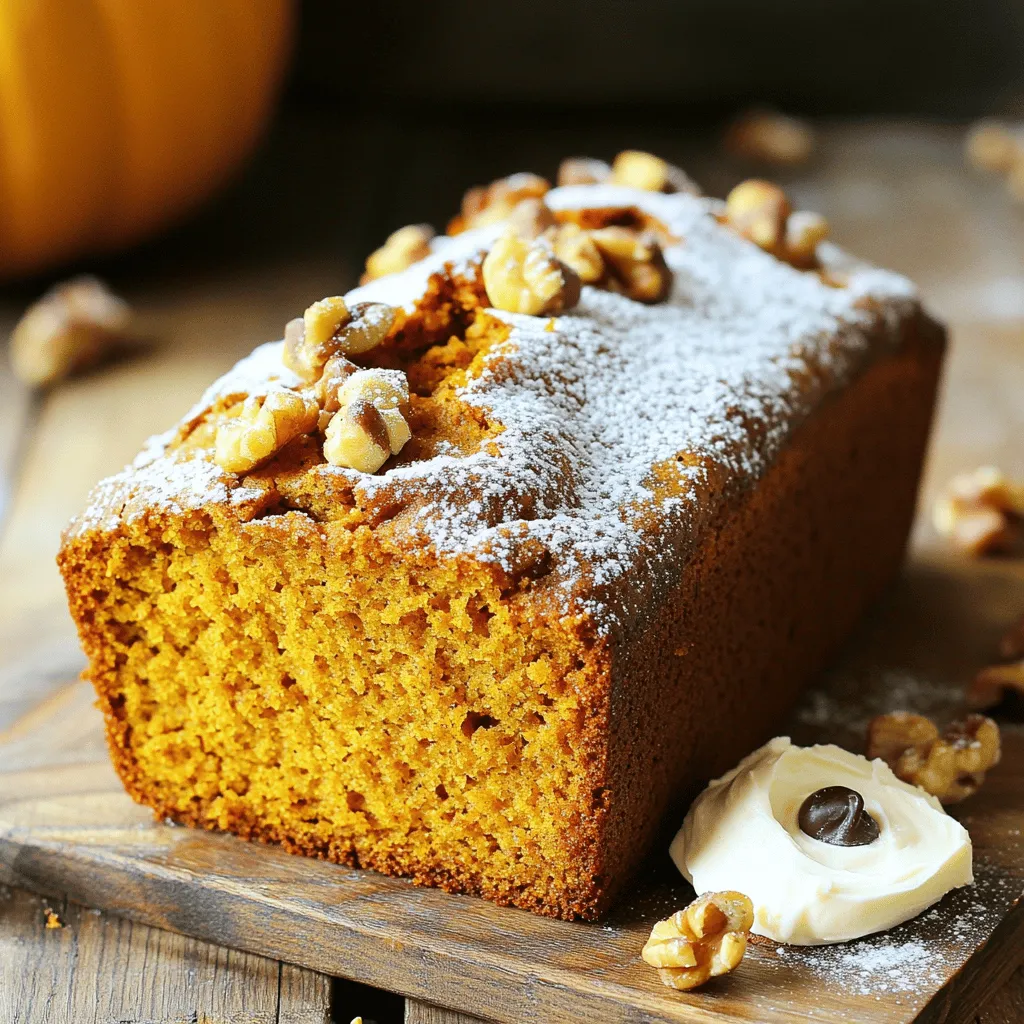
Salted Maple Brown Butter Pumpkin Bread Delight
If you’re craving a fall treat that’s warm and cozy, look no further! My Salted Maple Brown Butter Pumpkin Bread is the perfect blend of
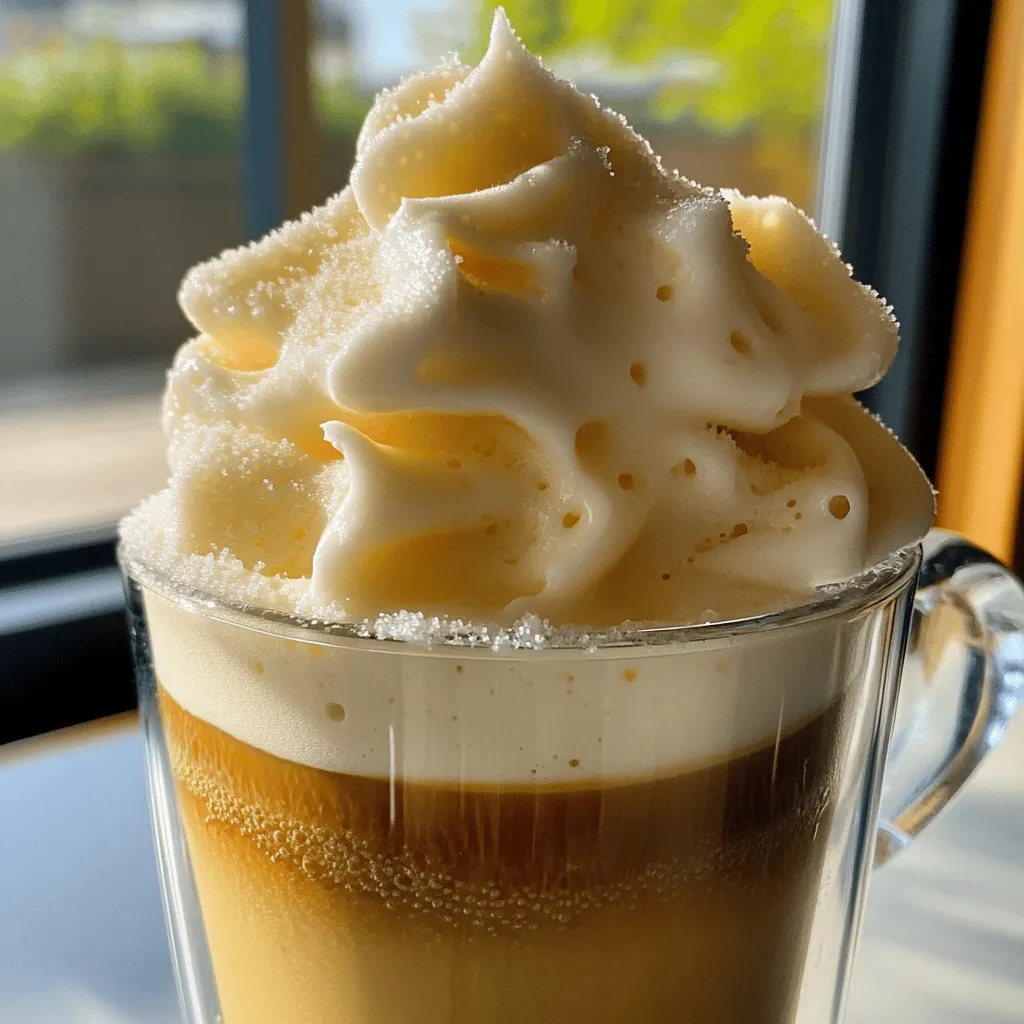
Sweet Cream Cold Foam Delicious Beverage Upgrade
Are you ready to elevate your drink game? Sweet Cream Cold Foam adds a creamy, dreamy touch to your favorite beverages. In this guide, I’ll
Copycat Starbucks Pumpkin Bread Irresistible Recipe
If you’ve ever savored the fall flavors of Starbucks’ pumpkin bread, you’ll love this easy copycat recipe! I’ll guide you through each step to recreate
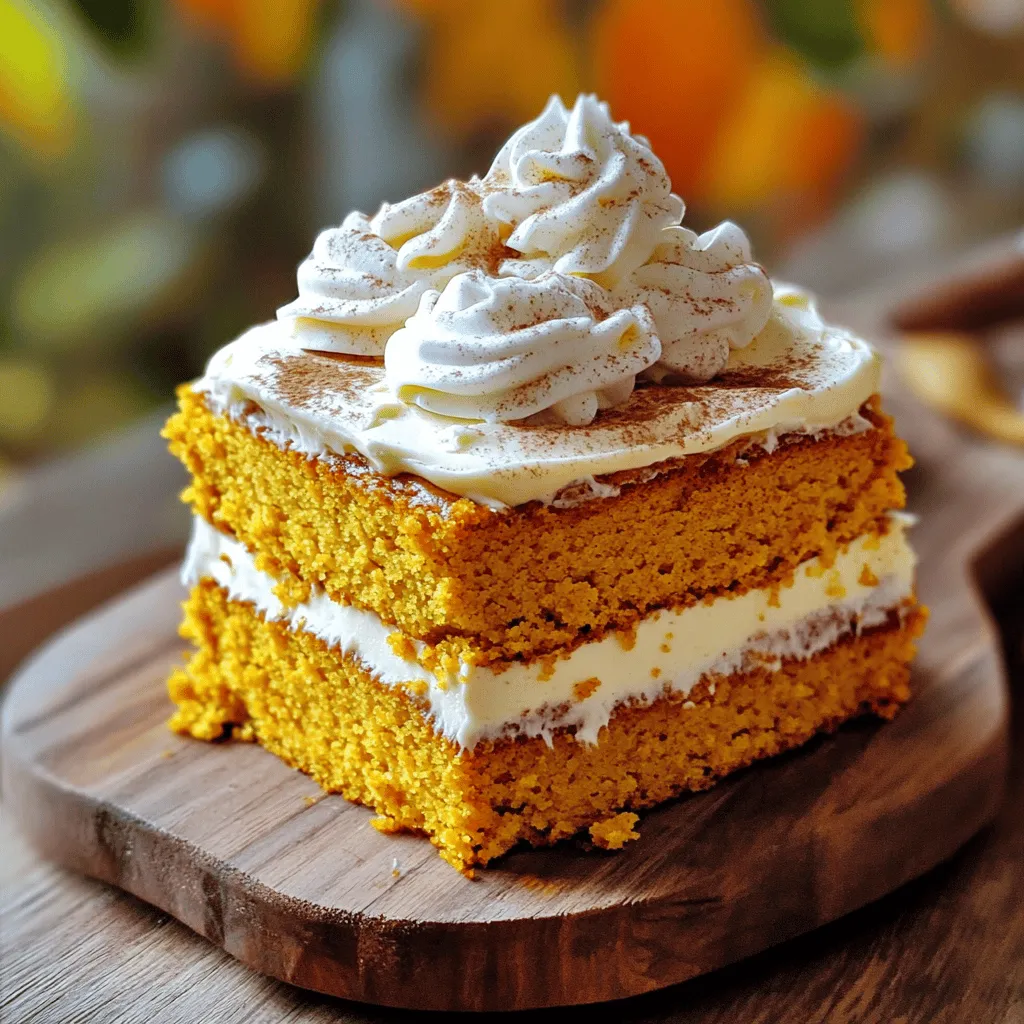
Pumpkin Spice Latte Cake Delightful Fall Flavor
Are you ready to indulge in the cozy flavors of fall? My Pumpkin Spice Latte Cake brings together the best of pumpkin, spice, and coffee
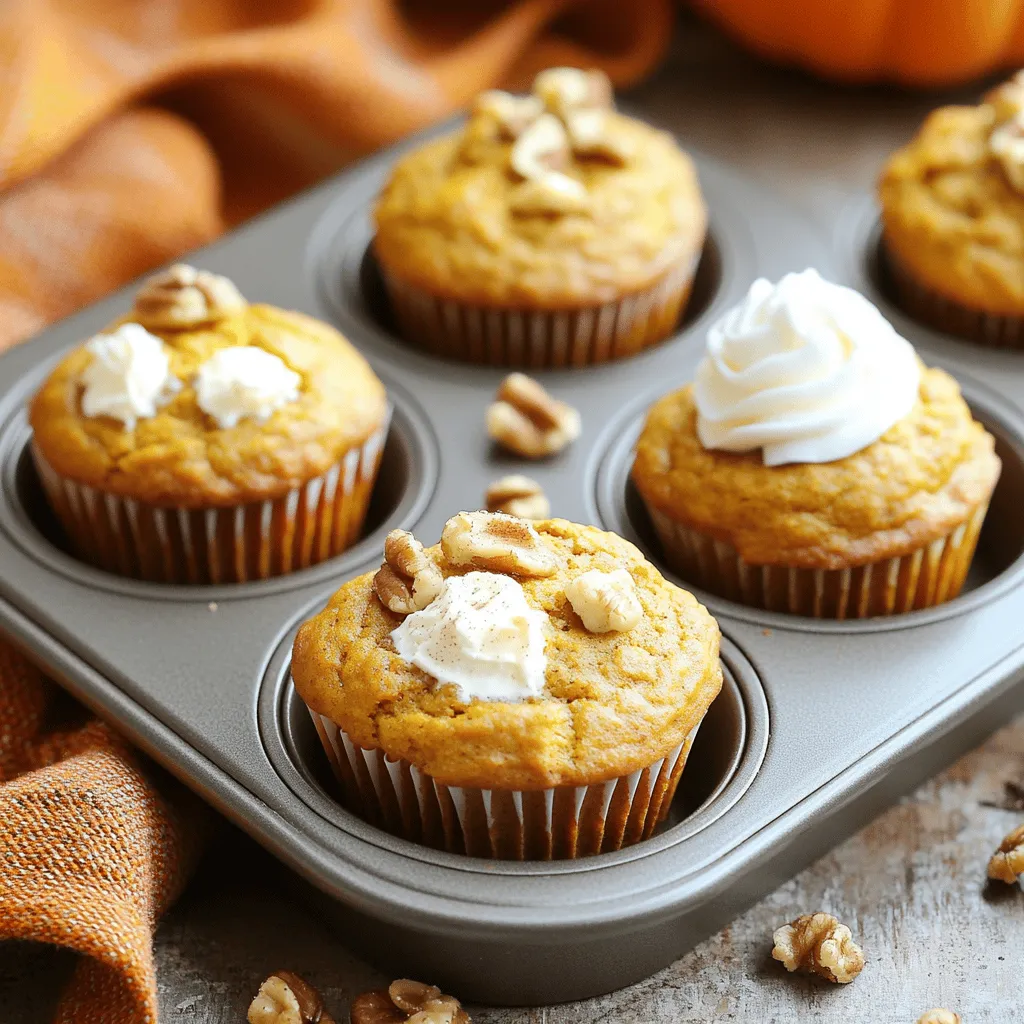
Pumpkin Cream Cheese Muffins Easy Delightful Recipe
Are you ready to bake something delicious? Our Pumpkin Cream Cheese Muffins are the ultimate fall treat! They are easy to make and taste amazing.
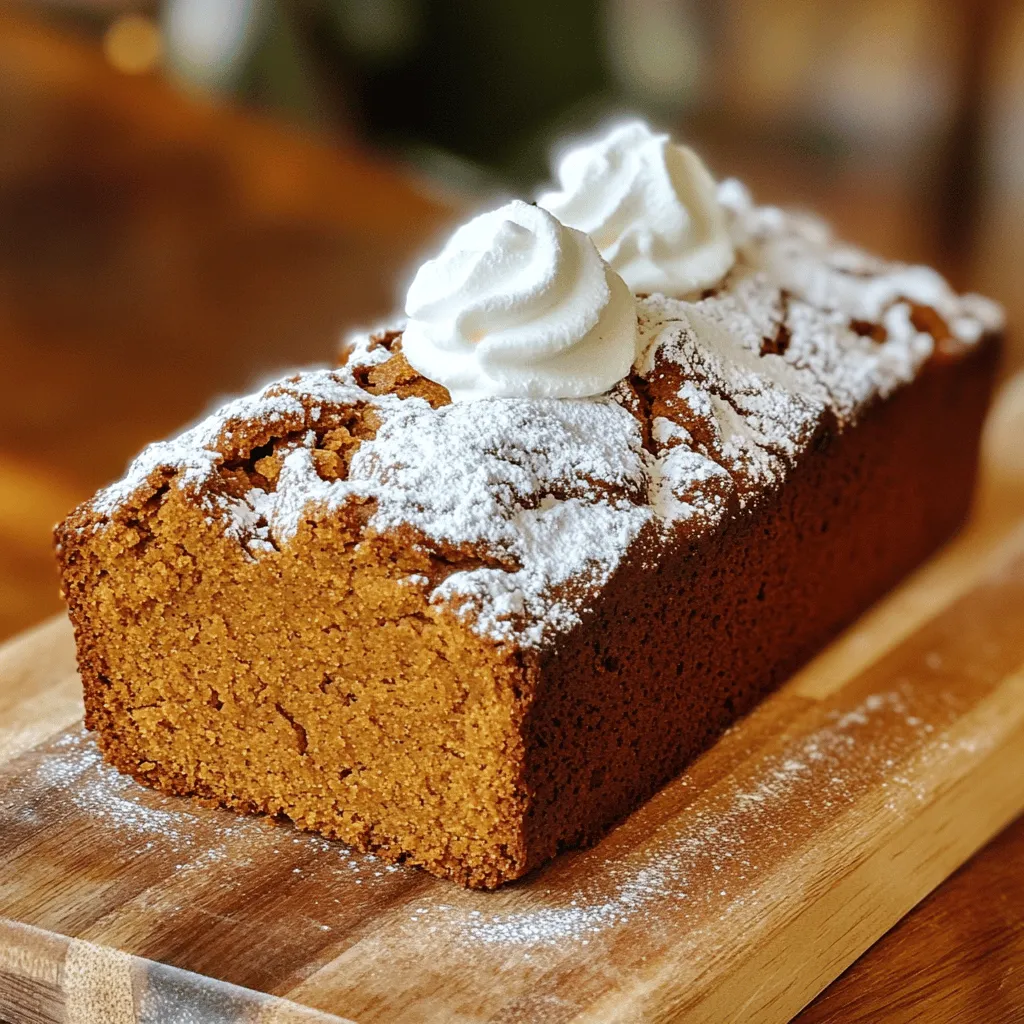
Pumpkin Gingerbread Delight Simple and Tasty Recipe
Want to spice up your baking routine? Try my Pumpkin Gingerbread Delight. This simple and tasty recipe is perfect for cold days. You’ll love the
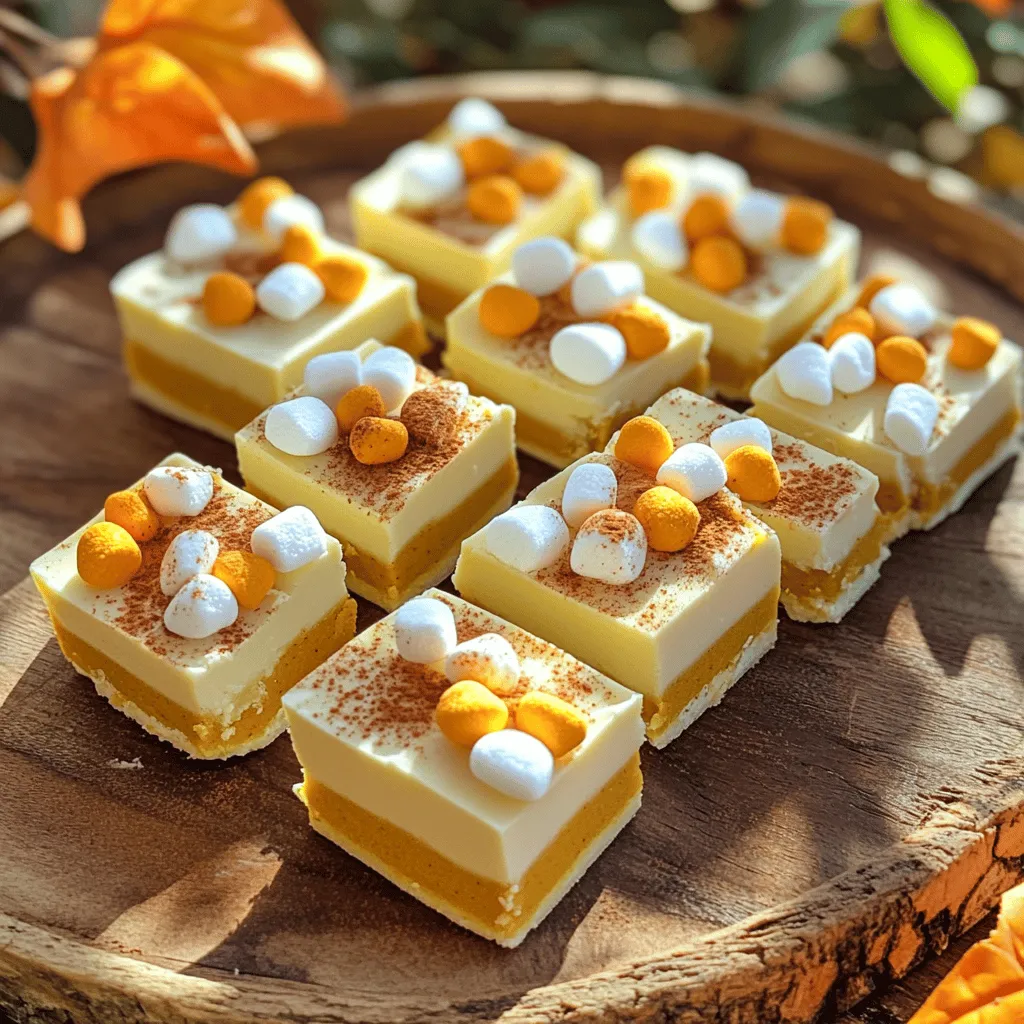
Microwave Pumpkin Spice Fudge Quick and Tasty Treat
Get ready for a delicious fall treat with my Microwave Pumpkin Spice Fudge! This easy recipe combines rich chocolate and warm pumpkin spices for a
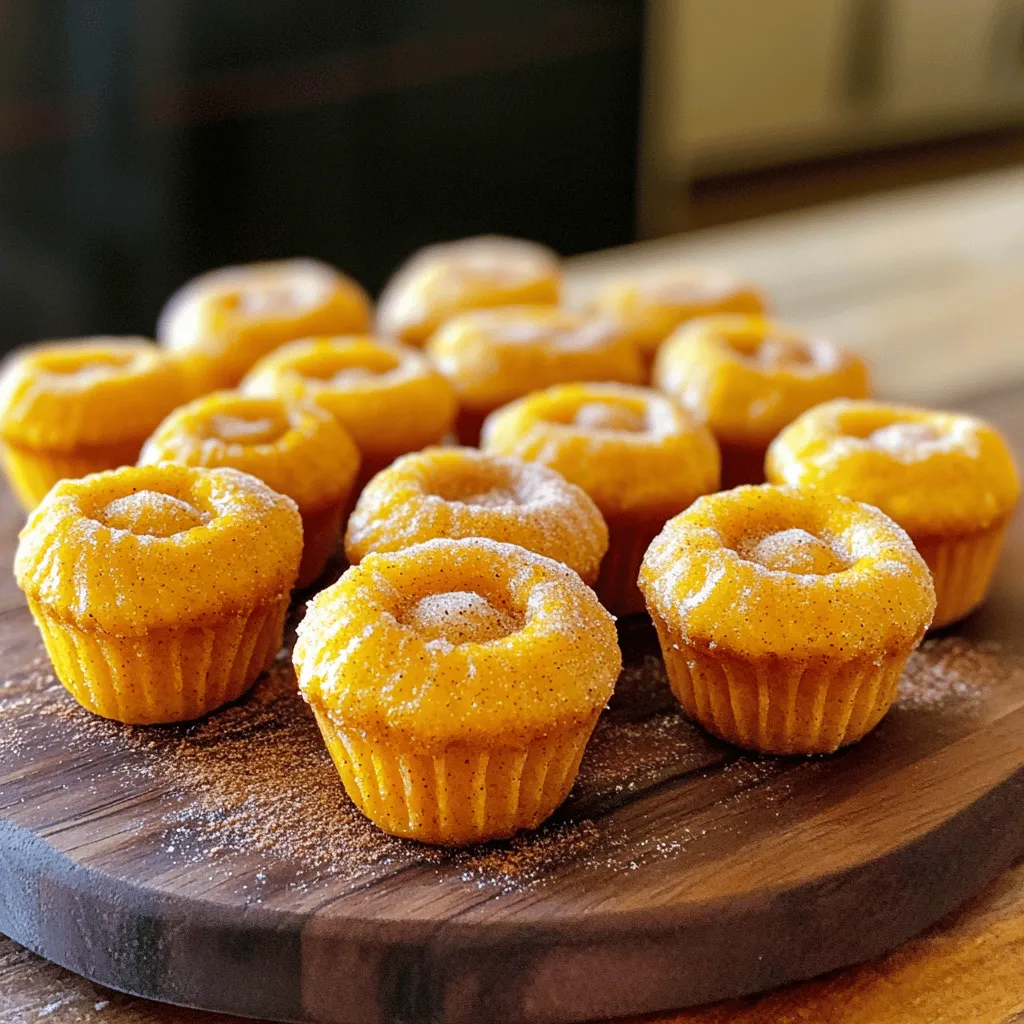
Pumpkin Churro Mini Muffins Tasty and Easy Recipe
Get ready to spice up your baking with my Pumpkin Churro Mini Muffins! This tasty and easy recipe combines the warm flavors of pumpkin and