Desserts
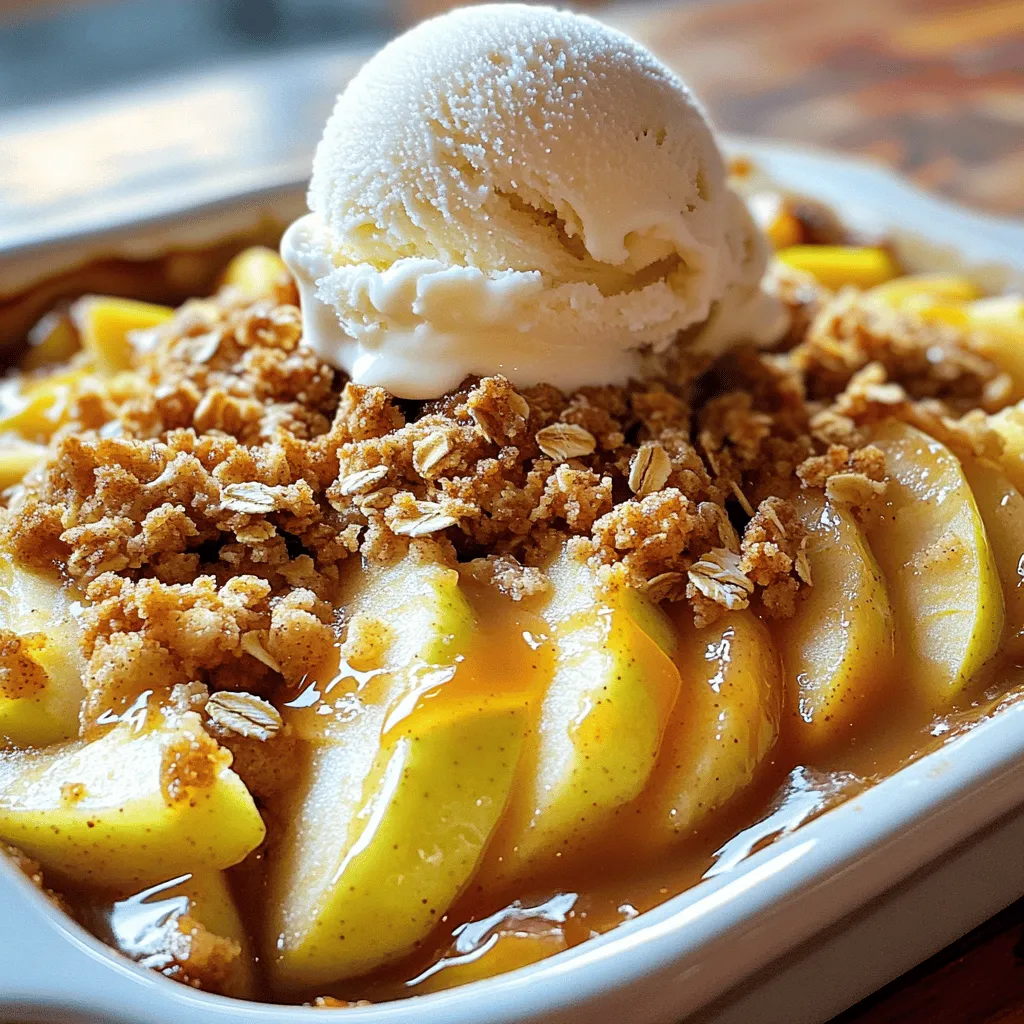
Best Ever Apple Crisp Simple and Delicious Recipe
Are you ready to indulge in the best apple crisp ever? This simple and delicious recipe will take your dessert game to the next level.
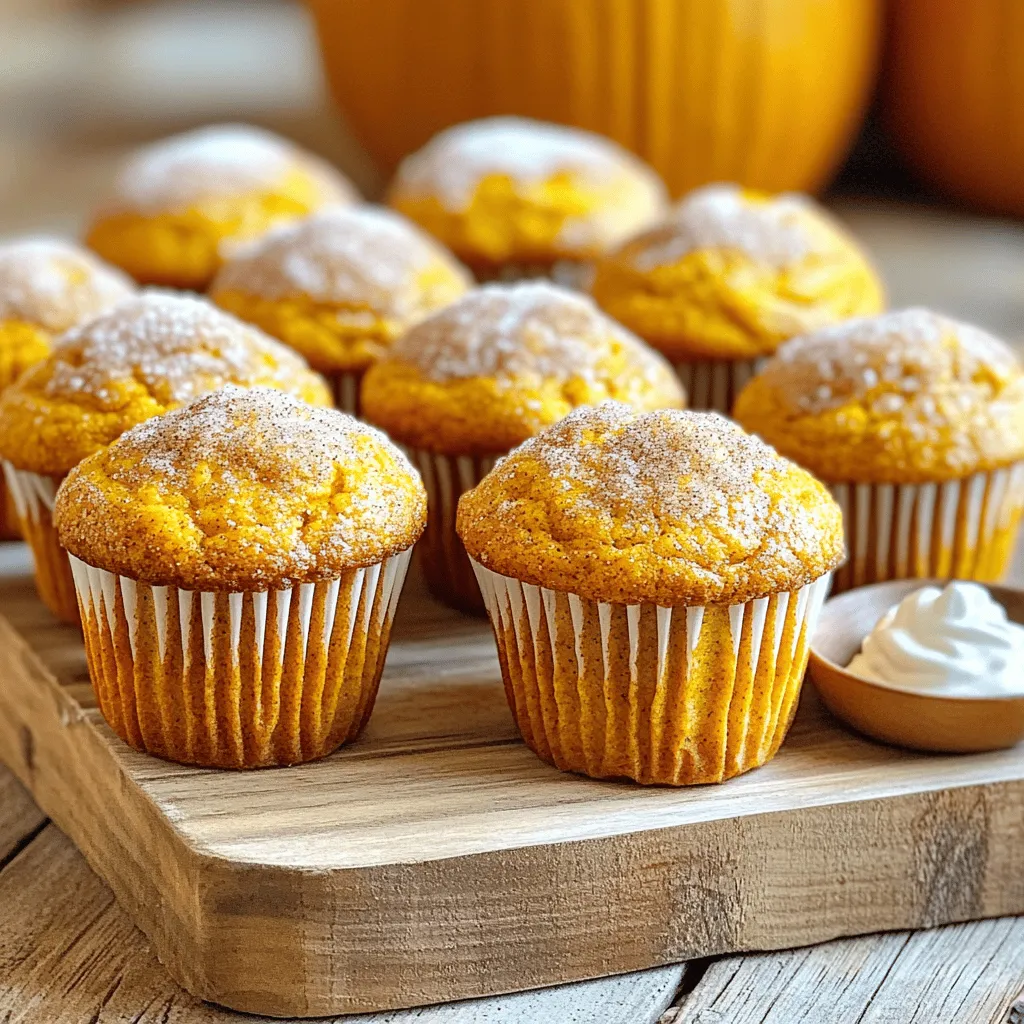
Cinnamon Sugar Pumpkin Muffins Easy and Tasty Treat
Get ready to bake delicious Cinnamon Sugar Pumpkin Muffins that are easy and fun! These muffins are a warm hug on a chilly day, bursting
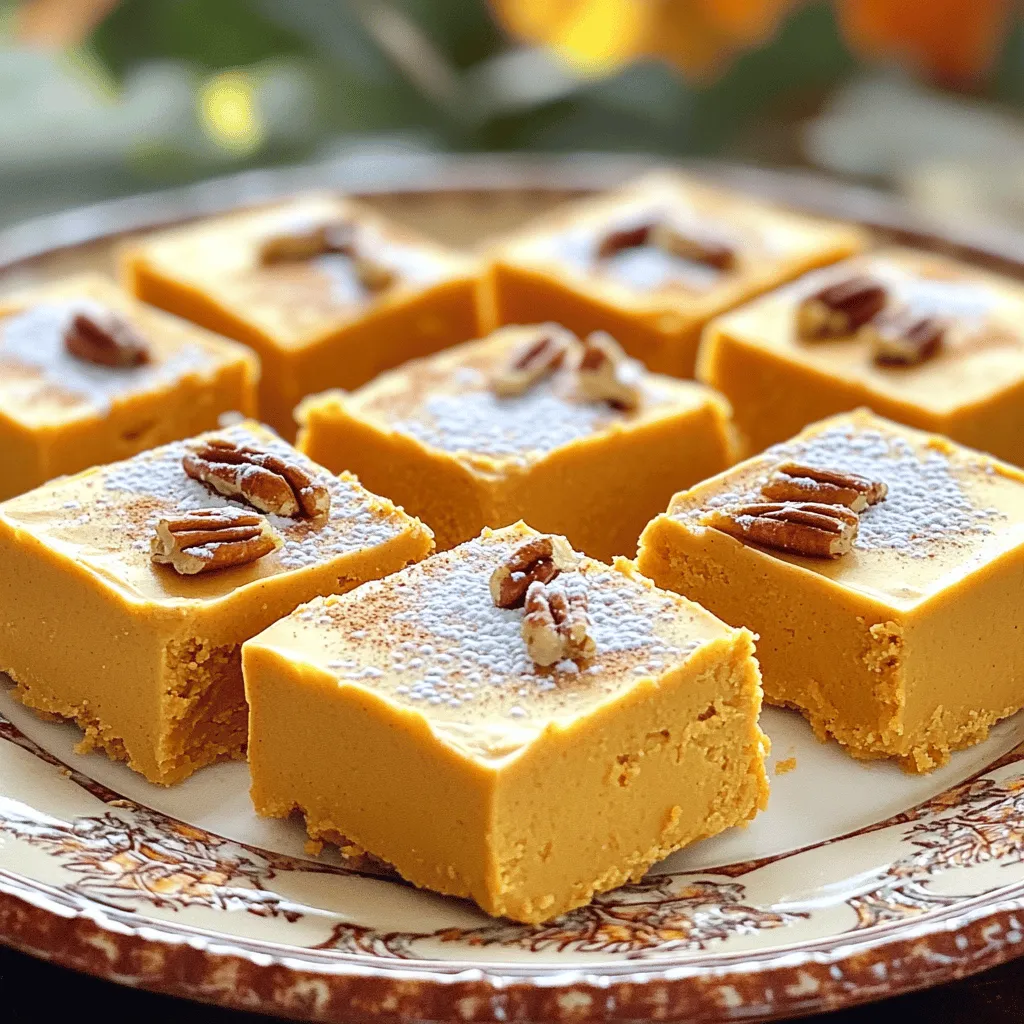
Peanut Butter Pumpkin Fudge Delightful Creamy Treat
Craving something sweet and creamy? Let me introduce you to Peanut Butter Pumpkin Fudge! This delightful treat combines the rich flavors of pumpkin and peanut
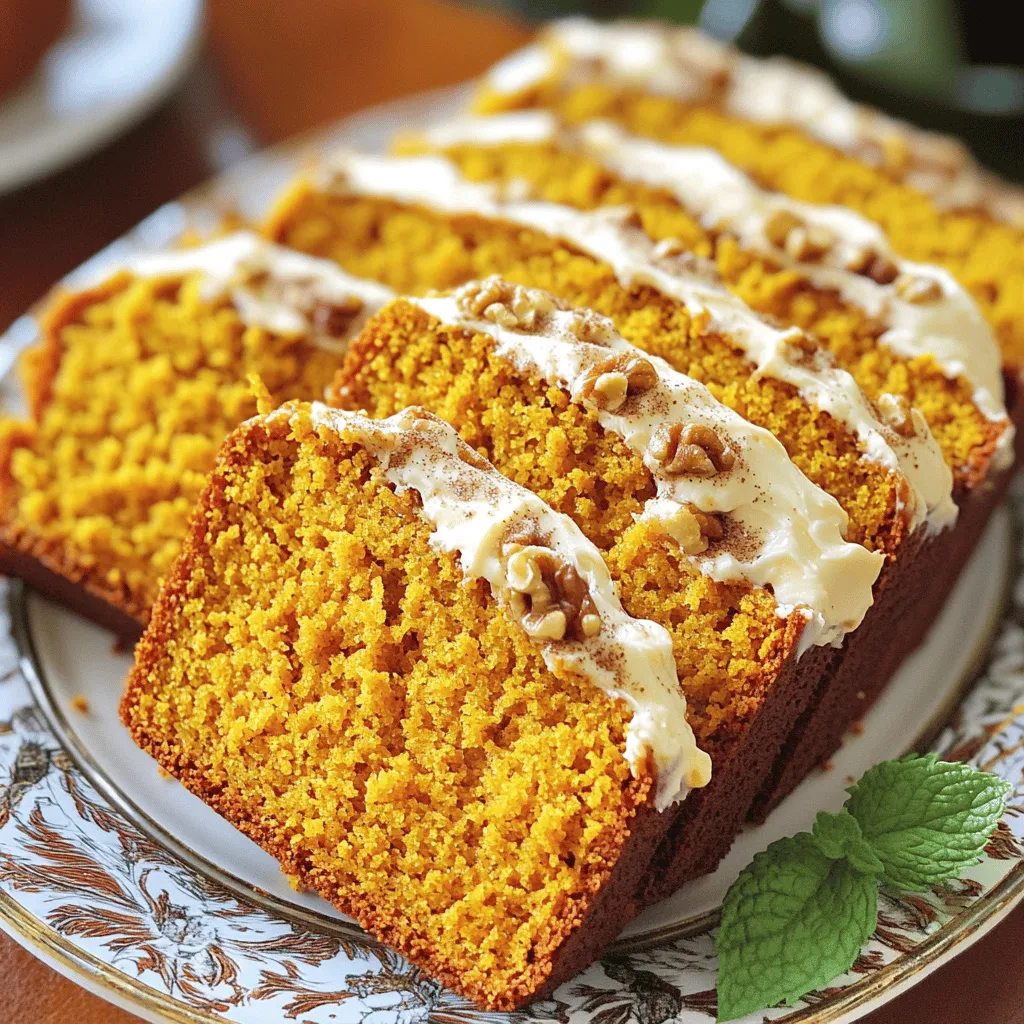
Pumpkin Bread with Cream Cheese Frosting Delight
Are you ready to savor the warm, spiced goodness of pumpkin bread topped with creamy frosting? In this blog post, I’ll guide you through the

Pumpkin Cream Cheese Cinnamon Rolls Delightful Recipe
Get ready to indulge in a fall favorite with my Pumpkin Cream Cheese Cinnamon Rolls! These rolls mix soft, spiced dough with a rich cream
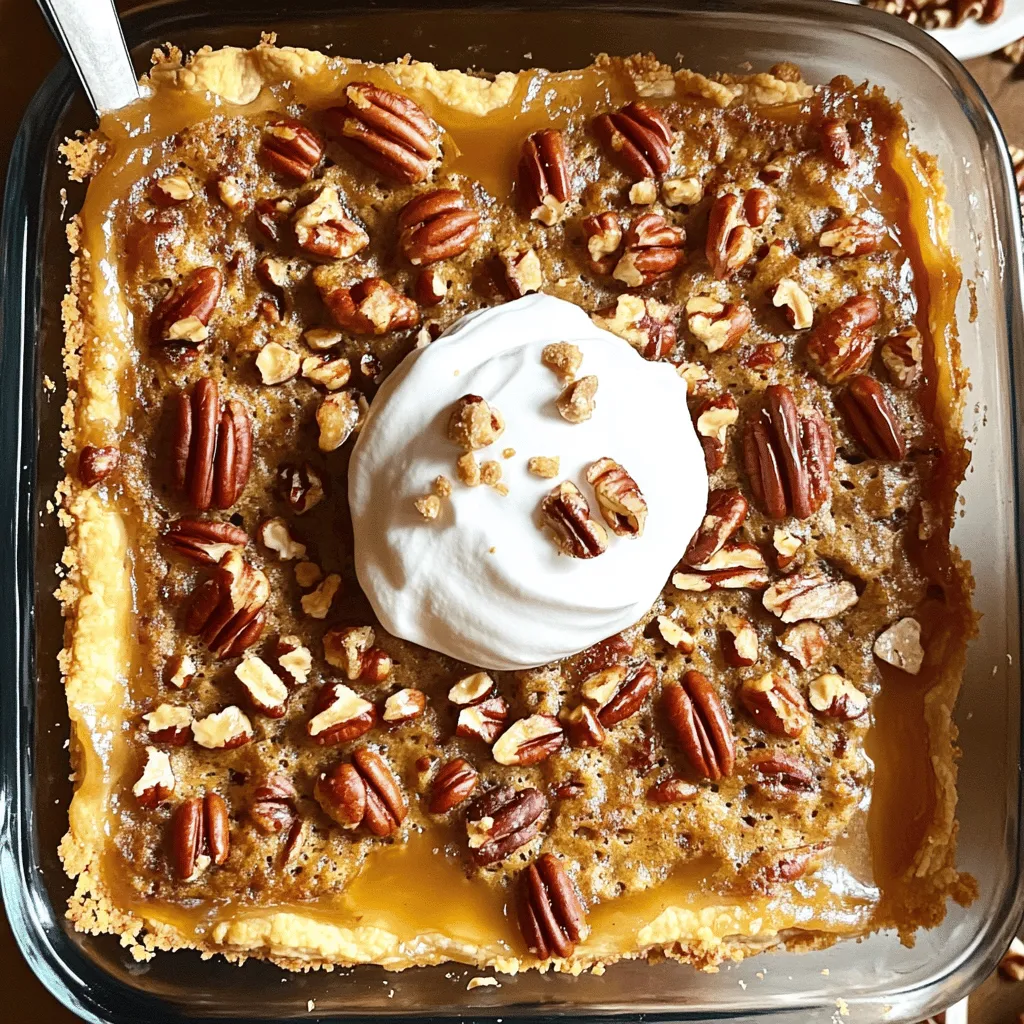
Pecan Pie Dump Cake Simple and Tasty Dessert Delight
Craving a dessert that’s simple yet delicious? Look no further than Pecan Pie Dump Cake! This delightful treat combines the rich flavor of pecans with
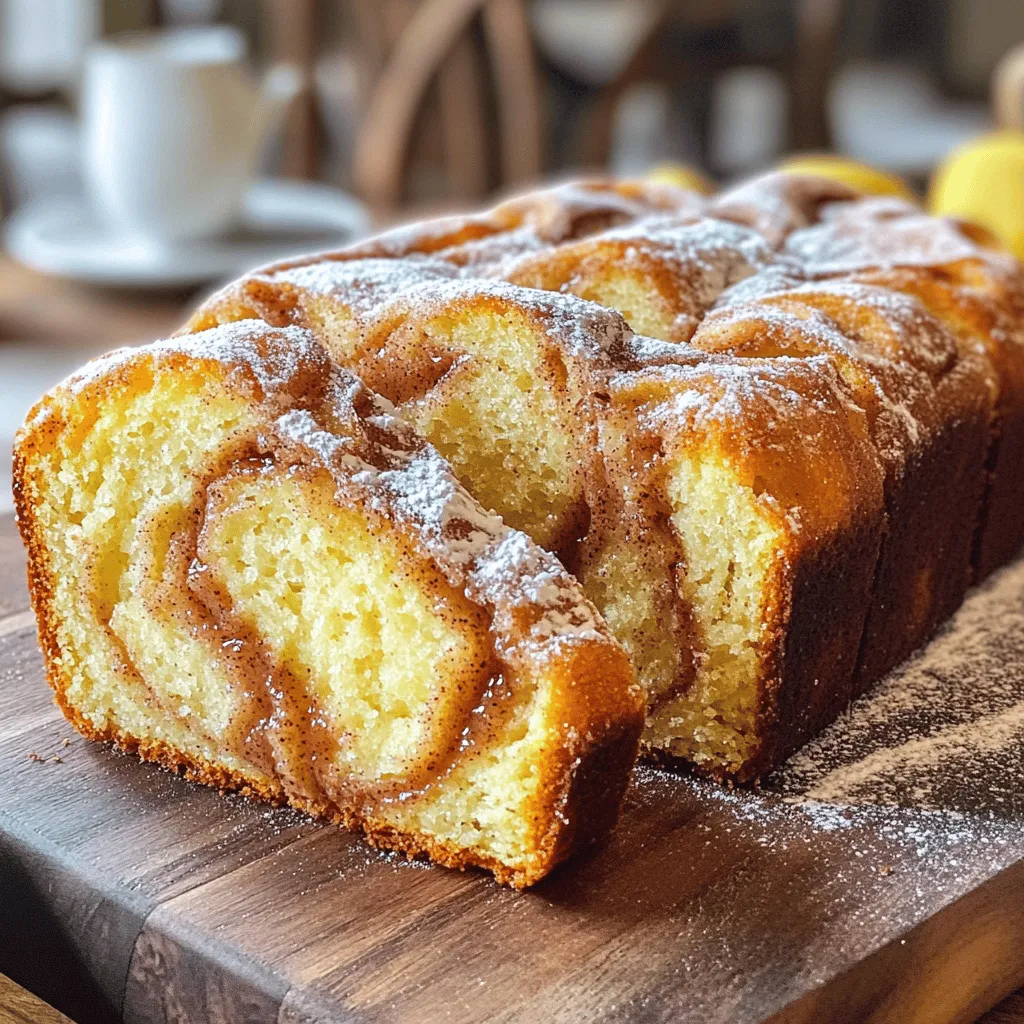
Cinnamon Donut Bread Easy and Tasty Recipe
Cinnamon Donut Bread is a warm, tasty treat that blends the joy of donuts with soft, moist bread. In this easy recipe, you’ll find simple
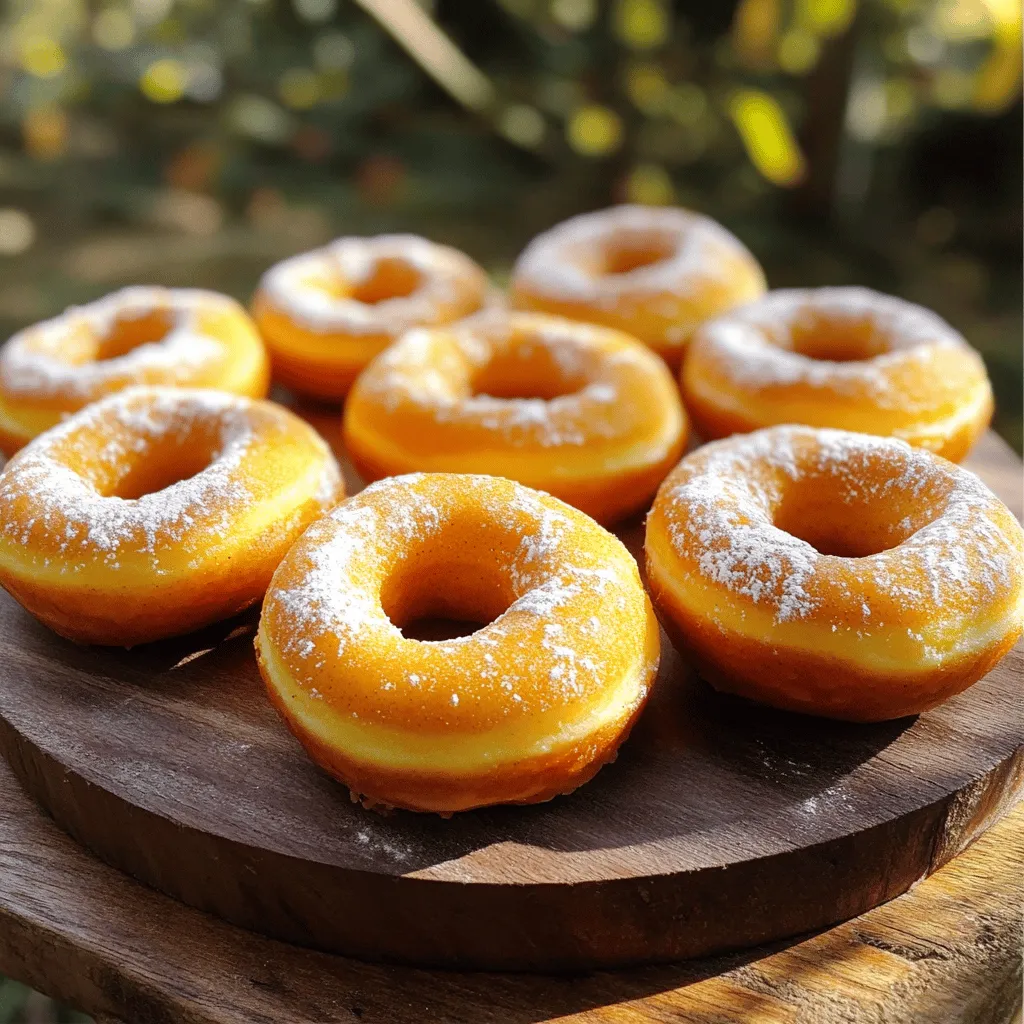
Baked Pumpkin Spice Donuts Delightful Fall Treat
Autumn is here, and what better way to celebrate than with warm, Baked Pumpkin Spice Donuts? These delightful treats are simple to make and full
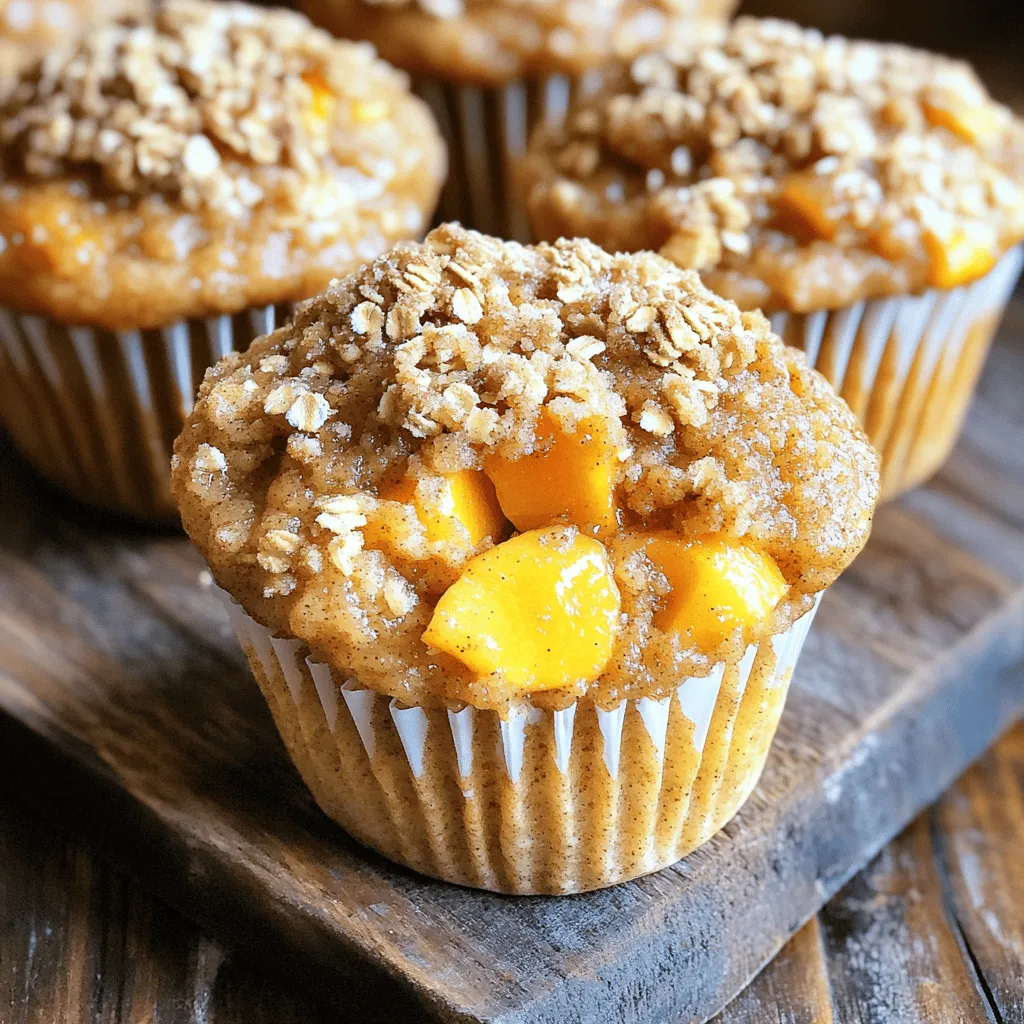
Peach Cobbler Muffins Flavorful and Easy Recipe
If you love the sweet taste of peaches, you’ll adore these Peach Cobbler Muffins. They capture all the warm flavors of a classic cobbler, but
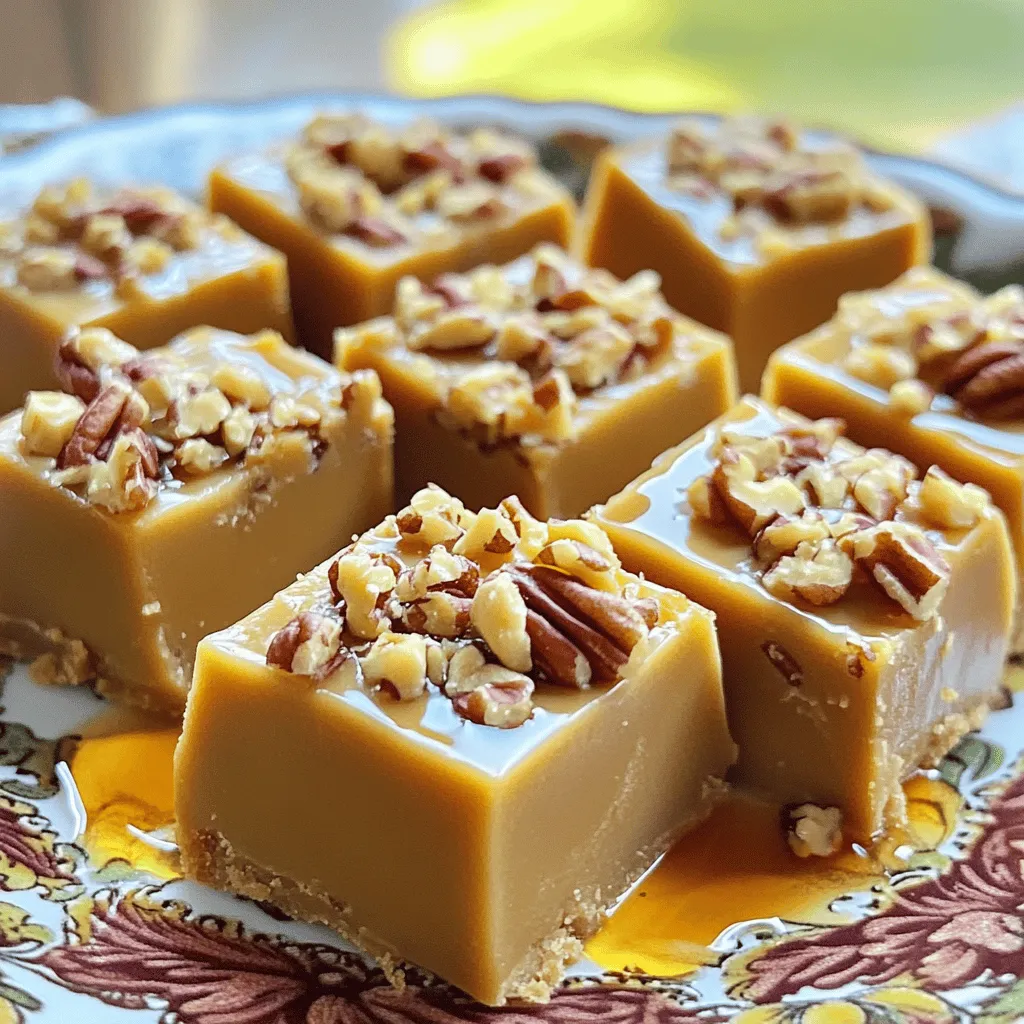
Maple Fudge Delightful Treat for Any Occasion
Have you ever craved a sweet treat that perfectly blends rich maple flavor and creamy texture? Look no further! Maple fudge is a simple, delightful