Desserts
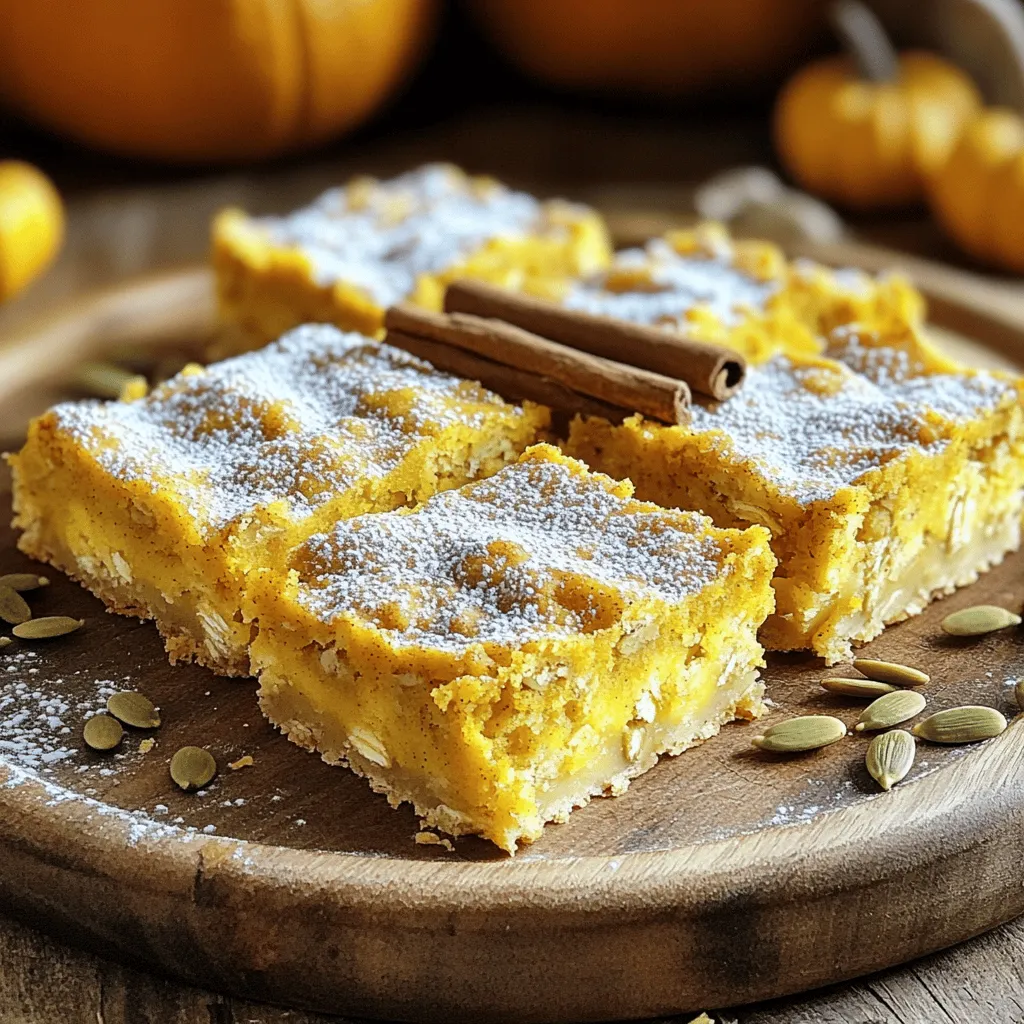
Fluffy Pumpkin Oatmeal Bars Simple and Tasty Recipe
Looking for a delightful treat that combines the warmth of pumpkin and the goodness of oats? You’re in the right place! My Fluffy Pumpkin Oatmeal
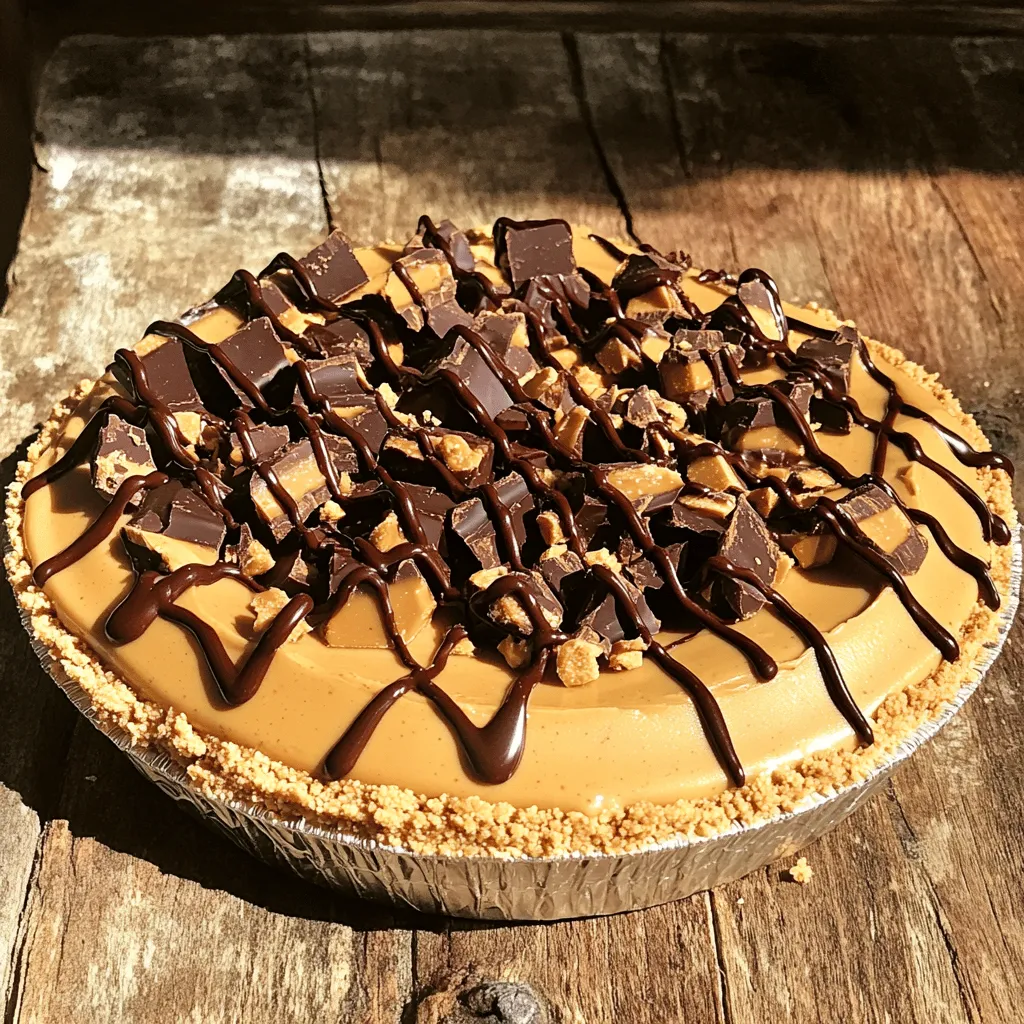
No Bake Butterfinger Pie Delightful and Easy Recipe
Craving a sweet treat that’s both easy and delicious? Look no further! This No Bake Butterfinger Pie uses simple ingredients to create a tasty dessert
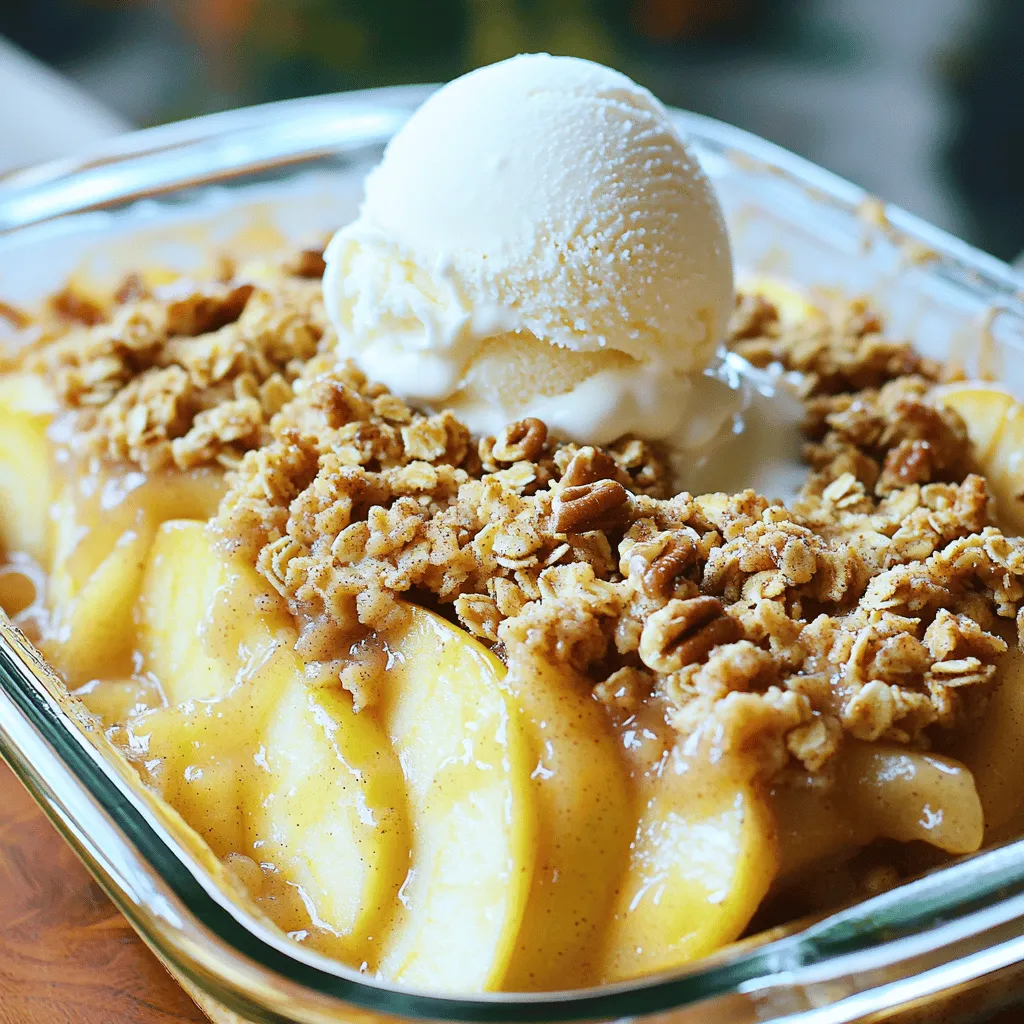
Easy Apple Crisp Delicious Dessert Recipe to Enjoy
Do you love warm, sweet desserts that are easy to make? You’re in the right place! This Easy Apple Crisp recipe is not only simple

Crispy Air Fryer Apple Fries Simple and Tasty Snack
Looking for a fun, healthy snack? Try my crispy air fryer apple fries! This simple recipe transforms fresh apples into a delightful treat that’s both
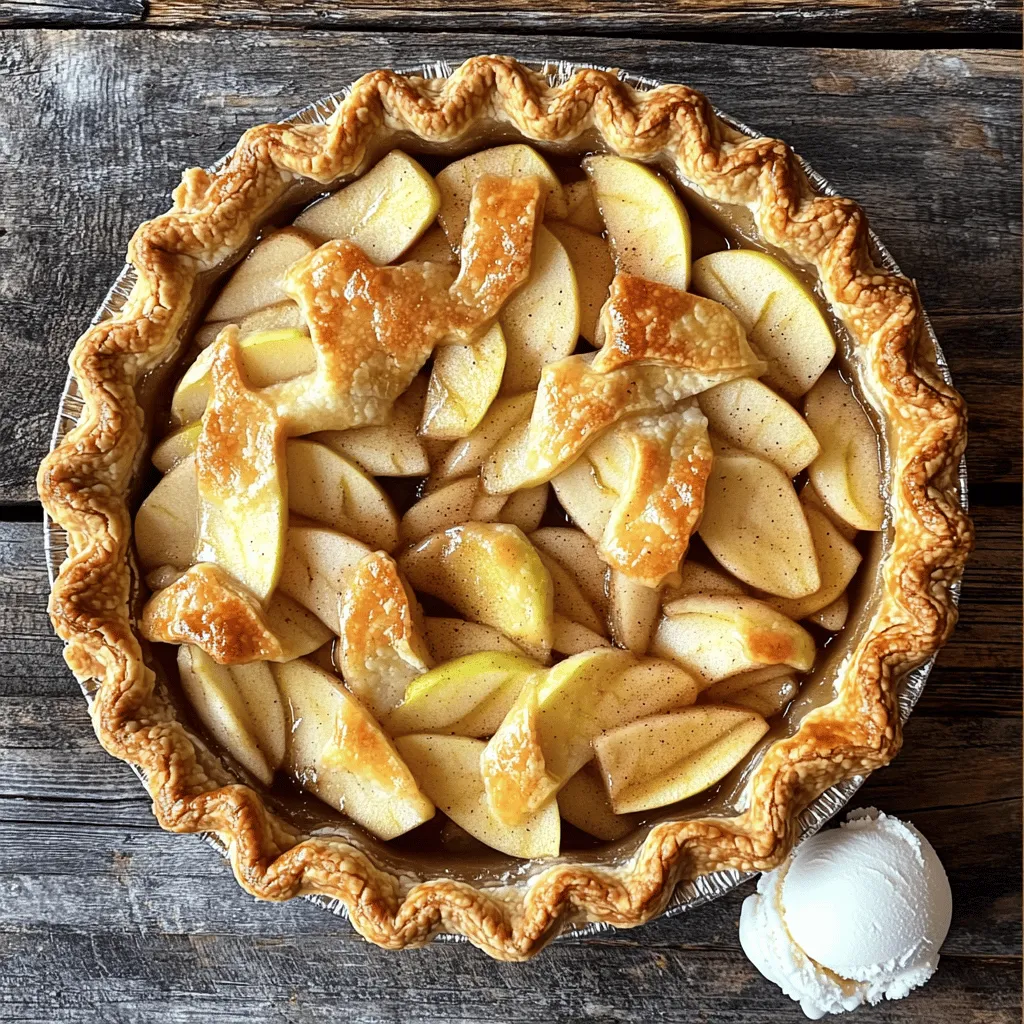
Classic Homemade Apple Pie Flavorful and Easy Recipe
There’s nothing like the aroma of a classic homemade apple pie filling your kitchen. In this easy recipe, I’ll guide you step-by-step to create a

Super Moist Pumpkin Bread Easy and Delicious Recipe
Are you ready to bake the best pumpkin bread ever? This Super Moist Pumpkin Bread recipe is easy and delicious, perfect for any occasion. You’ll

Ultimate Fudgy Brookies Irresistible Chocolate Delight
Get ready to indulge in the chocolate treat of your dreams! My Ultimate Fudgy Brookies combine rich brownies and chewy cookies for a dessert that’s
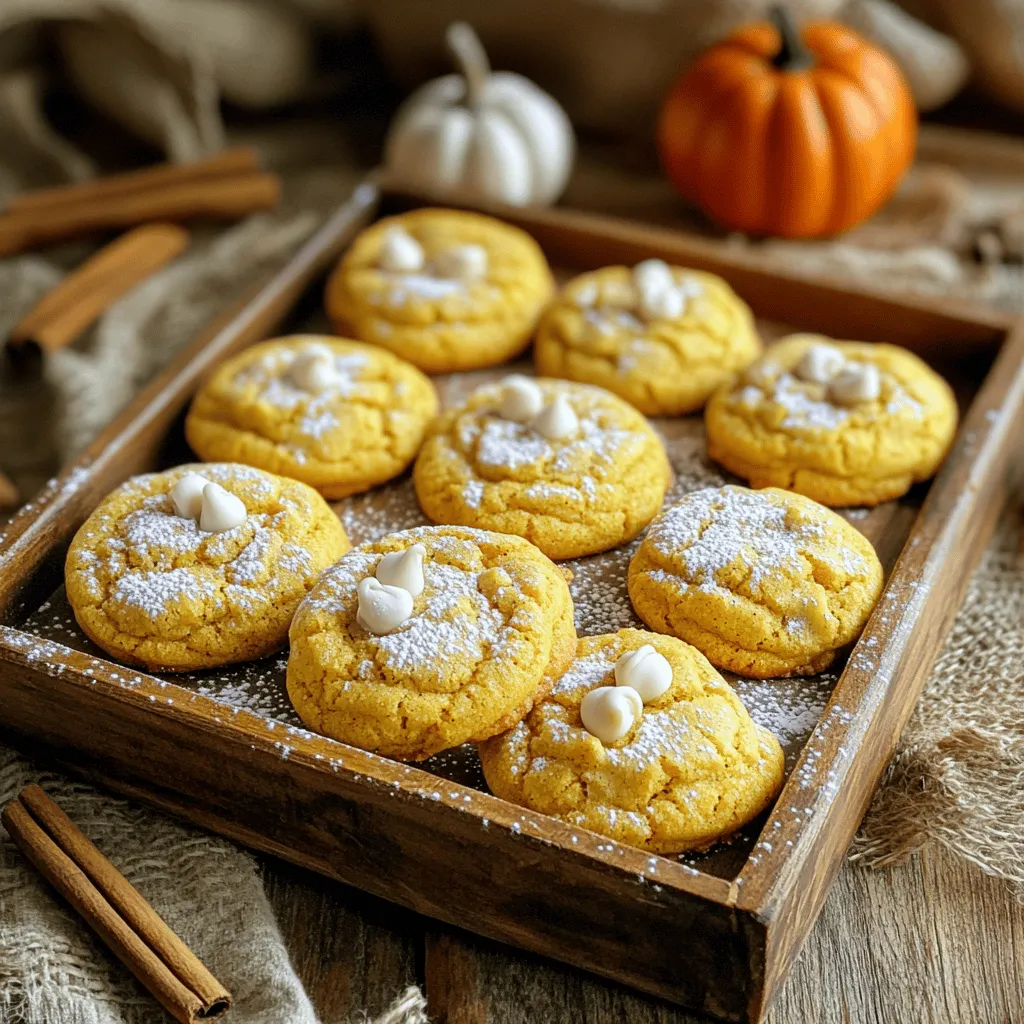
Soft Pumpkin Spice Cookies Irresistible Holiday Treat
Get ready for a delightful fall treat! My soft pumpkin spice cookies are the perfect blend of warm spices and sweet pumpkin goodness. They’re soft,
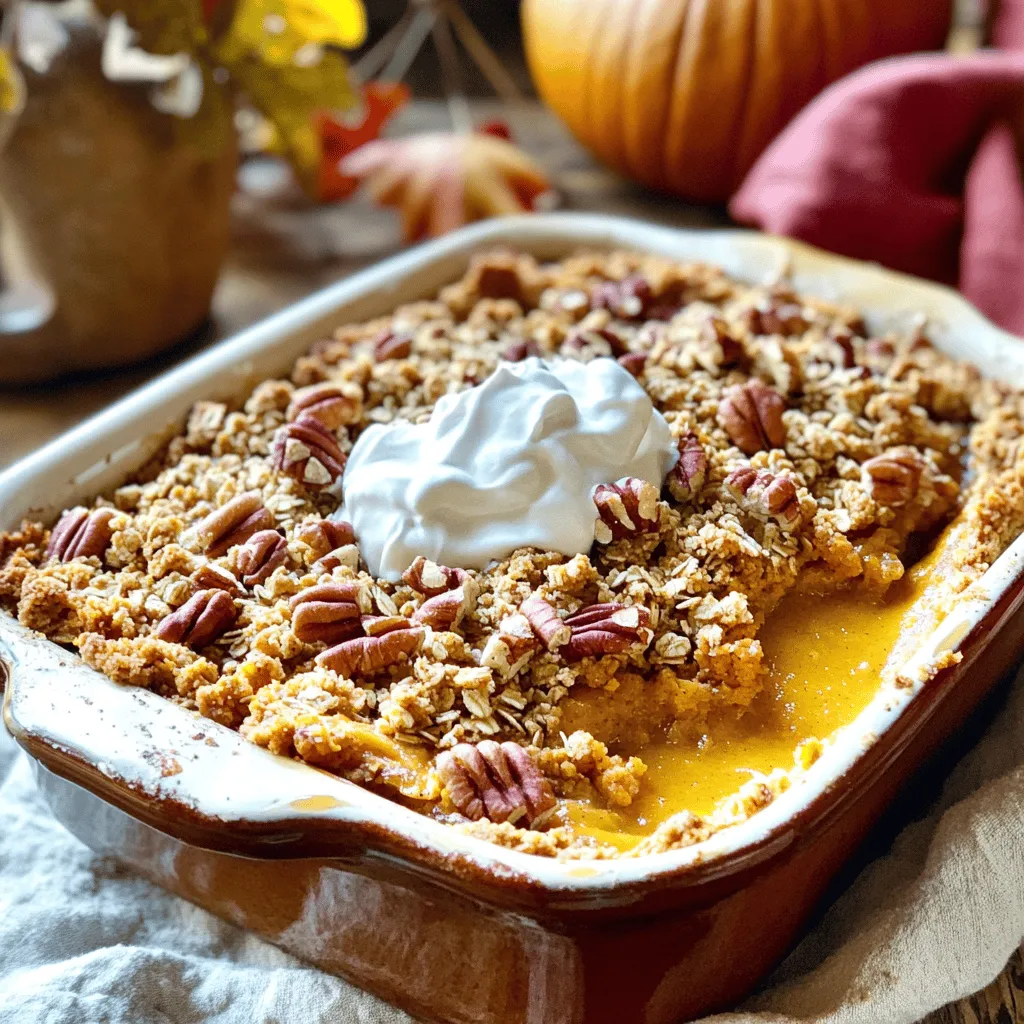
Easy Pumpkin Pie Crisp Simple and Tasty Delight
Craving a dessert that’s easy to make and bursting with flavor? This Easy Pumpkin Pie Crisp will tick all your boxes! With a warm, spiced

Gluten-Free Apple Mille Feuille with Vanilla Custard
If you crave a sweet treat that’s both delicious and gluten-free, you’ve come to the right place. Today, I’m excited to share my recipe for