Desserts
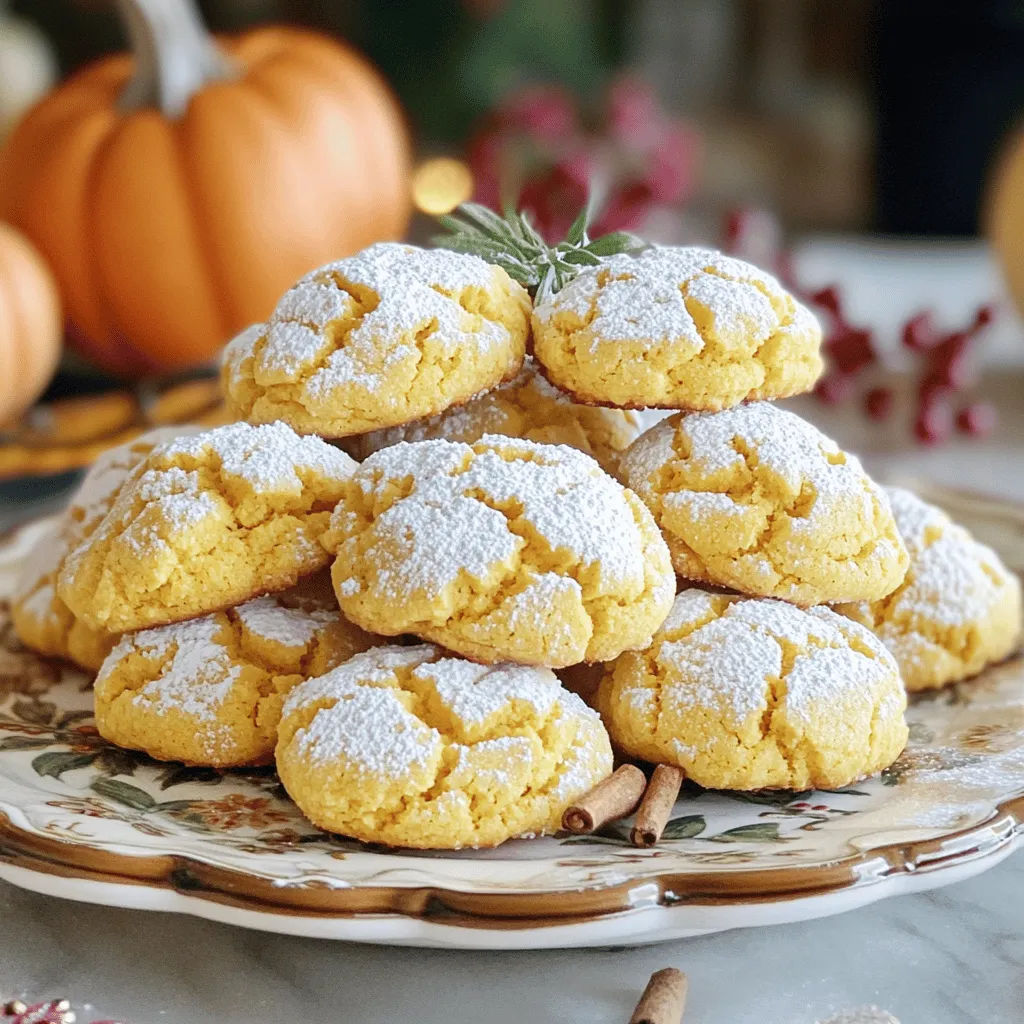
Pumpkin Crinkle Cookies Easy and Delicious Treat
Get ready to dive into the world of Pumpkin Crinkle Cookies! These easy and delicious treats are perfect for fall. You’ll love the soft, chewy
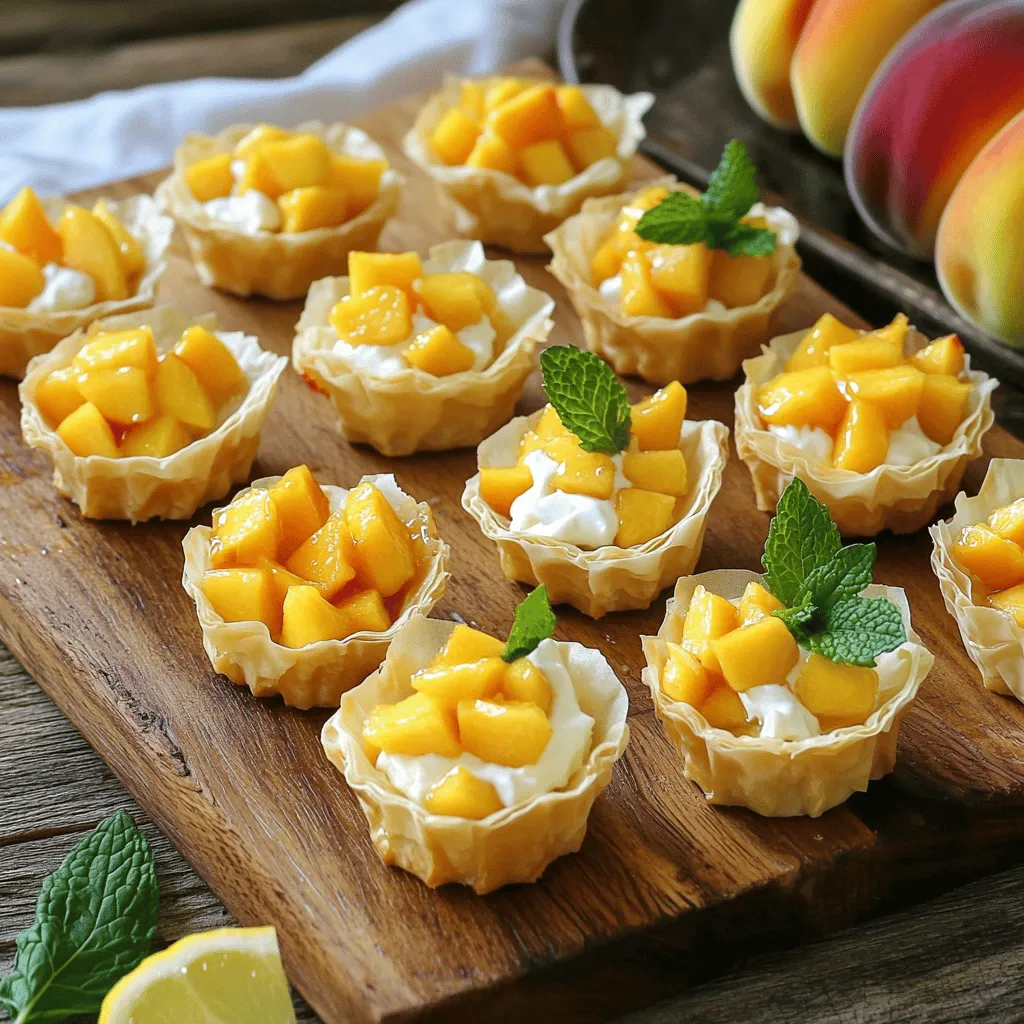
Mini Peach Cream Cheese Tarts Delightful Dessert Treat
Are you ready to indulge in a delightful treat? Mini Peach Cream Cheese Tarts combine sweet peaches with creamy goodness, creating the perfect dessert. In

Fluffy Vanilla Donuts Easy and Delicious Recipe
Do you crave fluffy vanilla donuts that melt in your mouth? Look no further! In this easy and delicious recipe, I will guide you step-by-step
Apple Cider Pound Cake Delicious Fall Treat Recipe
Fall is the perfect time to enjoy the warm flavors of apple cider, and I have a delicious recipe for you: Apple Cider Pound Cake!
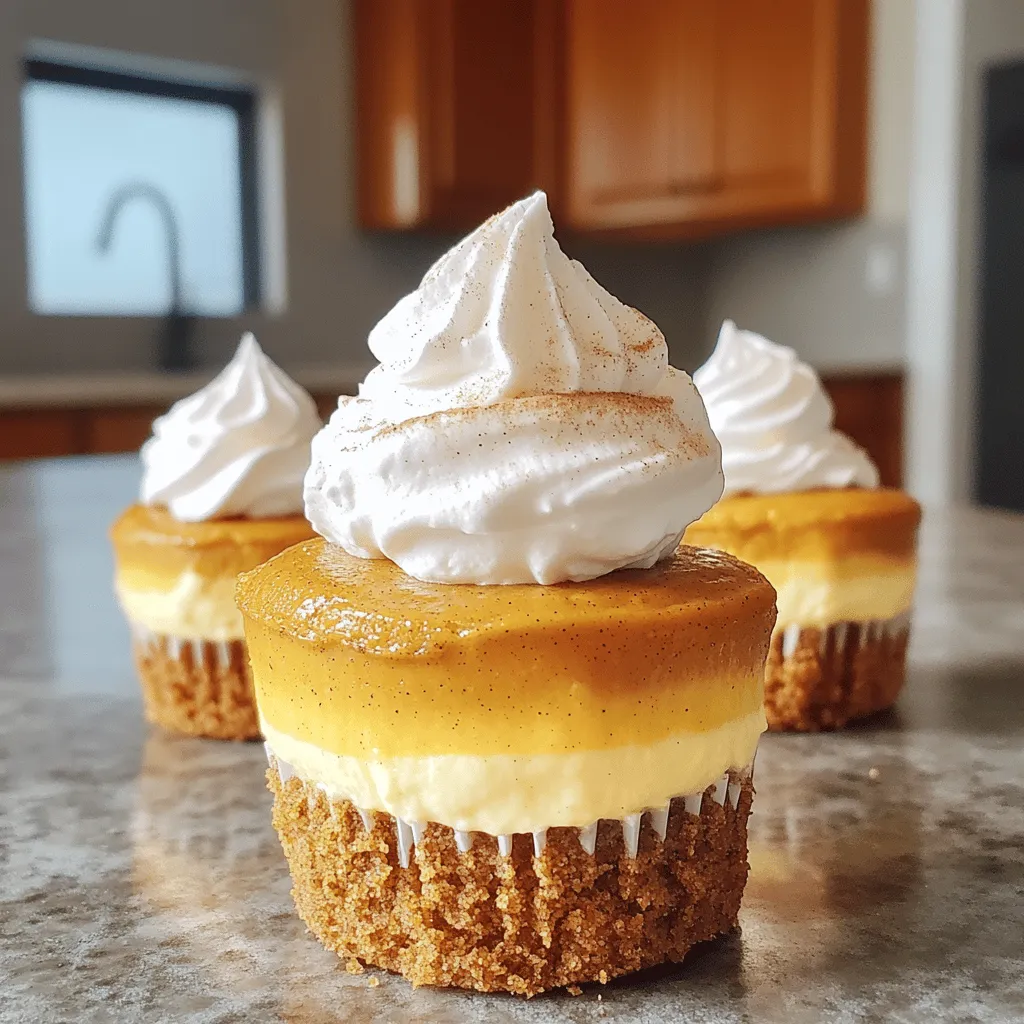
Pumpkin Cheesecake Cupcakes Delightful and Tasty Treat
Are you ready to indulge in a fall favorite? Pumpkin Cheesecake Cupcakes are the perfect blend of creamy and spiced goodness. These cupcakes capture the
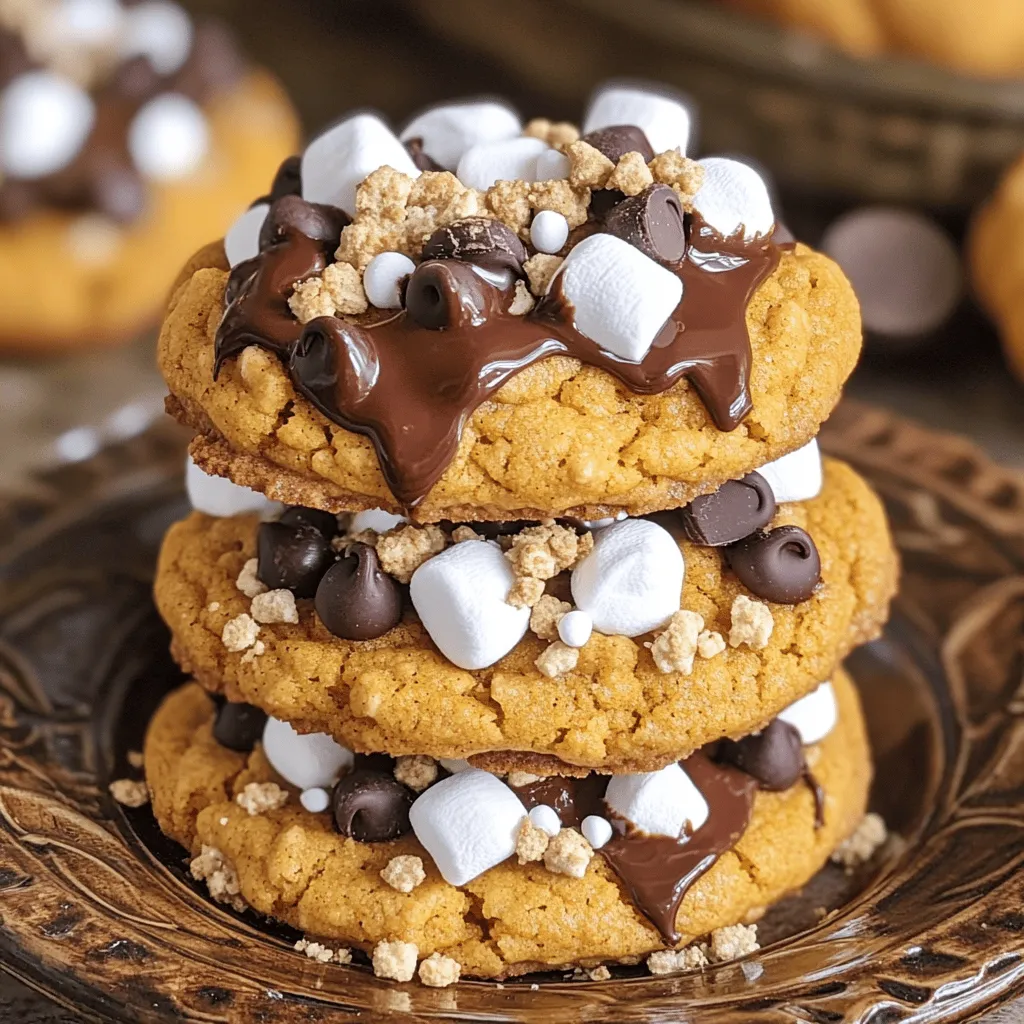
Pumpkin S’mores Cookies Irresistible Fall Treat
Fall is the perfect time for cozy treats, and what could be more delightful than Pumpkin S’mores Cookies? These sweet, spiced cookies blend pumpkin and
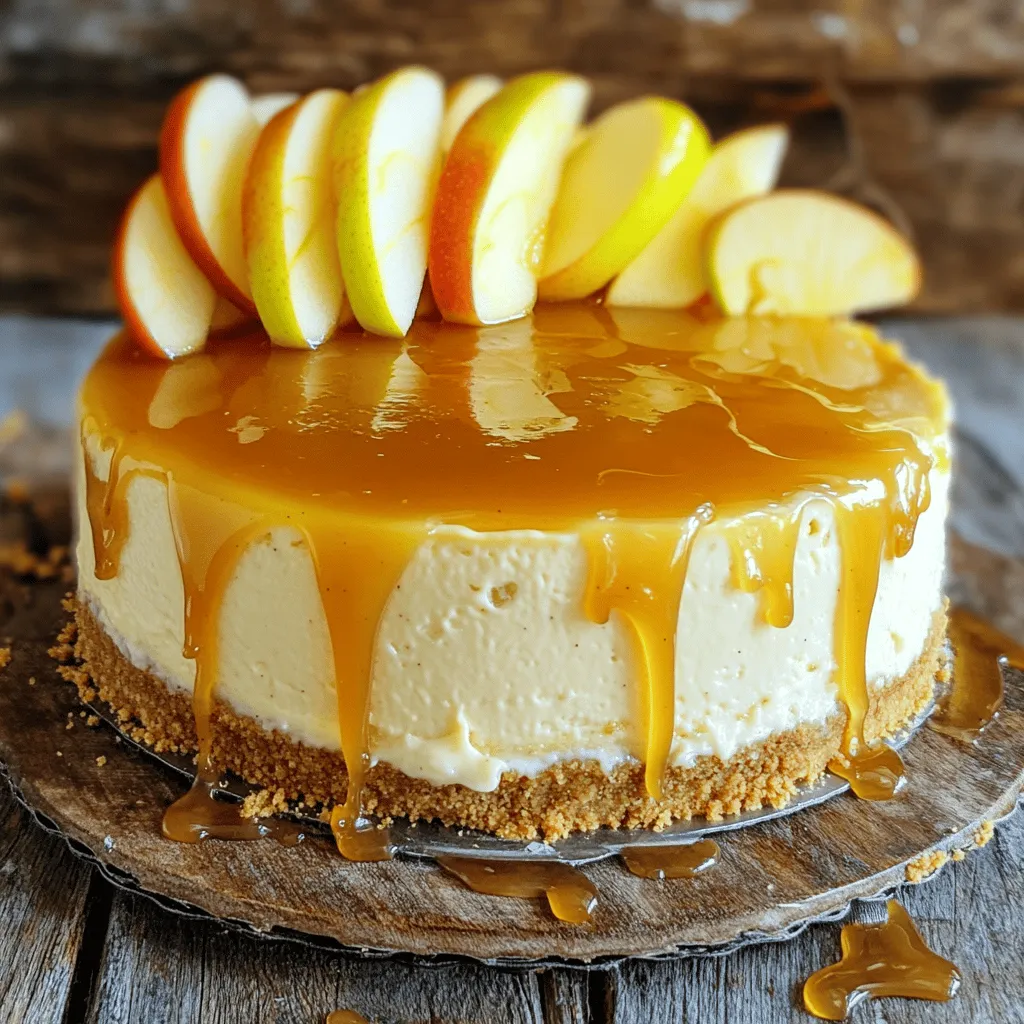
Savory Apple Cider Cheesecake Delightful and Creamy
Are you ready to treat yourself? This Savory Apple Cider Cheesecake is both delightful and creamy. Homemade cheesecake bursts with the rich, seasonal flavor of
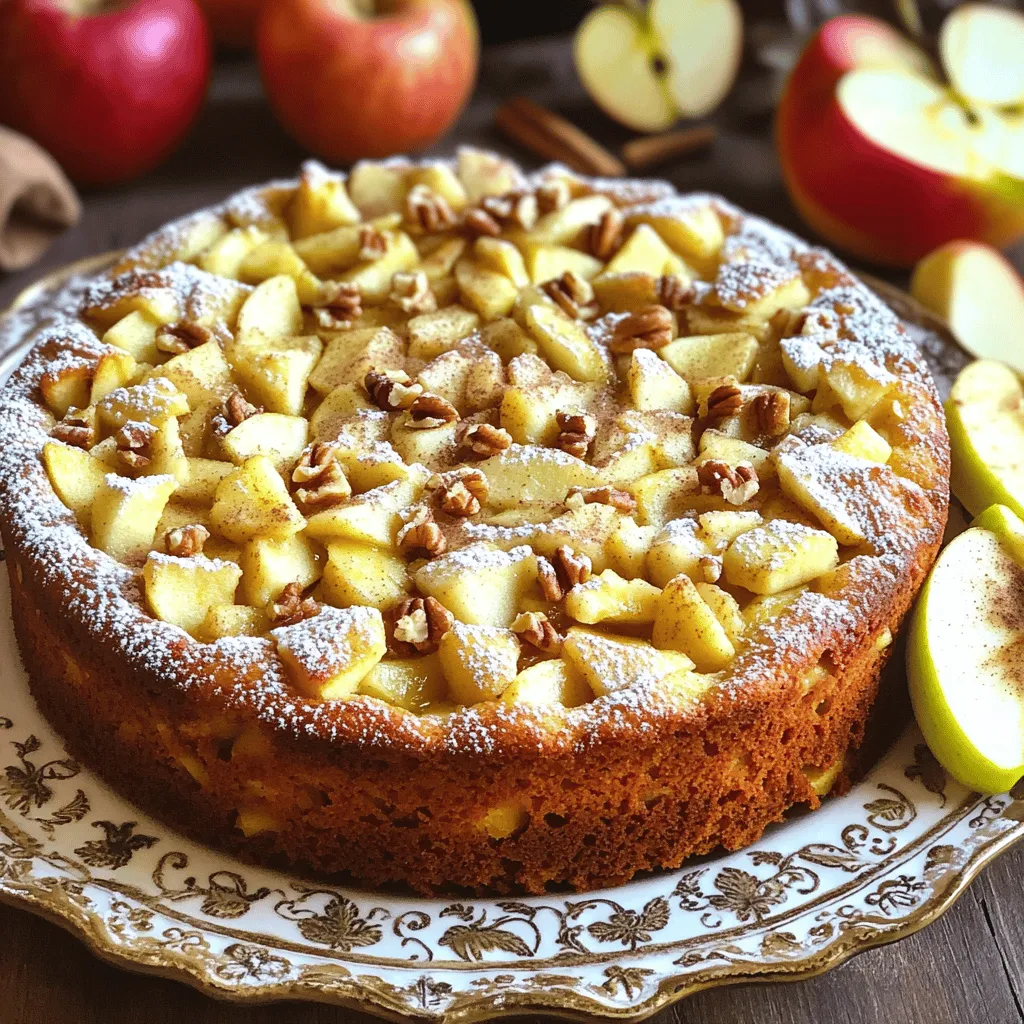
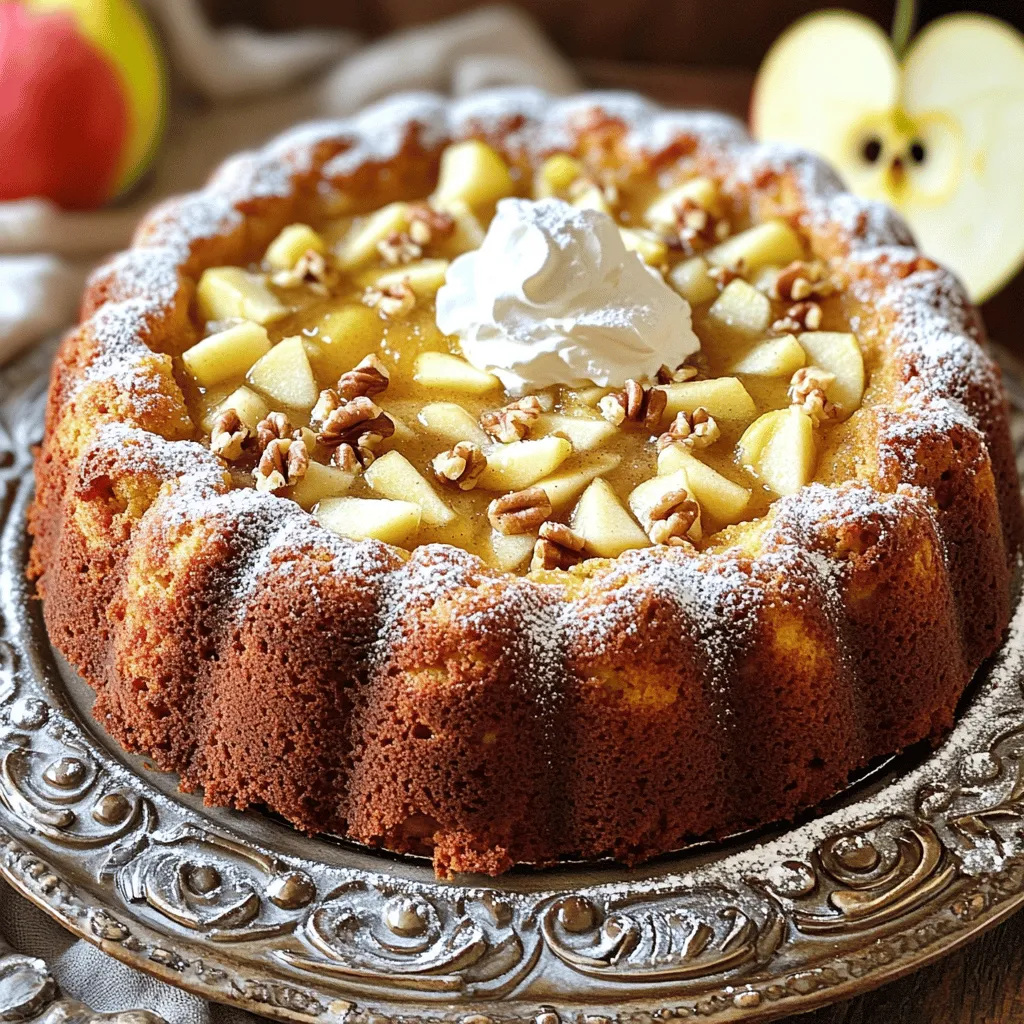
Quick Cinnamon Apple Cake Simple and Delicious Recipe
Are you ready to savor a warm slice of Quick Cinnamon Apple Cake? This simple and delicious recipe is perfect for any occasion. With just
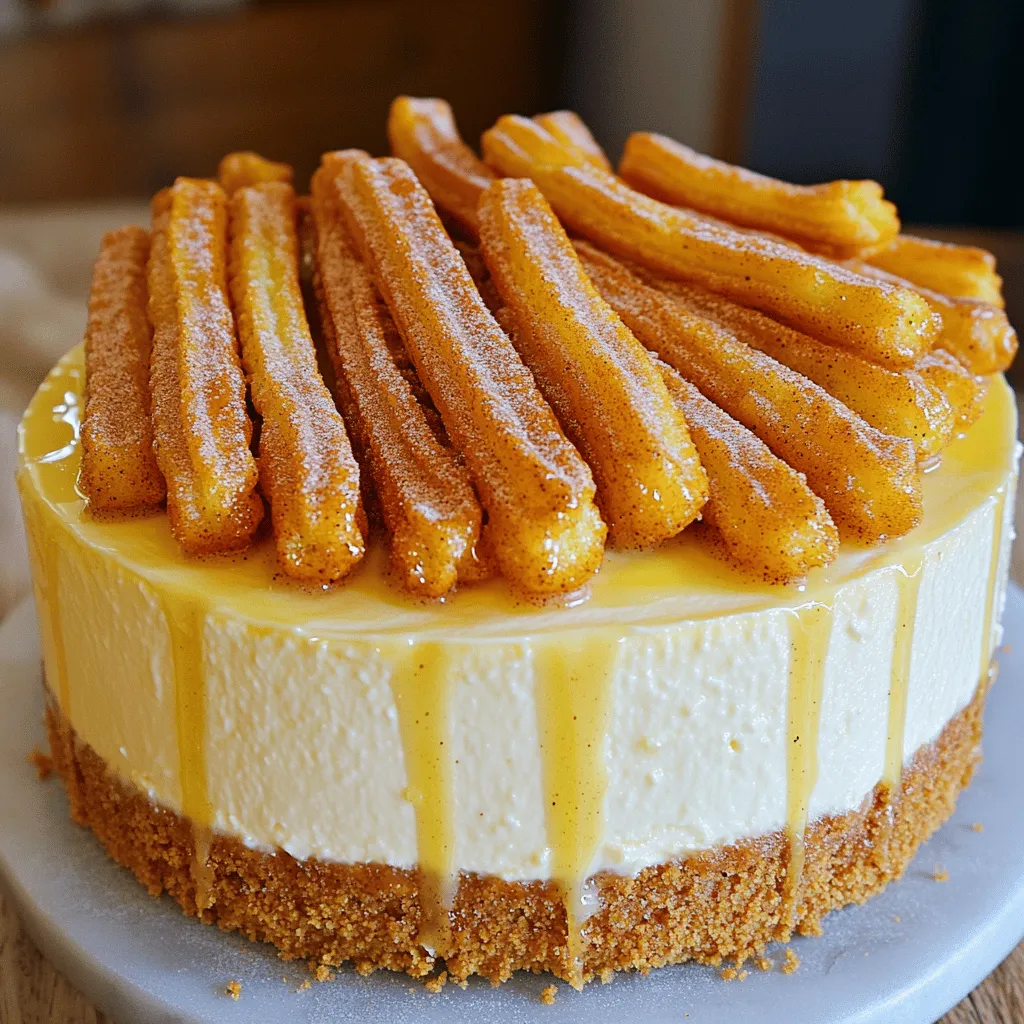
Party Perfect Churro Cheesecake Delightful Dessert Treat
Craving a dessert that dazzles at every party? You’re in for a treat! My Party Perfect Churro Cheesecake combines creamy cheesecake with delicious churro flavors.
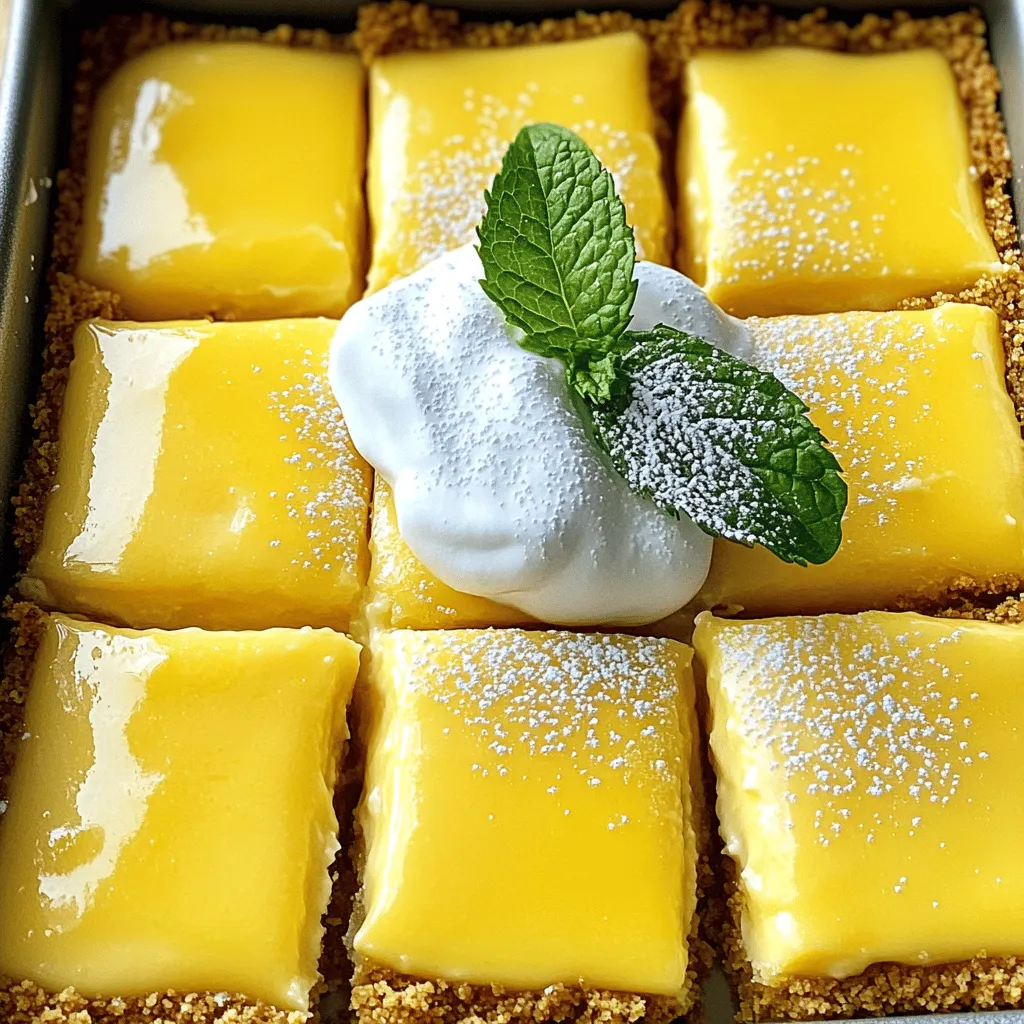
Zesty Lemon Cheesecake Squares Refreshing and Sweet Treat
Craving a sweet treat to brighten your day? My Zesty Lemon Cheesecake Squares deliver a perfect balance of refreshing lemon and creamy goodness. With simple