Desserts

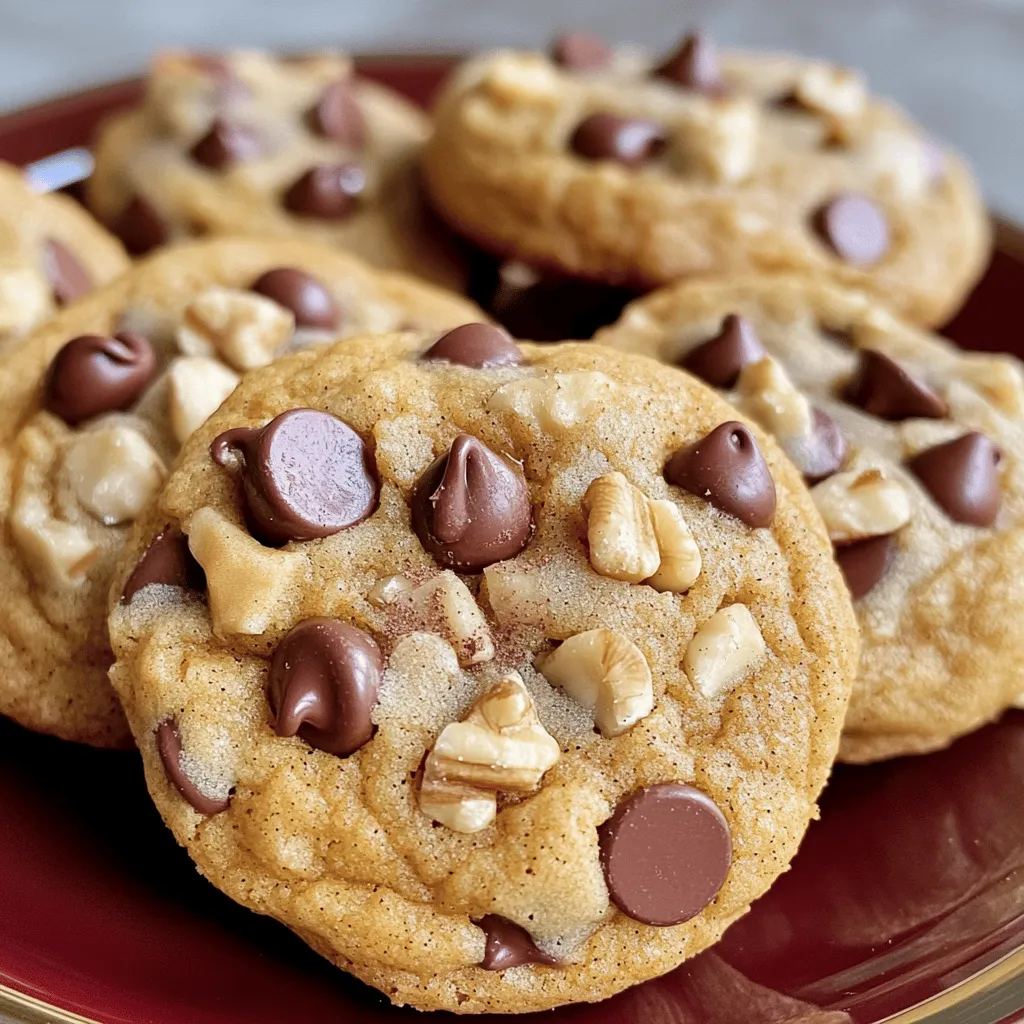
Soft Pumpkin Chocolate Chip Cookies Delightful Treat
If you love warm, cozy treats, these Soft Pumpkin Chocolate Chip Cookies will steal your heart! Imagine biting into a fluffy cookie bursting with pumpkin

Healthy Pumpkin Truffles Irresistible Treats Recipe
Looking for a tasty yet healthy treat? These Healthy Pumpkin Truffles are perfect! With simple ingredients, you can make a delightful snack that satisfies your
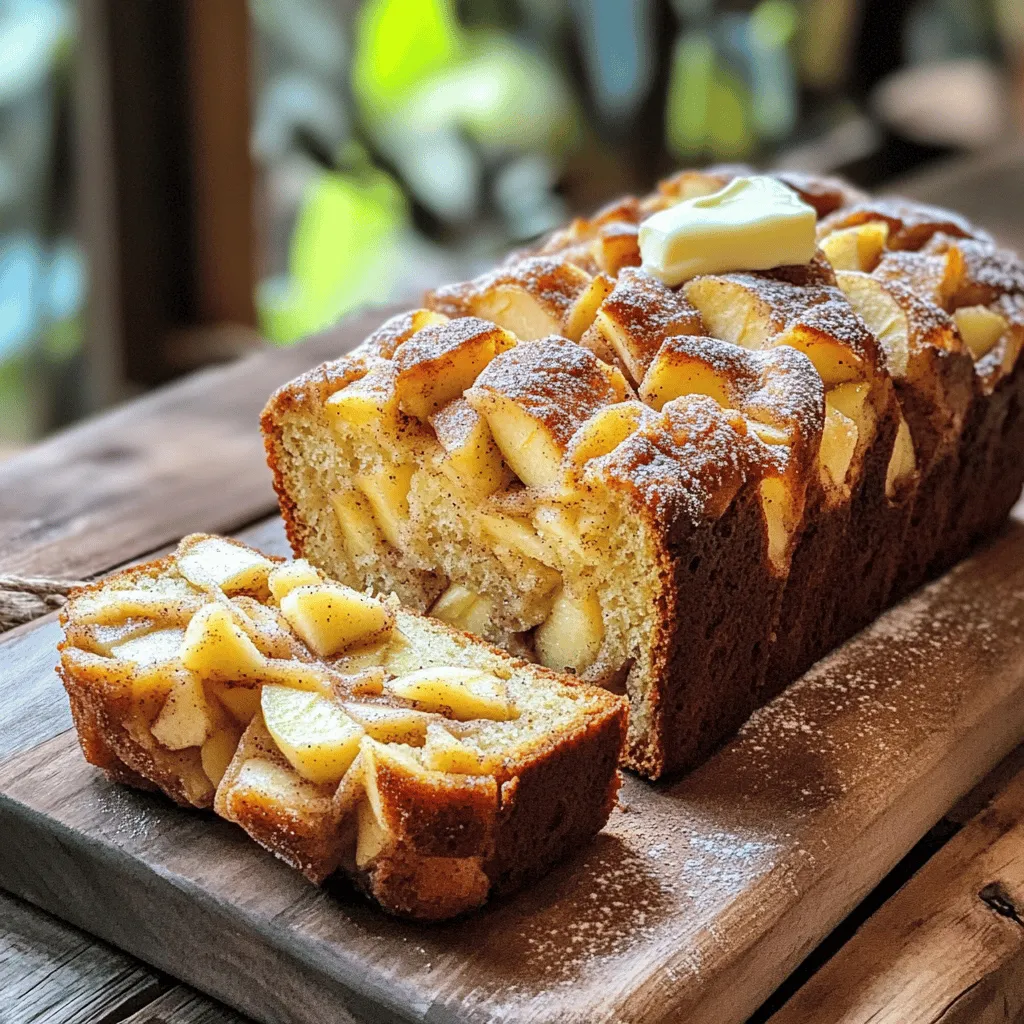
Classic Apple Cinnamon Bread Flavorful and Easy Recipe
Welcome to my classic apple cinnamon bread recipe, where comfort and flavor meet! This easy-to-follow guide will help you create a warm, moist loaf that
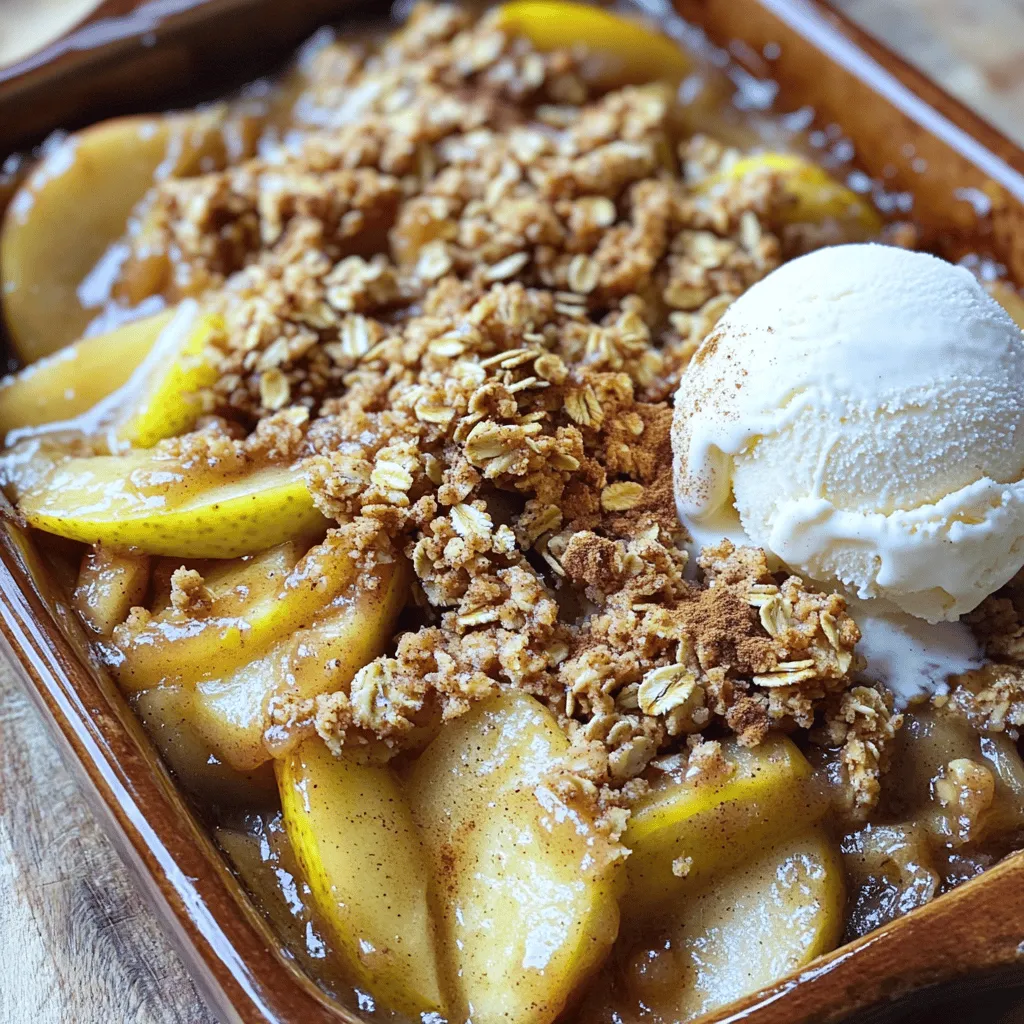
Ultimate Apple Crisp Easy and Delicious Recipe Guide
Are you ready to create the Ultimate Apple Crisp? This easy recipe guide will help you whip up a warm, tasty dessert that everyone will
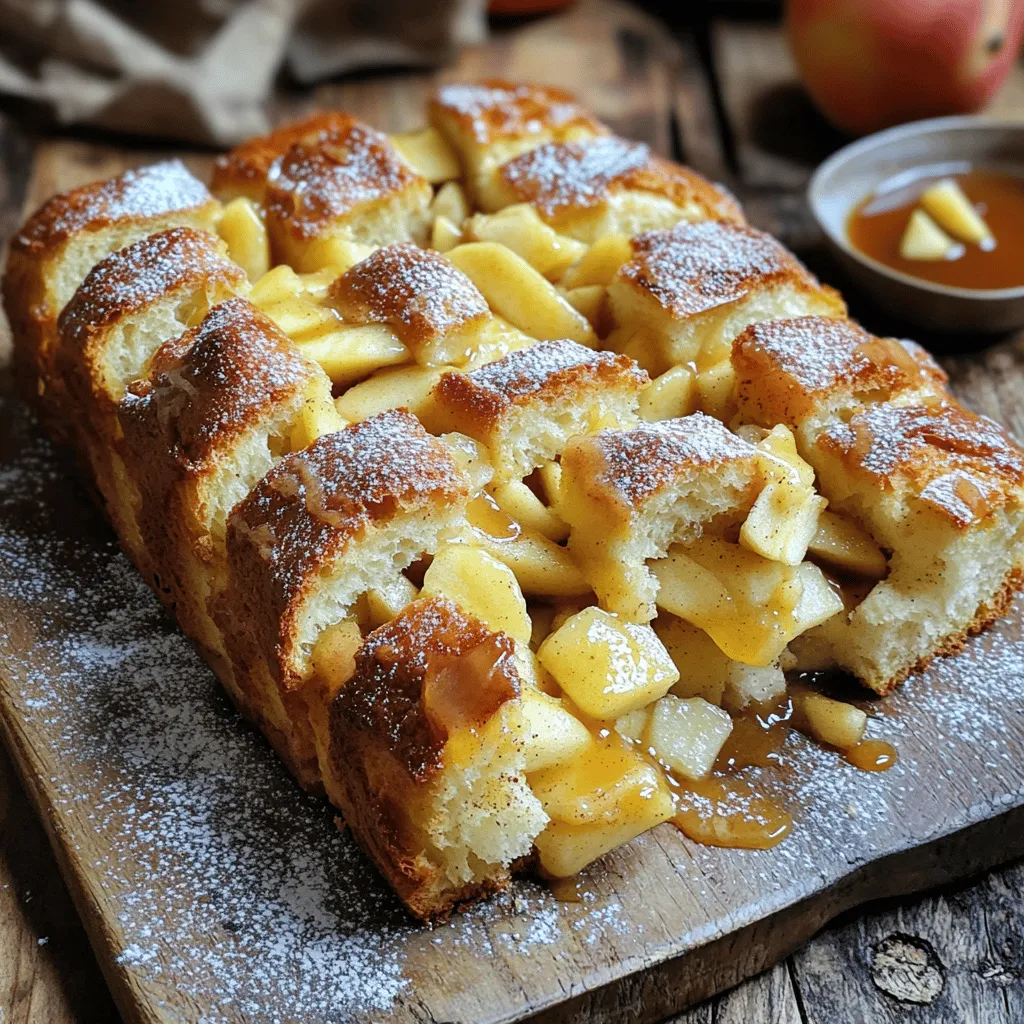
Sourdough Discard Apple Pull-Apart Bread Delight
Are you ready to transform your sourdough discard into something truly magical? This Sourdough Discard Apple Pull-Apart Bread is a delightful treat that combines rich
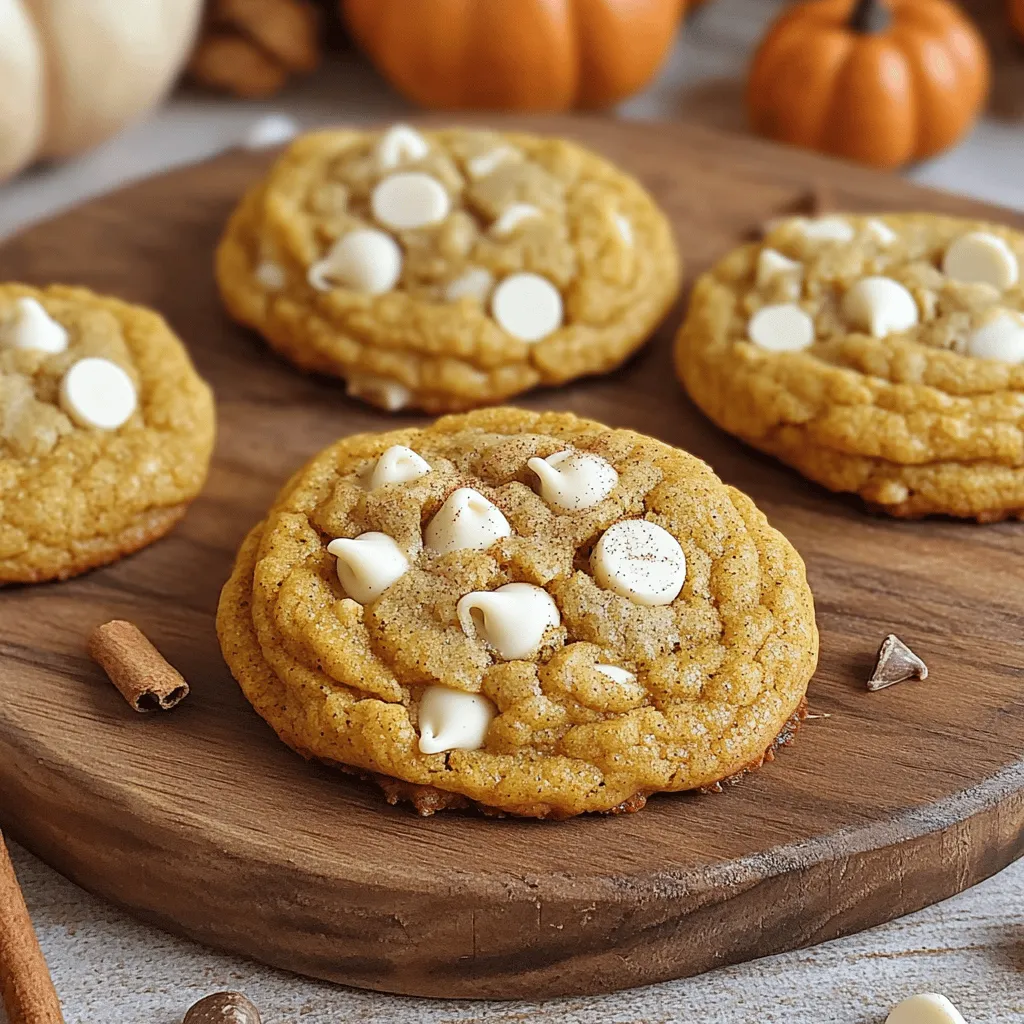
Pumpkin White Chocolate Chip Cookies Irresistible Treat
If you love cookies that blend cozy fall flavors with a sweet twist, you’re in for a treat! My Pumpkin White Chocolate Chip Cookies are
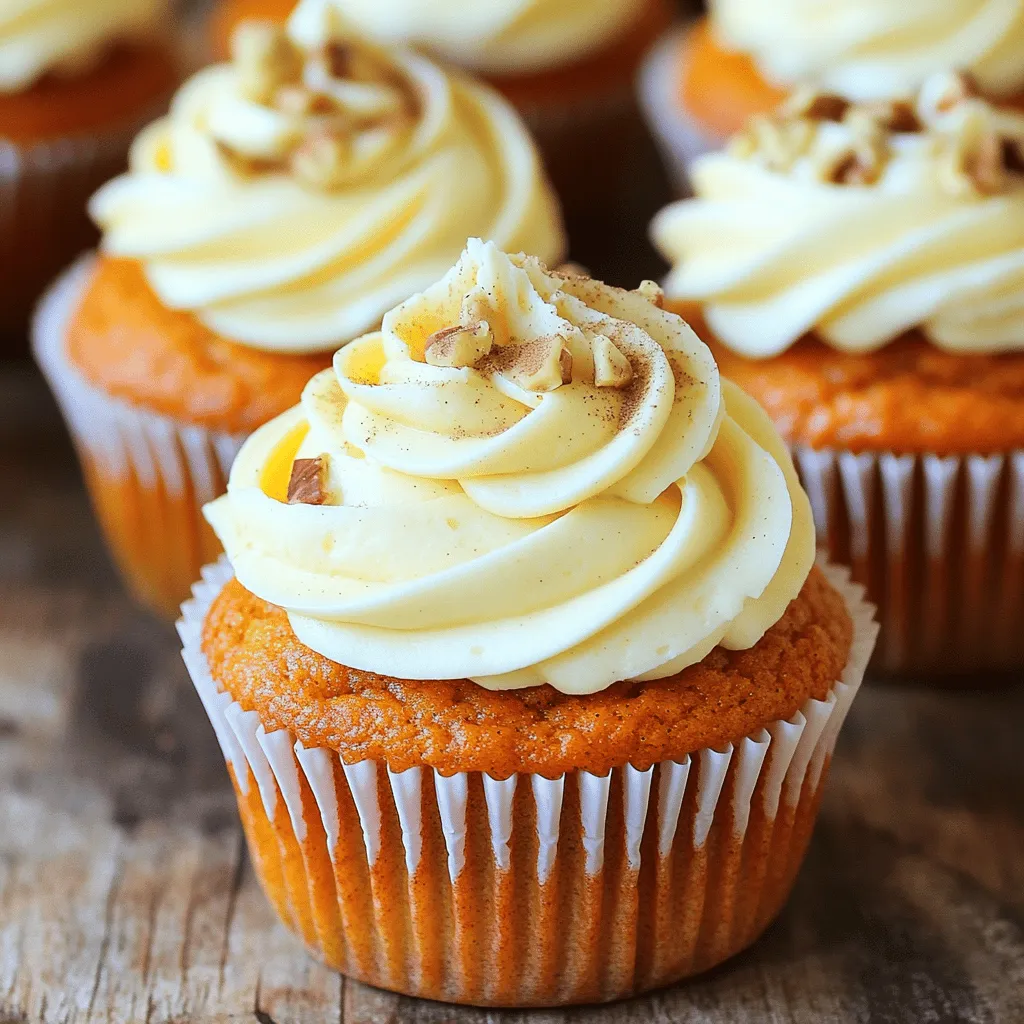
Pumpkin Cupcakes Delightful and Easy Recipe Guide
Are you ready to dive into the world of delightful pumpkin cupcakes? This easy recipe guide will show you how to create moist, flavorful treats
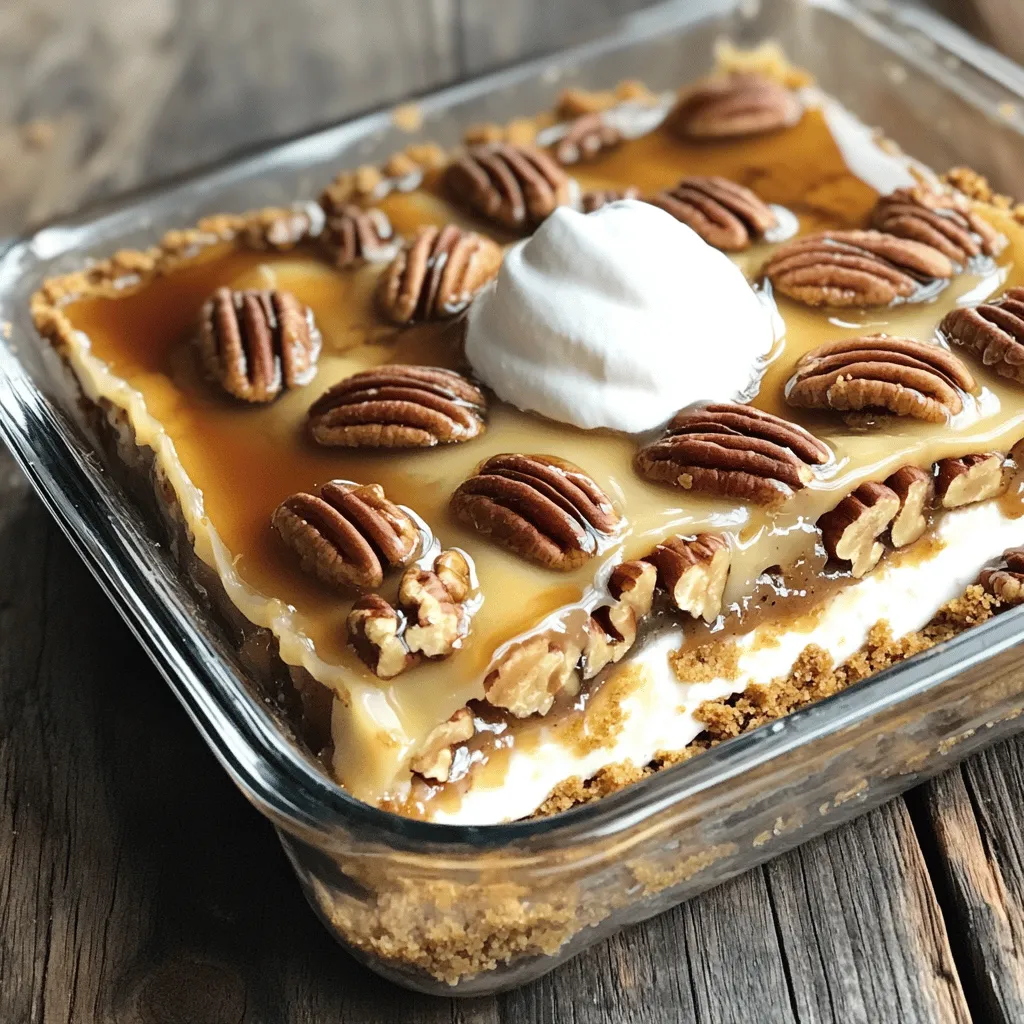
Pecan Pie Lasagna Delicious Dessert Delight Recipe
Are you ready to try a dessert that brings the best of two worlds together? Pecan Pie Lasagna is a luscious delight that layers creamy
Ingredient Pumpkin Chocolate Chip Cookies Delightful Treat
Get ready to enjoy a taste of fall with my delightful Pumpkin Chocolate Chip Cookies! This treat combines creamy pumpkin and rich chocolate, making every
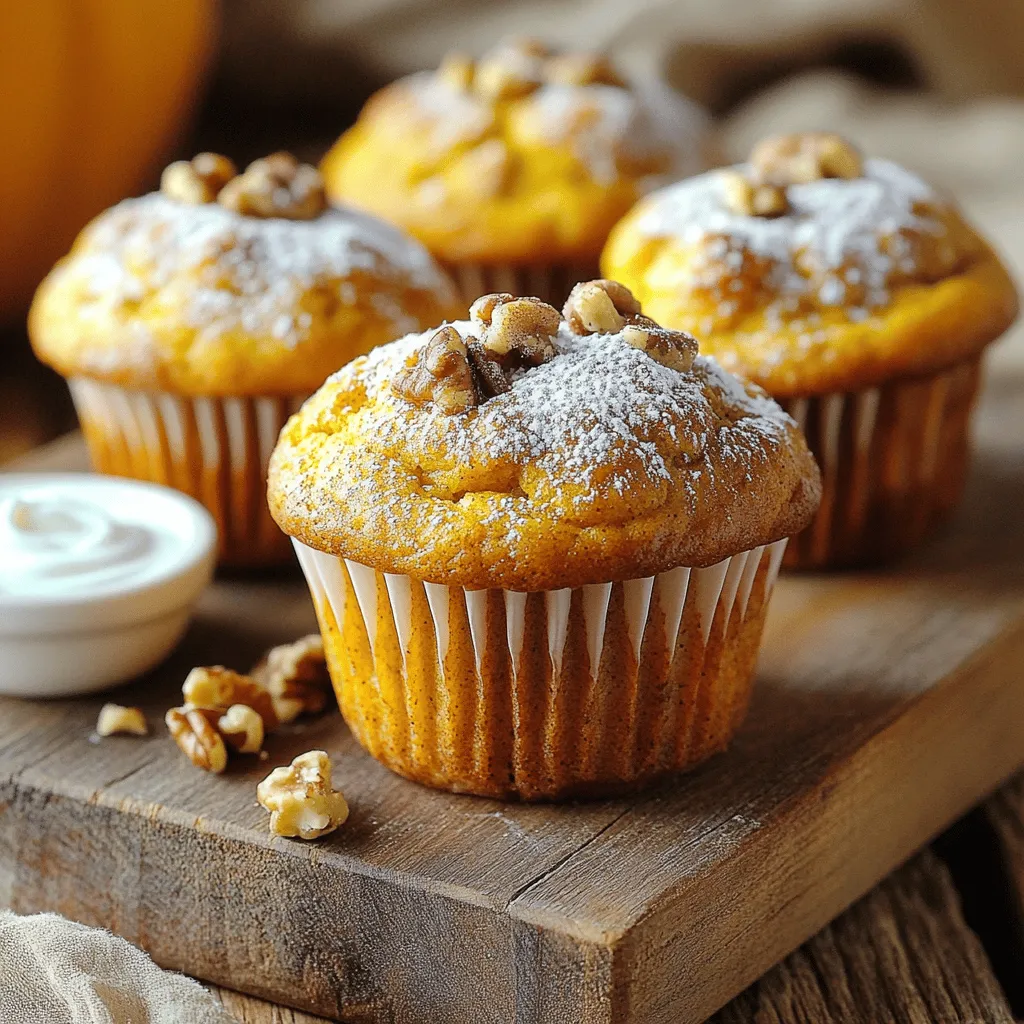
Greek Yogurt Pumpkin Muffins Healthy and Simple Treat
Looking for a tasty treat that’s also healthy? You’re in the right place! These Greek Yogurt Pumpkin Muffins are simple to make and packed with