Desserts
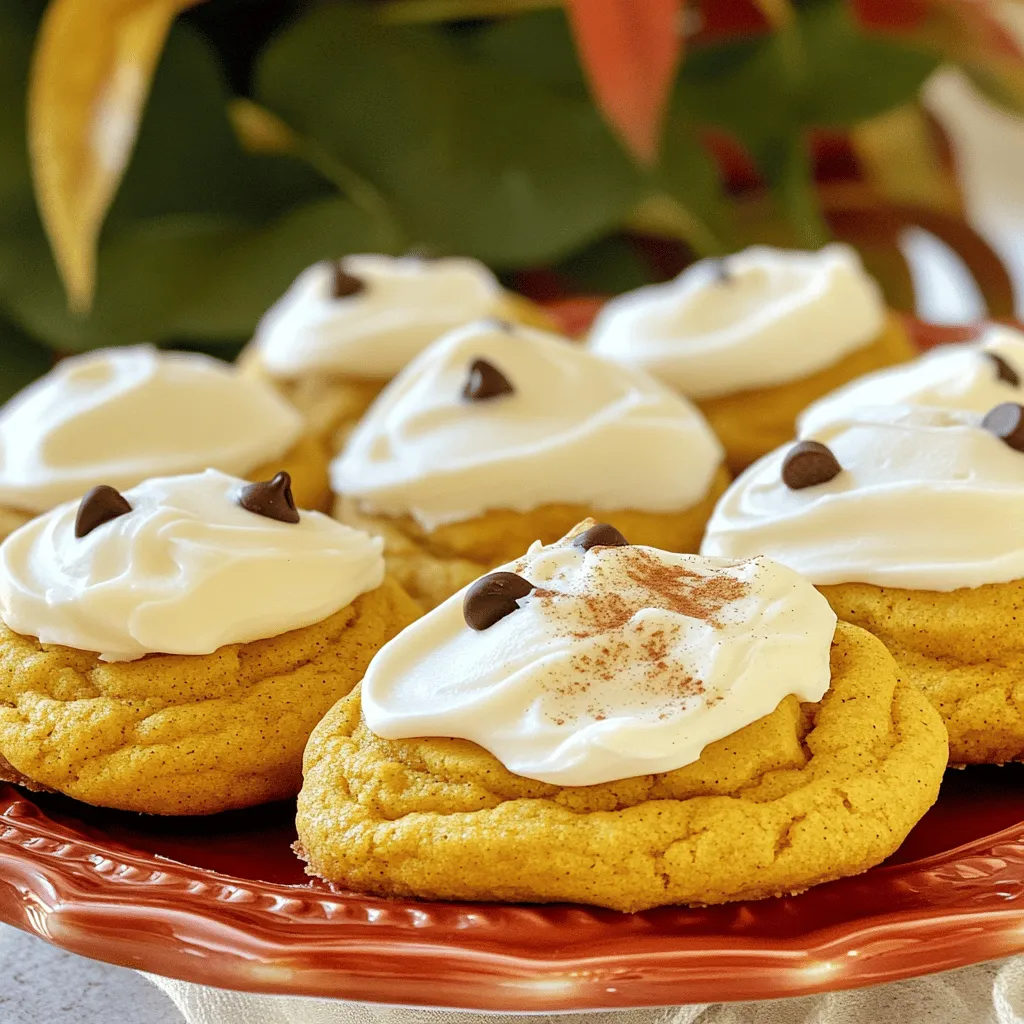
Frosted Soft Pumpkin Cookies Perfect for Fall Treats
Fall is here, and it’s the perfect time for Frosted Soft Pumpkin Cookies! With their warm spices and rich pumpkin flavor, these cookies capture all
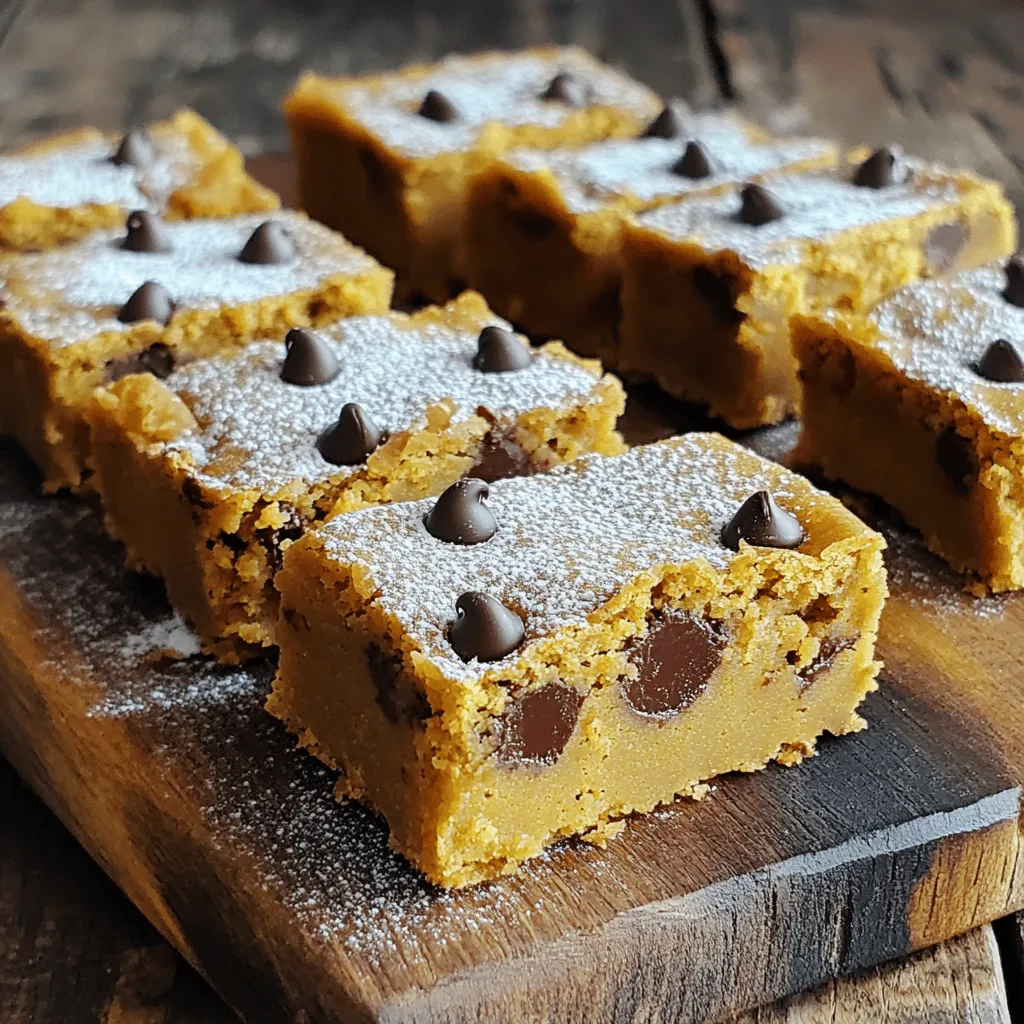
Pumpkin Chocolate Chip Blondies Irresistible Treats
Get ready to indulge in the best fall dessert! My Pumpkin Chocolate Chip Blondies combine the warm, cozy flavor of pumpkin with sweet chocolate chips
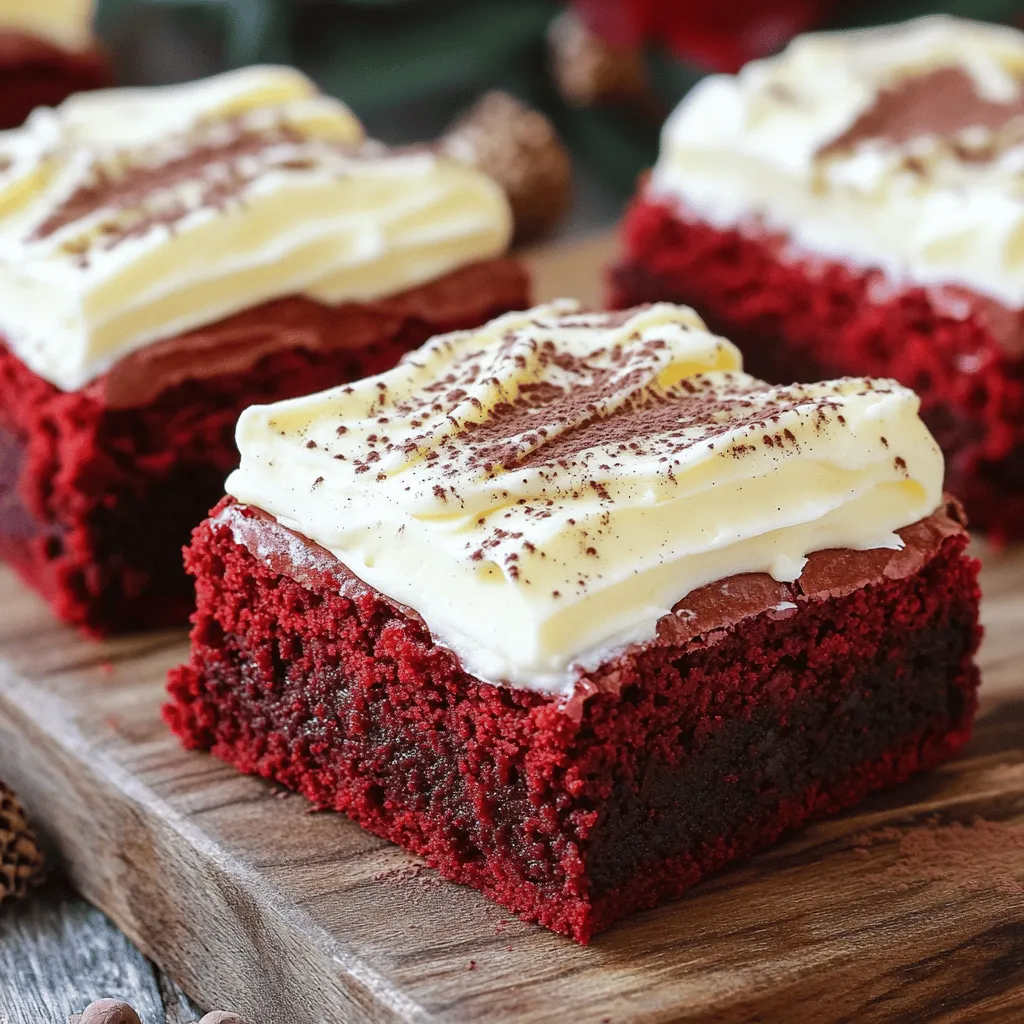
Red Velvet Brownies with Cream Cheese Frosting Delight
Get ready to indulge in a sweet treat that’s both rich and vibrant! In my latest post, I’m sharing my recipe for Red Velvet Brownies
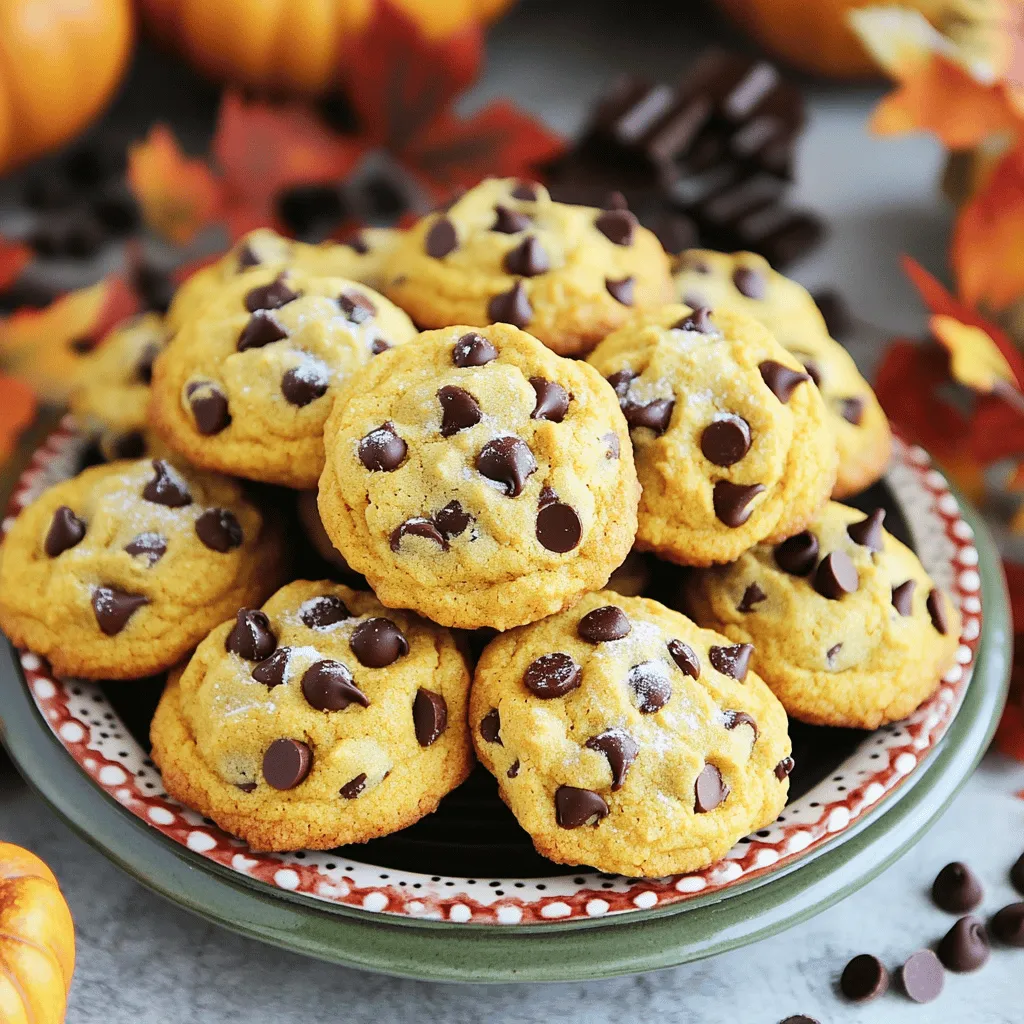
Soft Pumpkin Chocolate Chip Cookies Irresistible Treat
If you’re craving a cozy treat that blends fall flavors with sweet chocolate, you’ve come to the right place! In this post, I’ll show you
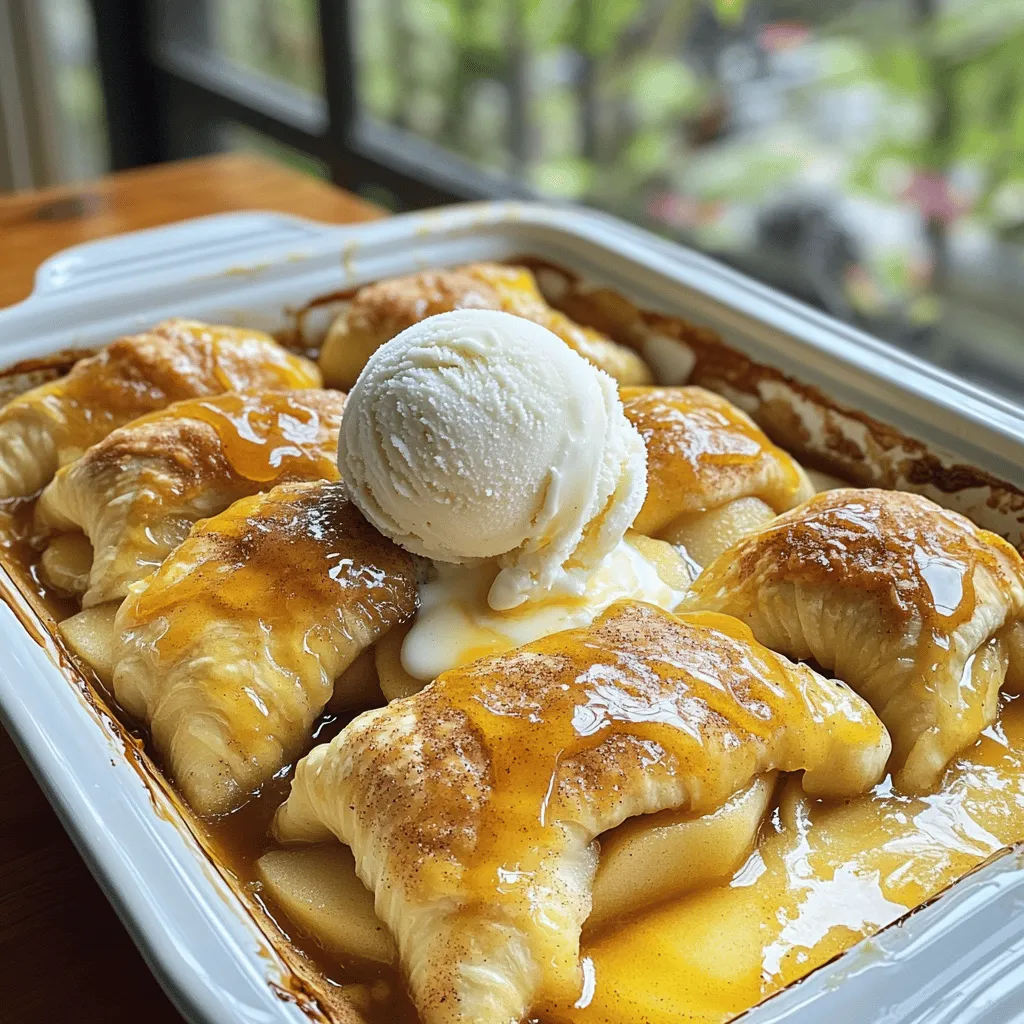
Easy Apple Dumplings Simple and Satisfying Recipe
Are you ready to enjoy a warm dessert that’s easy to make and oh-so-satisfying? This Easy Apple Dumplings recipe uses simple ingredients like apples and
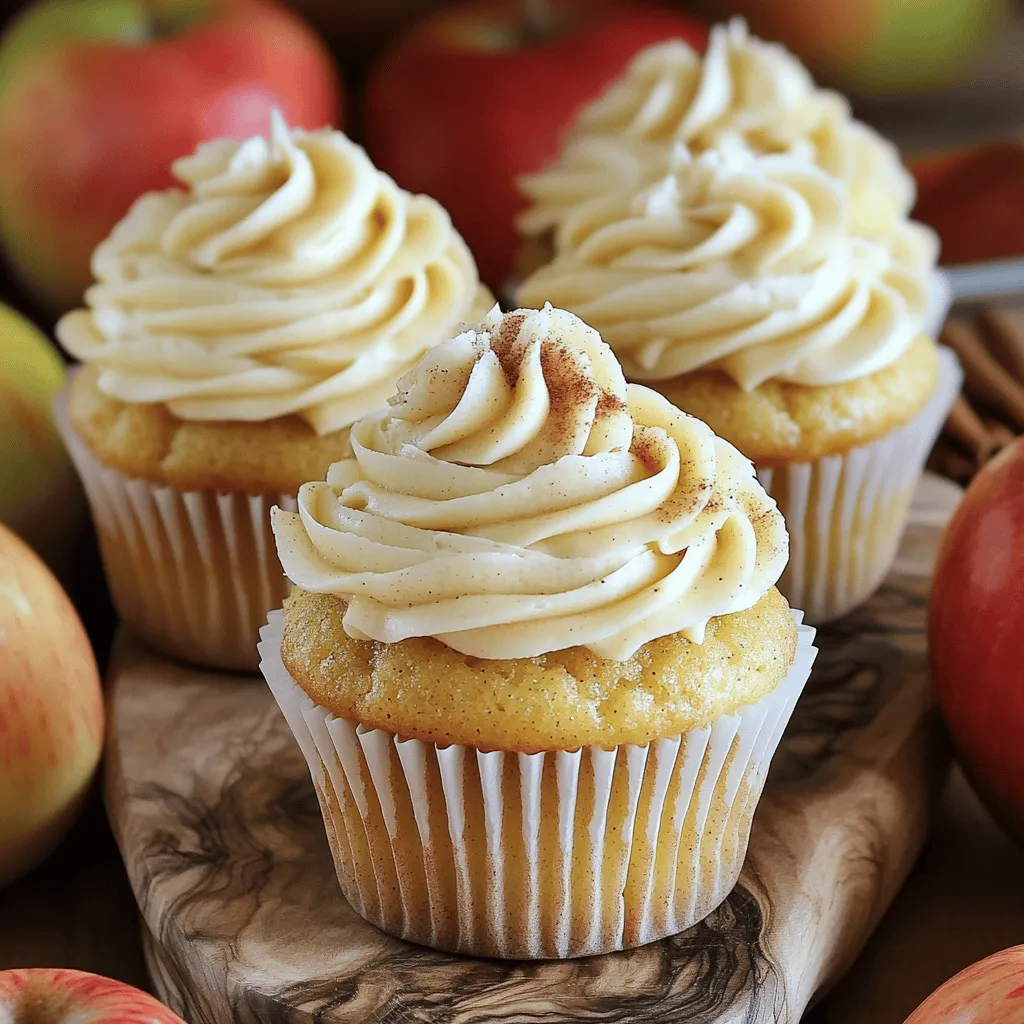
Apple Cider Cupcakes with Cinnamon Buttercream Delight
Fall is here, and it’s time to bake something warm and cozy! These Apple Cider Cupcakes with Cinnamon Buttercream are perfect for any occasion. Imagine
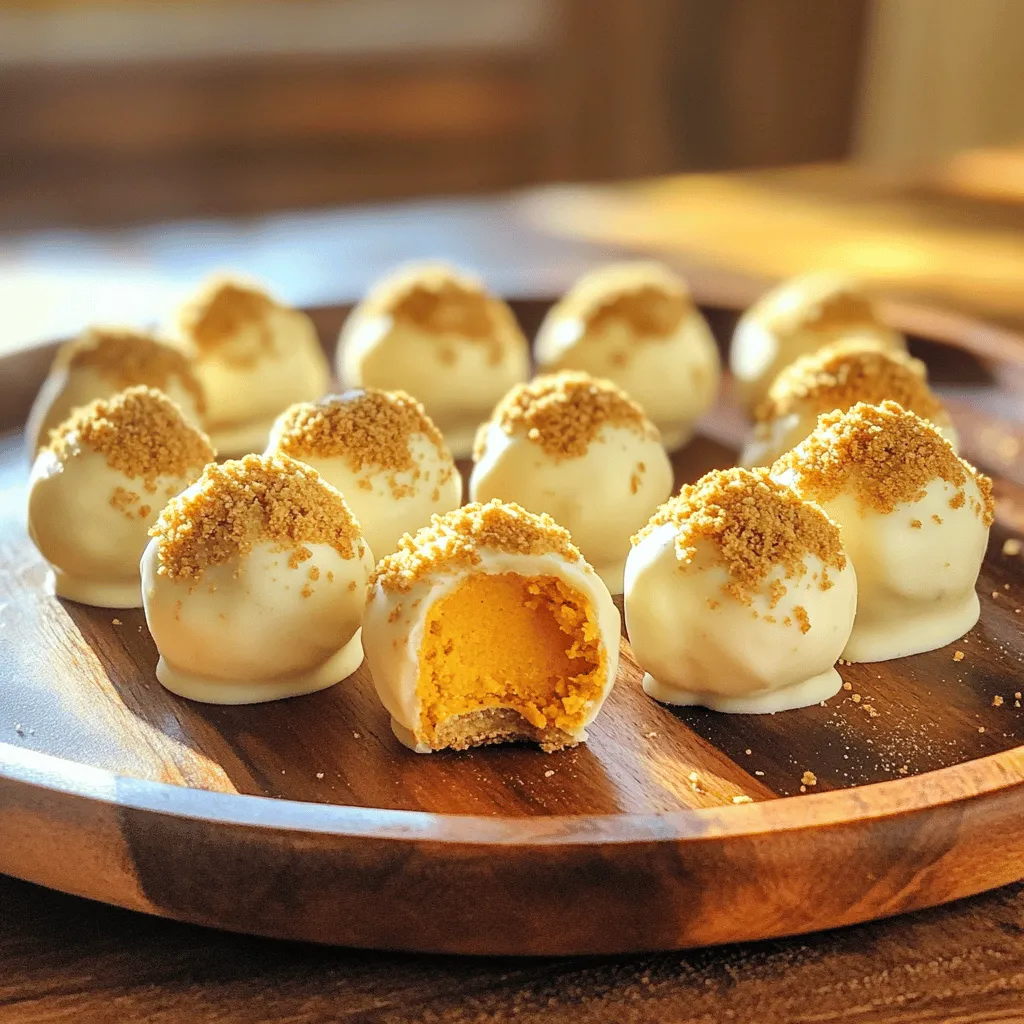
Pumpkin Cheesecake Truffles Delightfully Simple Treat
Get ready to indulge in a sweet fall treat: Pumpkin Cheesecake Truffles! These easy-to-make bites combine creamy cheesecake and warm pumpkin spice, perfect for gatherings
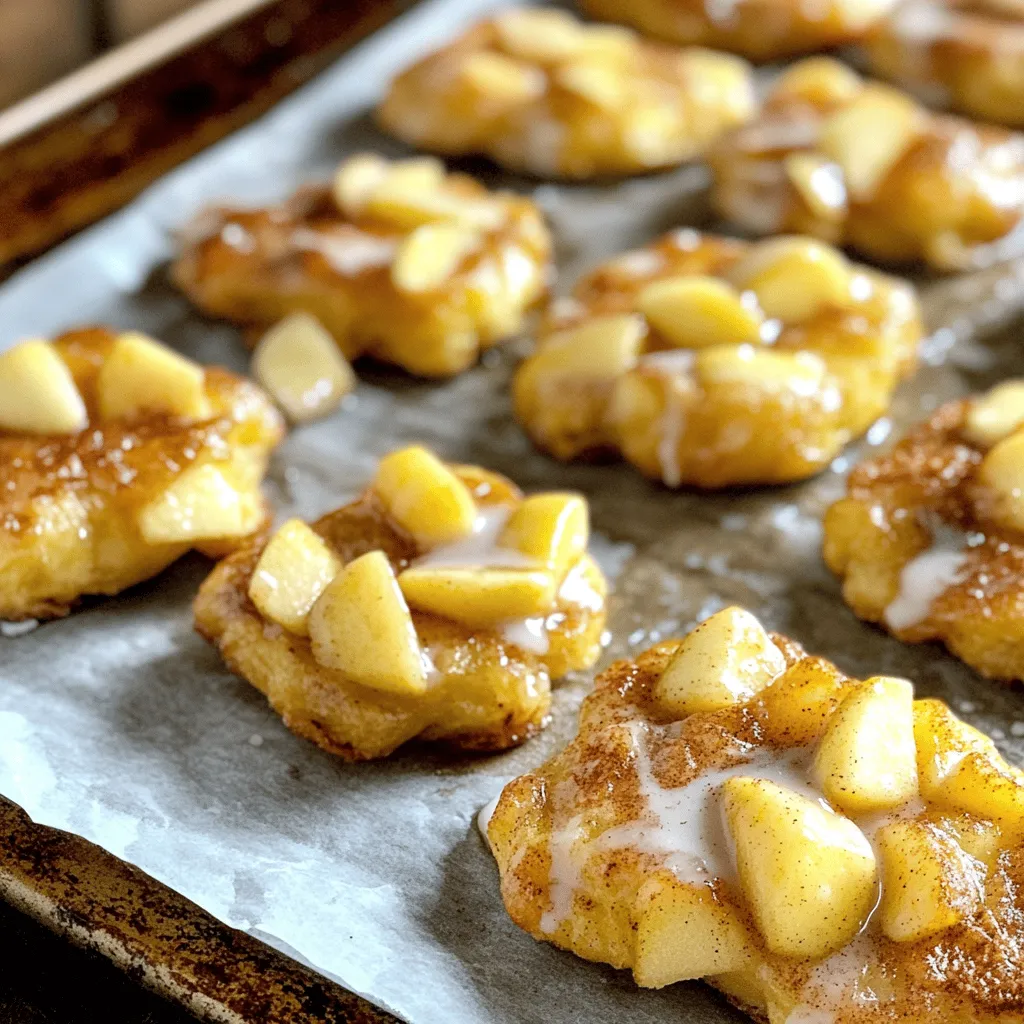
Warm Baked Apple Fritters Tasty and Simple Recipe
Craving a warm, sweet treat? You’ll love my simple baked apple fritters! They’re easy to make and perfect for any occasion. With just a handful
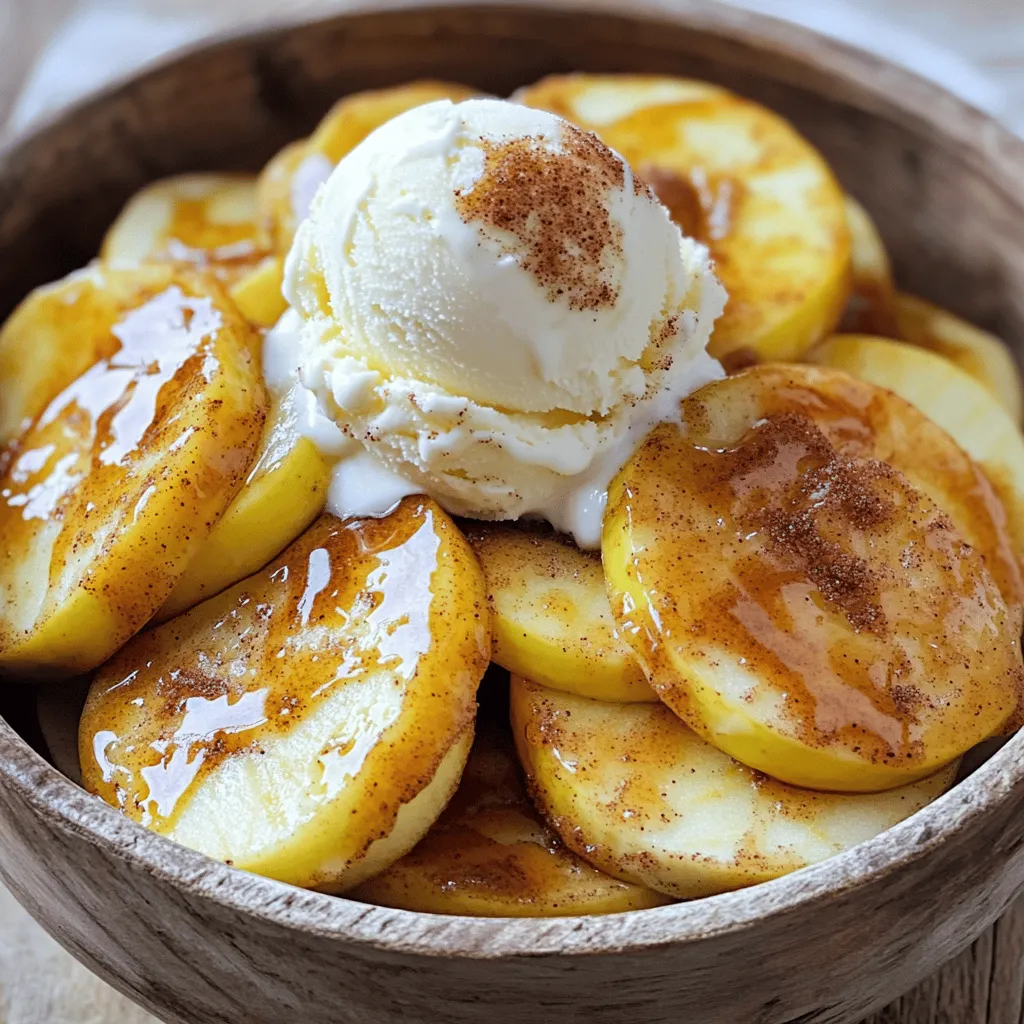
Cinnamon Sugar Air Fryer Apples Juicy and Sweet Snack
If you love sweet snacks that are easy to make, you’re in for a treat! Cinnamon Sugar Air Fryer Apples are juicy, tender, and bursting
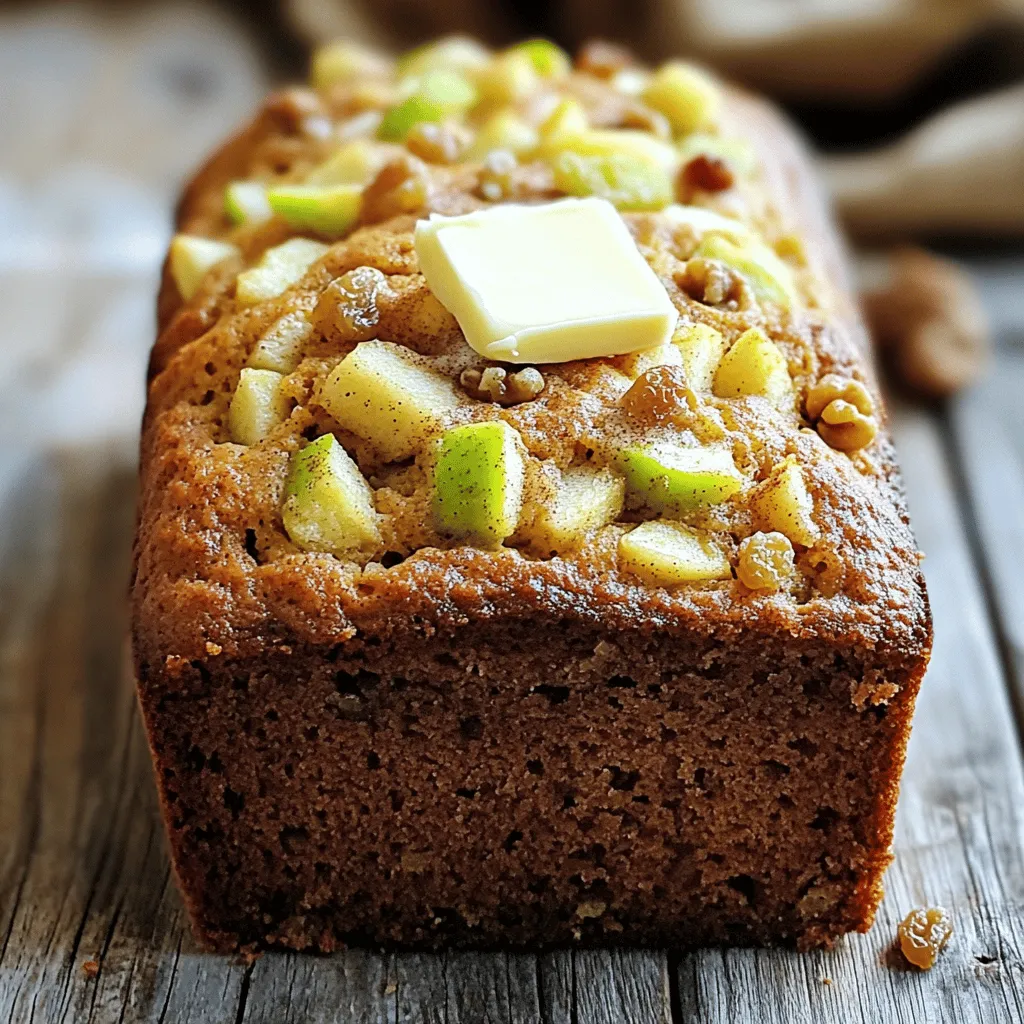
Incredible Apple Bread Simple Recipe for Baking
Are you ready to bake something amazing? This Incredible Apple Bread recipe combines sweet apples with warm spices for a treat you’ll love. Whether you’re