Desserts
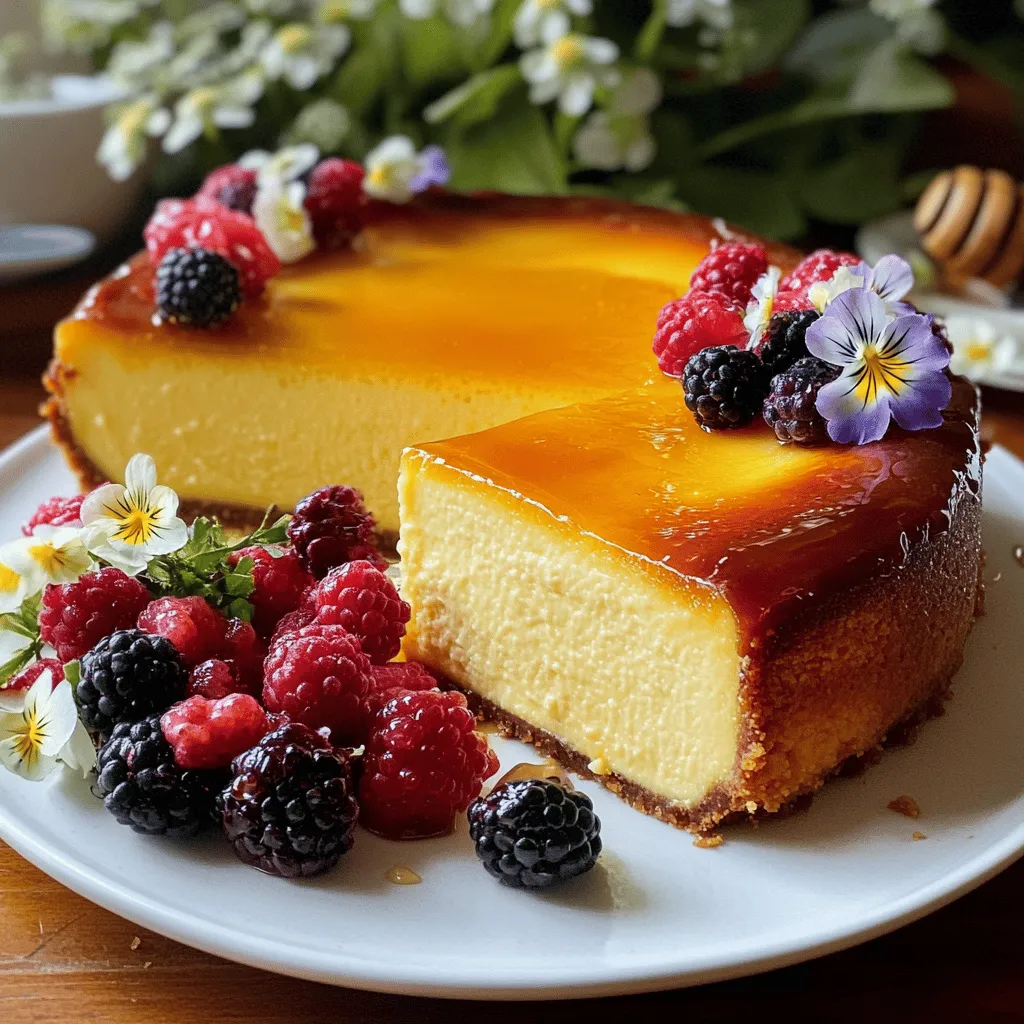
Loaf Pan Burnt Basque Cheesecake Perfectly Creamy Treat
If you crave a rich, creamy dessert that impresses, try my loaf pan burnt Basque cheesecake. This treat delights with its slightly charred top and
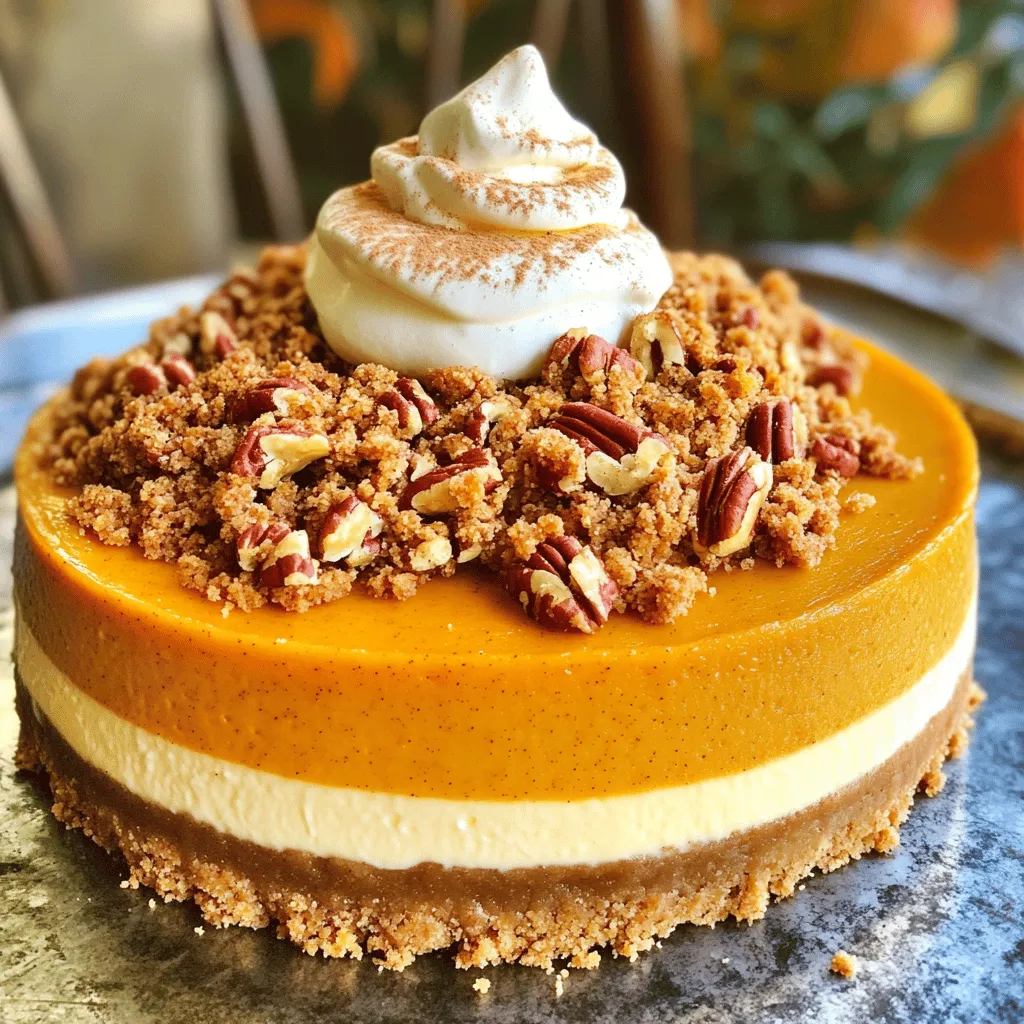
Pumpkin Streusel Cheesecake Irresistible Fall Treat
Fall is here, and it’s time to indulge in a treat that’s hard to resist: Pumpkin Streusel Cheesecake! This delightful dessert combines creamy cheesecake with
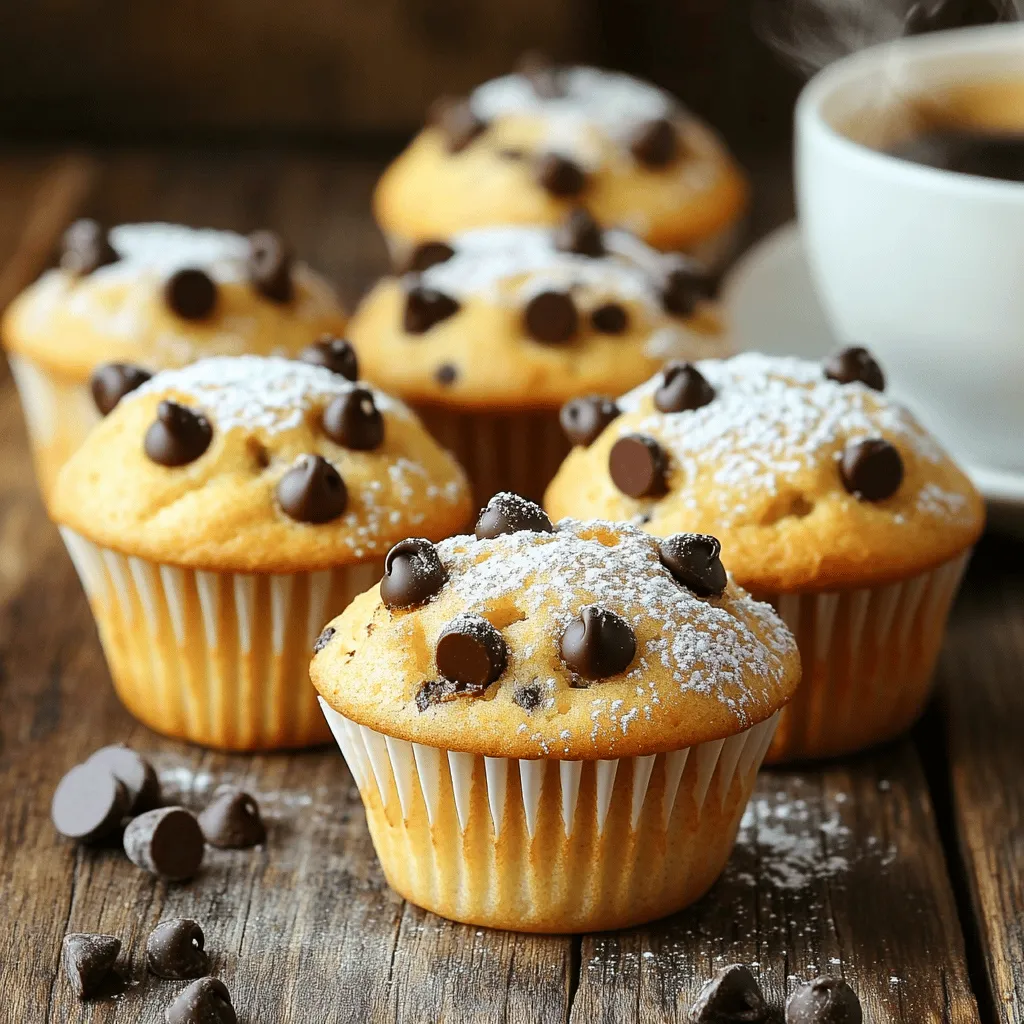
Easy Chocolate Chip Muffins Delightful and Moist Treat
Craving a sweet treat that’s both easy to make and utterly delicious? Look no further! In this guide, I’ll show you how to whip up
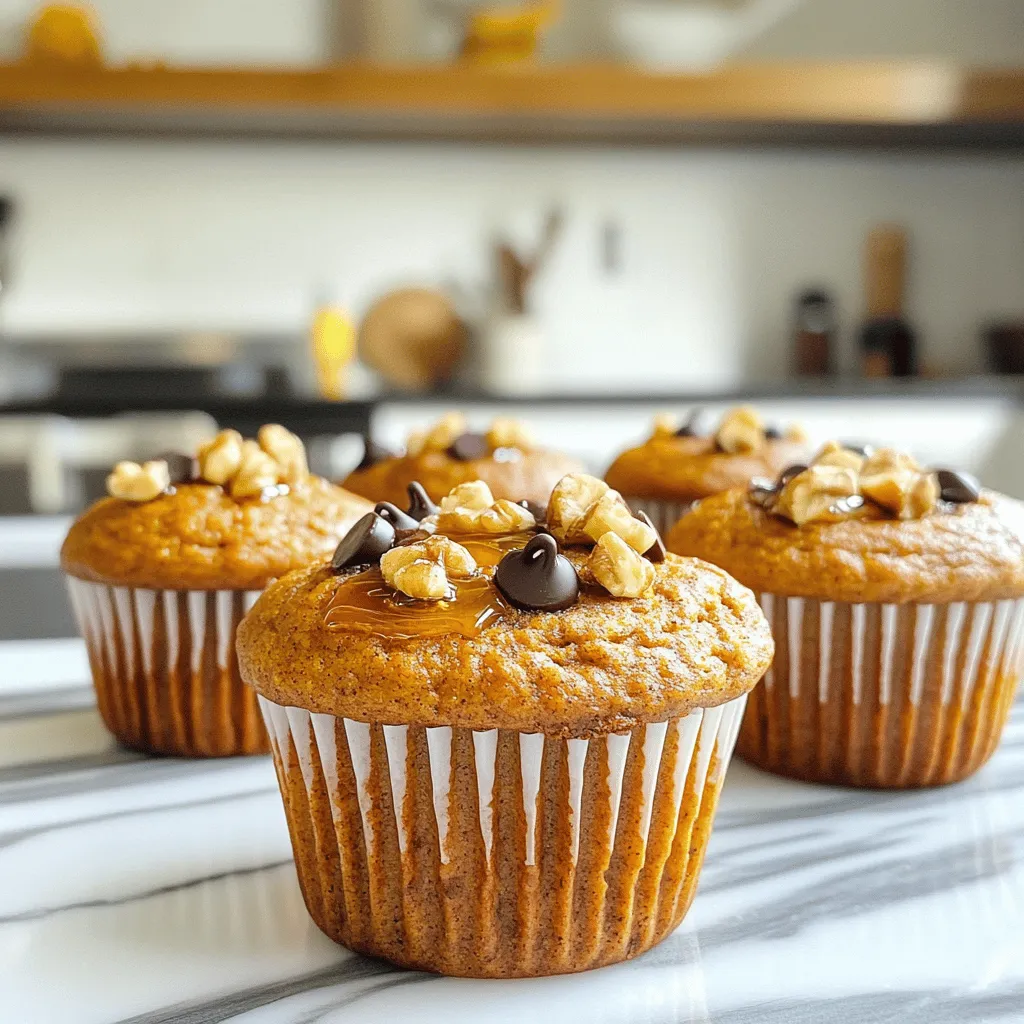
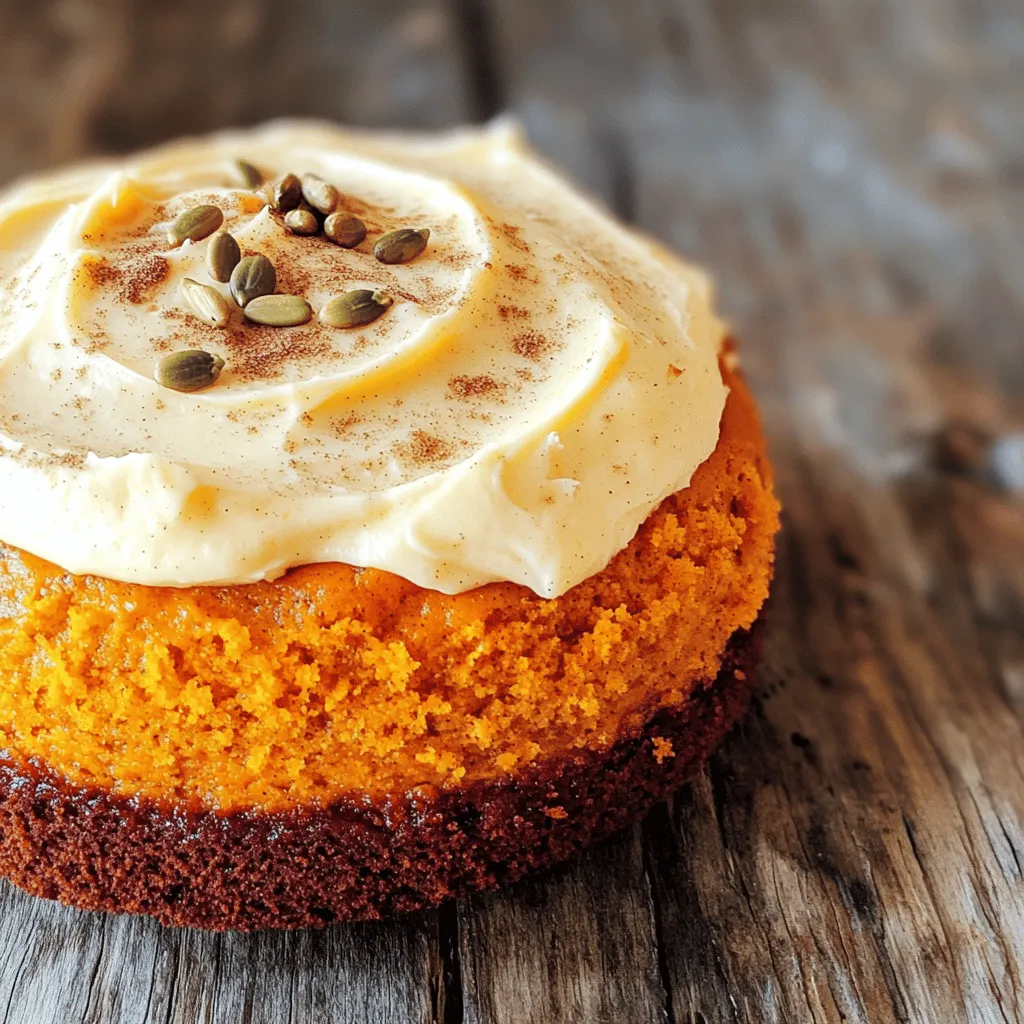
Almond Flour Pumpkin Muffins Healthy Fall Delight
Autumn brings the cozy, warm flavors of pumpkin, and these Almond Flour Pumpkin Muffins are the perfect treat! Made with simple, healthy ingredients, they’re gluten-free
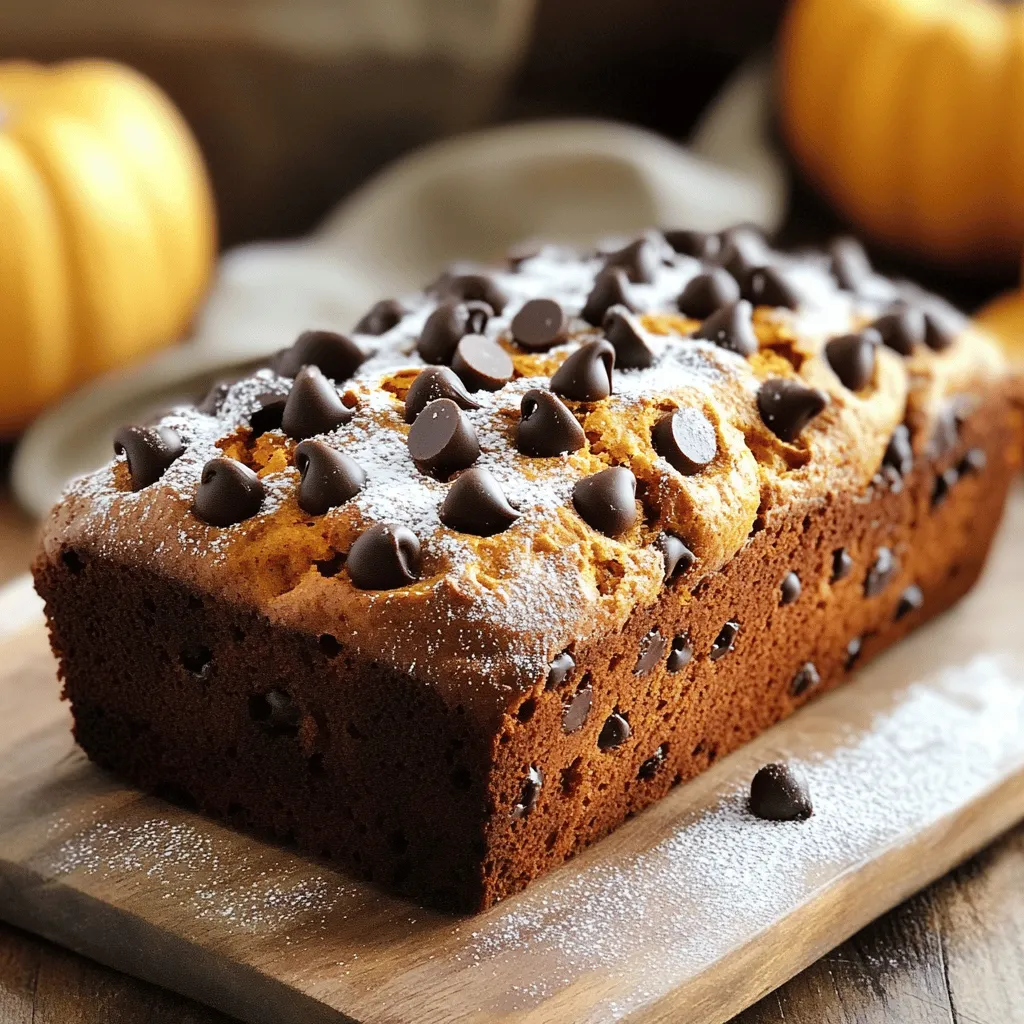
Moist Pumpkin Chocolate Chip Bread Easy and Tasty Recipe
Looking for a fall treat that blends the warm flavors of pumpkin with rich chocolate? You’re in the right place! This Moist Pumpkin Chocolate Chip
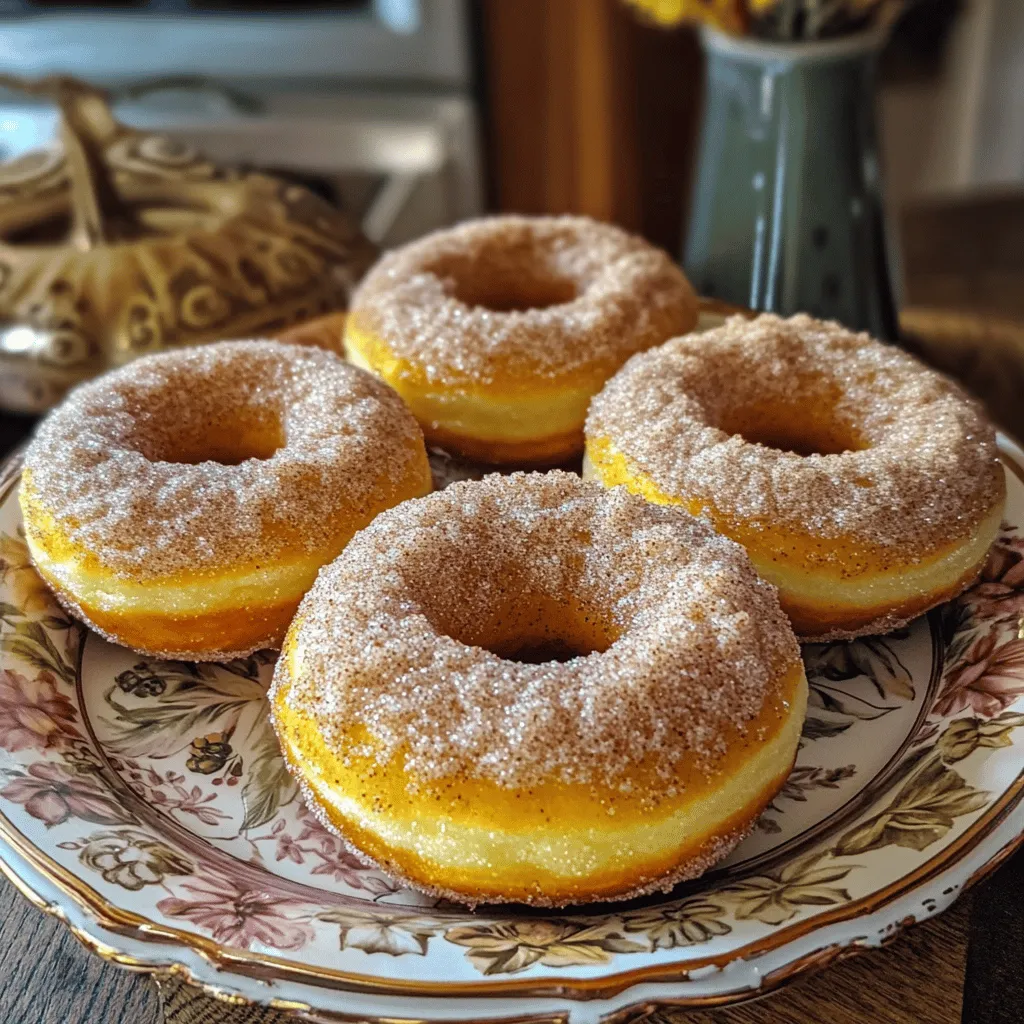
Pumpkin Cinnamon Sugar Donuts Irresistible Batch Recipe
Get ready to indulge your senses with my Pumpkin Cinnamon Sugar Donuts! This easy recipe combines warm spices with creamy pumpkin puree for a delightful
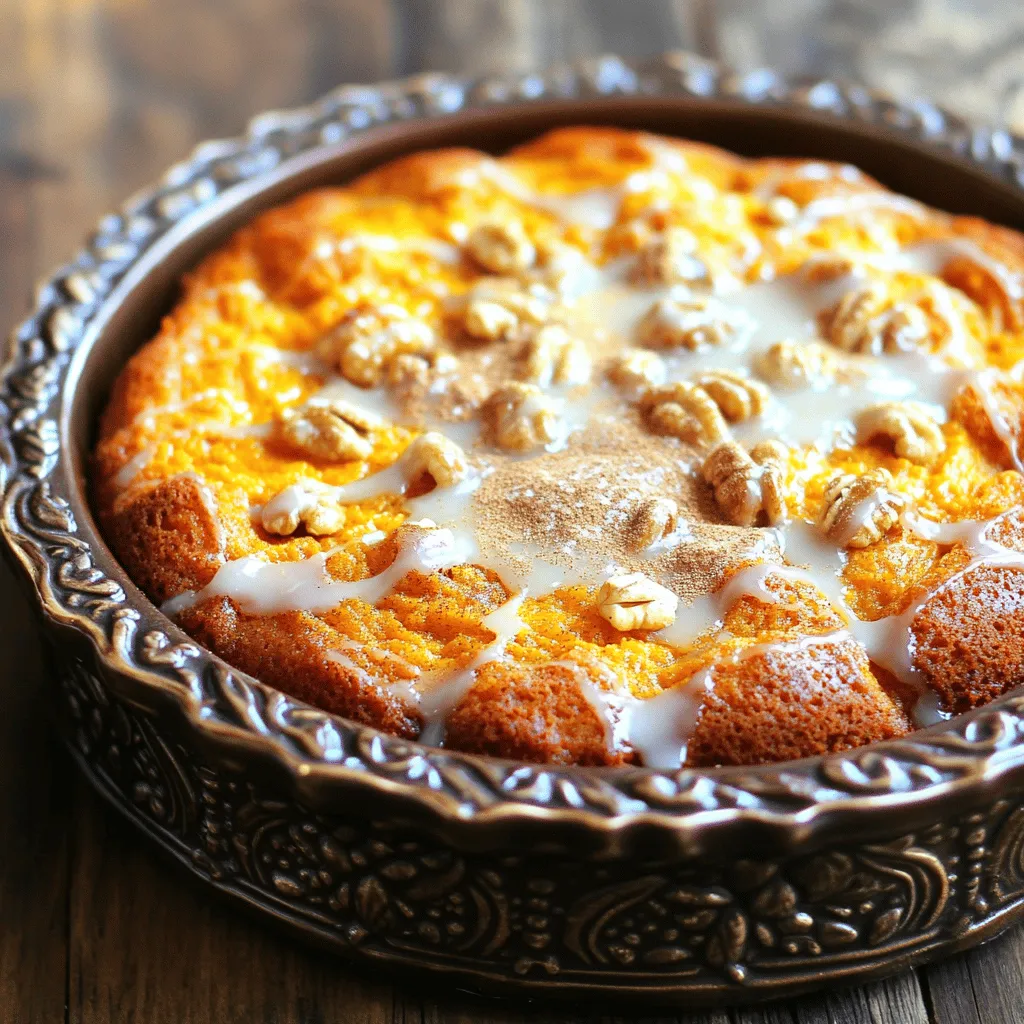
Pumpkin Coffee Cake Irresistible Fall Delight
Are you ready to fall in love with a delicious treat? My Pumpkin Coffee Cake is your go-to recipe this season! Perfectly spiced, warm, and
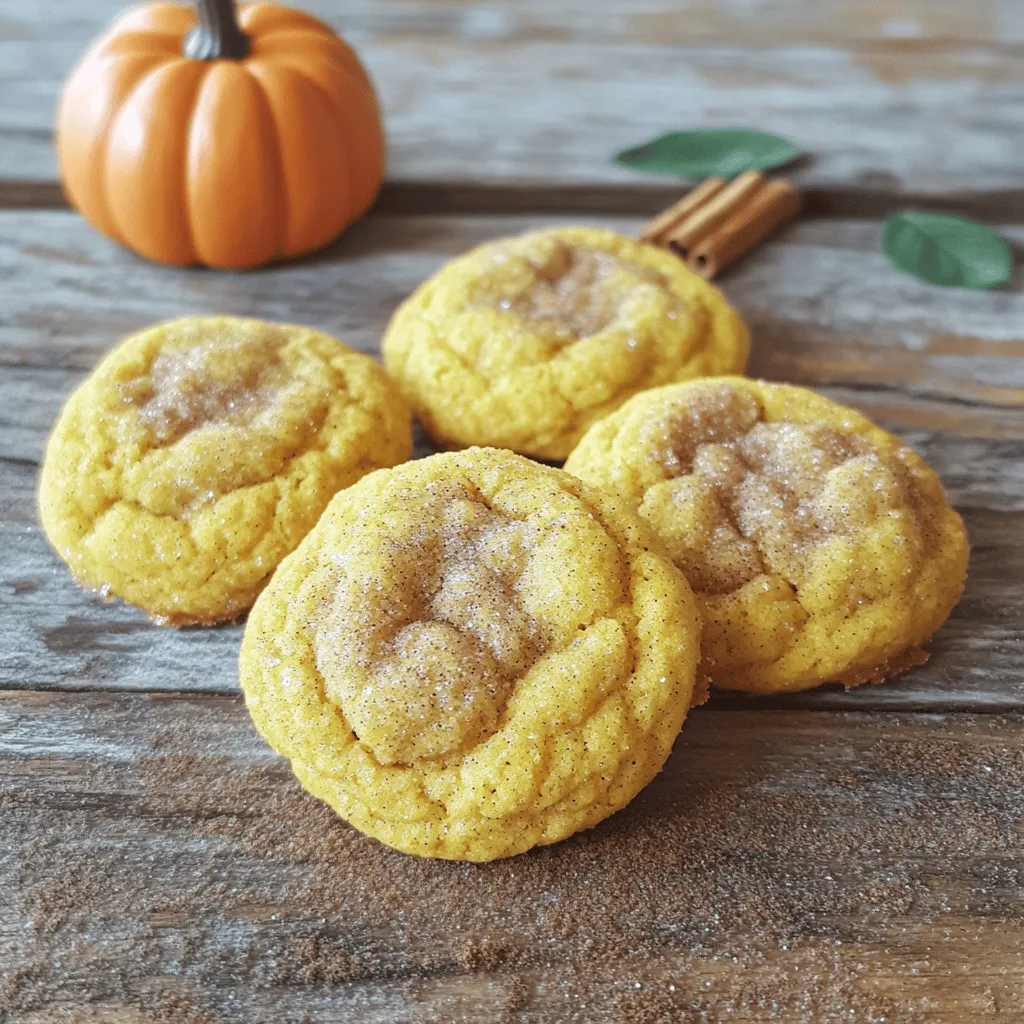
Pumpkin Snickerdoodles Soft and Chewy Cookie Delight
Get ready to indulge in the warm, spiced goodness of Pumpkin Snickerdoodles! These soft and chewy cookies are a perfect mix of pumpkin flavor and
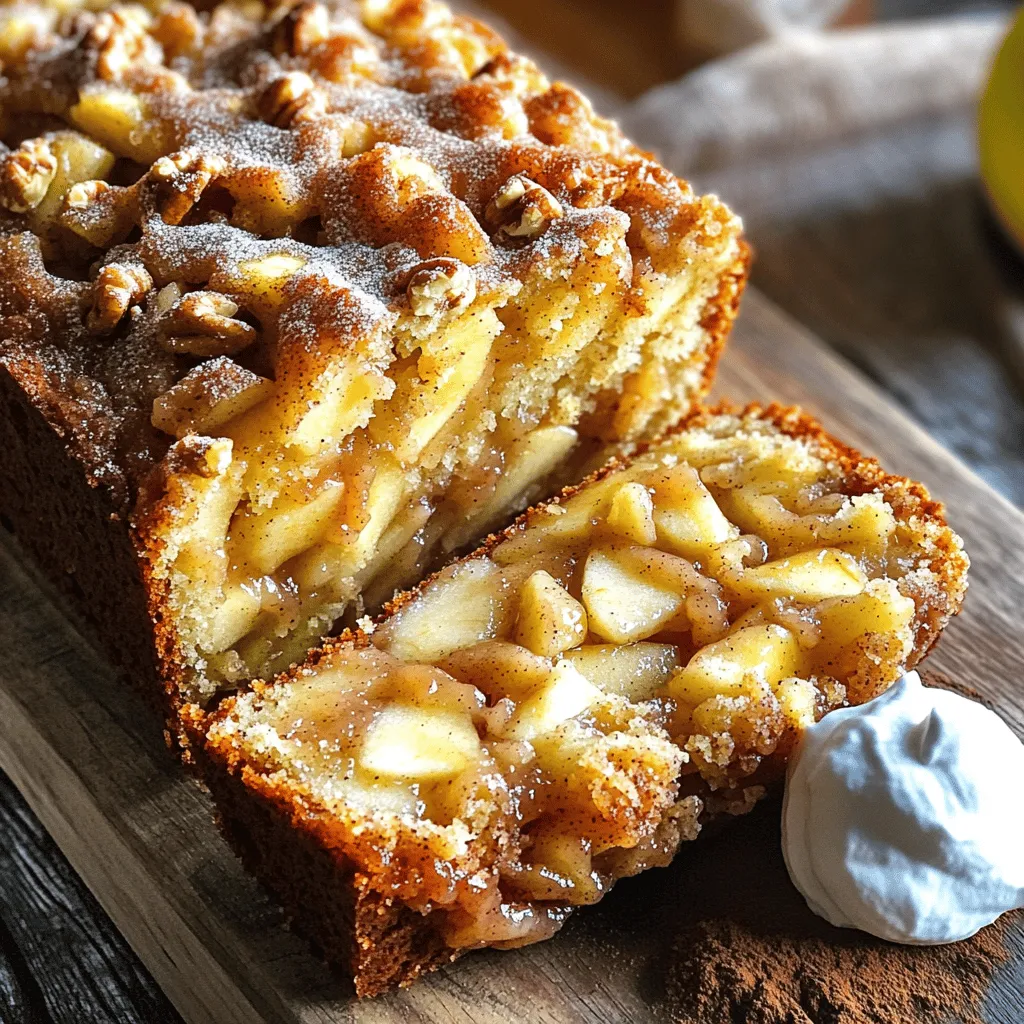
Quick Apple Pie Bread Irresistibly Flavorful Delight
Are you craving a warm, sweet treat that’s easy to make? Look no further! My Quick Apple Pie Bread is a delightful fusion of classic
Vegan Pumpkin Spice Cake Delightful Fall Recipe
Fall is here, and so is the time for cozy treats! If you love the warm flavors of pumpkin spice but want a vegan twist,