Desserts
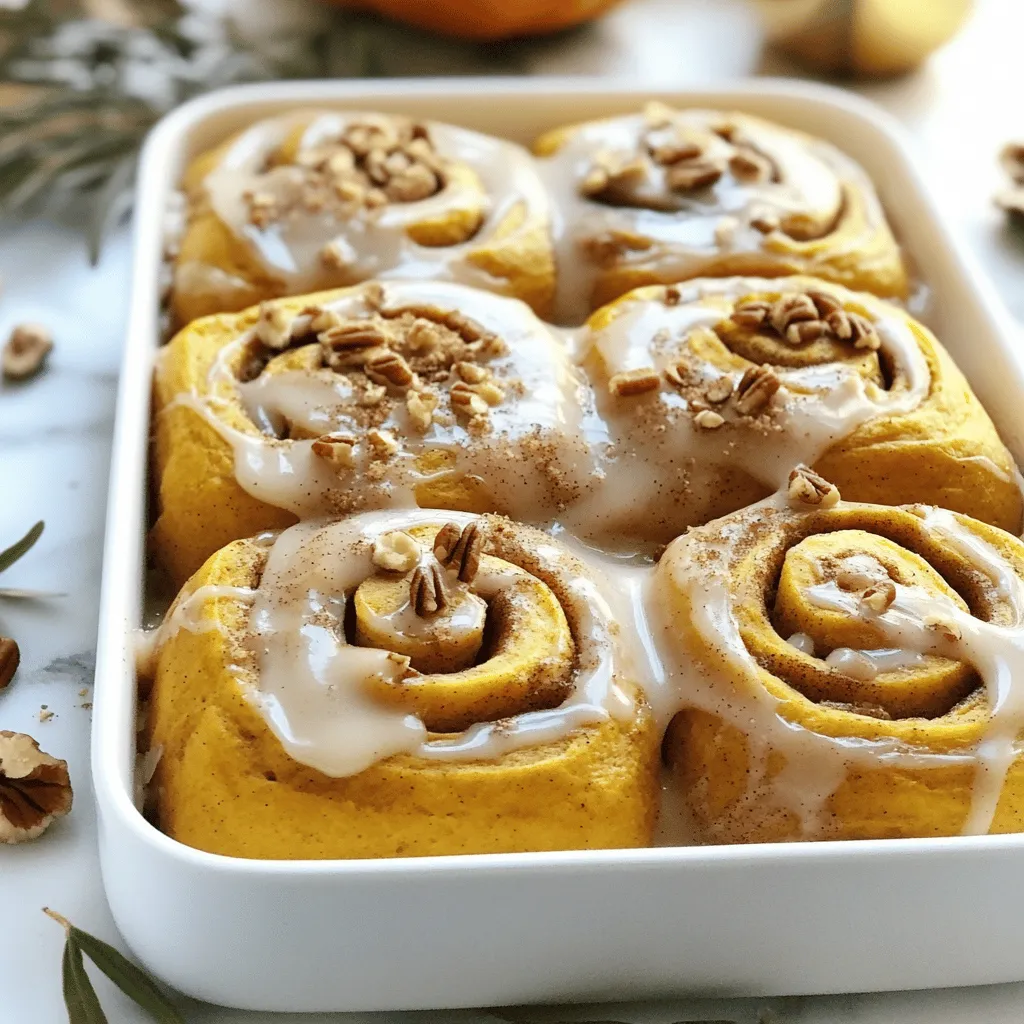
No Yeast Pumpkin Cinnamon Rolls Soft and Fluffy Treat
Craving a sweet fall treat without the wait? These No Yeast Pumpkin Cinnamon Rolls are your answer! Soft, fluffy, and packed with warm spices, they’re
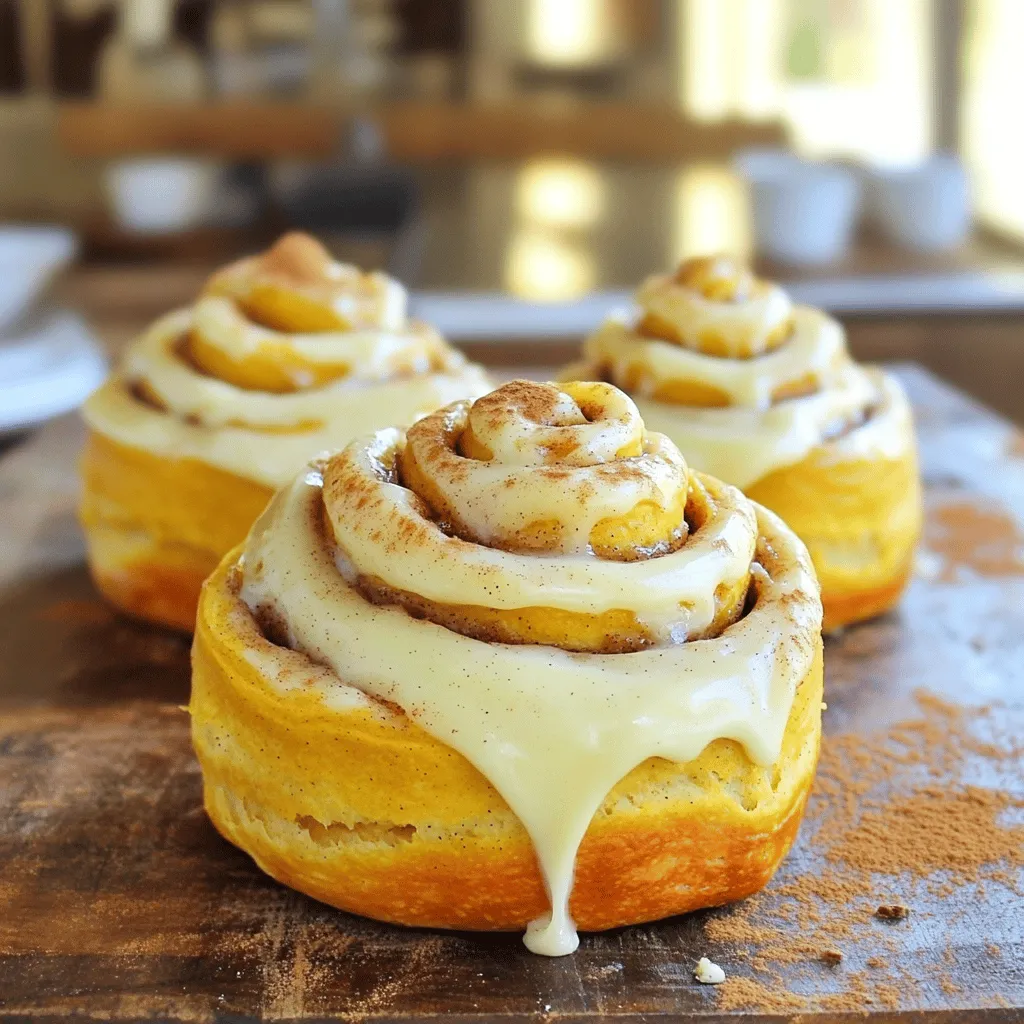
Easy Pumpkin Cinnamon Rolls with Cream Cheese Frosting Delight
Fall is here, and it’s time to indulge in warm, cozy treats! These Easy Pumpkin Cinnamon Rolls with Cream Cheese Frosting are the perfect blend

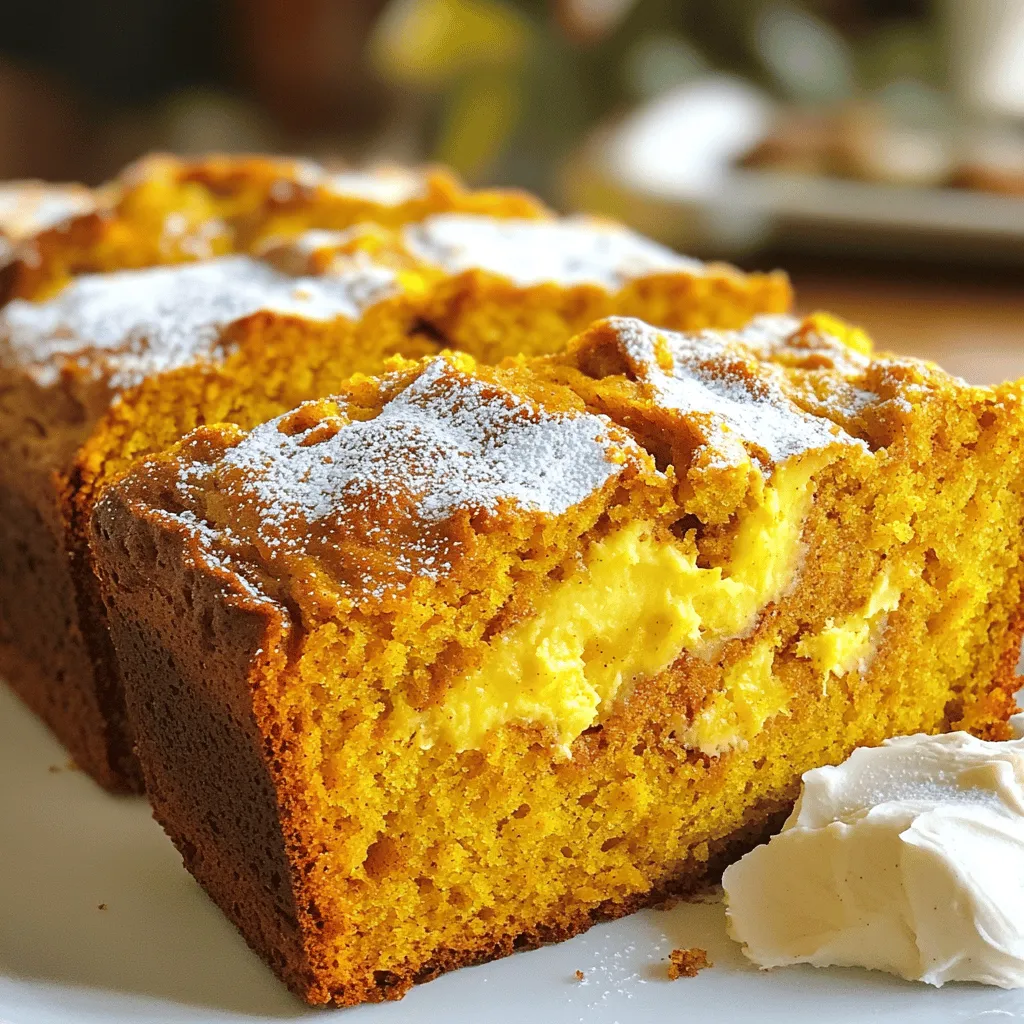
Maple Glazed Pumpkin Bread Deliciously Moist Recipe
Fall is the perfect time to enjoy a slice of Maple Glazed Pumpkin Bread, and I’m here to share my favorite recipe! This bread is
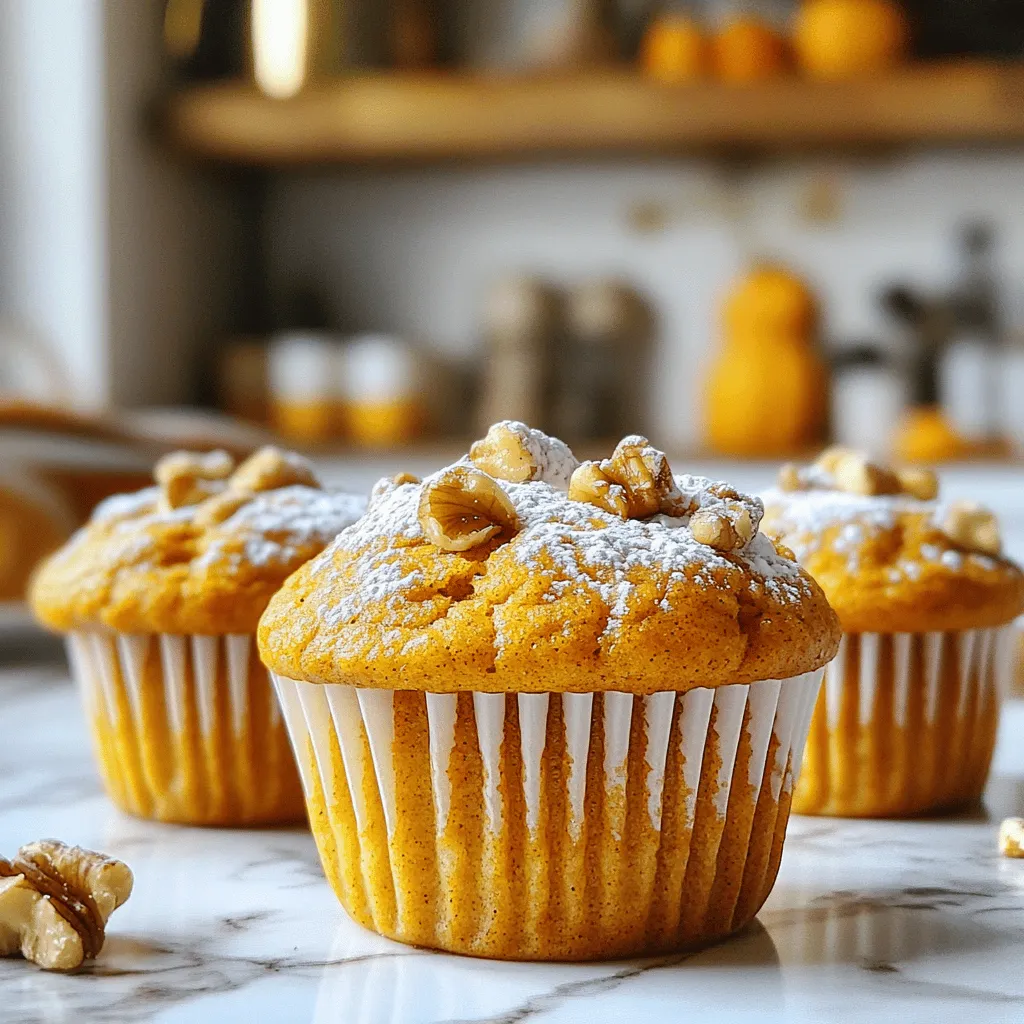
Easy Pumpkin Muffins Perfect for Fall Baking
Fall baking is here, and what better way to embrace the season than with Easy Pumpkin Muffins? These delicious treats are soft, flavorful, and perfect
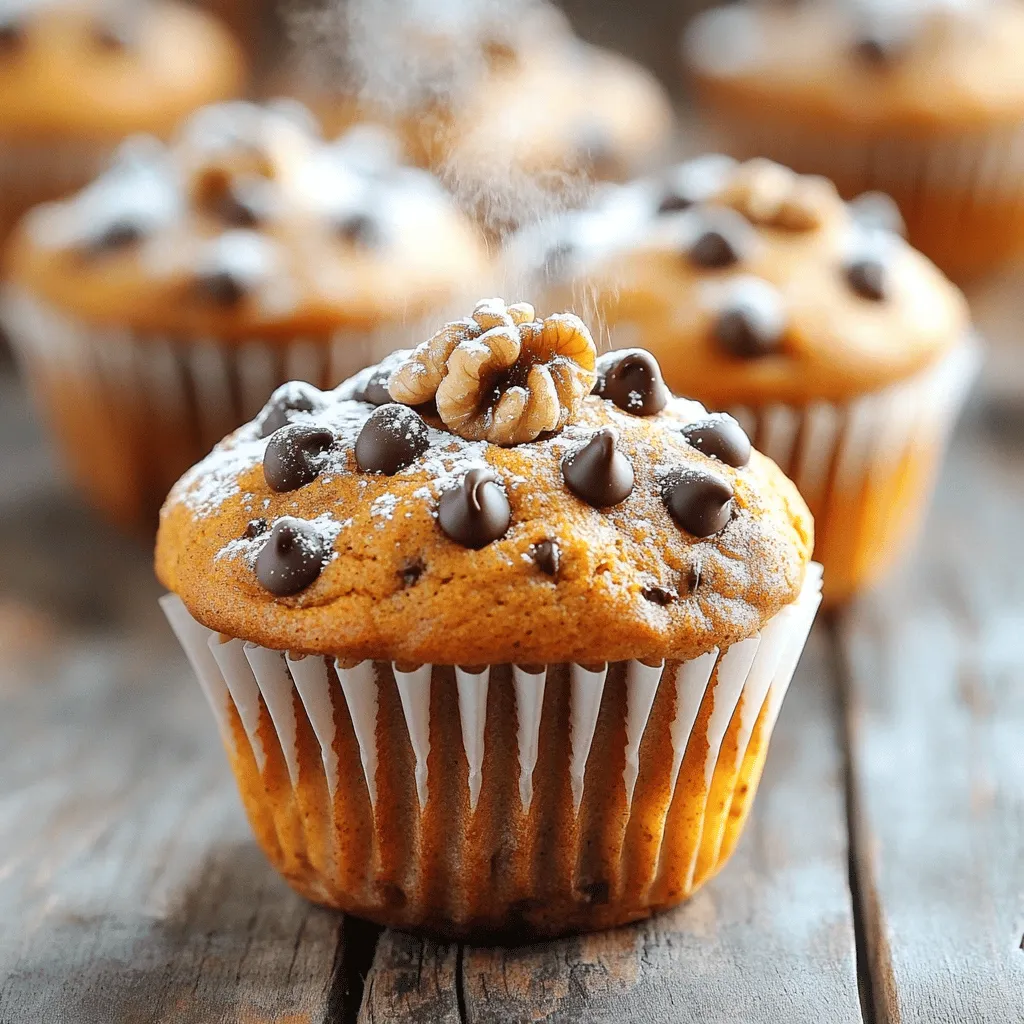
Bakery Style Pumpkin Muffins Fresh and Tasty Recipe
Get ready to fill your kitchen with the warm aroma of fresh Bakery Style Pumpkin Muffins! This easy recipe turns simple ingredients into moist, flavorful
Yeasted Pumpkin Bread Delightful and Easy Recipe
Looking for the perfect fall treat? This Yeasted Pumpkin Bread recipe combines warm spices with a soft texture, making it a delightful addition to any
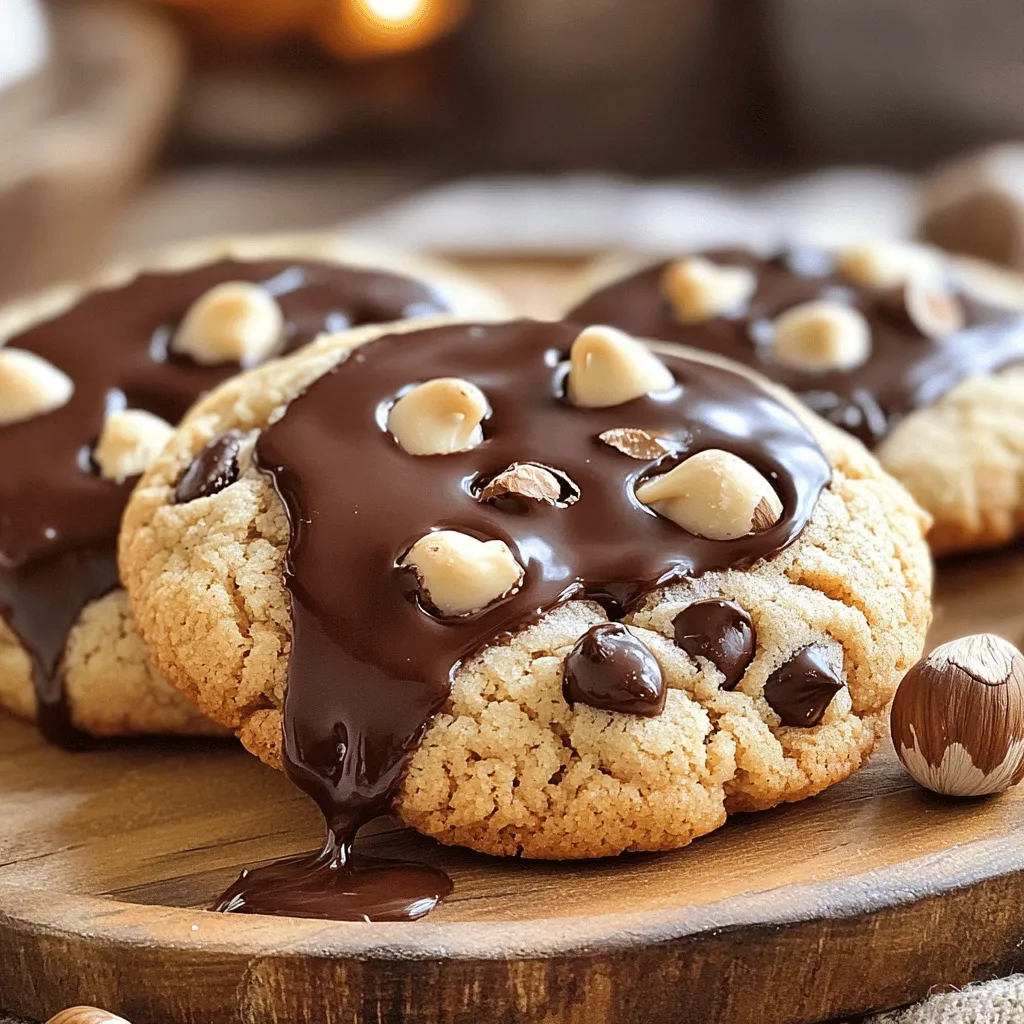
Milk Chocolate Hazelnut Cookies Delightful Treats
Indulge your sweet tooth with my easy Milk Chocolate Hazelnut Cookies! These delightful treats blend creamy chocolate and crunchy hazelnuts in every bite. You’ll love

Swedish Apple Cake Simple and Delightful Recipe
If you crave a warm, comforting dessert, this Swedish Apple Cake is your answer. With its simple ingredients and easy steps, you can enjoy a
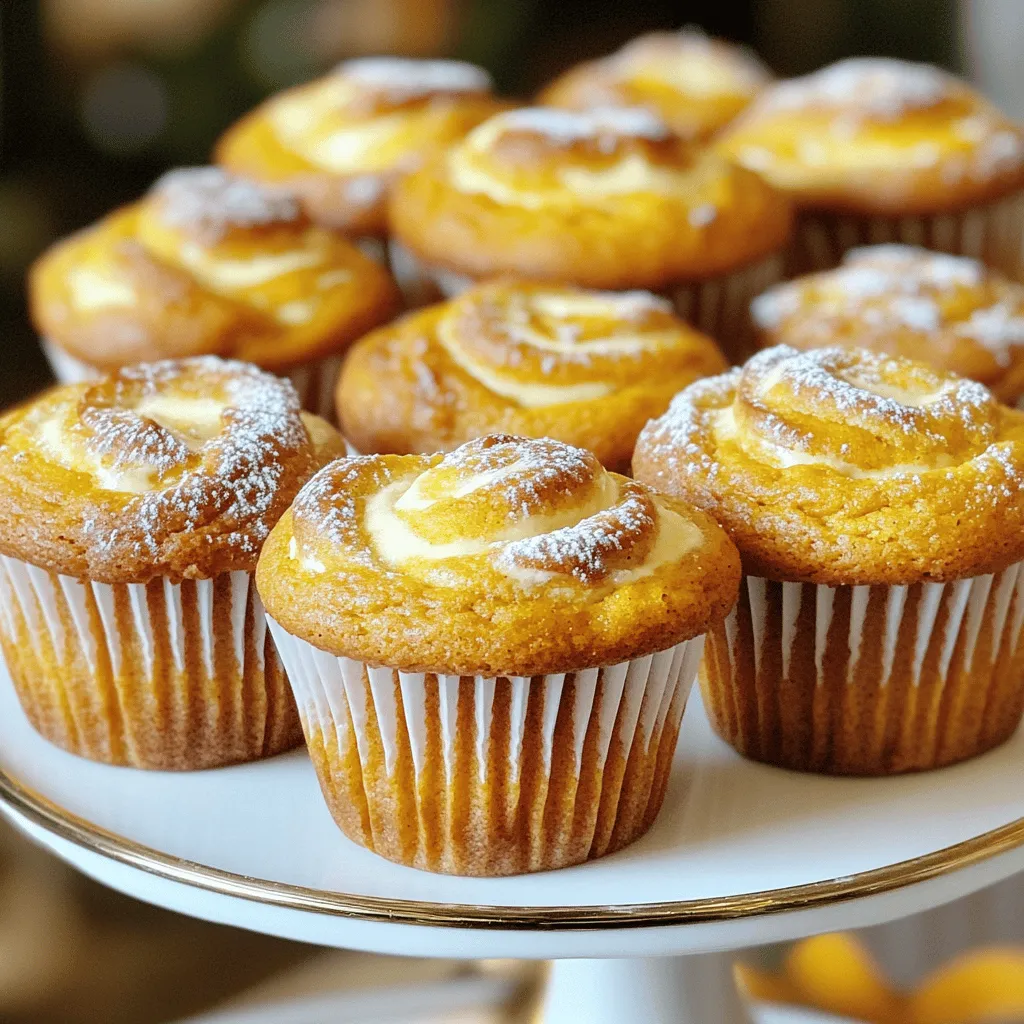
Pumpkin Cream Cheese Swirl Muffins Delightful Treat
If you love fall flavors, you’re in for a treat! These Pumpkin Cream Cheese Swirl Muffins blend warm spices with rich cream cheese for a
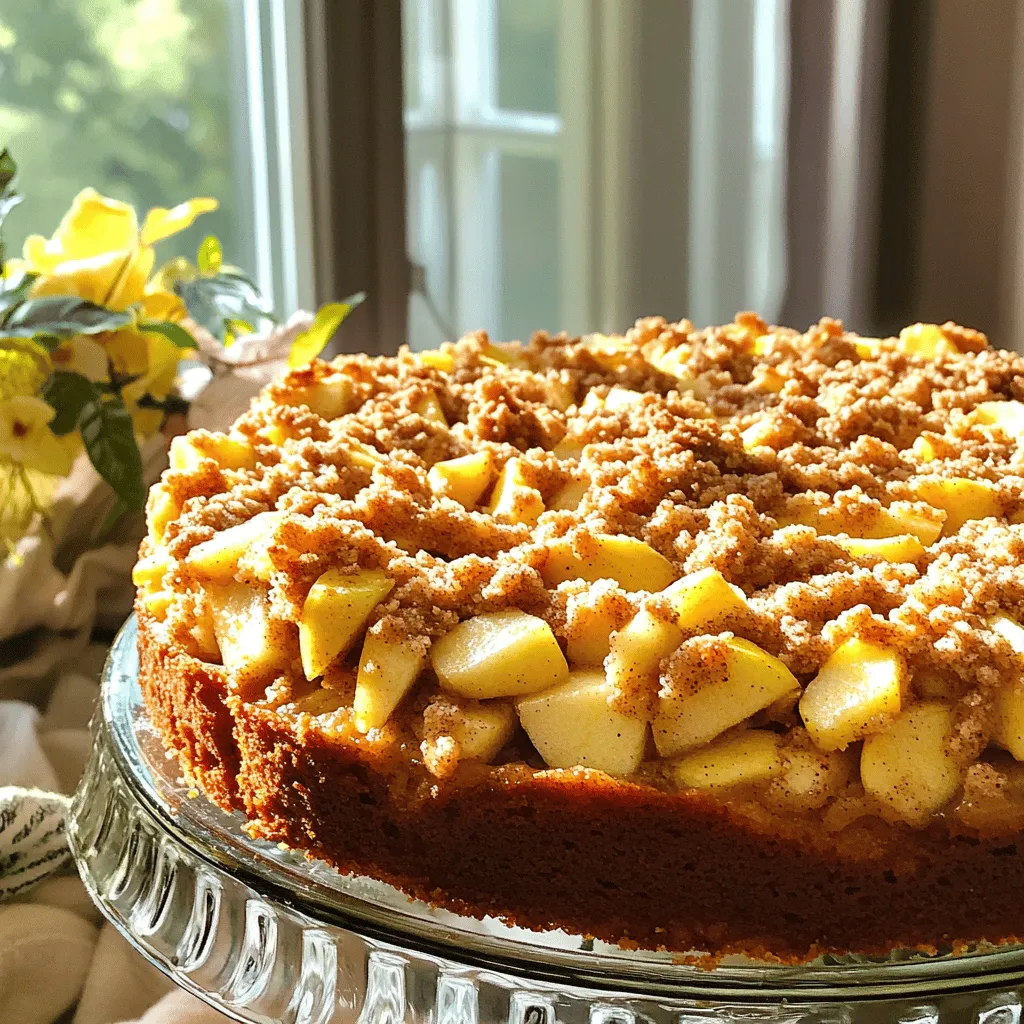
Irresistible Apple Streusel Coffee Cake Recipe Guide
Are you ready to impress friends with a delicious treat? My Irresistible Apple Streusel Coffee Cake recipe is just what you need! This guide will