Breakfast
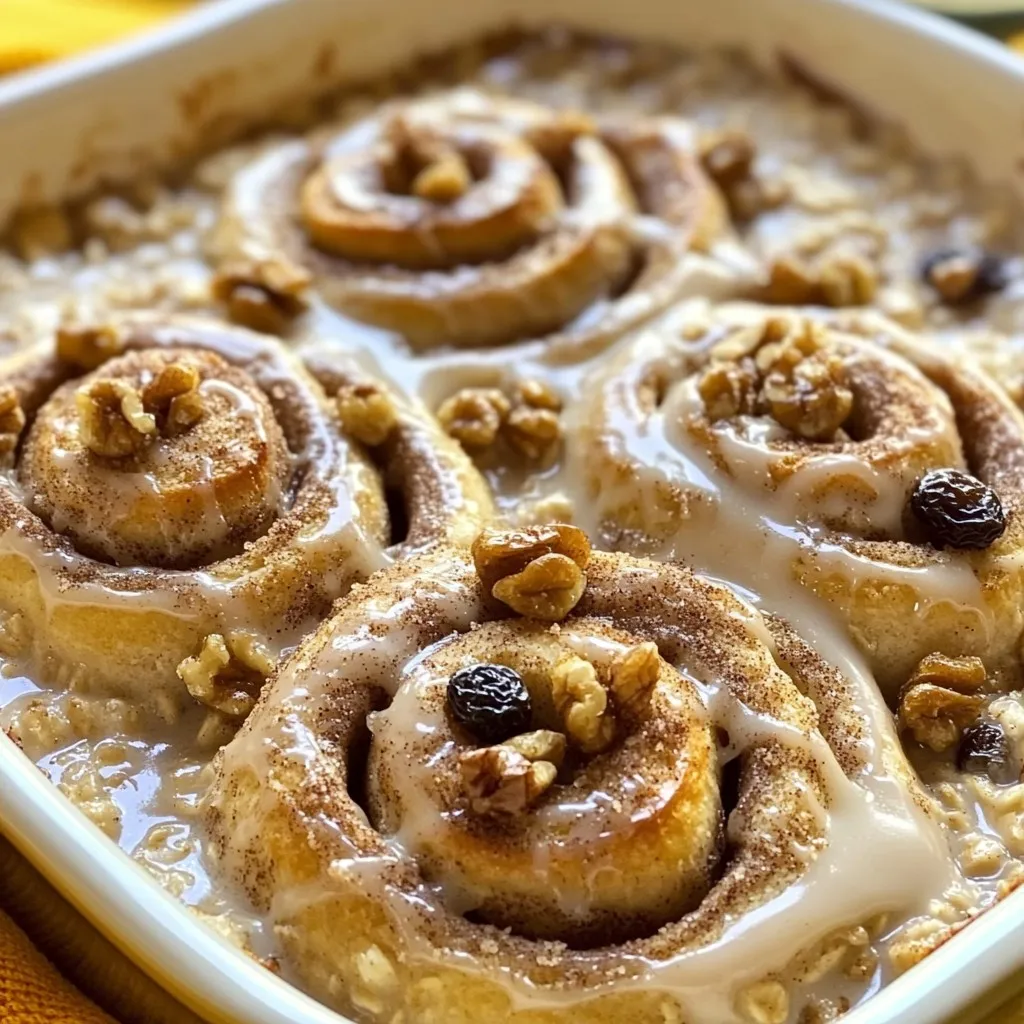
Cinnamon Roll Baked Oats Tasty and Simple Recipe
Looking for a warm and cozy breakfast? My Cinnamon Roll Baked Oats recipe is easy and delicious! With just a few simple ingredients, you can
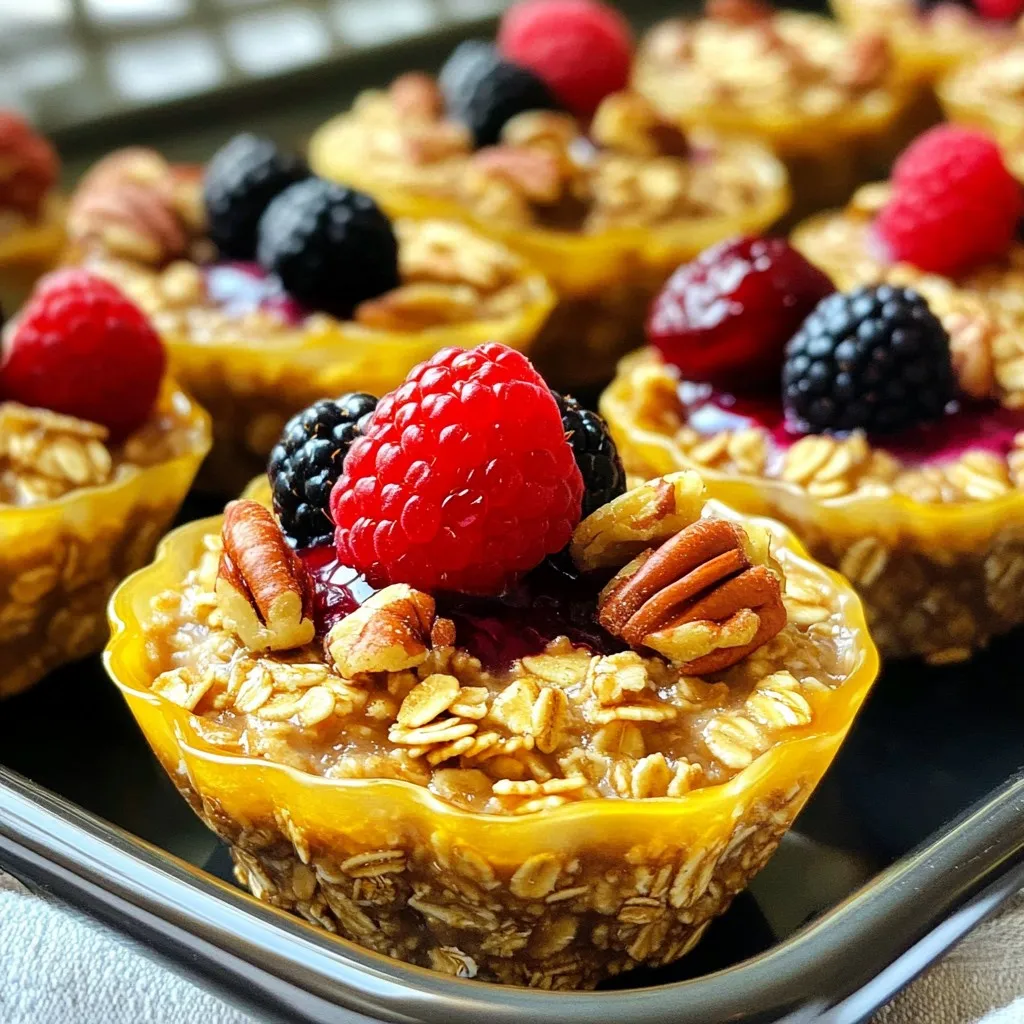
Maple Pecan Oatmeal Cups Tasty and Nutritious Recipe
If you’re looking for a tasty and healthy snack, you’ve come to the right place! My Maple Pecan Oatmeal Cups are both delicious and easy
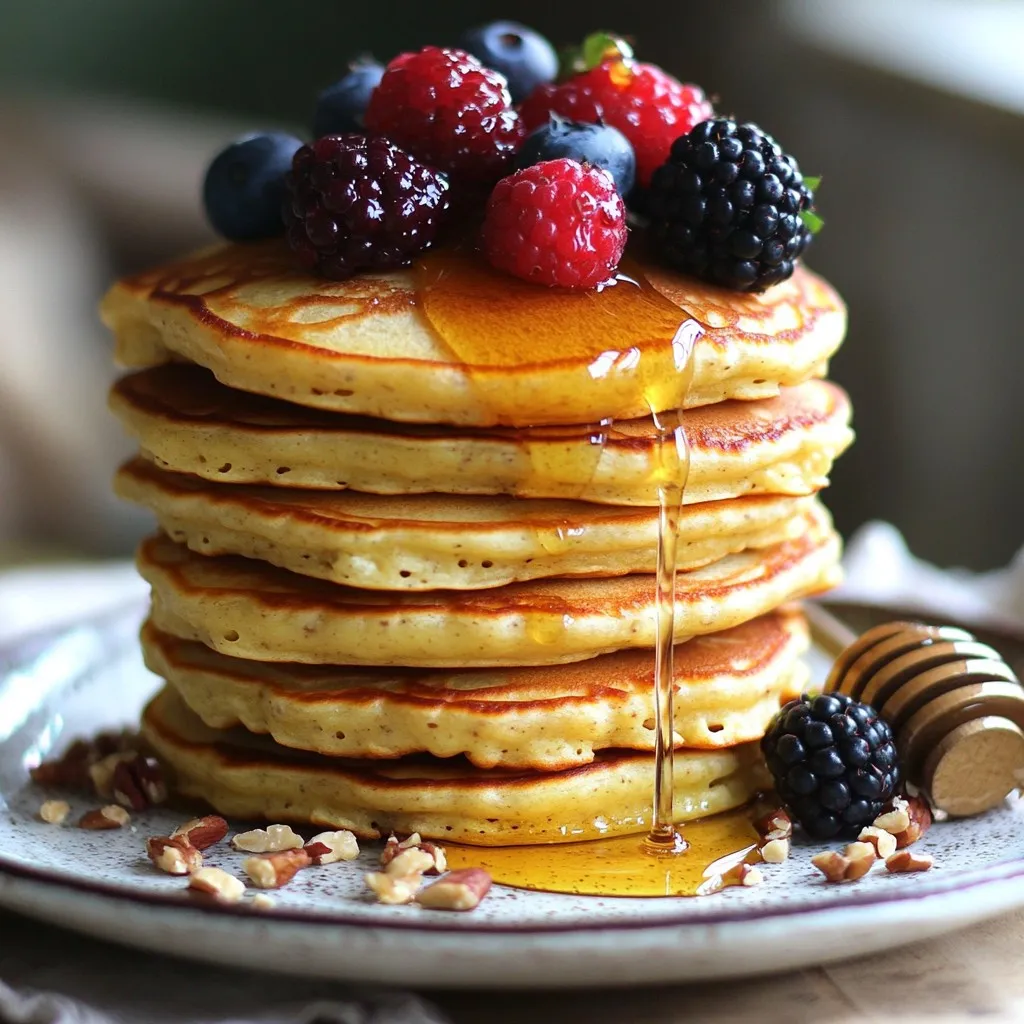
Protein-Packed Cottage Cheese Pancakes Delight
Are you ready to indulge in a guilt-free pancake delight? My Protein-Packed Cottage Cheese Pancakes combine simple ingredients like cottage cheese, eggs, and rolled oats
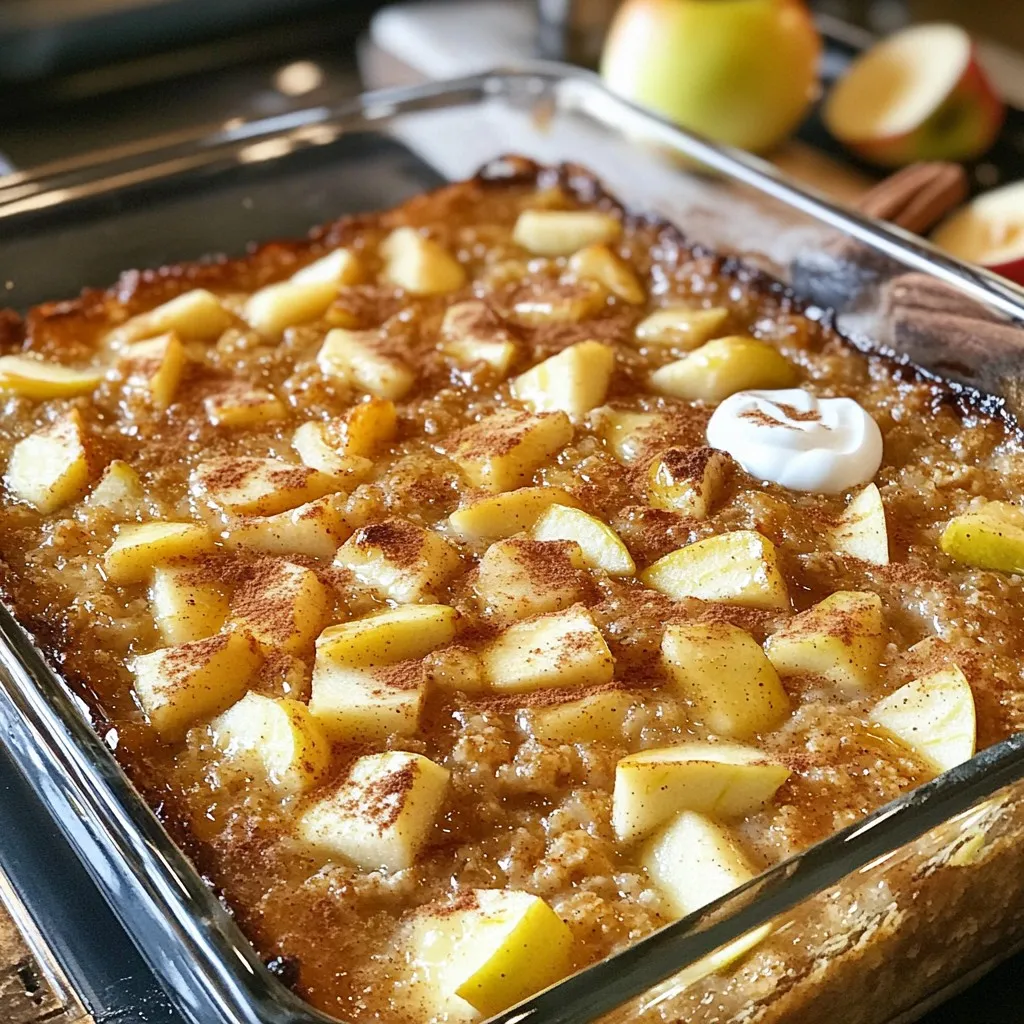
Cozy Apple Cinnamon Oatmeal Bake Simple and Savory Dish
Imagine waking up to a warm, inviting dish of Cozy Apple Cinnamon Oatmeal Bake. This simple and savory recipe combines the comfort of oatmeal with

Pumpkin Cream Cold Foam Coffee Tasty and Simple Recipe
Are you ready to elevate your coffee game with a delicious twist? This Pumpkin Cream Cold Foam Coffee recipe combines rich flavors with easy steps.
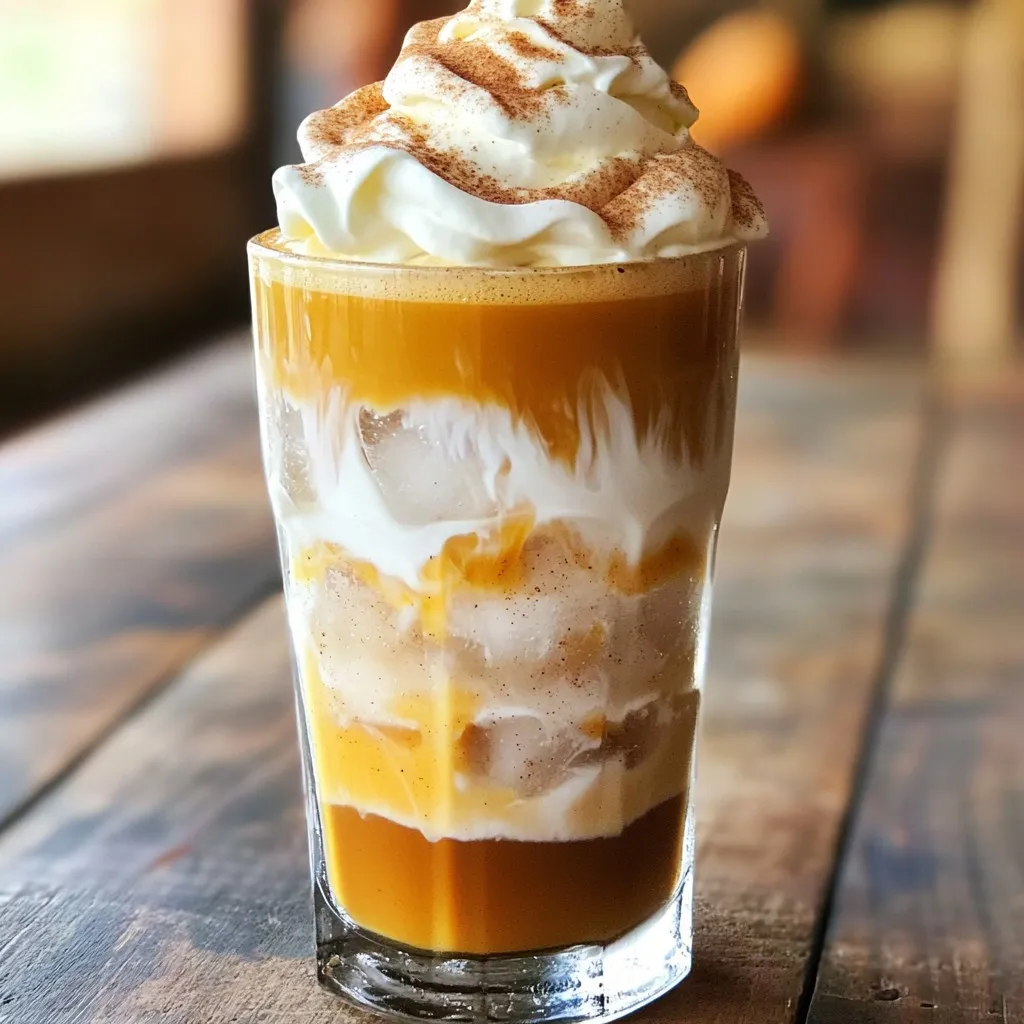
Pumpkin Cream Cold Brew Fantastic Seasonal Delight
Are you ready to enjoy a drink that captures the joy of fall? The Pumpkin Cream Cold Brew is a fantastic seasonal delight that combines
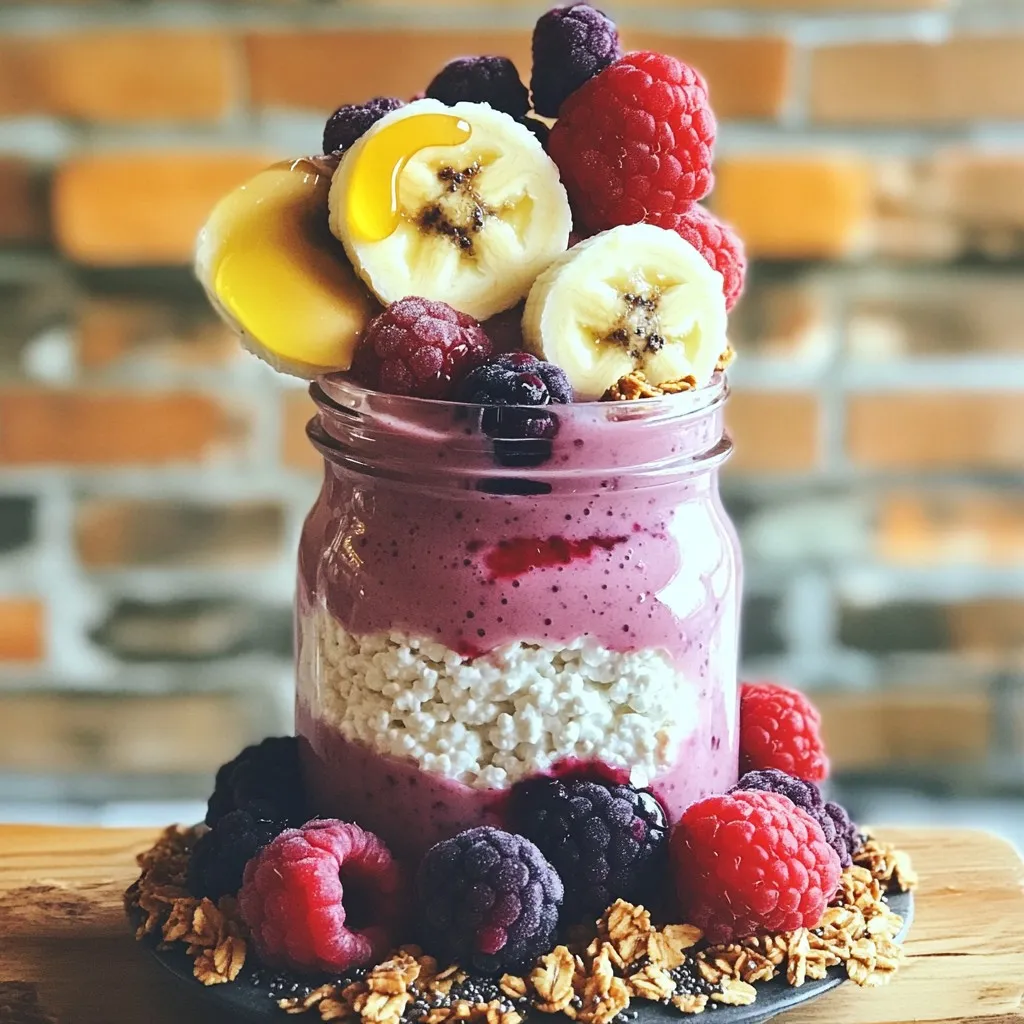
High-Protein Cottage Cheese Smoothie Jar Recipe
Looking for a quick and tasty way to boost your protein intake? This High-Protein Cottage Cheese Smoothie Jar is your answer! Packed with cottage cheese,
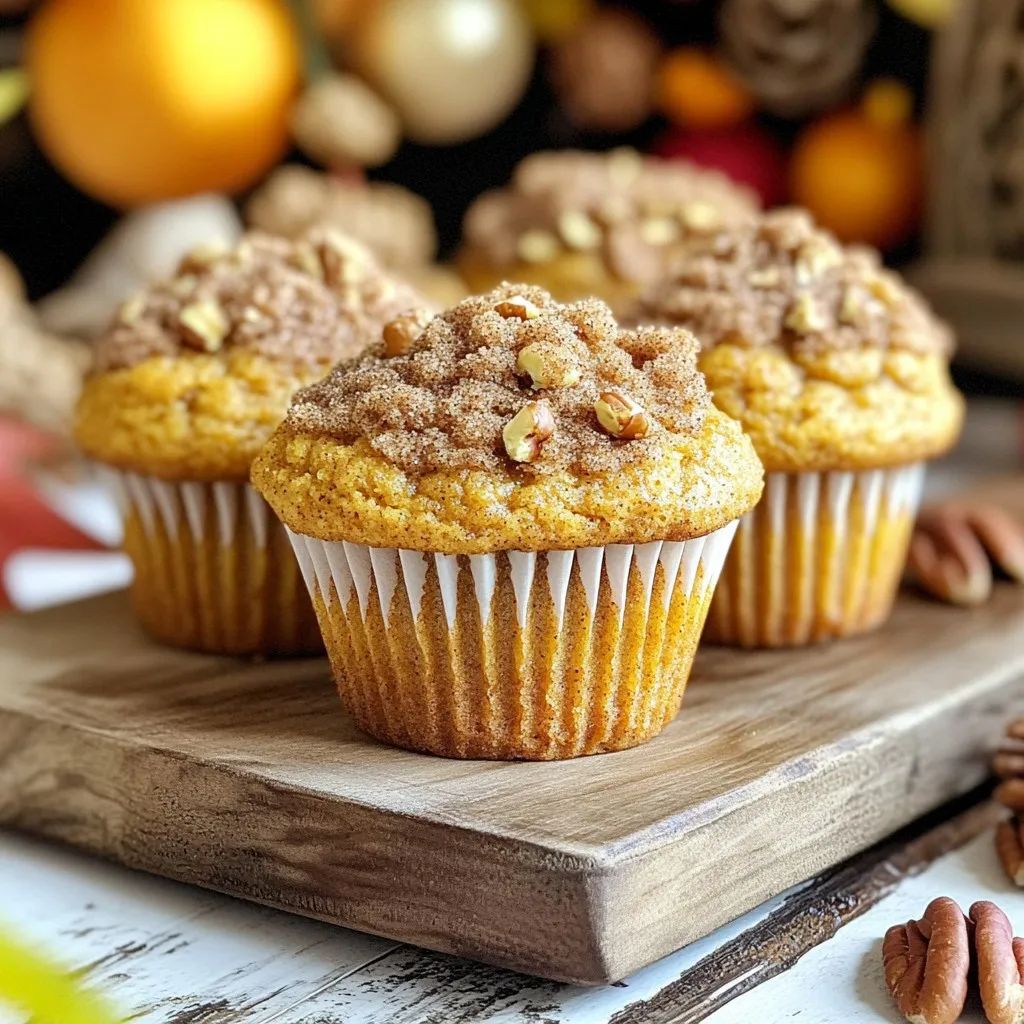
Pumpkin Spice Coffee Cake Muffins Warm and Cozy Treat
Are you ready to warm up your kitchen with the delightful aroma of pumpkin spice coffee cake muffins? These tasty treats are perfect for chilly

Maple Brown Sugar Oatmeal Cups Tasty Breakfast Treat
Looking for a quick and tasty breakfast idea? Maple Brown Sugar Oatmeal Cups are the answer! These easy snacks pack flavor and nutrition in each
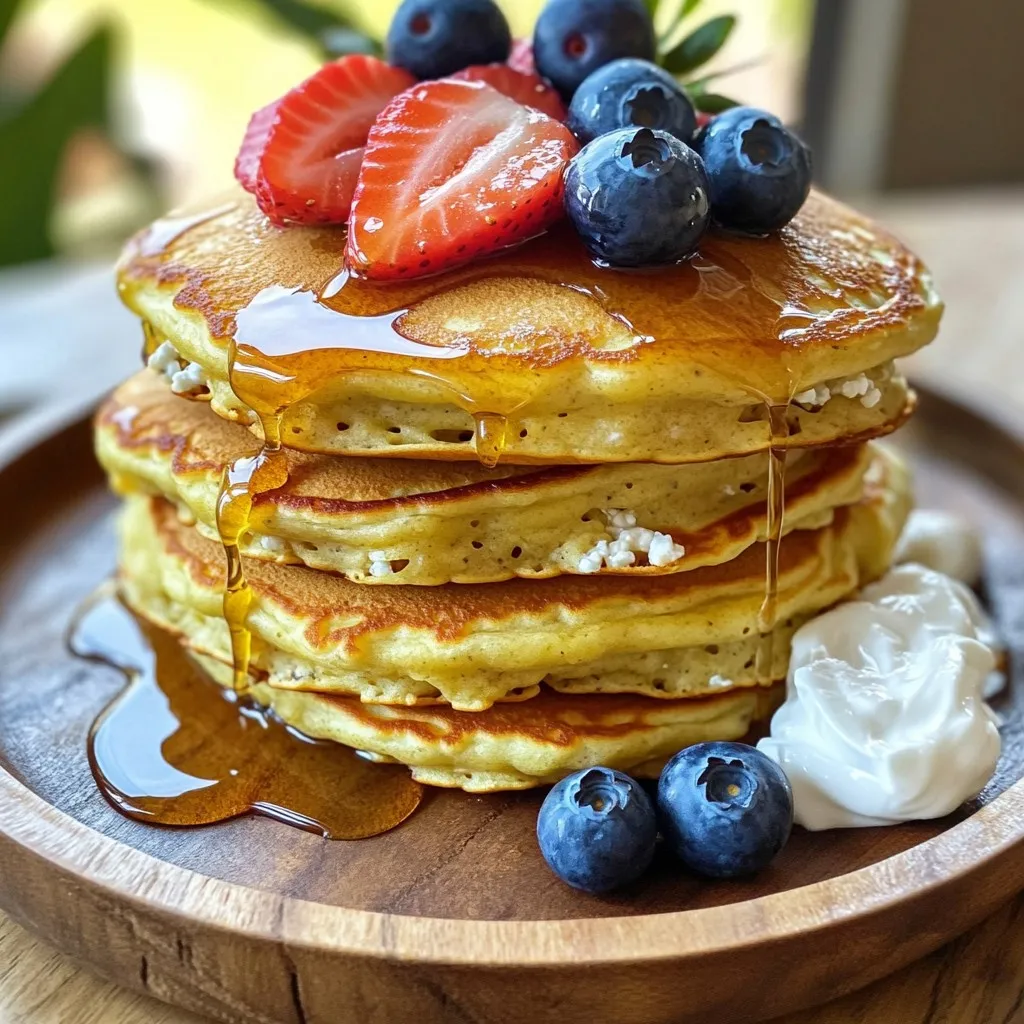
Minute Protein Cottage Cheese Pancakes Easy Recipe
Looking for a quick and tasty breakfast? Try my Minute Protein Cottage Cheese Pancakes! Packed with protein and easy to whip up, these pancakes make