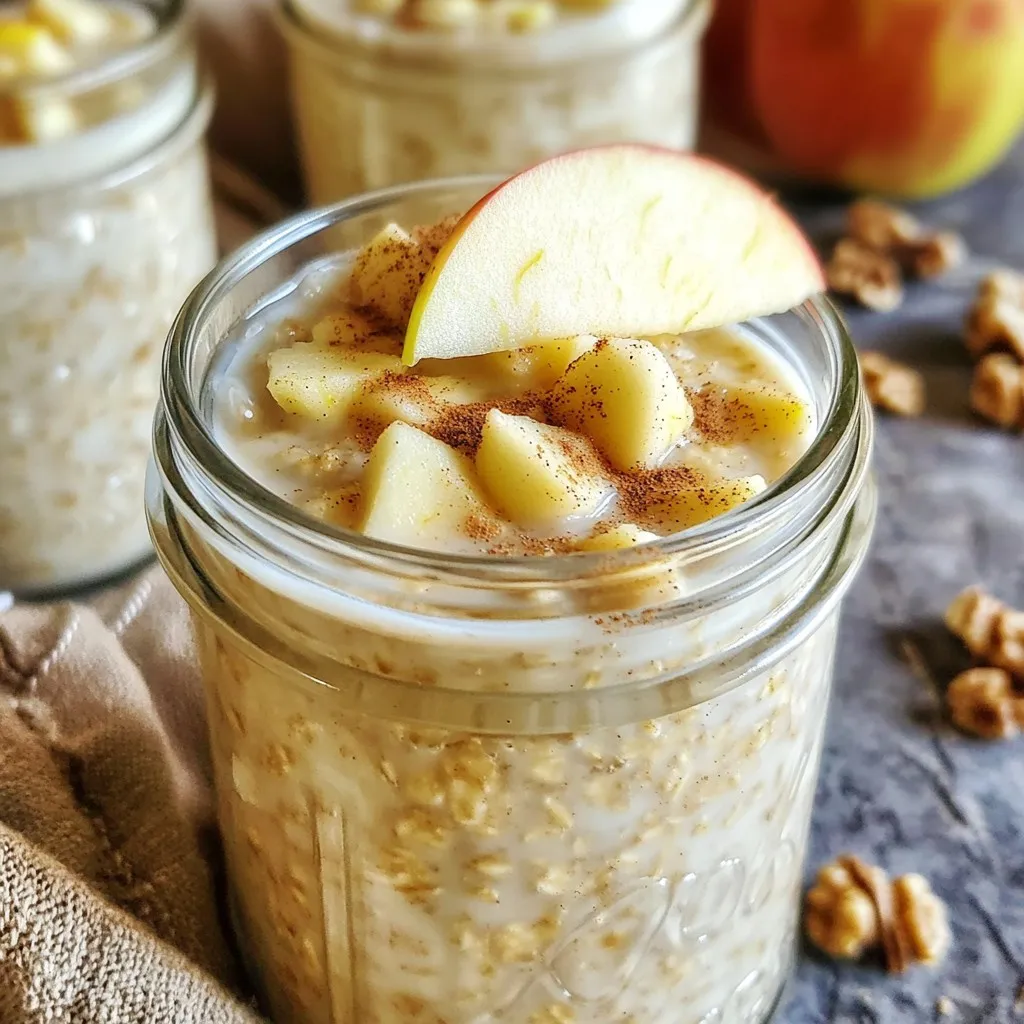
Savory Apple Pie Protein Overnight Oats Recipe
A delicious and nutritious overnight oats recipe with apple and protein.
8h
2
Fresh and energizing breakfast options
A delicious and nutritious overnight oats recipe with apple and protein.
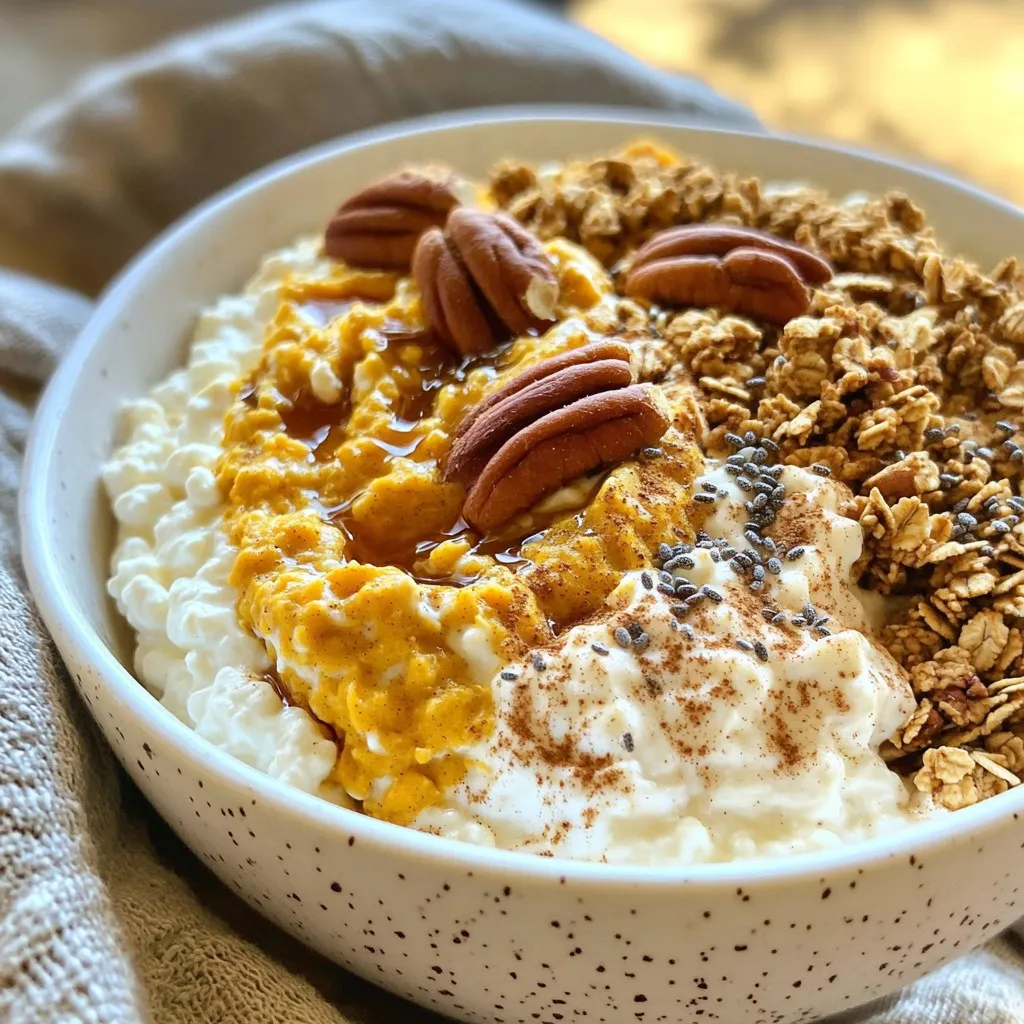
A nutritious and delicious bowl combining cottage cheese, pumpkin puree, and spices for a delightful...
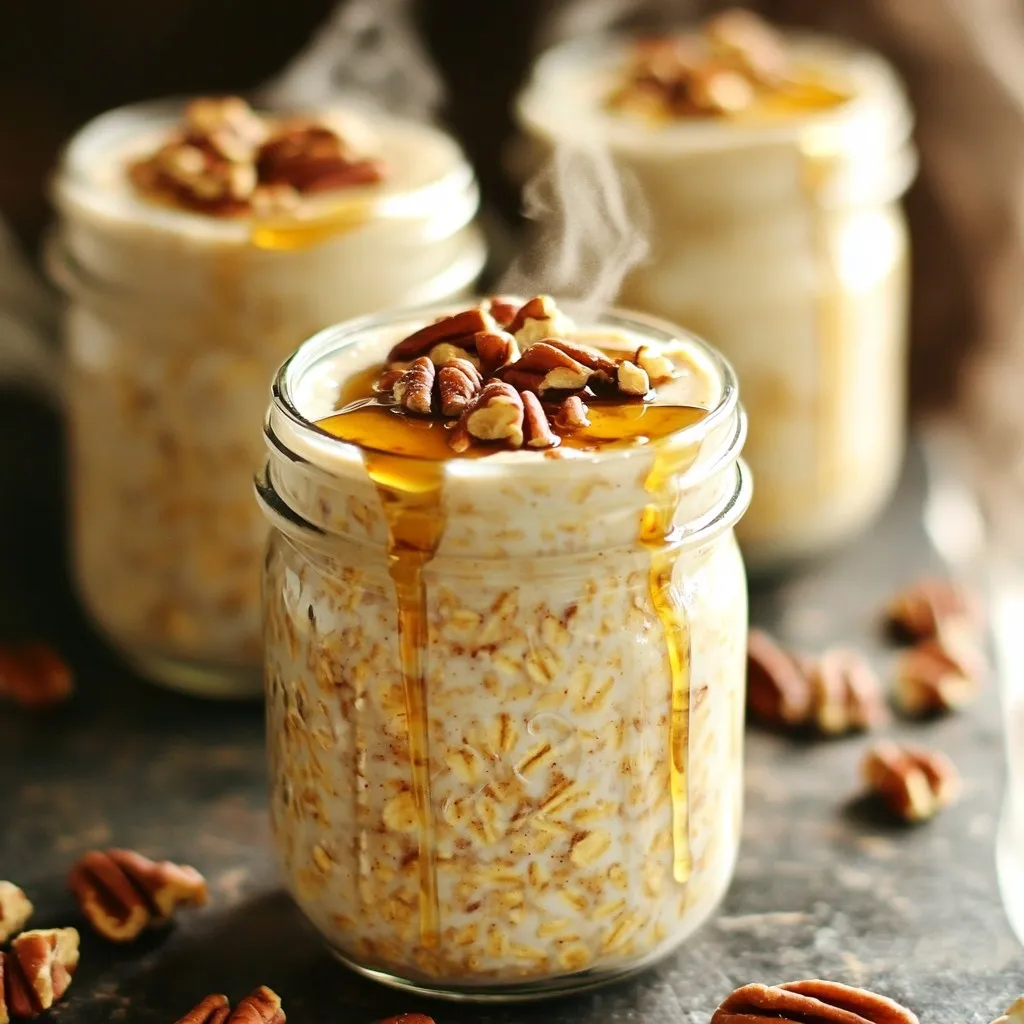
A delicious and creamy overnight oats recipe infused with maple syrup, coffee, and pecans.
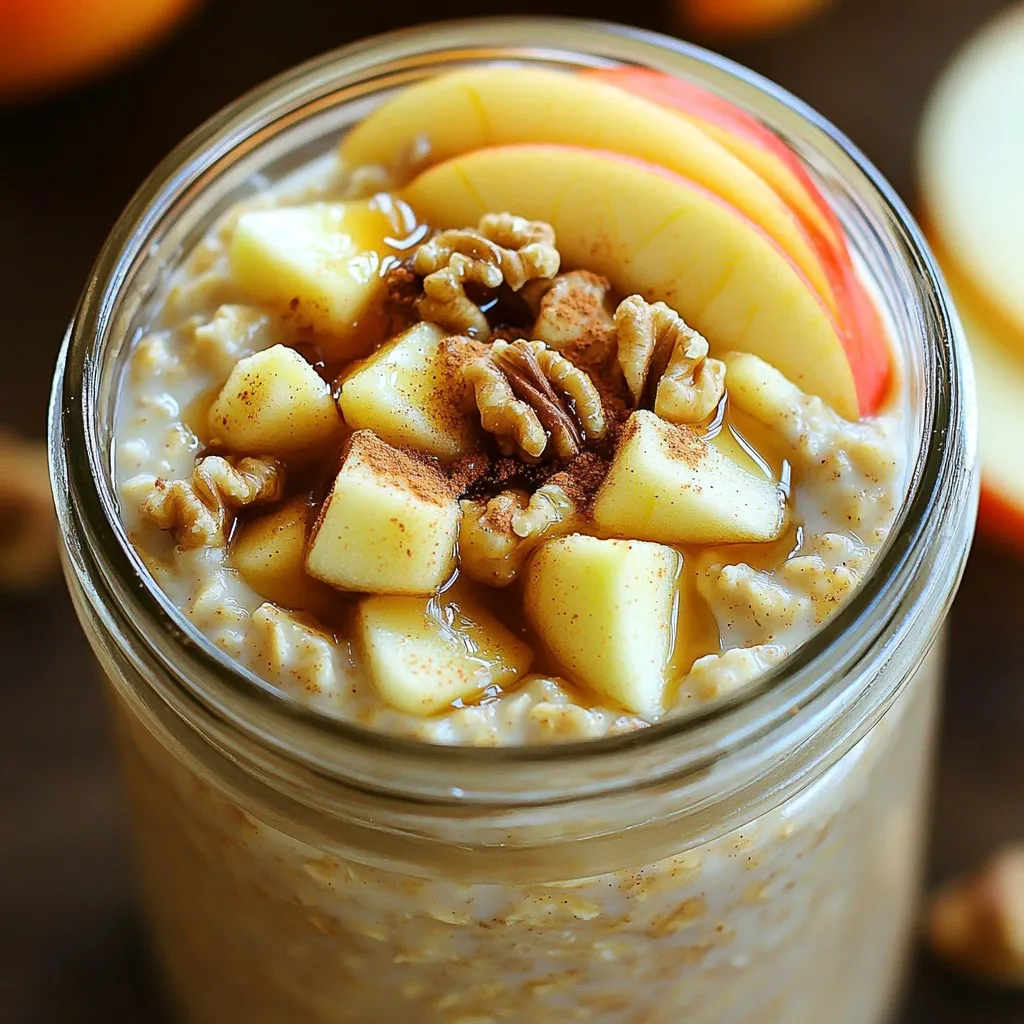
A nutritious and delicious overnight oats recipe featuring apples and cinnamon, perfect for a quick...
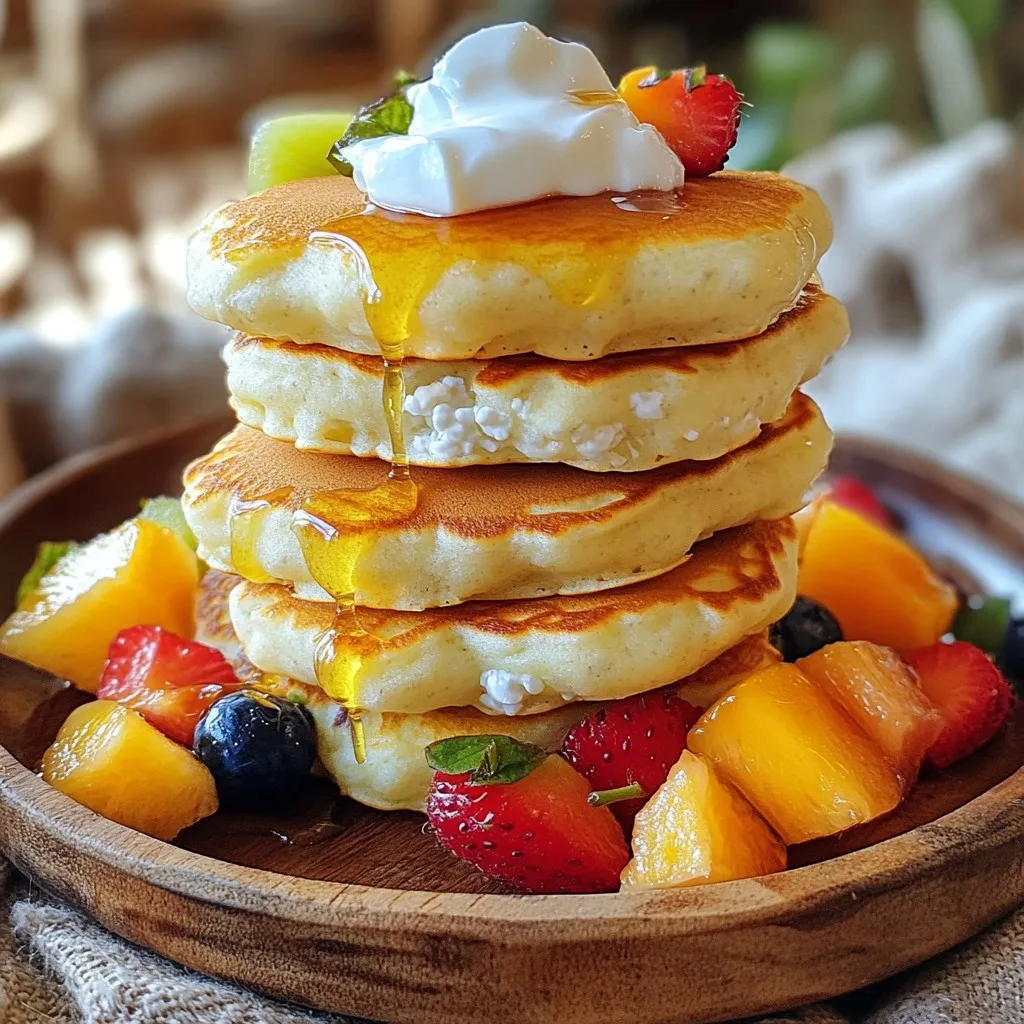
Delicious and nutritious pancake bites made with cottage cheese and oats, perfect for a healthy brea...

A delicious iced coffee topped with a creamy pumpkin cold foam, perfect for fall.
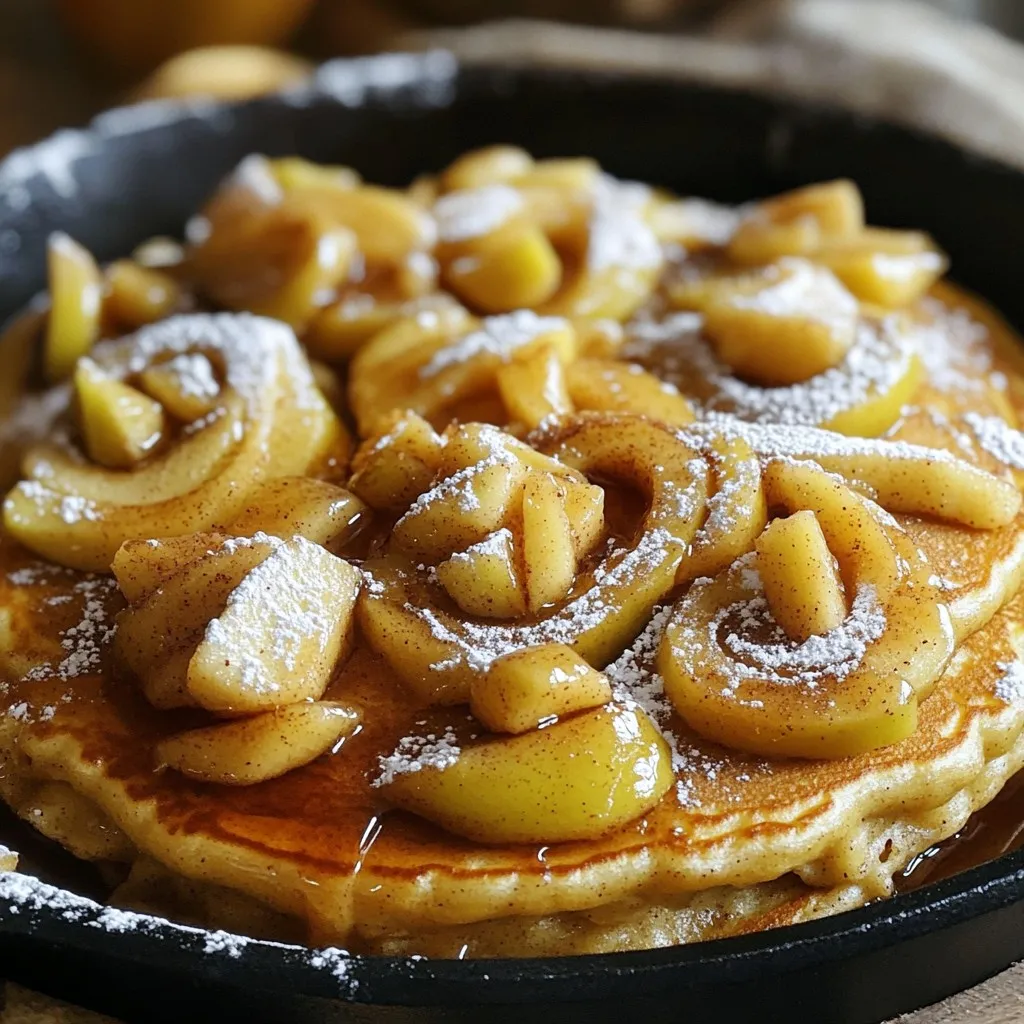
A delicious and fluffy pancake skillet filled with cinnamon and diced apples, perfect for breakfast...

A delicious and nutritious smoothie that combines the flavors of pumpkin spice with protein for a sa...
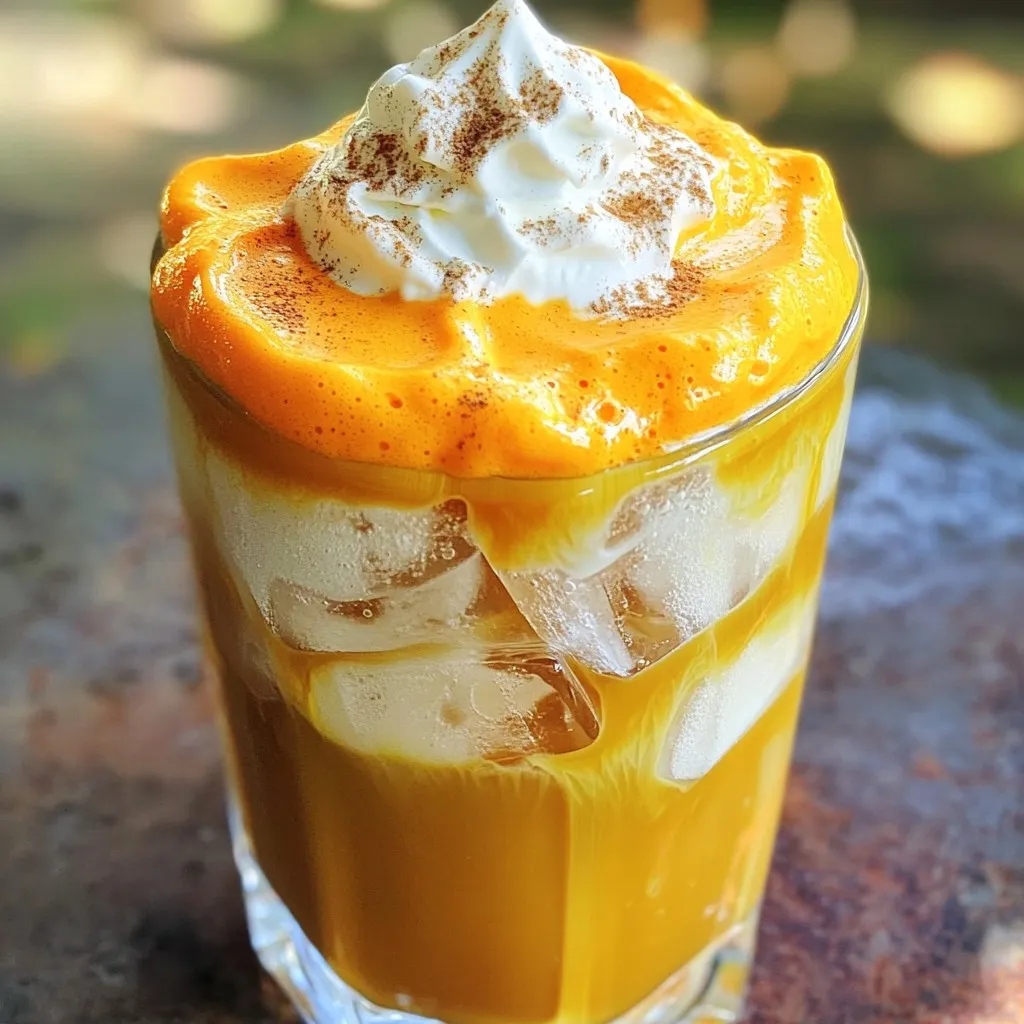
A refreshing iced coffee topped with a creamy pumpkin foam, perfect for fall.
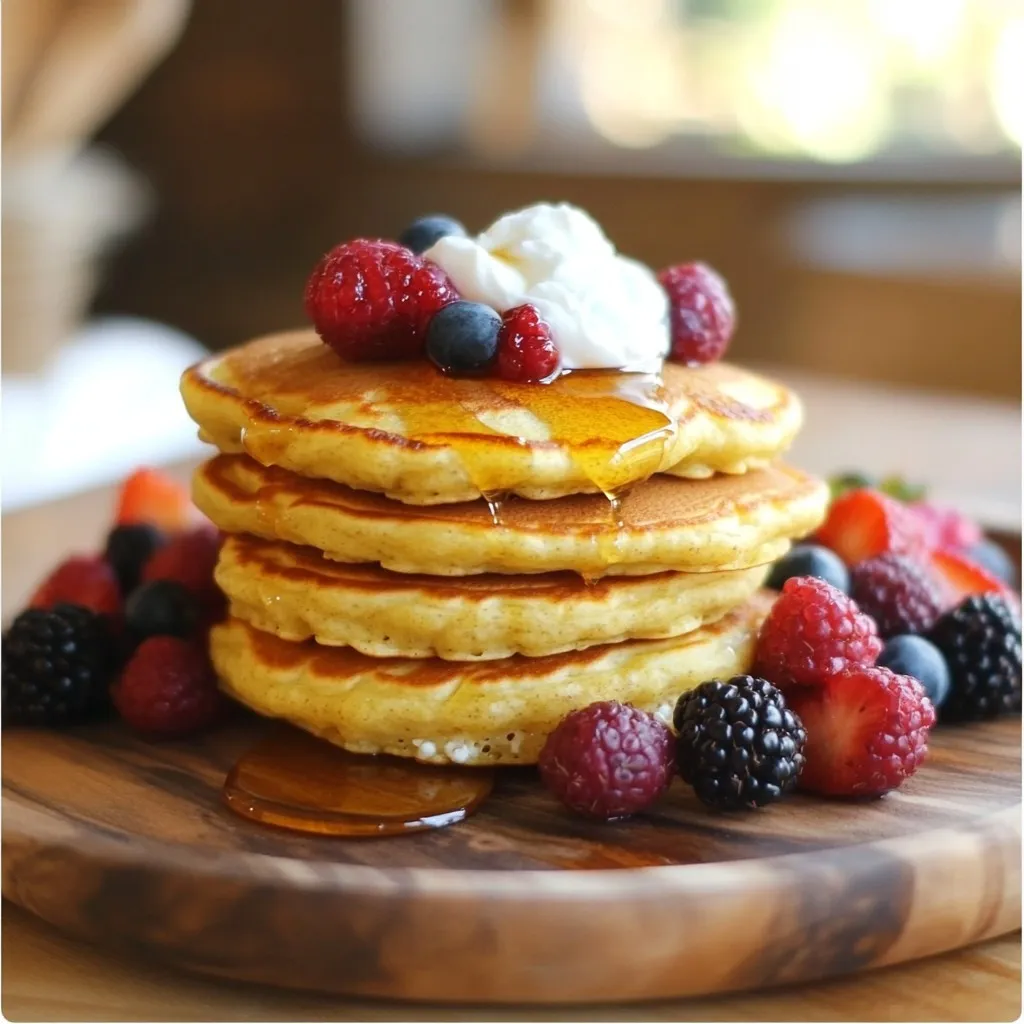
Delicious and protein-rich pancake bites made with cottage cheese and oats.
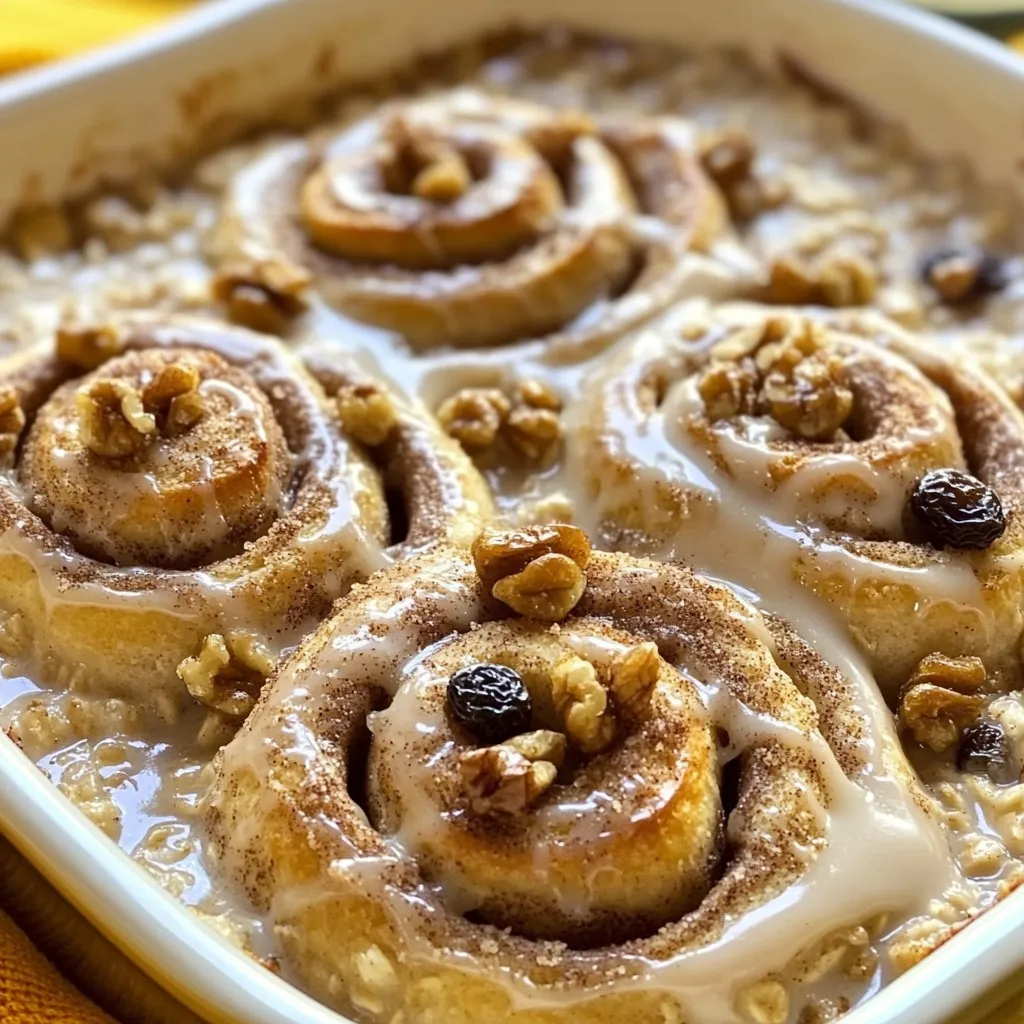
A delicious and healthy baked oatmeal dish that combines the flavors of cinnamon rolls with the good...
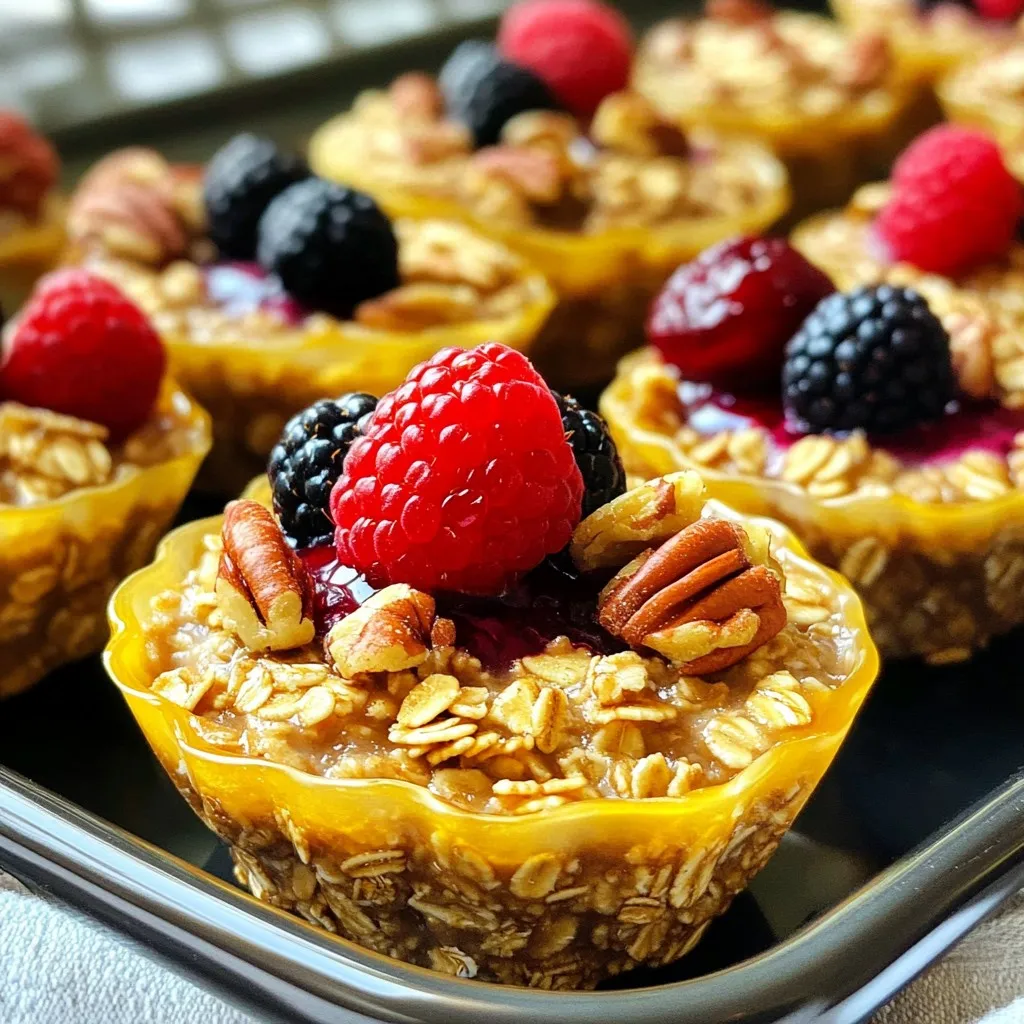
Delicious and healthy oatmeal cups made with rolled oats, pecans, and maple syrup.