Appetizers
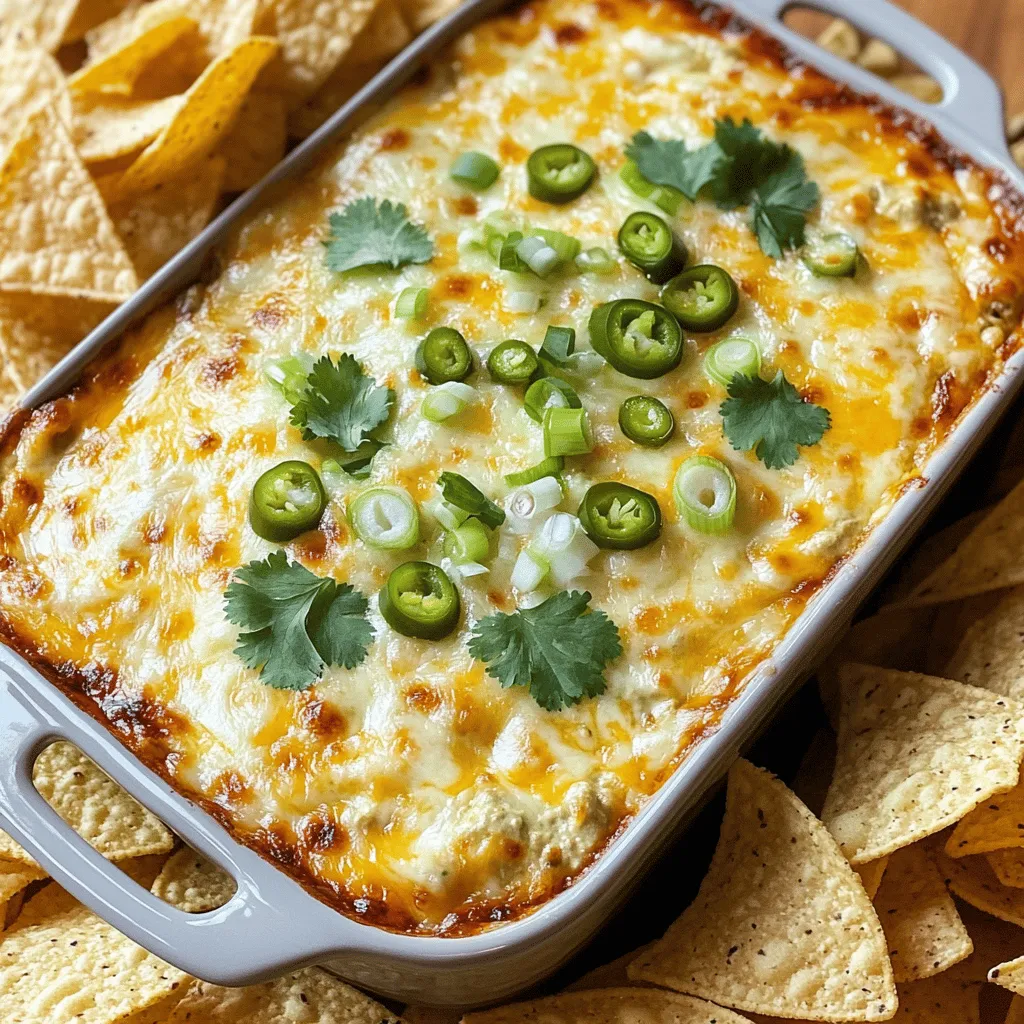
Cheesy Hatch Green Chile Dip Flavorful Party Treat
If you’re looking for a party treat sure to impress, look no further! This Cheesy Hatch Green Chile Dip combines creamy goodness with zesty flavors.
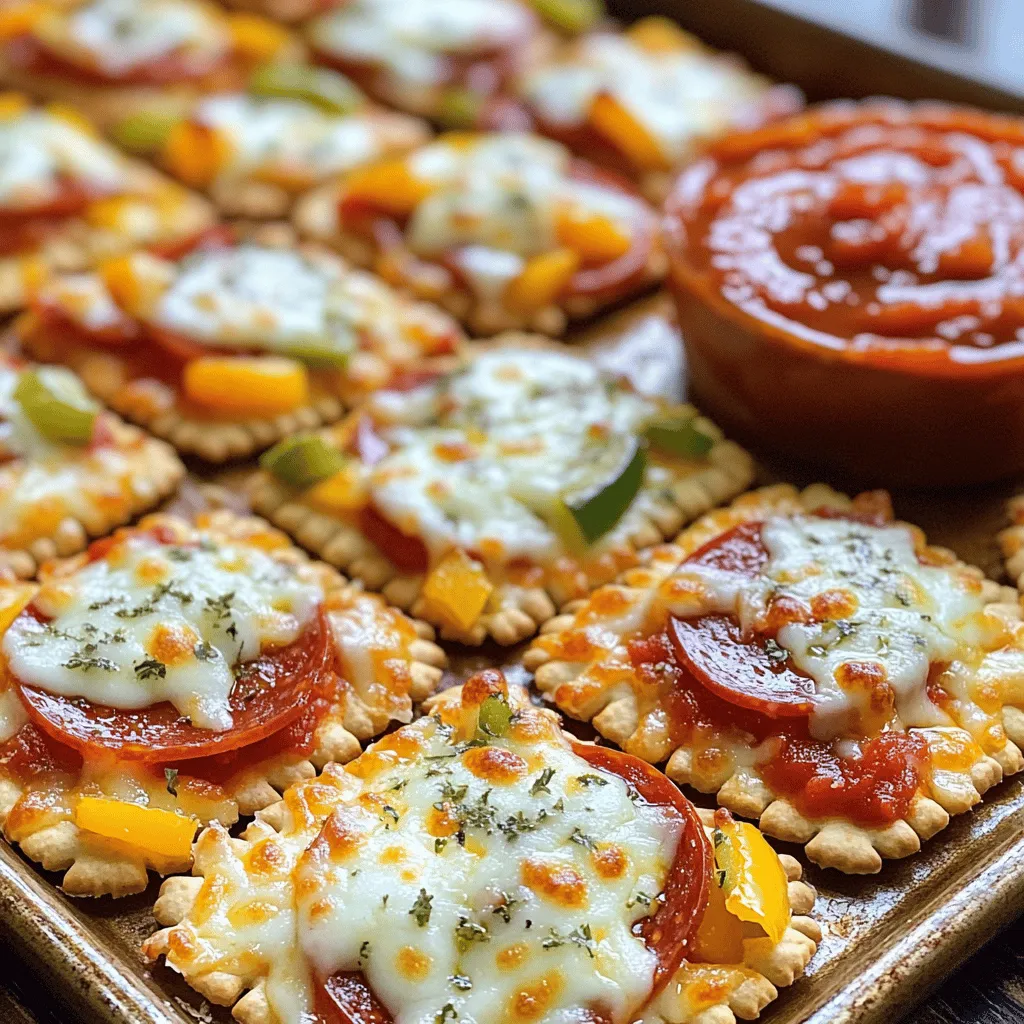
DIY Pizza Crackers Crunchy and Flavorful Snack Recipe
Craving a tasty snack that’s easy to make? These DIY Pizza Crackers are the answer! With just a few simple ingredients, you can create delicious,
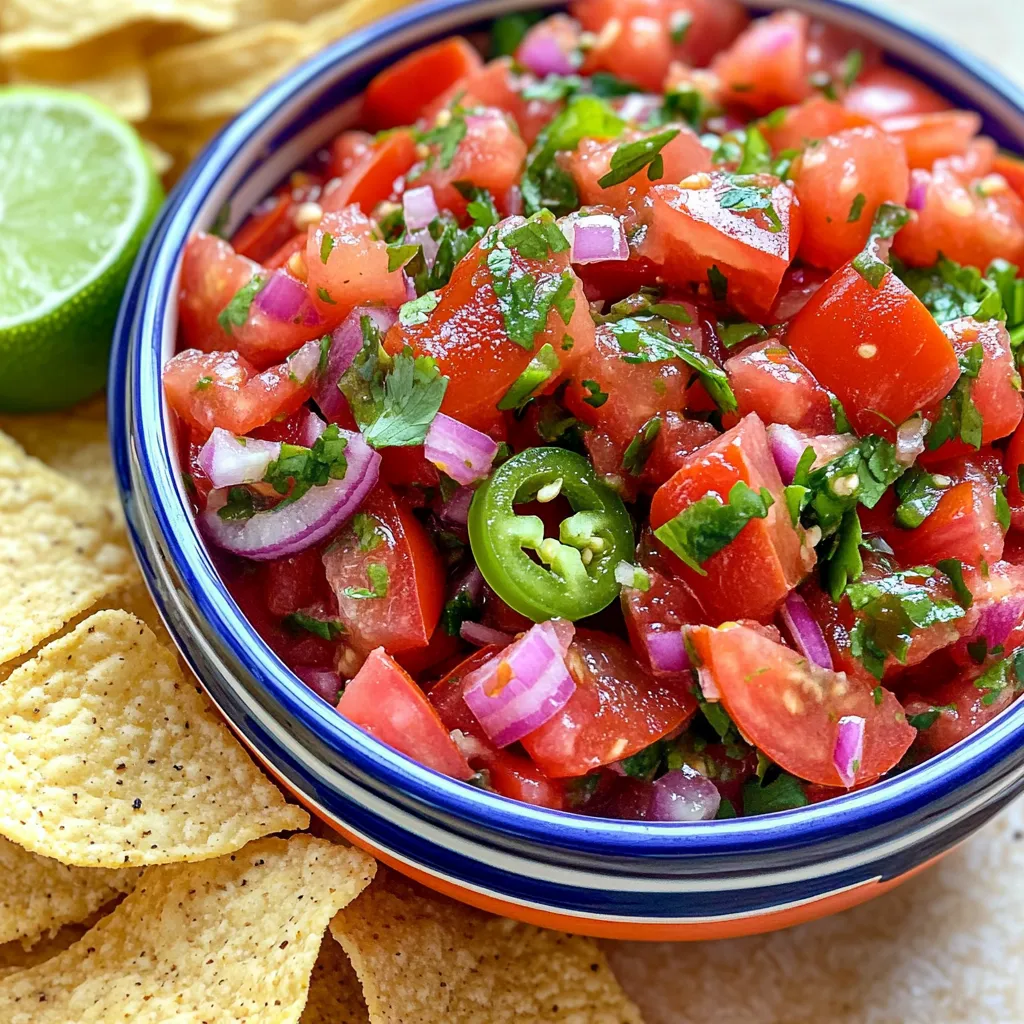
Easy No Peel Salsa Perfect for Fresh Tasty Meals
Are you tired of spending too much time peeling tomatoes for salsa? I’ve got you covered! This Easy No Peel Salsa is your go-to recipe
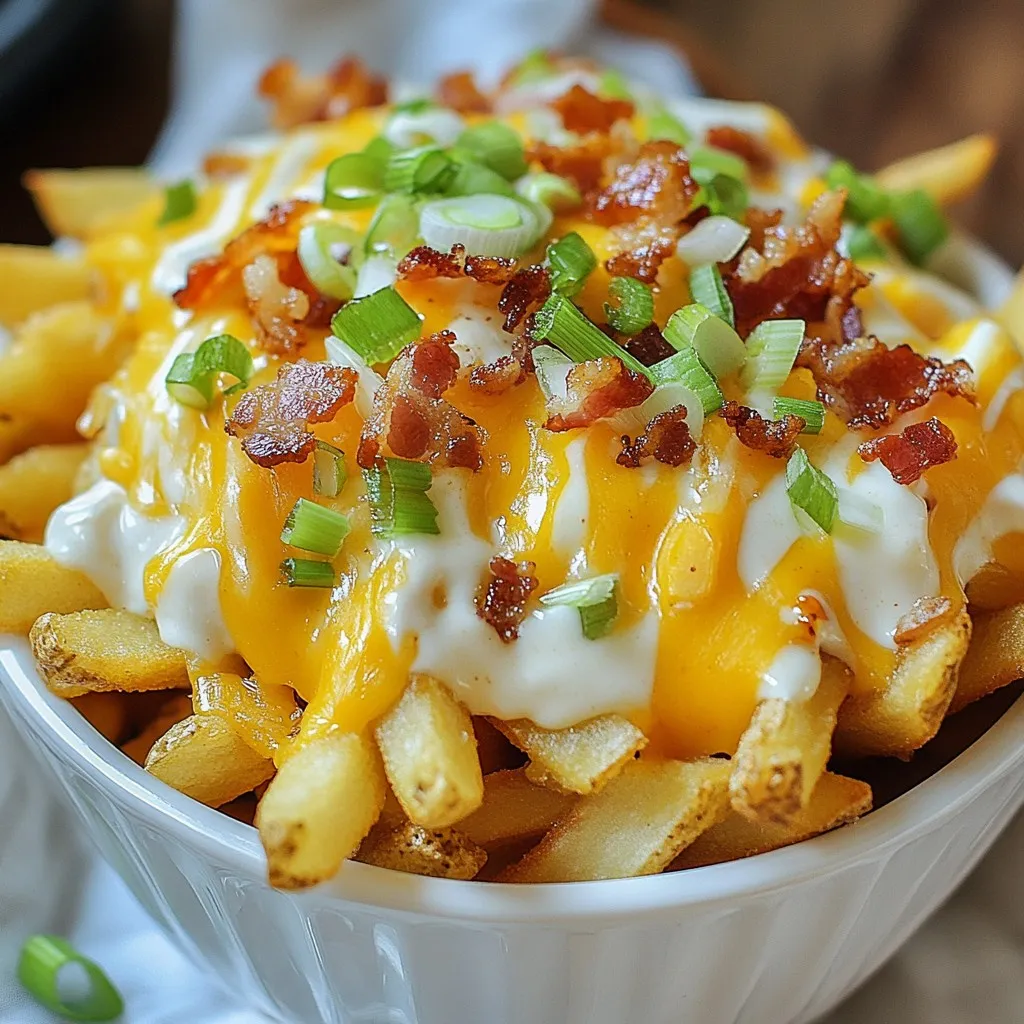
Cheddar Ranch Loaded Fries Tasty Flavor Explosion
Get ready for a taste explosion with Cheddar Ranch Loaded Fries! Imagine crispy russet potatoes topped with sharp cheddar cheese, creamy ranch dressing, and crispy
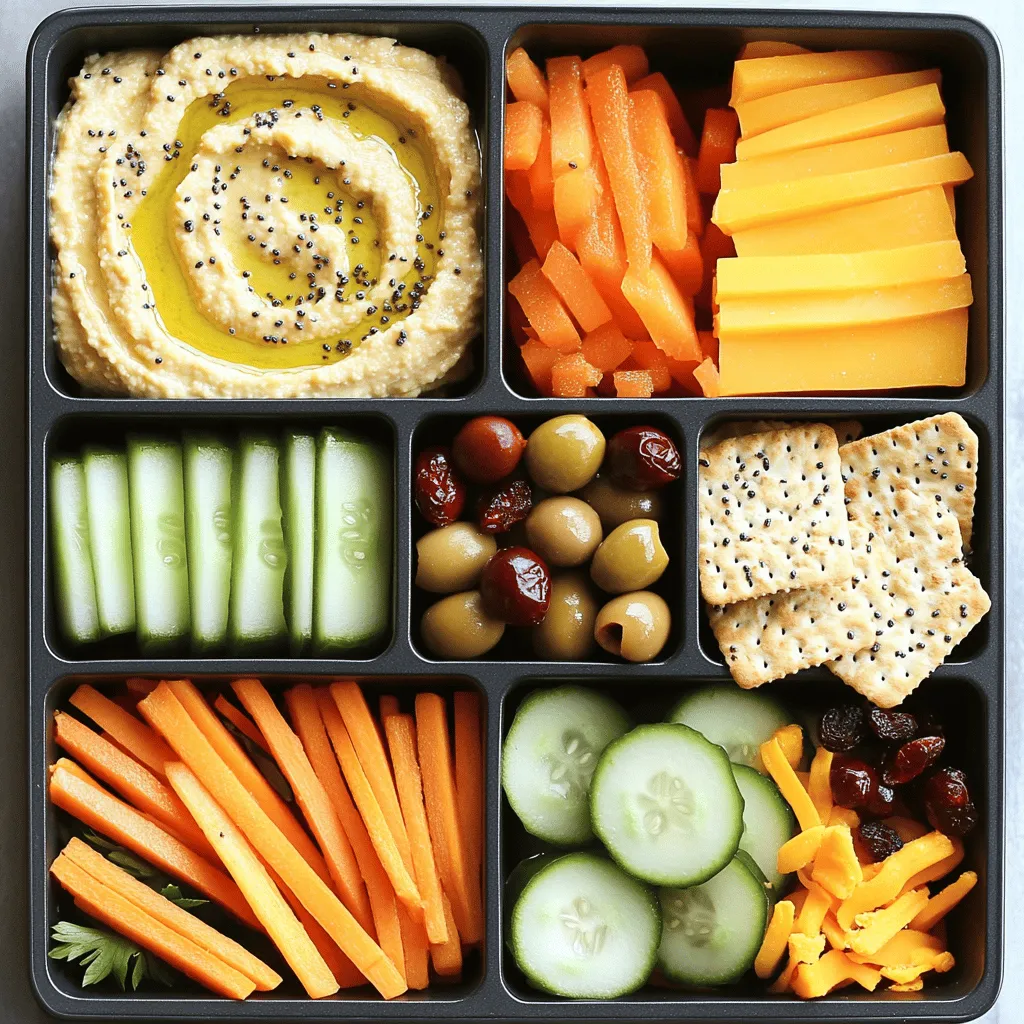
Adult Lunchable Bento Box Meal Prep Delight
Are you tired of boring lunches? Get ready to elevate your meal prep game with my Adult Lunchable Bento Box Meal Prep Delight! This fun
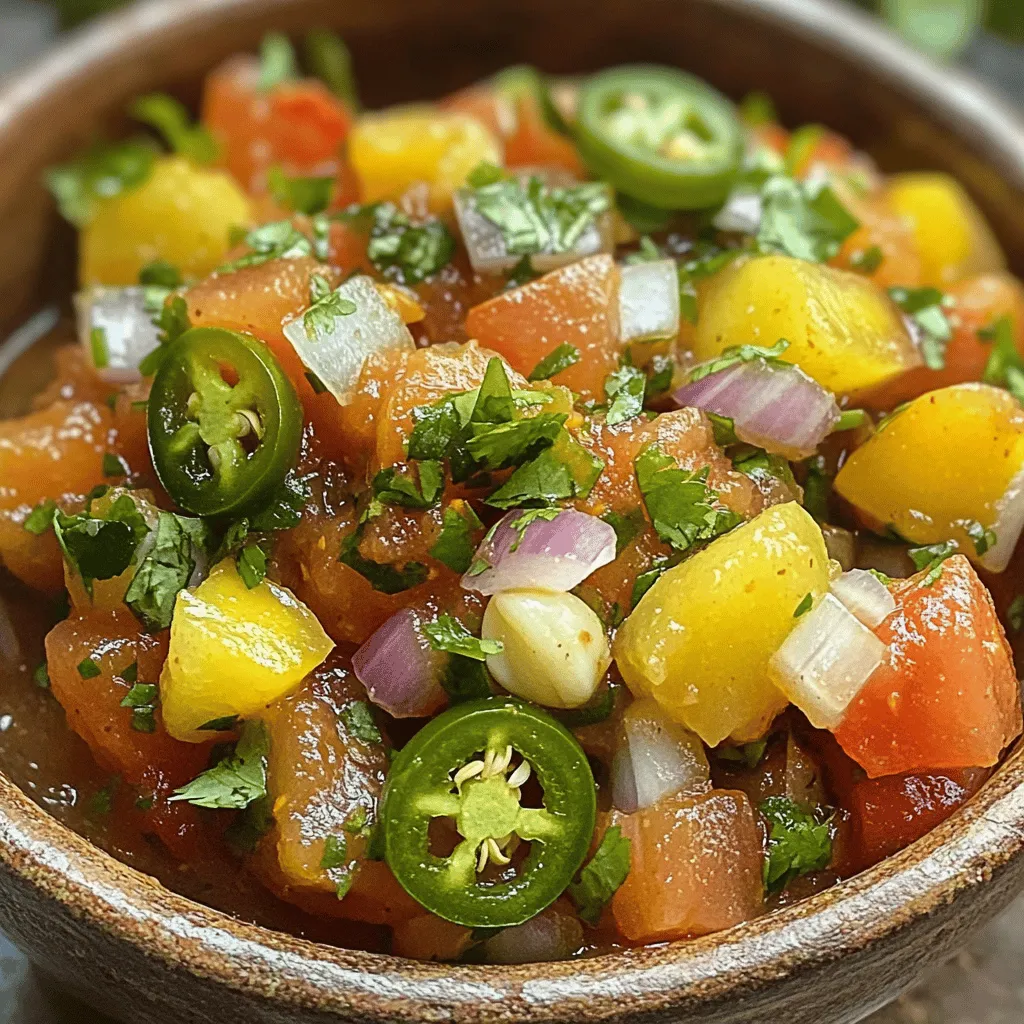
The Best Homemade Salsa Ranchera Flavorful Delight
Ready to elevate your next meal? With The Best Homemade Salsa Ranchera, you’ll discover a vibrant mix of fresh ingredients that bursts with flavor. This

Homemade Lunchable Delightful and Easy Recipe Guide
Want a quick and fun lunch idea? Let’s make a Homemade Lunchable! My easy recipe guide shows you how to fill a lunchbox with tasty
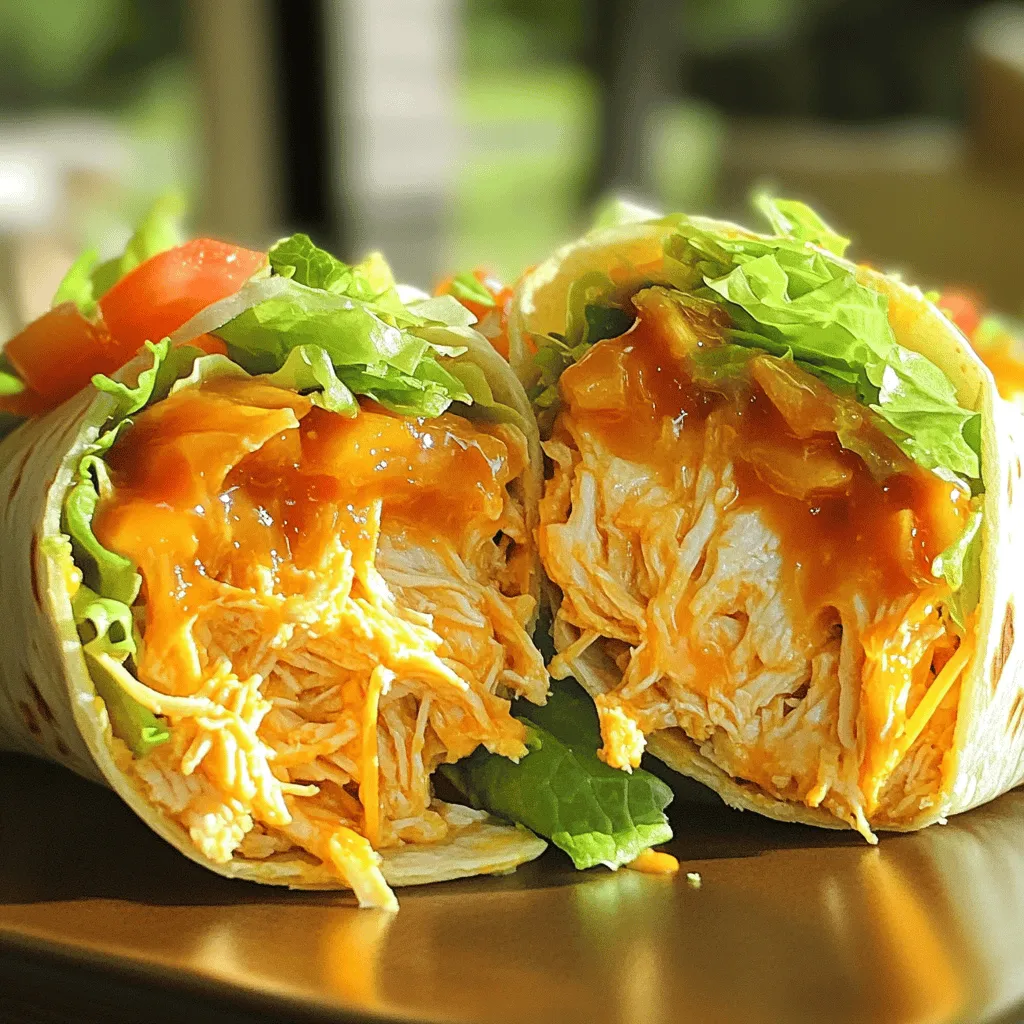
Easy Buffalo Chicken Wrap Flavorful and Quick Meal
Looking for a meal that’s both quick and bursting with flavor? This Easy Buffalo Chicken Wrap is your answer! With just a few simple ingredients
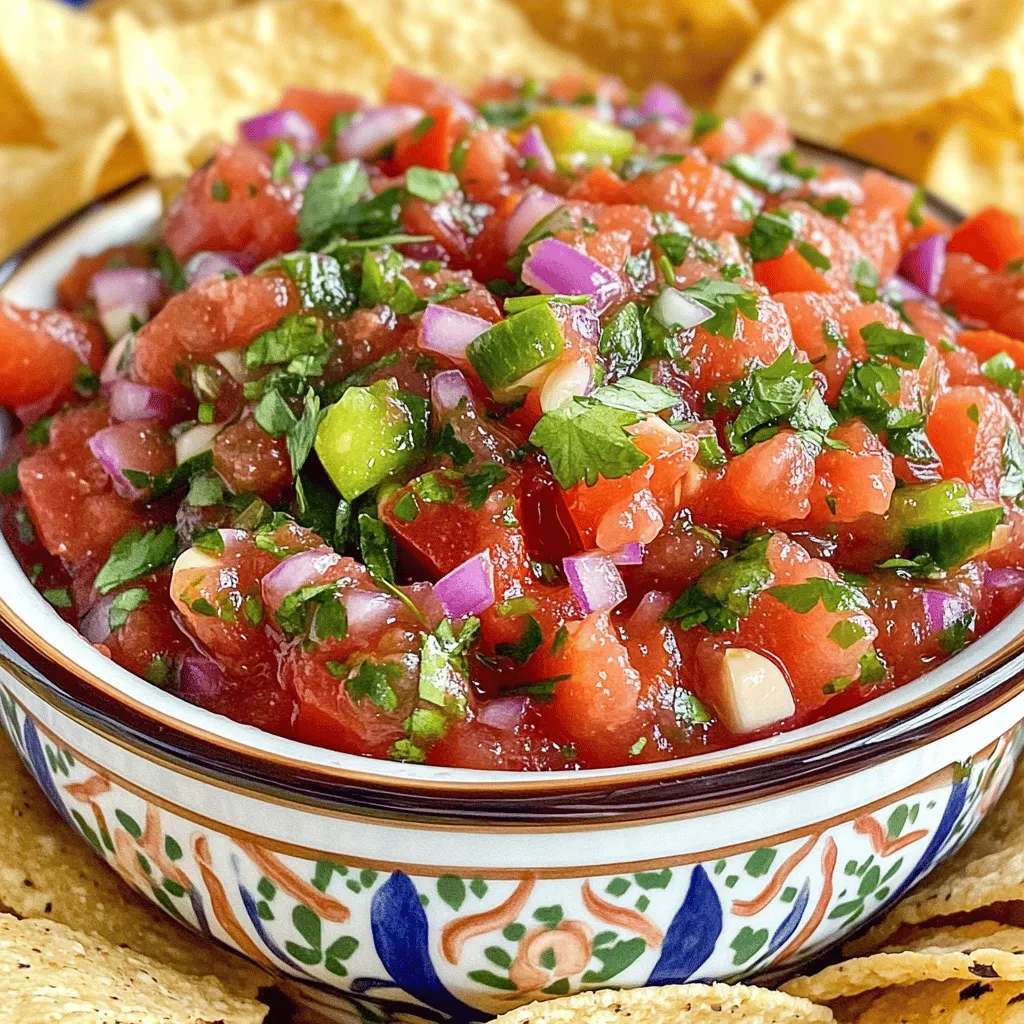
Best Homemade Salsa Ever Simple and Fresh Recipe
Are you ready to elevate your snack game? This Best Homemade Salsa Ever Simple and Fresh Recipe is your ultimate go-to for a bright, zesty
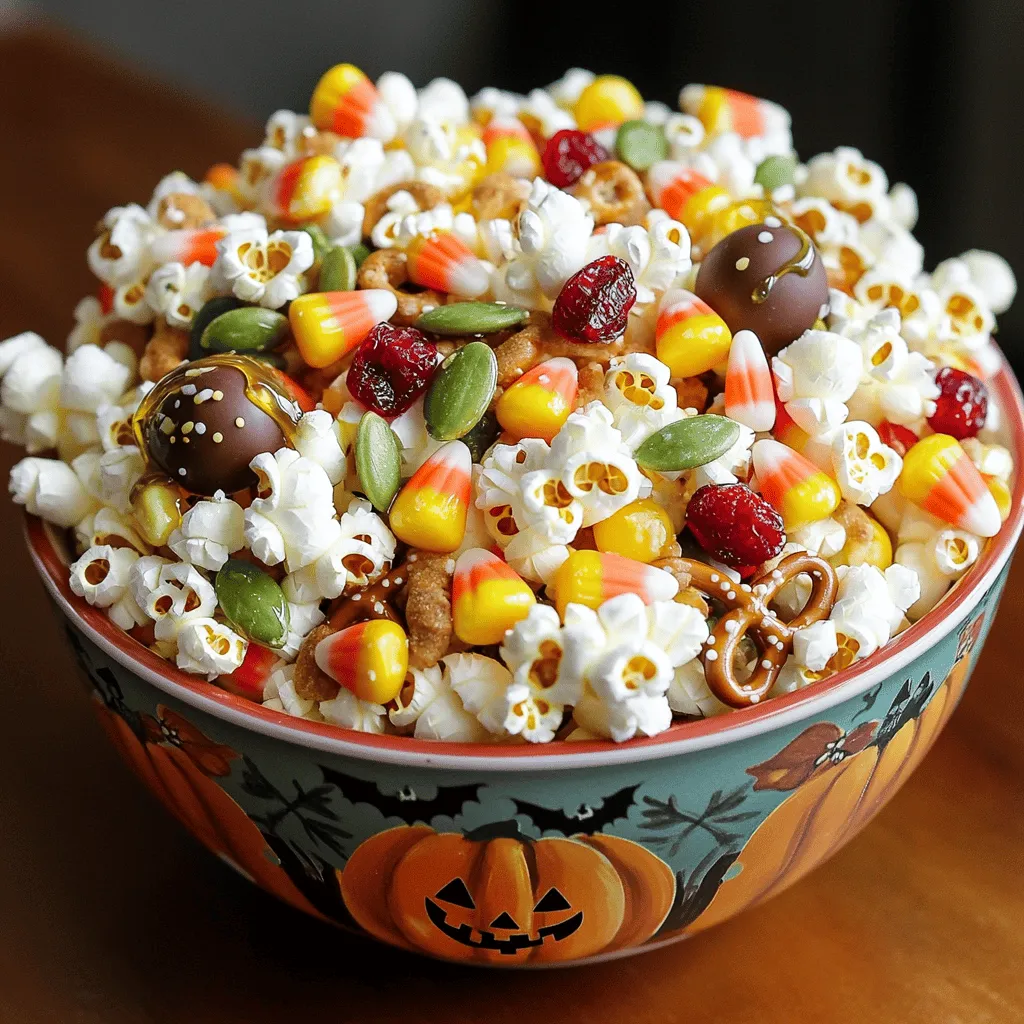
Scarecrow Crunch Snack Mix Tasty Seasonal Treat
Looking for a fun and tasty treat this fall? Scarecrow Crunch Snack Mix is your perfect answer! Packed with yummy ingredients and crunchy textures, this