Appetizers
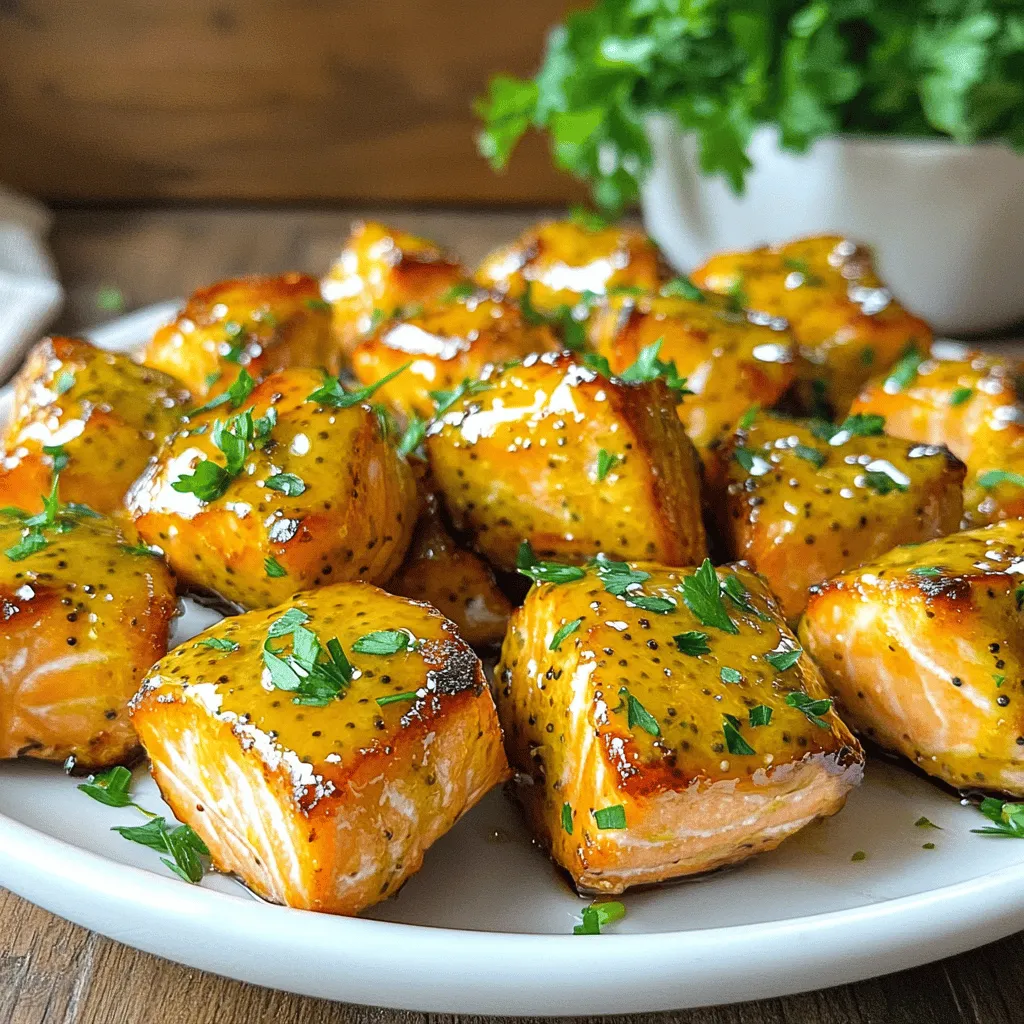
Air Fryer Honey Mustard Salmon Bites Quick Recipe
Craving a quick and tasty meal? My Air Fryer Honey Mustard Salmon Bites are just what you need! This easy recipe transforms fresh salmon into

Cheesy Garlic Pull-Apart Bread Irresistibly Tasty Treat
Are you ready to delight your taste buds? This Cheesy Garlic Pull-Apart Bread is the ultimate snack for cheese lovers! With gooey mozzarella and cheddar
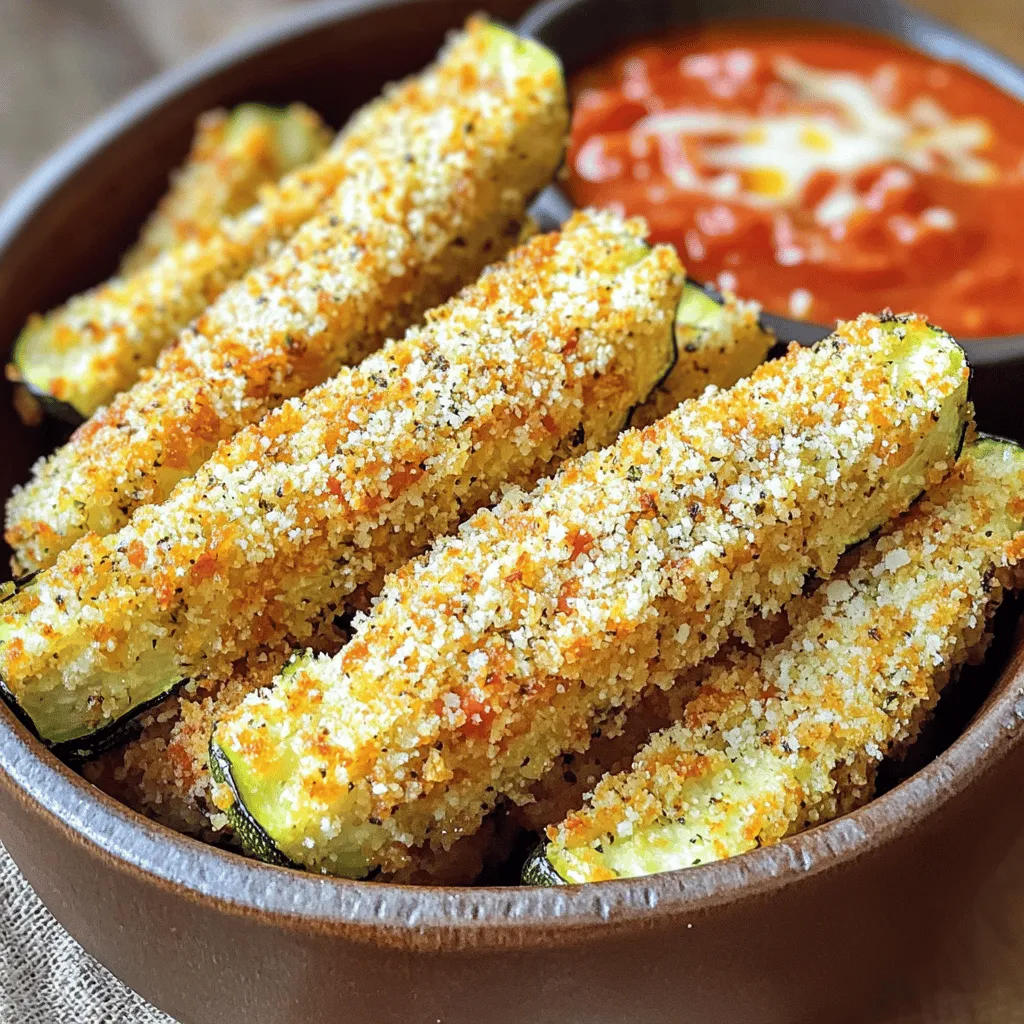
Air Fryer Parmesan Zucchini Fries Crunchy Snack Idea
Looking for a crunchy snack that’s easy to make? Try Air Fryer Parmesan Zucchini Fries! You’ll love how simple and tasty this idea is. With
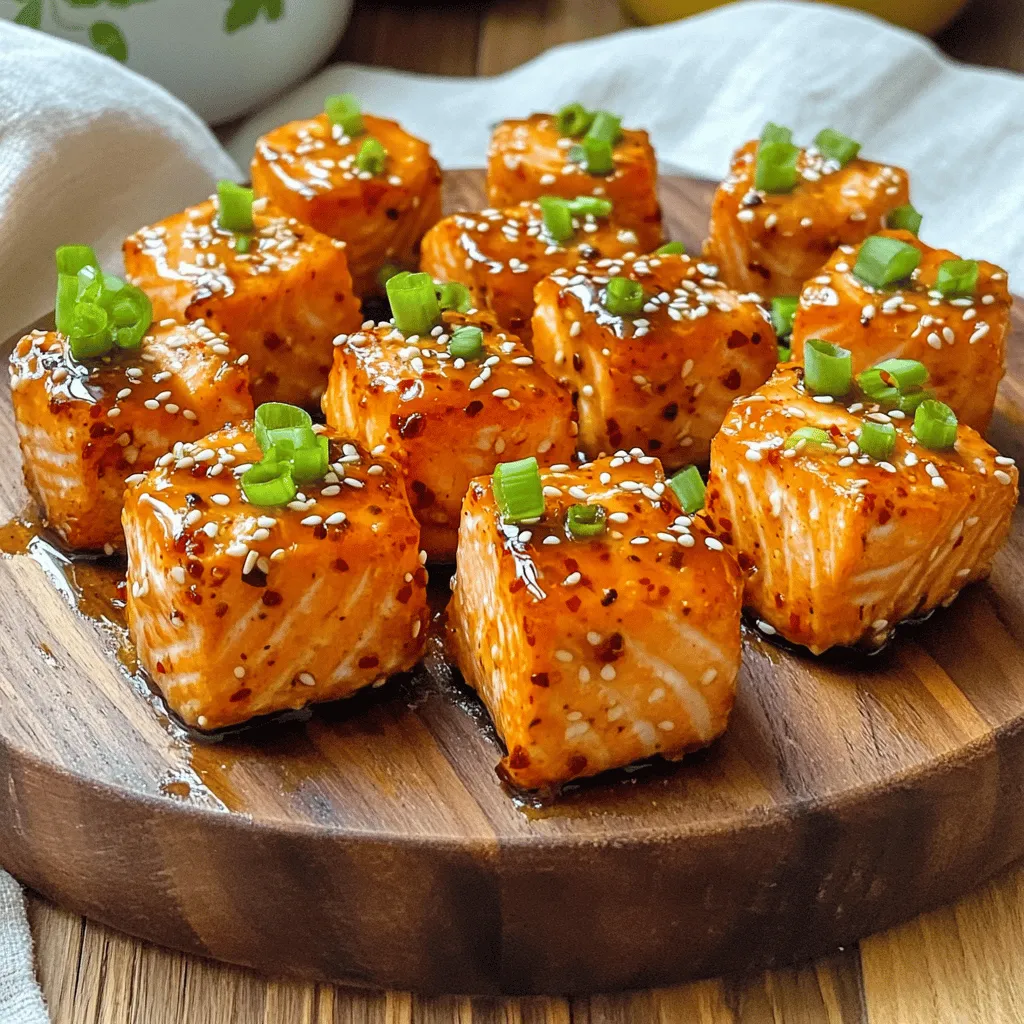
Air Fryer Sweet Chili Salmon Bites Tasty and Easy Recipe
Looking for a quick and tasty meal? You’ve come to the right place! My Air Fryer Sweet Chili Salmon Bites are not only easy to
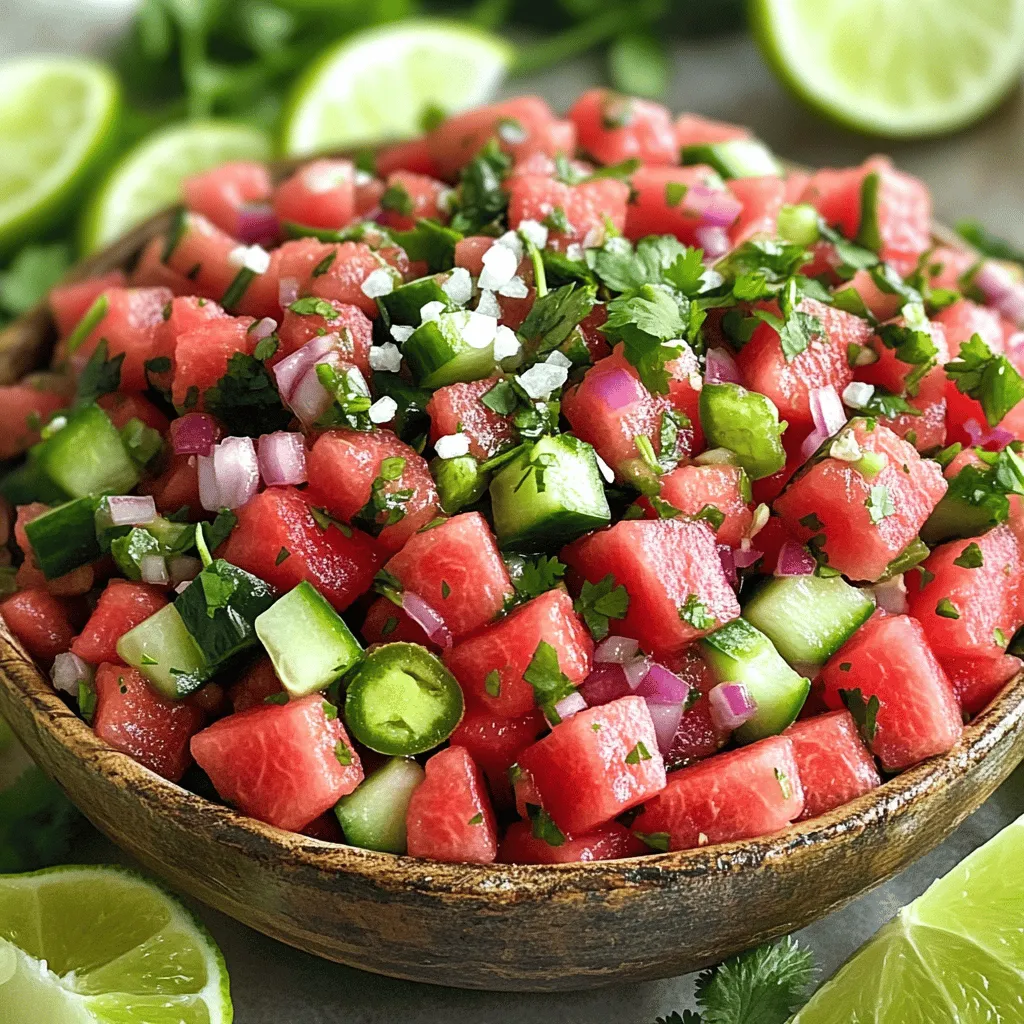
Watermelon Salsa Fresh and Flavorful Summer Dish
Are you ready to spice up your summer BBQ? This Watermelon Salsa is the perfect fresh dish to impress your guests. With juicy watermelon, crisp
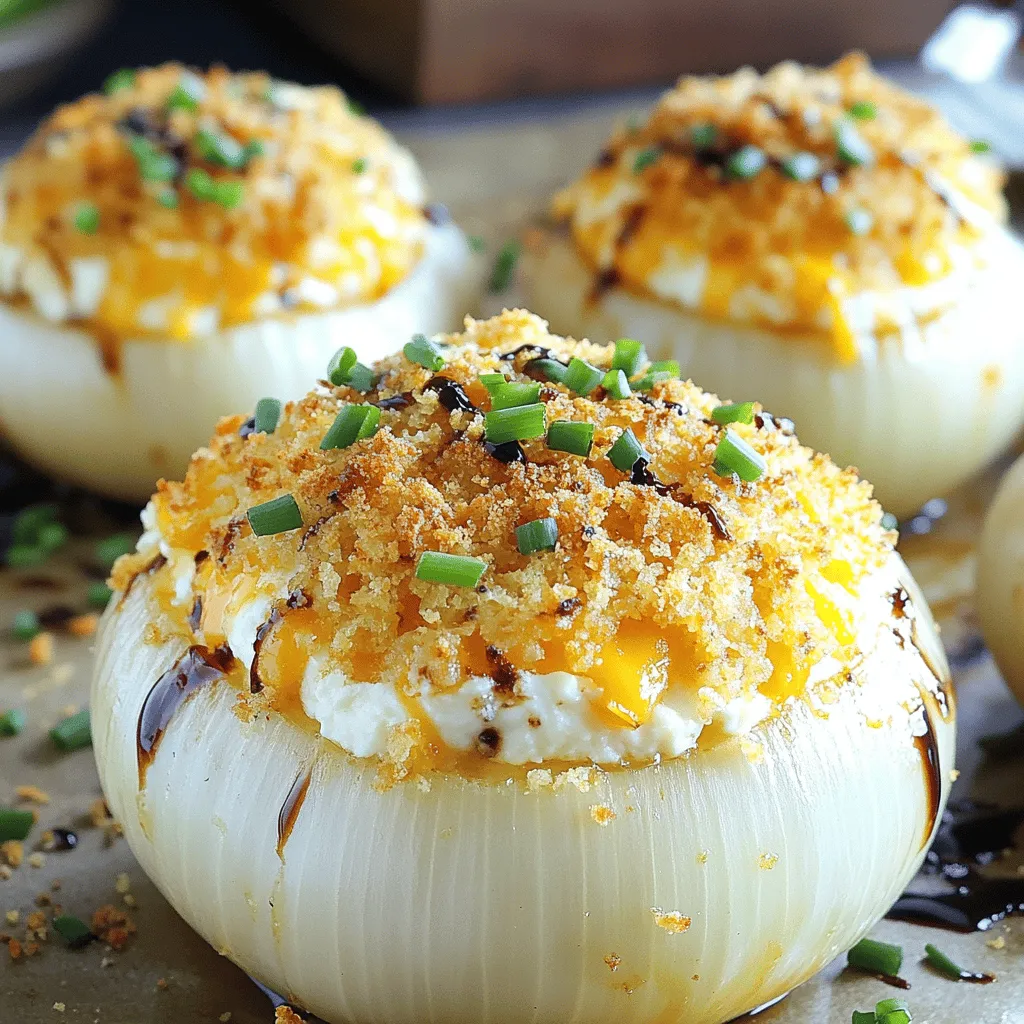
Cheesy Baked Vidalia Onions Simple and Savory Meal
If you’re looking for a simple and tasty dish, Cheesy Baked Vidalia Onions should be on your menu. These sweet, tender onions are easy to

Mexican Street Corn Cups Delightful and Flavorful Treat
Are you ready to bring a taste of Mexico into your kitchen? Mexican Street Corn Cups are a fun and tasty treat that combine rich
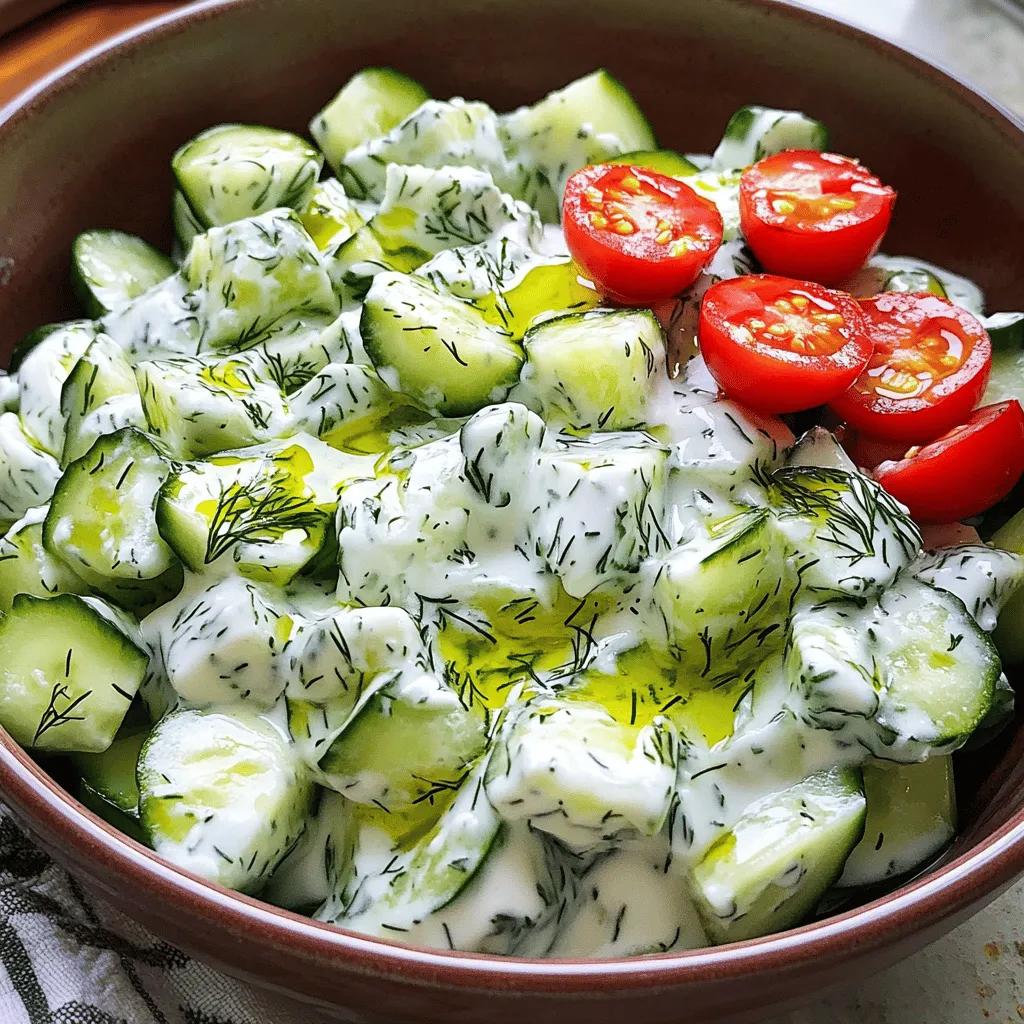
Tzatziki Cucumber Salad Refreshing and Simple Delight
Looking for a light, refreshing dish that’s easy to make? Tzatziki Cucumber Salad is your answer. This salad combines crunchy cucumbers with a creamy yogurt
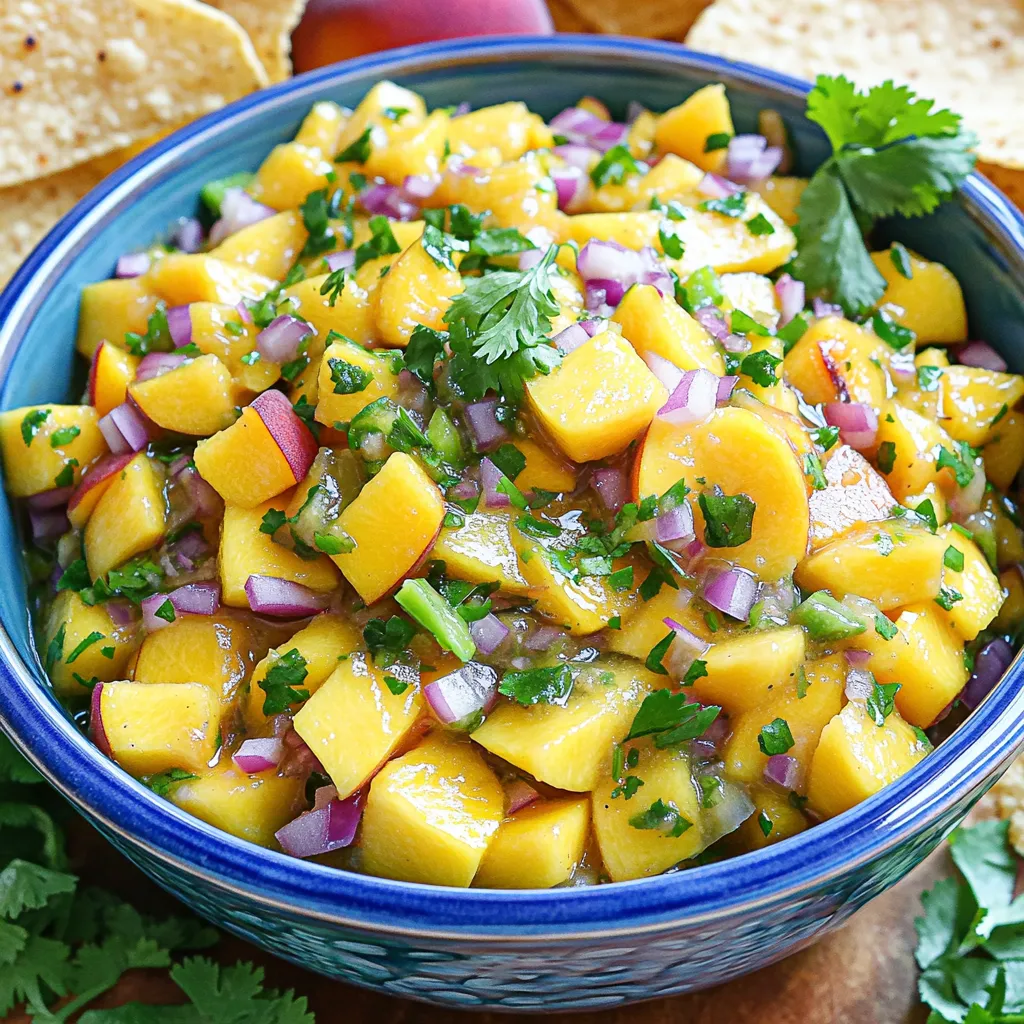
Peach Mango Salsa Fresh and Flavorful Delight
Are you ready to add some summer flair to your meals? My Peach Mango Salsa is a fresh and flavorful delight that will elevate any

Grilled Elote Corn Flavorful and Easy Summer Treat
Are you ready to spice up your summer meals? Grilled Elote Corn is a delicious and easy dish that brings fresh flavors to your table.