Appetizers
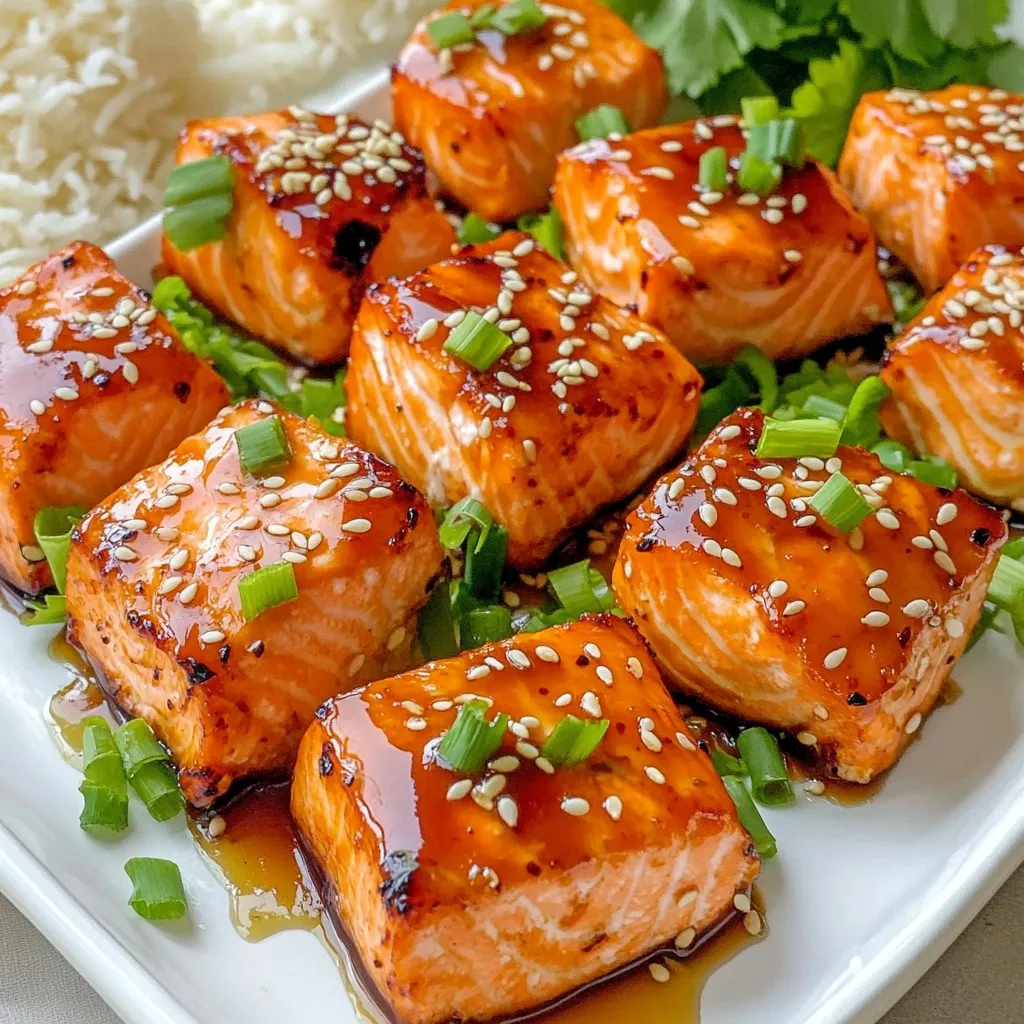
Air Fryer Teriyaki Salmon Bites Quick and Tasty Snack
Looking for a quick and tasty snack? You’ll love these Air Fryer Teriyaki Salmon Bites! In just a few easy steps, you can make juicy,
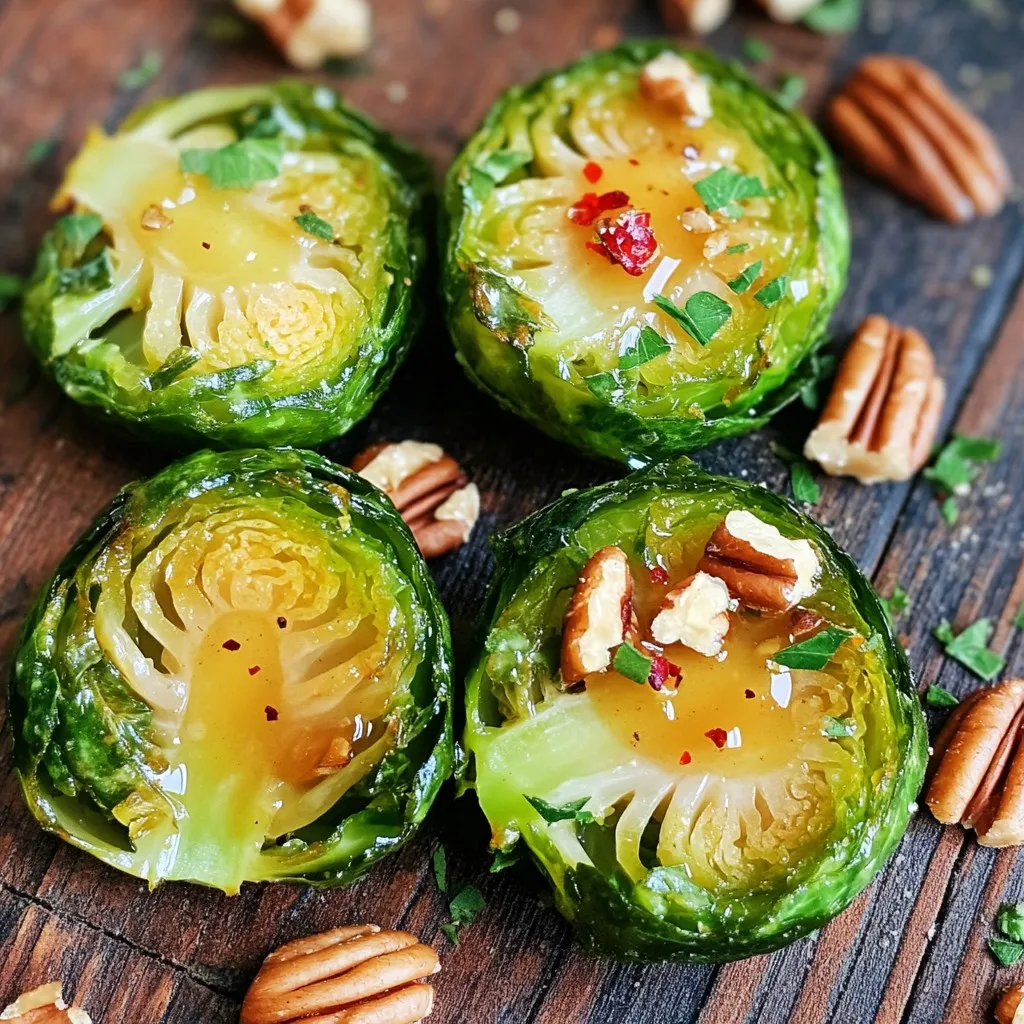
Air Fryer Maple Dijon Brussels Sprouts Flavorful Dish
Looking to elevate your veggie game? Try my Air Fryer Maple Dijon Brussels Sprouts! This dish combines sweet maple syrup and tangy Dijon mustard for
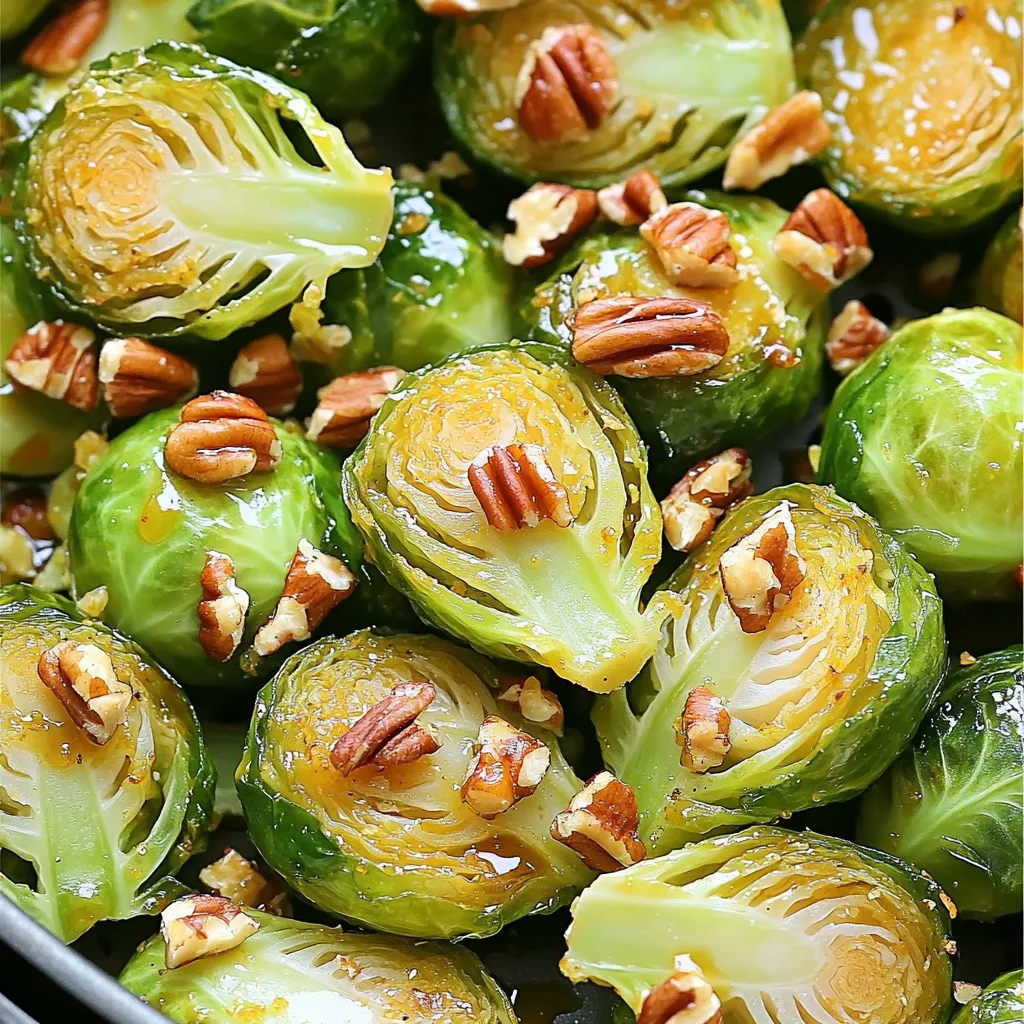
Air Fryer Maple Dijon Brussels Sprouts Delight
Looking for a tasty side dish that’s quick and easy? These Air Fryer Maple Dijon Brussels Sprouts offer a sweet and tangy flavor that will
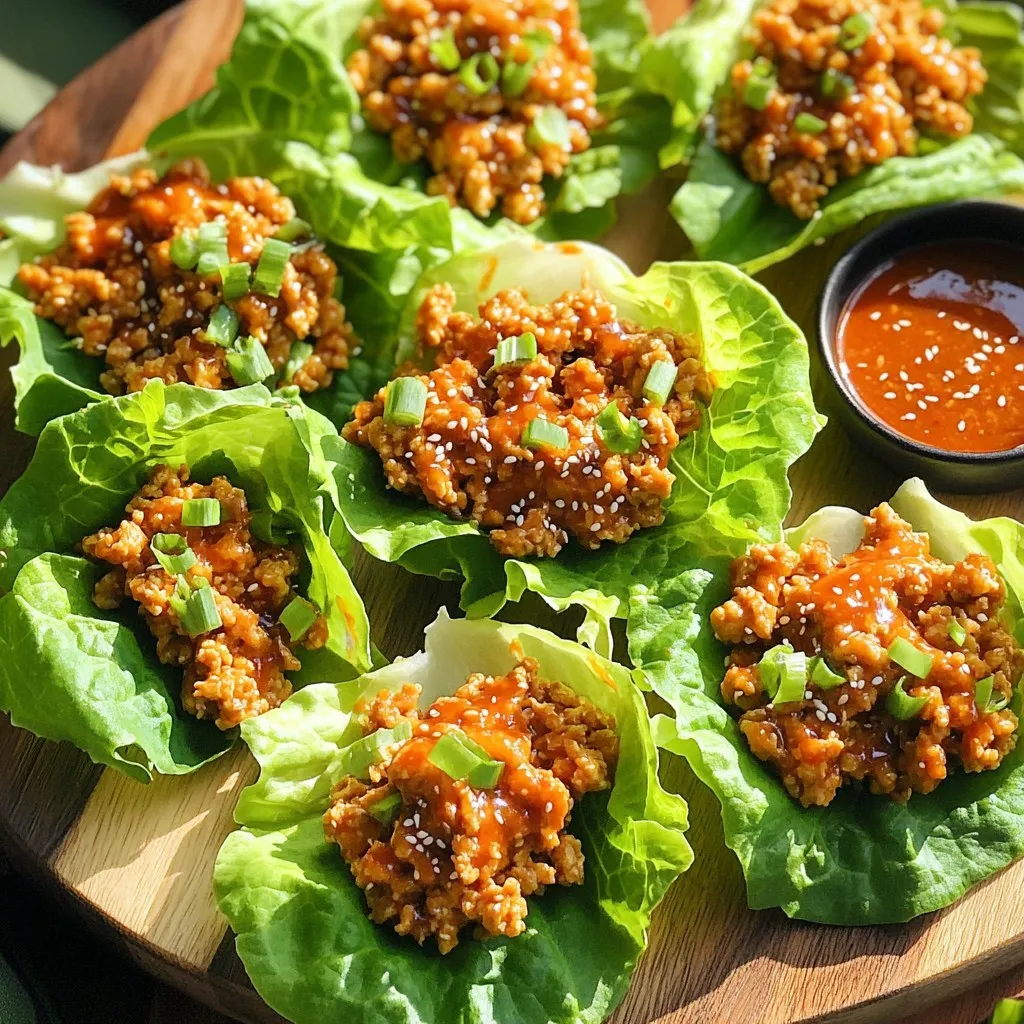
Air Fryer Sweet Chili Chicken Lettuce Wraps Delight
Looking for a quick and tasty dinner? You’ll love these Air Fryer Sweet Chili Chicken Lettuce Wraps! This recipe is simple and bursting with flavor.
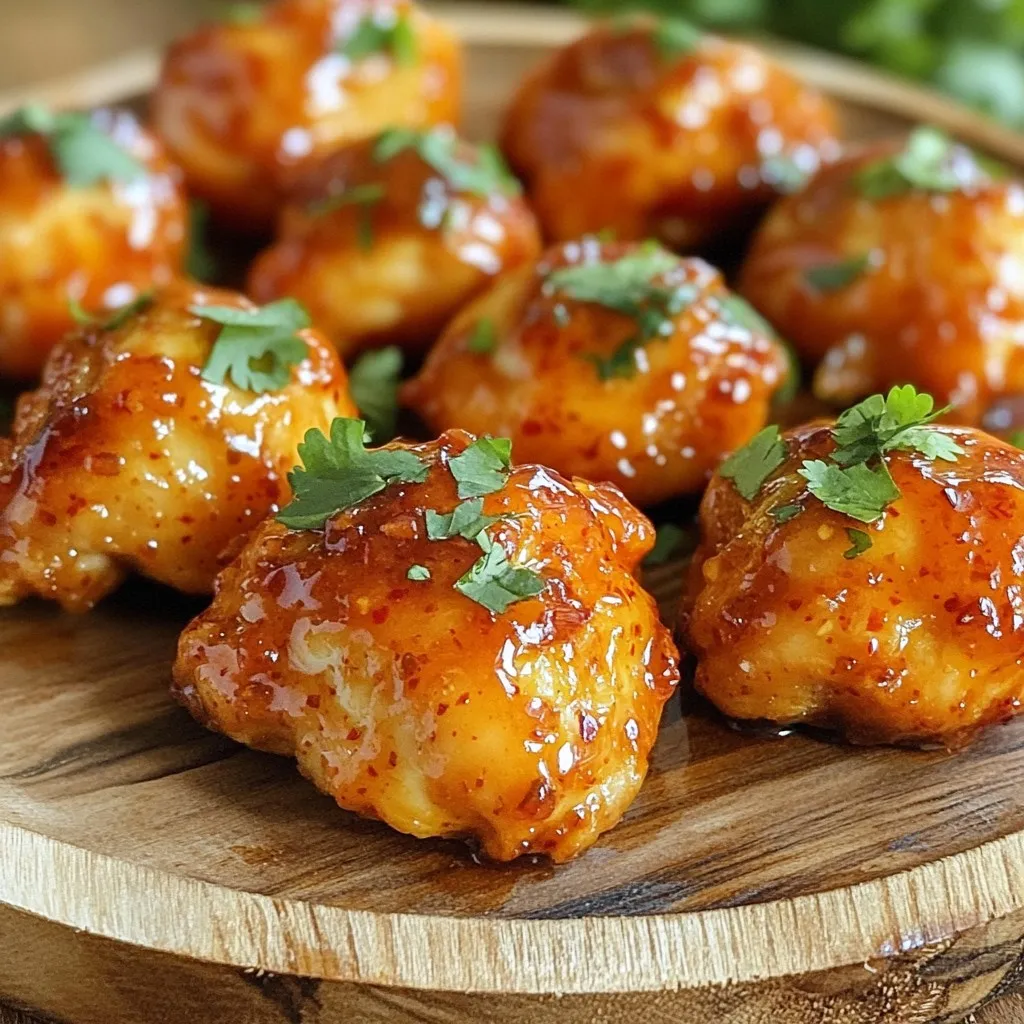
Air Fryer Sweet Chili Chicken Bites Crispy Delight
Get ready to indulge in a crispy treat with my Air Fryer Sweet Chili Chicken Bites! This recipe is not just easy; it’s packed with

Air Fryer Cranberry Brie Pastry Bites Delightful Treat
Get ready to impress your guests with these Air Fryer Cranberry Brie Pastry Bites! This easy recipe combines flaky puff pastry, rich brie cheese, and
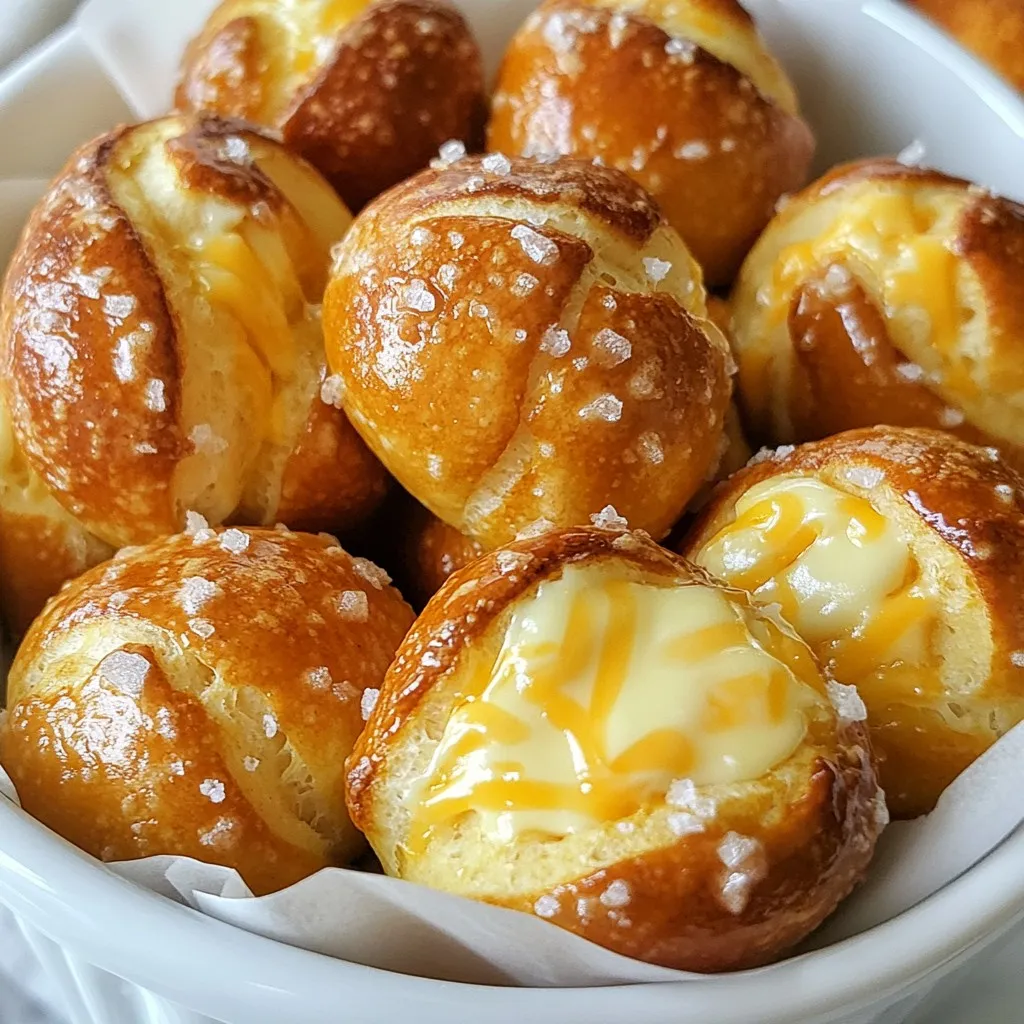
Buttery Soft Pretzel Bites Flavorful and Fun Snack
If you love snacks that are tasty and fun to make, you’re in for a treat! Buttery soft pretzel bites are the perfect blend of

Crispy Air Fryer Chicken Mozzarella Wraps Delight
Looking for a quick and tasty meal? Crispy Air Fryer Chicken Mozzarella Wraps are your answer! With juicy chicken, melty mozzarella, and seasoned breadcrumbs, these
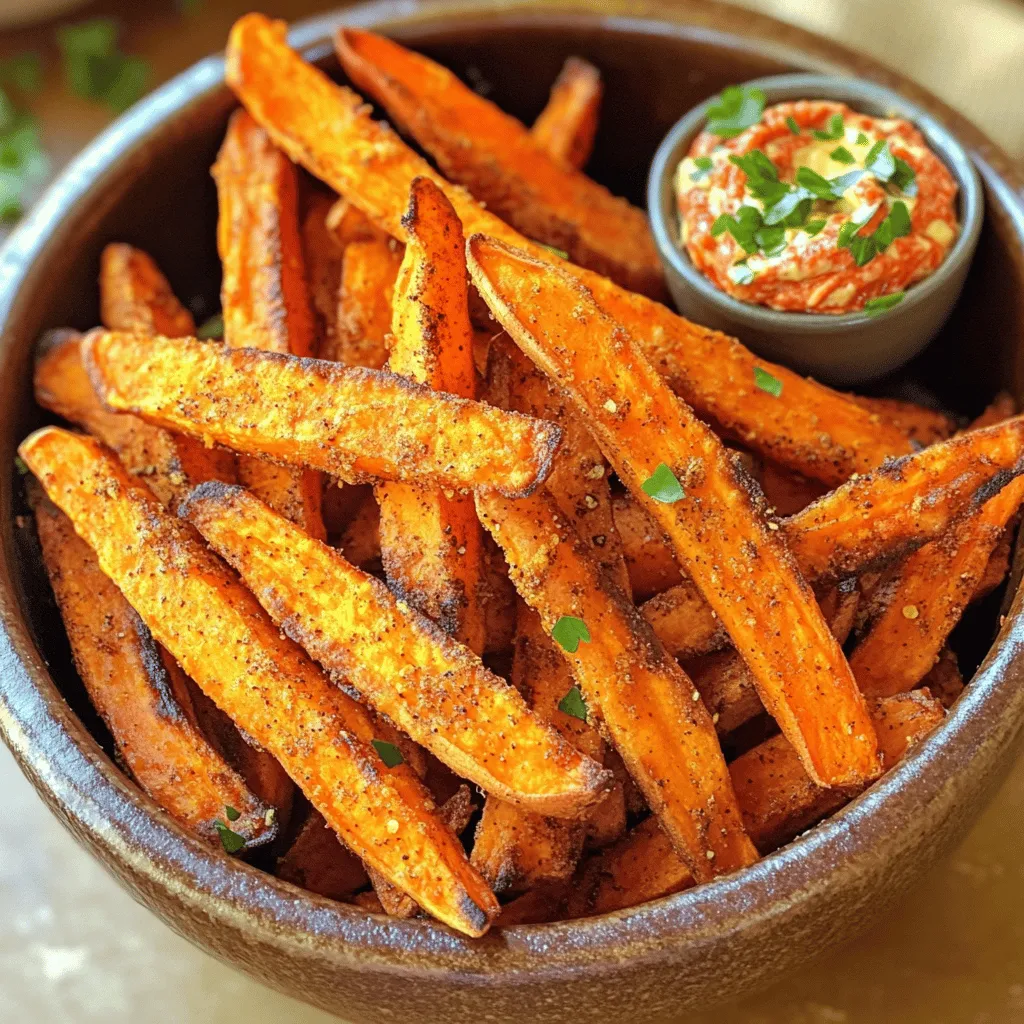
Air Fryer Sweet Potato Fries with Spicy Aioli Delight
Are you ready to transform your snack game? In this post, I’ll share my favorite recipe for Air Fryer Sweet Potato Fries with Spicy Aioli
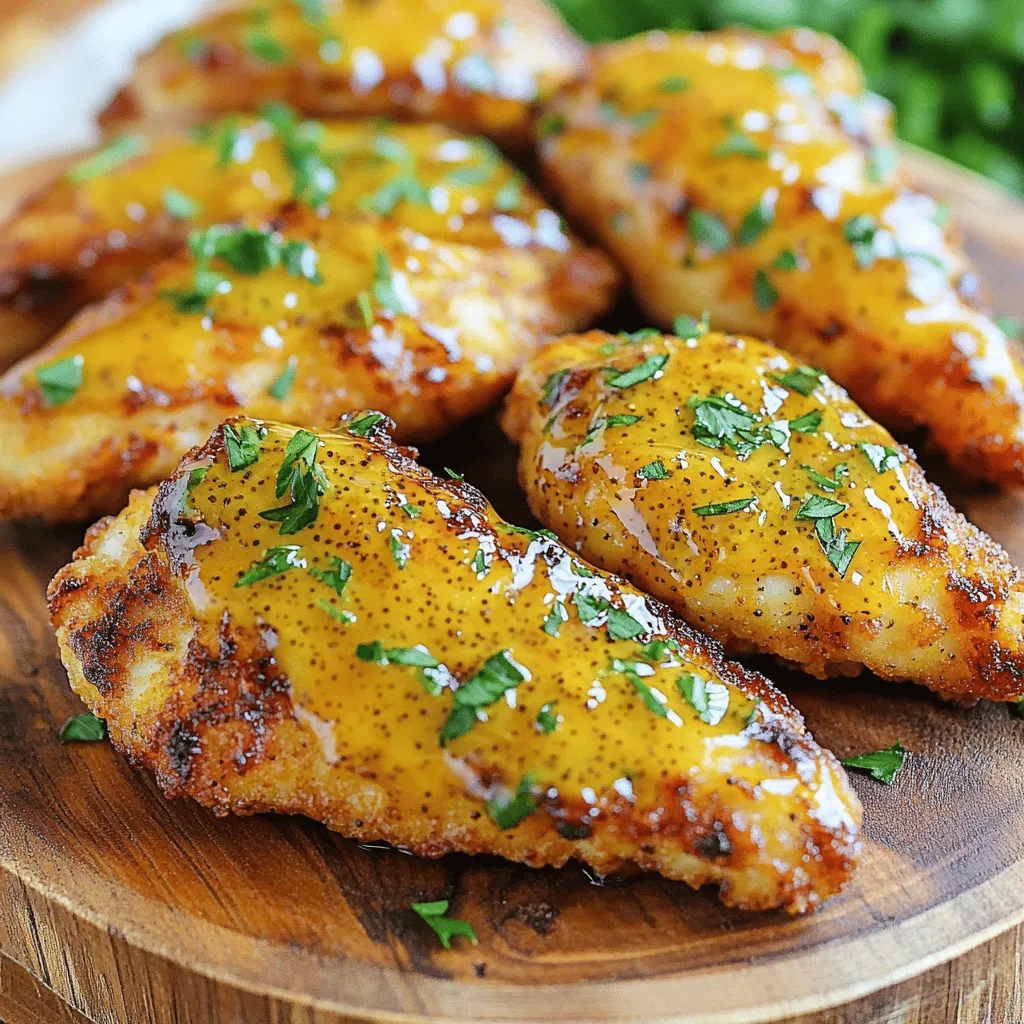
Air Fryer Honey Mustard Chicken Tenders Delight
Are you ready to make the crispiest, most flavorful chicken tenders? In this post, I’ll show you how to create Air Fryer Honey Mustard Chicken