Air Fryer Maple Dijon Brussels Sprouts Tasty Delight
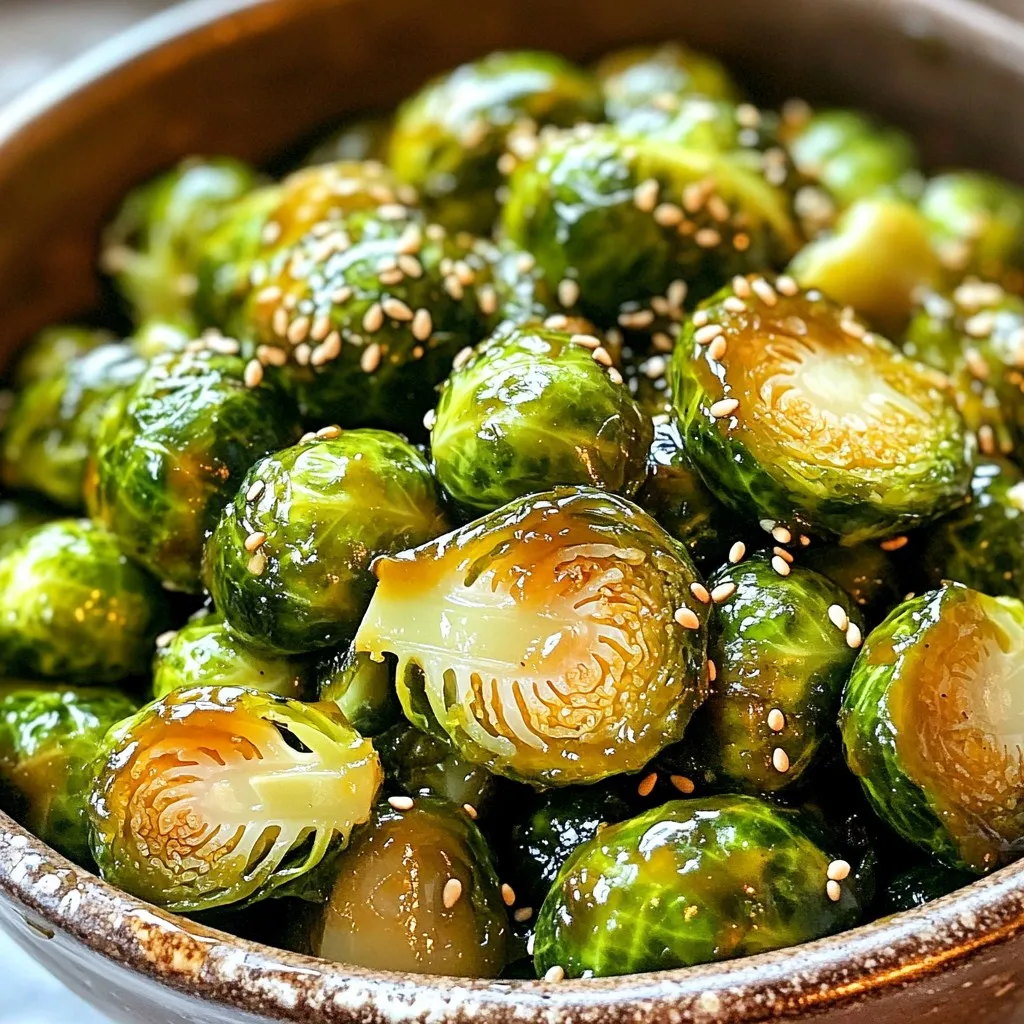
Looking for a tasty way to enjoy Brussels sprouts? These Air Fryer Maple Dijon Brussels Sprouts are a delightful mix of sweet and savory that will impress your taste buds. …
Looking for a tasty way to enjoy Brussels sprouts? These Air Fryer Maple Dijon Brussels Sprouts are a delightful mix of sweet and savory that will impress your taste buds. …

If you’re craving a meal that’s creamy, savory, and easy to make, look no further! My One-Pot Creamy Tuscan Chicken Orzo delivers rich flavors without the hassle of multiple pots. …
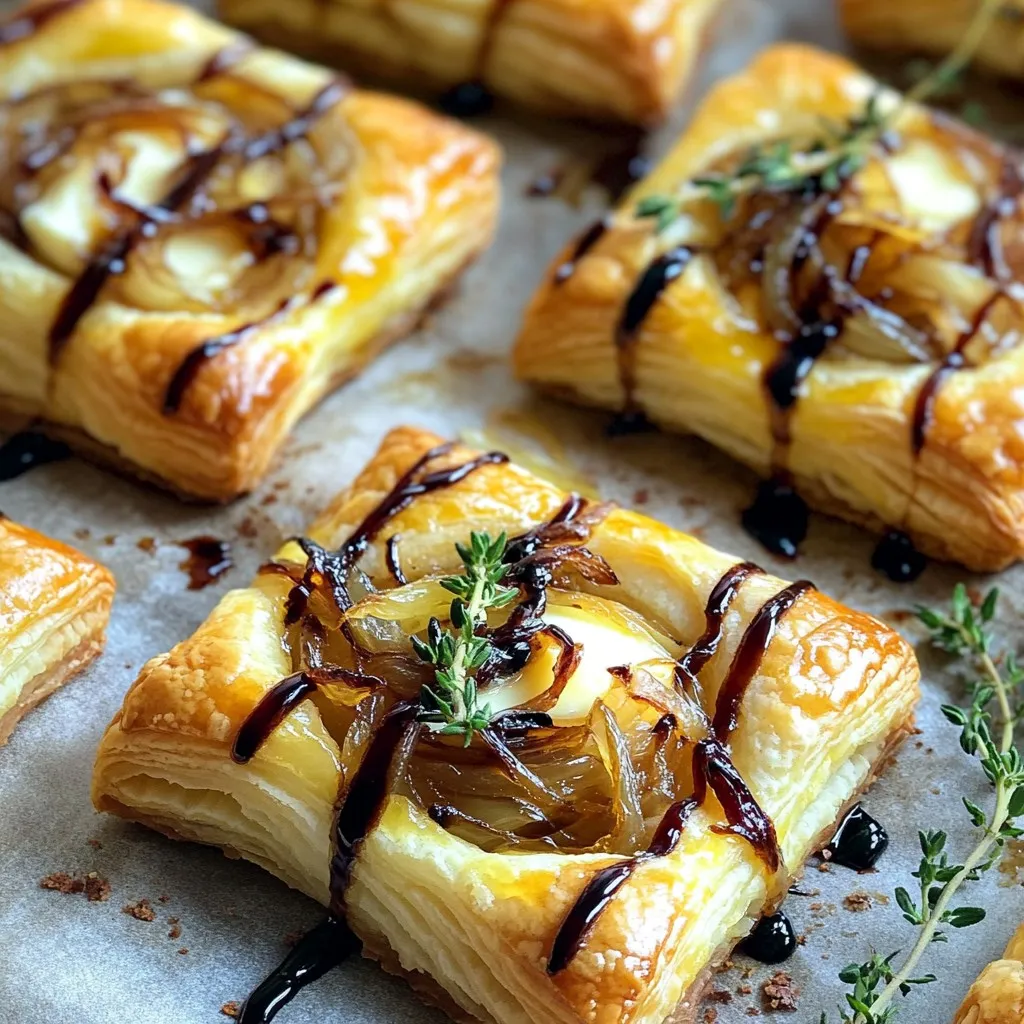
If you’re craving a tasty starter, these Caramelized Onion Brie Puff Pastry Tartlets are a game-changer! Combining sweet onions and creamy brie, they bring comfort in every bite. Perfect for …
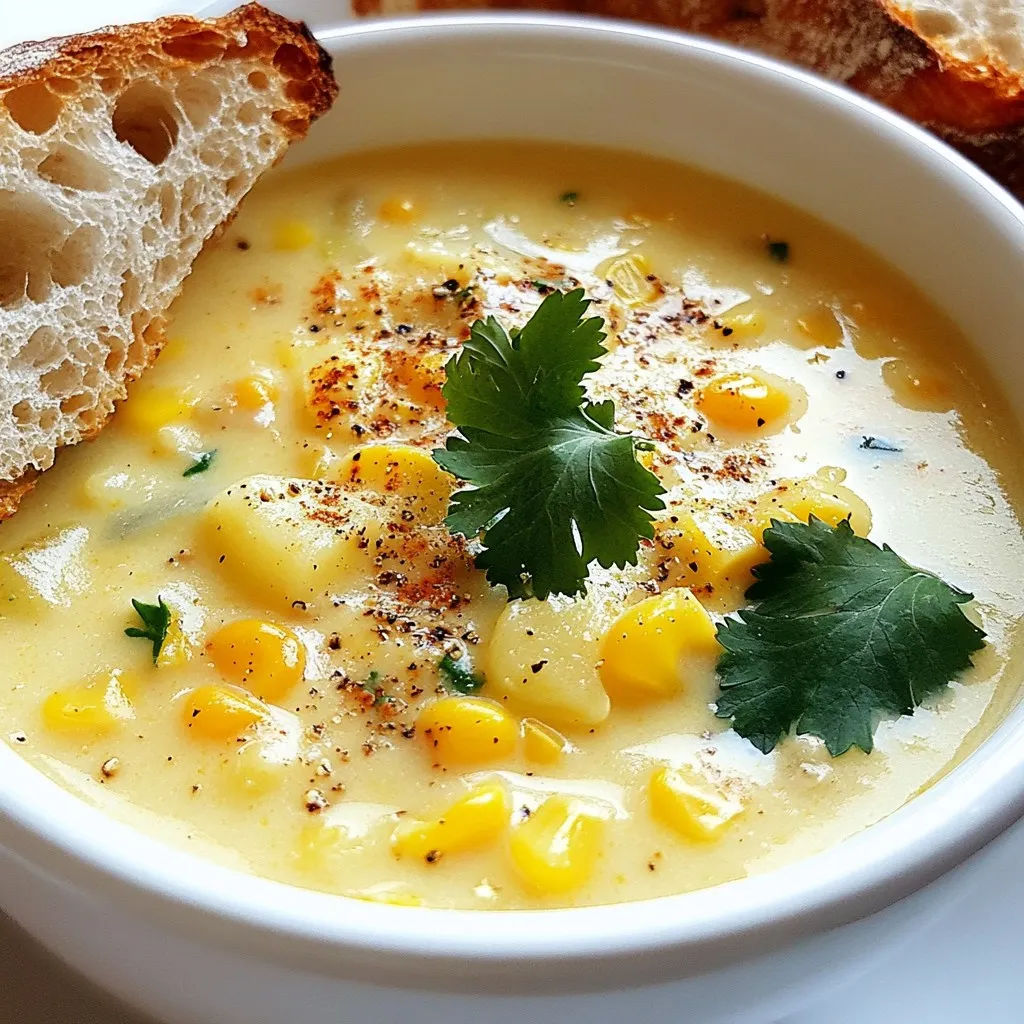
Welcome to your new favorite comfort food! In today’s post, we’ll create a hearty and creamy corn chowder that warms the soul. Using simple ingredients like fresh corn, potatoes, and …
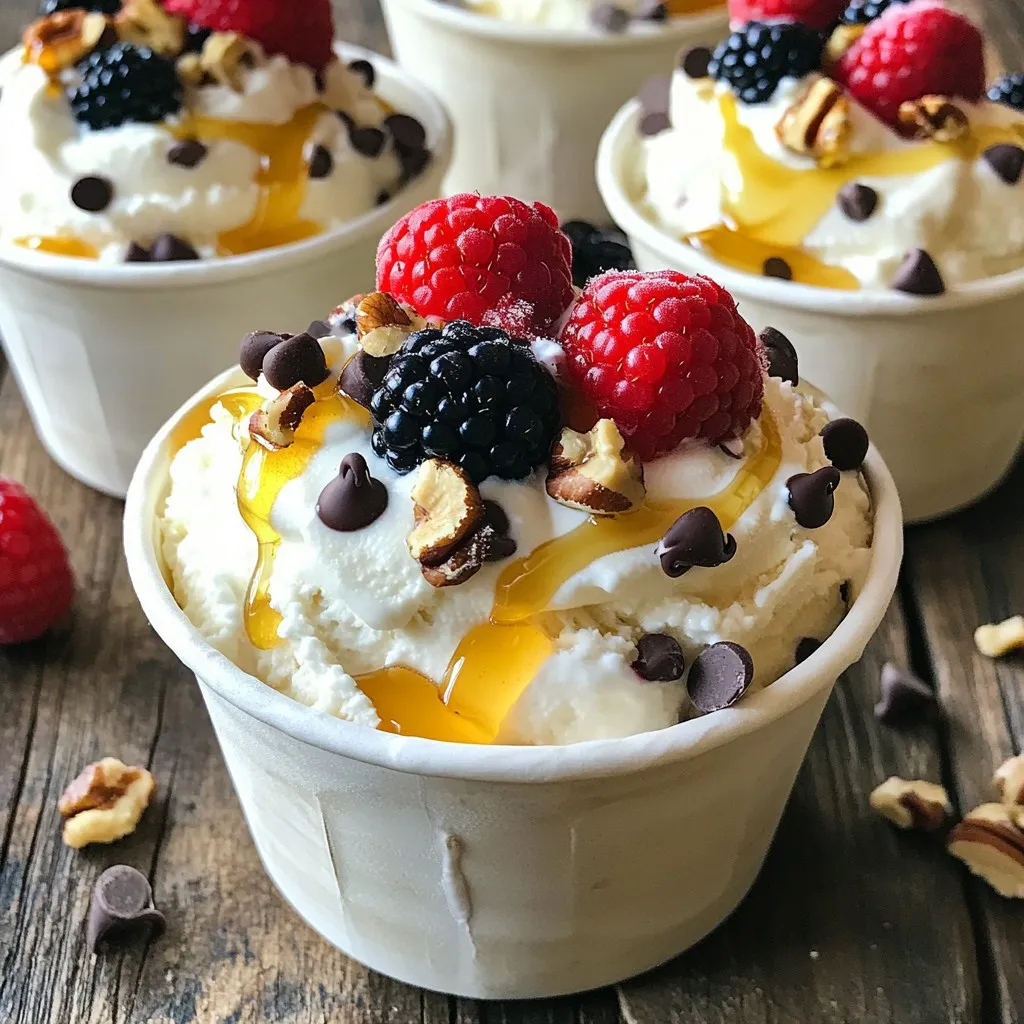
Looking for a delicious way to enjoy dessert while packing in protein? You’re in the right place! My High-Protein Cottage Cheese Ice Cream Cups are not only creamy and delightful …
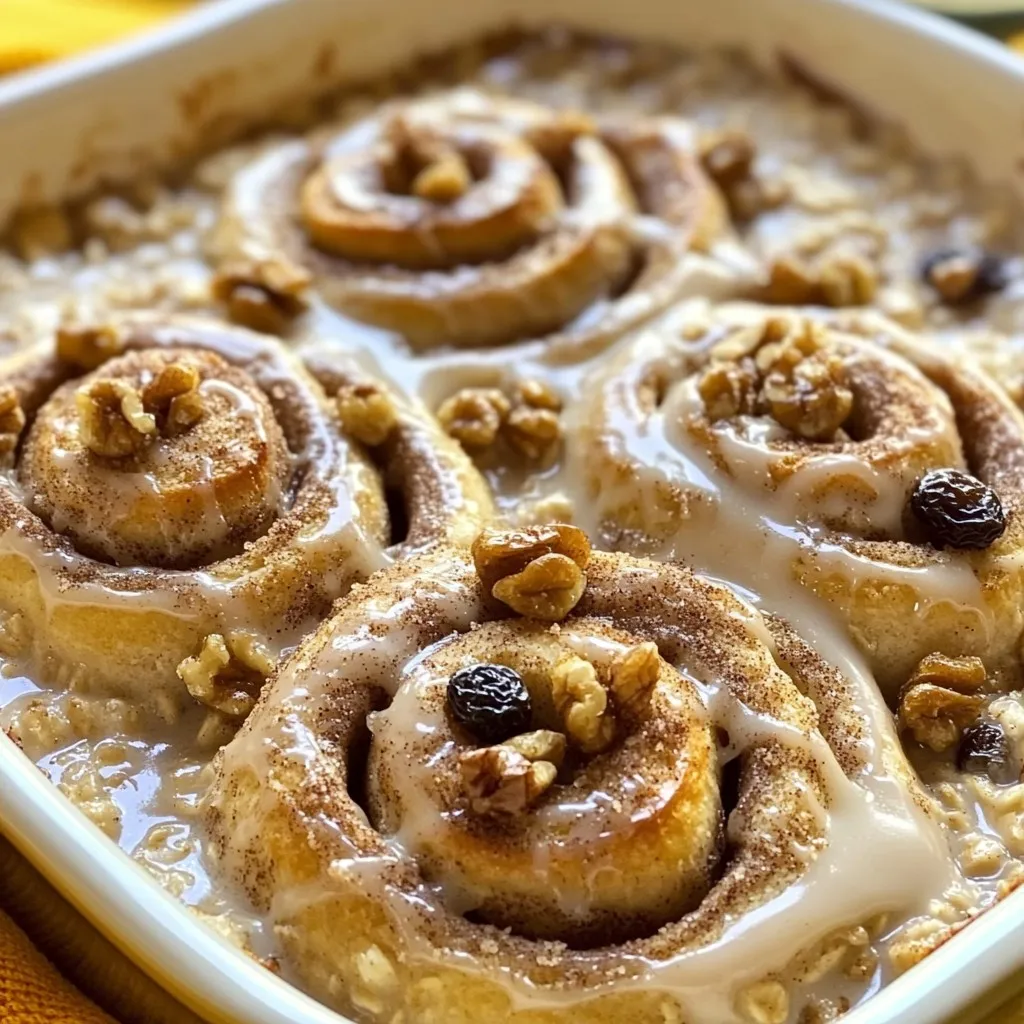
Looking for a warm and cozy breakfast? My Cinnamon Roll Baked Oats recipe is easy and delicious! With just a few simple ingredients, you can enjoy the comforting taste of …
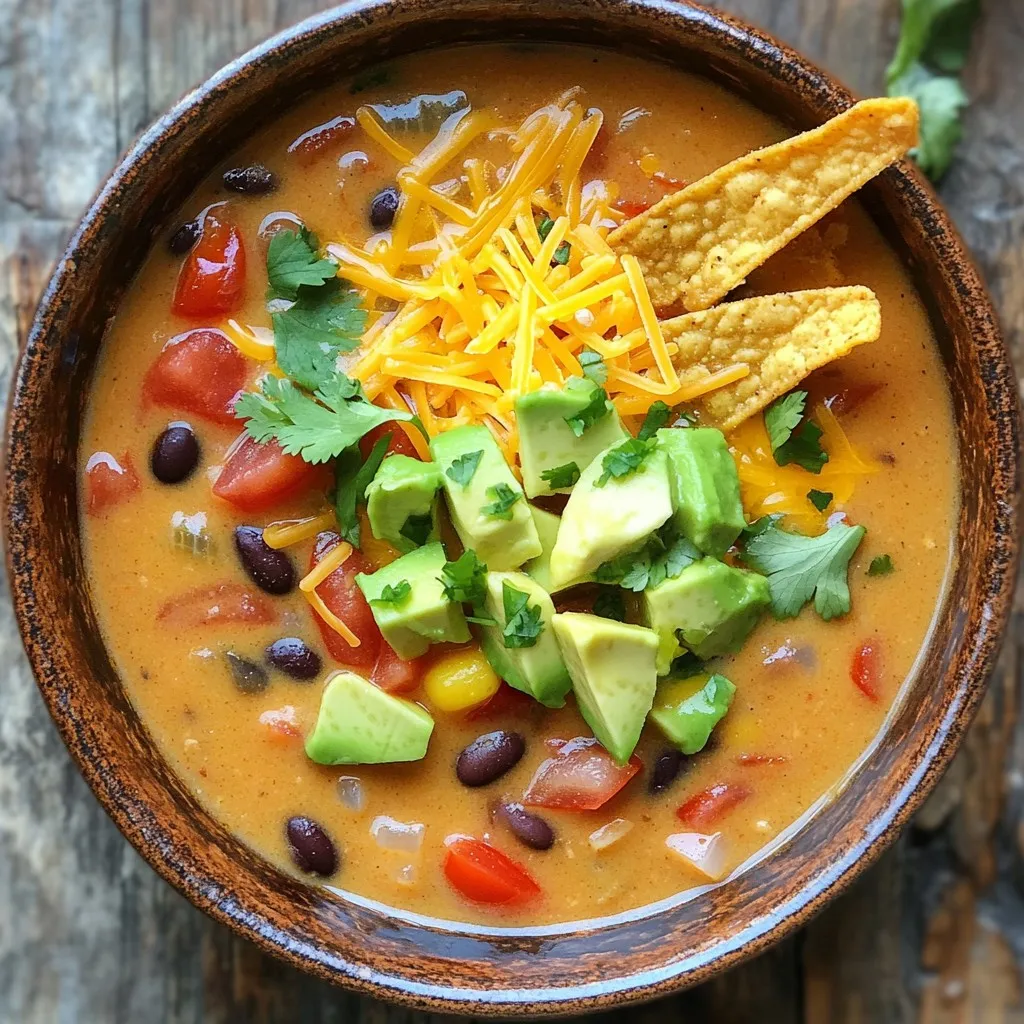
Want a warm and tasty meal with minimal effort? Let me show you how to make Slow Cooker Creamy Tortilla Soup. This dish is simple, but packed with flavor. You …
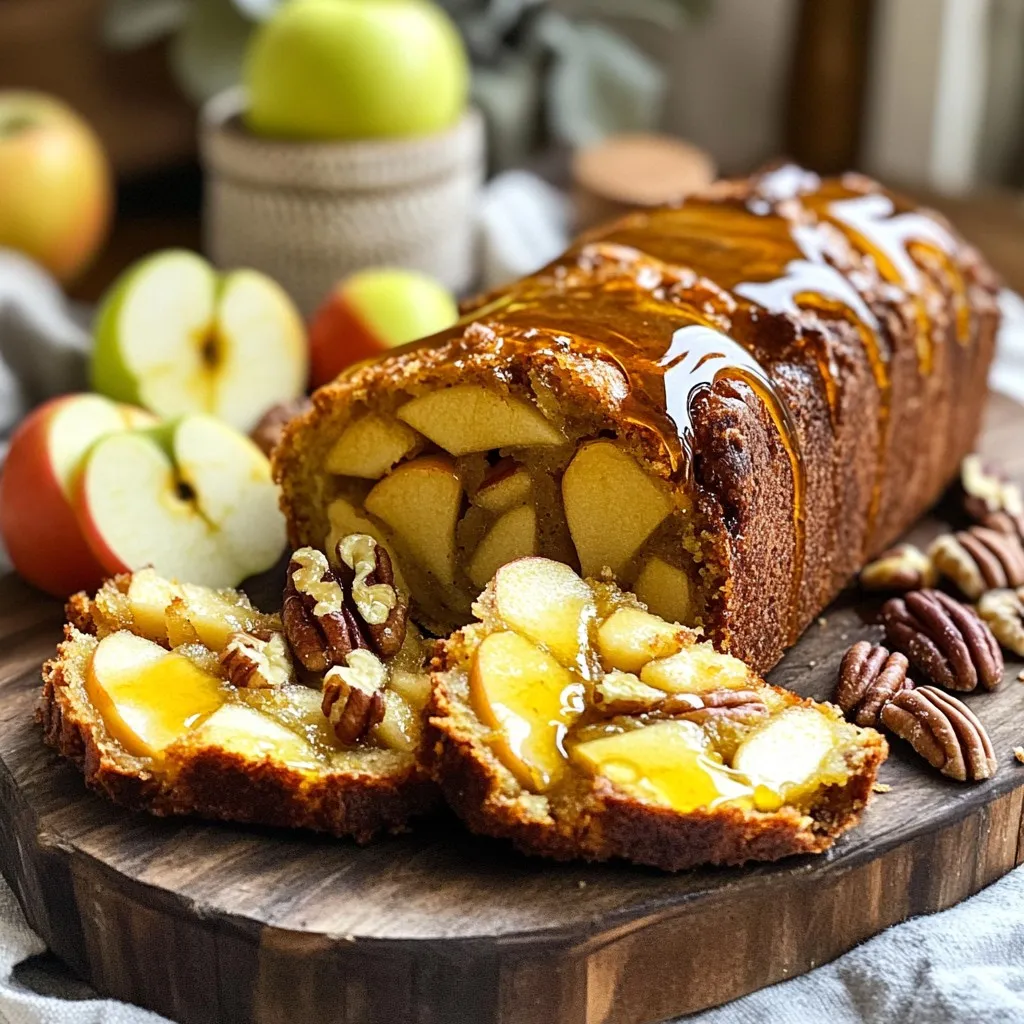
Looking for a delightful treat that’s easy to make? This Maple Apple Fritter Loaf is your answer! With warm spices, sweet apples, and rich maple flavor, it’s perfect for any …
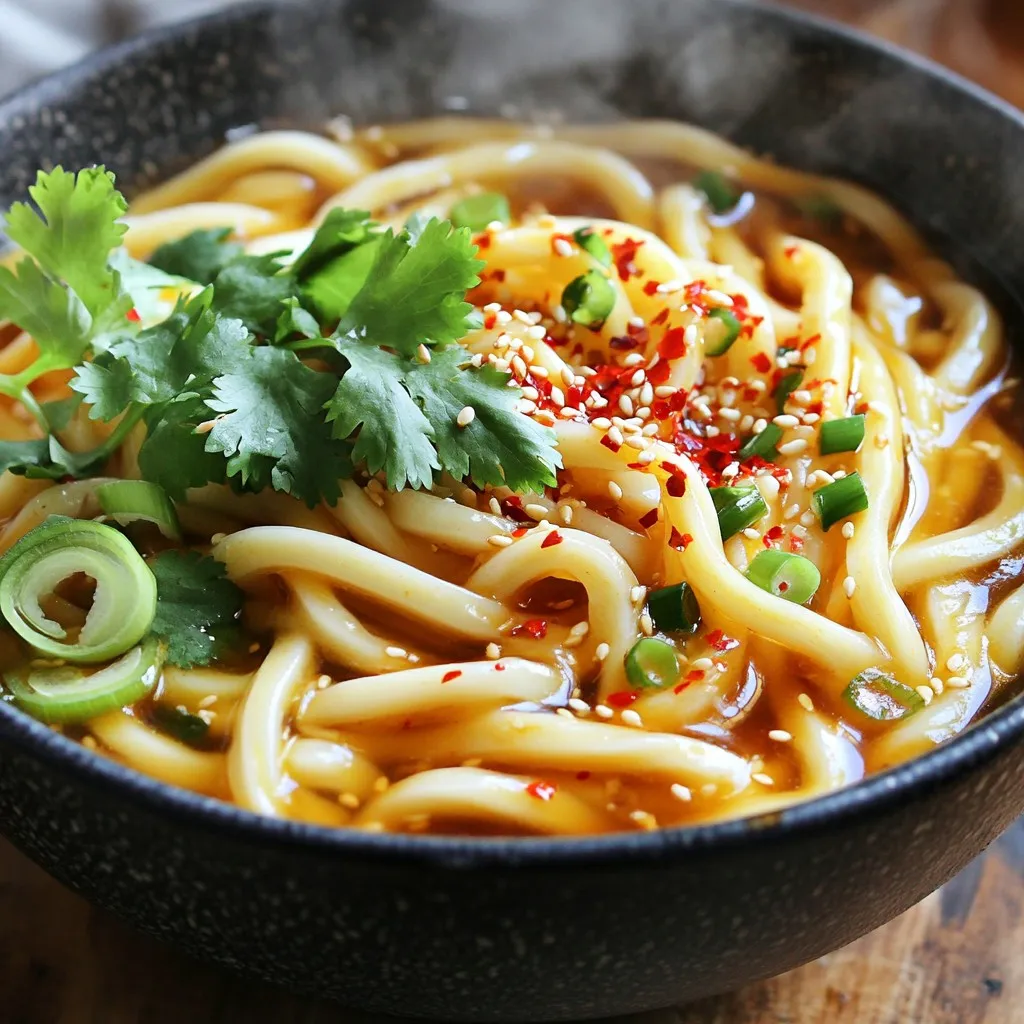
Craving a quick and tasty meal? You’re in the right place! This Spicy Honey Garlic Udon takes just 15 minutes to make. With a blend of sweet honey, savory garlic, …
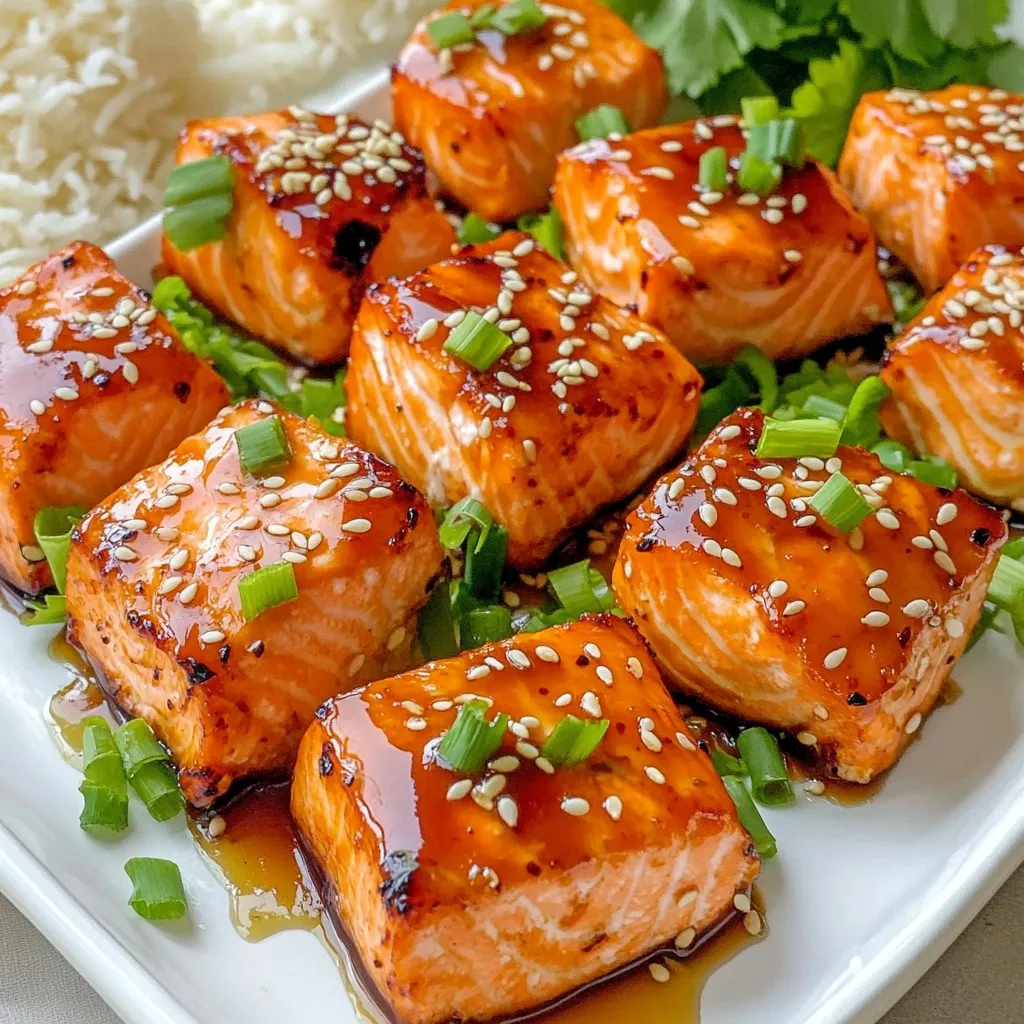
Looking for a quick and tasty snack? You’ll love these Air Fryer Teriyaki Salmon Bites! In just a few easy steps, you can make juicy, flavorful bites that are perfect …