Pan Seared Chicken with Lemon Mustard Sauce Delight

If you’re looking for a simple yet impressive dish, look no further. Pan Seared Chicken with Lemon Mustard Sauce is both easy to make and full of flavor. This juicy …
If you’re looking for a simple yet impressive dish, look no further. Pan Seared Chicken with Lemon Mustard Sauce is both easy to make and full of flavor. This juicy …
. To get that perfect crispiness, you must start with the right oven temperature. Preheat your oven to 425°F (220°C). This high heat helps the zucchini cook quickly and brown nicely. While you roast, avoid overcrowding on the baking sheet. If the zucchini slices are too close, they will steam instead of roast. Spread them out in a single layer for the best results. Fresh herbs bring out the best flavors in your dish. I love adding basil or thyme to my roasted zucchini. You can also try optional spices like smoked paprika or cumin for a unique twist. These add depth and make the dish pop with flavor. To get an even cheese coverage, sprinkle the grated Parmesan cheese evenly over the zucchini. Make sure each slice has a nice layer of cheese. Keep an eye on the roasting time. You want the cheese to turn golden brown and crispy, which usually takes about 15-20 minutes. If it needs a bit more time, check every few minutes to avoid burning. {{image_4}} You can change the cheese in this recipe. Try using mozzarella or feta for a different taste. These cheeses melt well and add a unique flavor. You can also mix cheeses for more depth. Adding diced vegetables is a fun twist. Bell peppers, cherry tomatoes, or onions work great. These veggies cook well and add color. Just make sure they are cut small enough to roast evenly. Incorporating lemon zest brightens the dish. Just a little zest adds a fresh, zingy flavor. You can also squeeze a bit of lemon juice over the zucchini after roasting for added brightness. Trying different herbs and spices can change the whole taste. Consider using thyme, basil, or rosemary. Each herb brings its own unique character. Experiment to find your favorite combination! Pairing your roasted zucchini with side dishes is easy. Try serving it with rice, quinoa, or a fresh salad. These sides complement the flavors well and add nice contrast. You can also pair roasted zucchini with proteins. Grilled chicken, fish, or steak work beautifully. The creamy cheese and tender zucchini balance nicely with heartier meats. To check out the full recipe, click here: [Full Recipe]. To keep your Oven Roasted Parmesan Zucchini fresh, refrigerate it right away. Place leftovers in an airtight container. This helps to lock in moisture and flavor. Use a container that fits well, so the zucchini does not get squished. You can store it for up to three days in the fridge. When reheating, you want to keep the zucchini crispy. The best way is to use an oven. Preheat your oven to 350°F (175°C). Spread the zucchini on a baking sheet in a single layer. Heat for about 10 minutes. Check if it’s warm and crispy. You can also use a skillet, cooking on medium heat for 5-7 minutes. If you want to freeze your zucchini, start by letting it cool completely. Arrange the slices on a baking sheet in a single layer. Freeze them for about 2 hours. Once frozen, transfer the zucchini to a freezer bag. Squeeze out as much air as you can. It will last up to three months in the freezer. To thaw, place the zucchini in the fridge overnight. For reheating, use the oven method above for the best results. Enjoy your tasty side dish whenever you want! For the full recipe, check out the complete steps in the article. To make Oven Roasted Parmesan Zucchini, follow these steps: 1. Preheat your oven to 425°F (220°C). 2. Line a baking sheet with parchment paper. 3. Slice 4 medium zucchinis into ½ inch rounds. 4. In a bowl, mix the zucchini with 2 tablespoons of olive oil. 5. Add 1 teaspoon of garlic powder, 1 teaspoon of dried oregano, salt, and pepper. 6. Toss the zucchini to coat evenly. 7. Arrange the zucchini on the baking sheet in a single layer. 8. Sprinkle ½ cup of grated Parmesan cheese over the zucchini. 9. Roast for 15-20 minutes until tender and golden brown. 10. Garnish with 2 tablespoons of chopped fresh parsley before serving. This method gives the zucchini a crispy texture and rich cheese flavor. For the full recipe, check the details provided above. Yes, you can use yellow squash instead of zucchini. Both squash types have a similar taste and texture. - Zucchini is slightly firmer and has a mild flavor. - Yellow squash is a bit softer and has a sweeter taste. Both work well when roasted. You can mix them for a colorful dish. Oven Roasted Parmesan Zucchini pairs great with many dishes. Here are some tasty ideas: - Grilled chicken or fish for a healthy protein. - Quinoa or rice for a hearty grain side. - A fresh garden salad for added crunch and nutrition. - Pasta dishes to balance the flavors and textures. These sides will enhance your meal and complement the zucchini dish beautifully. Oven roasted Parmesan zucchini is simple and delicious. We covered key ingredients, easy steps, and great tips to make this dish perfect. Remember to use fresh herbs for extra flavor. You can mix in different cheeses or veggies for a twist. Store leftovers well and reheat for a quick snack. This recipe makes a tasty side or a light meal. Enjoy every crunchy bite of your flavorful creation!](https://roastedflavors.com/wp-content/uploads/2025/07/4100f6c5-3c77-44df-9867-b910280b0692.webp)
Are you ready to elevate your side dish game? Oven Roasted Parmesan Zucchini is an easy, tasty option that will impress everyone at your table. With just a few simple …

Are you ready to bake a delicious, moist Chocolate Zucchini Cake? This recipe blends rich chocolate with the hidden goodness of zucchini, making it a guilt-free treat for everyone. Perfect …
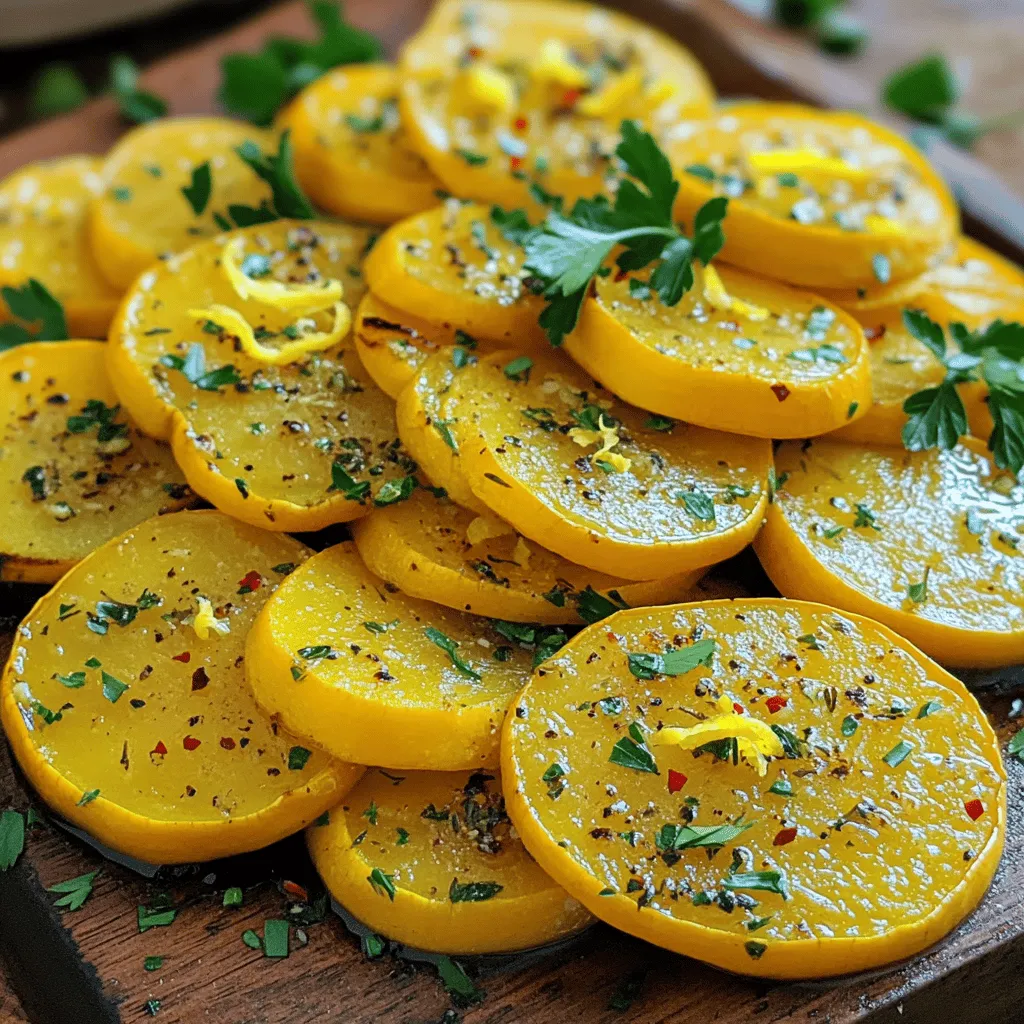
Are you ready to elevate your vegetable game? Easy roasted yellow squash is your new go-to side dish! In this simple recipe, I’ll show you how to transform fresh yellow …

Fall is here, and it’s time to enjoy delicious treats like Pumpkin Cream Cheese Swirl Muffins! These muffins blend the warm spice of pumpkin with a creamy cheese swirl, making …
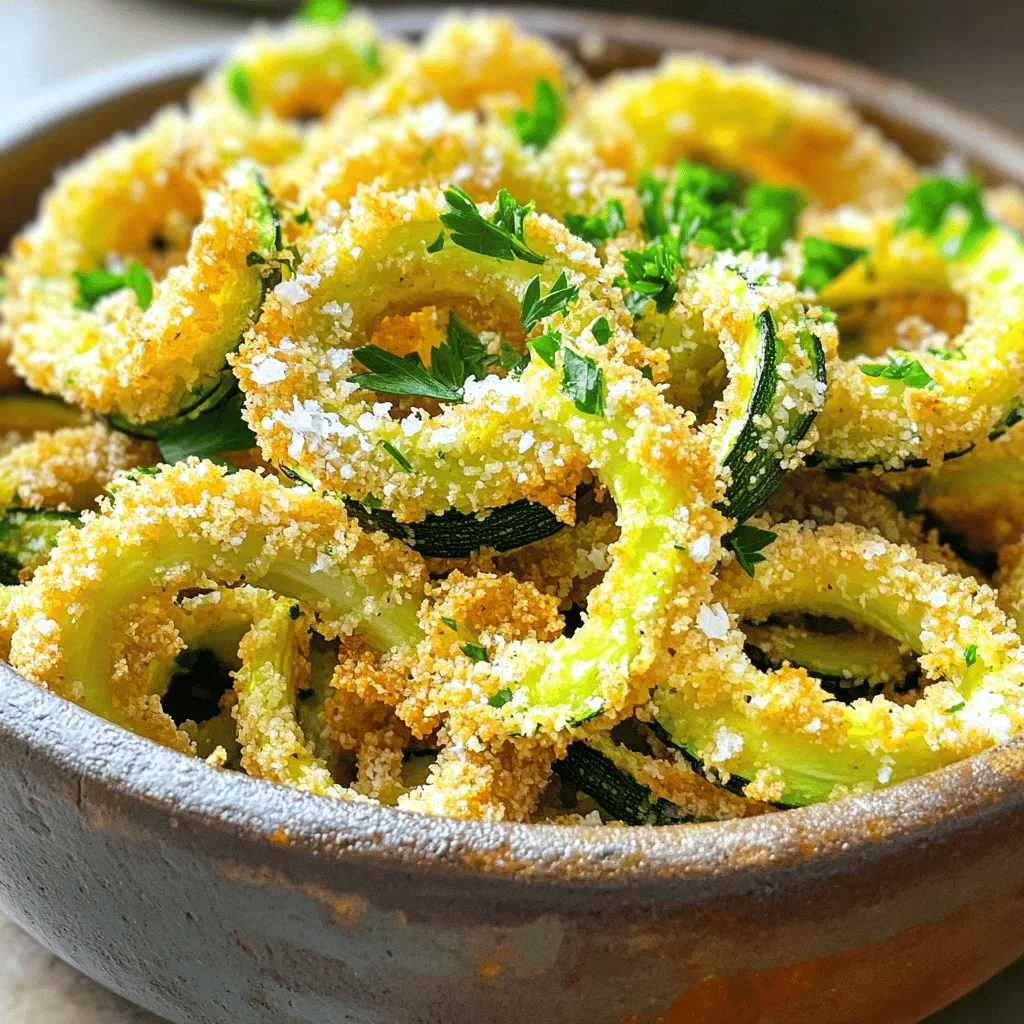
Looking for a tasty snack that’s easy to make? Air fryer curly zucchini fries are just what you need! With a crispy outer layer and a tender inside, they’re a …

If you’re looking for a delicious treat that’s easy to make, you’ve found it! This Easy & Flavorful Zucchini Cake is perfect for any occasion. You’ll blend fresh zucchini with …

Are you ready to enjoy a crispy and flavorful treat? This Fried Squash Recipe delivers a delicious crunch and a burst of savory flavor in every bite. With just a …
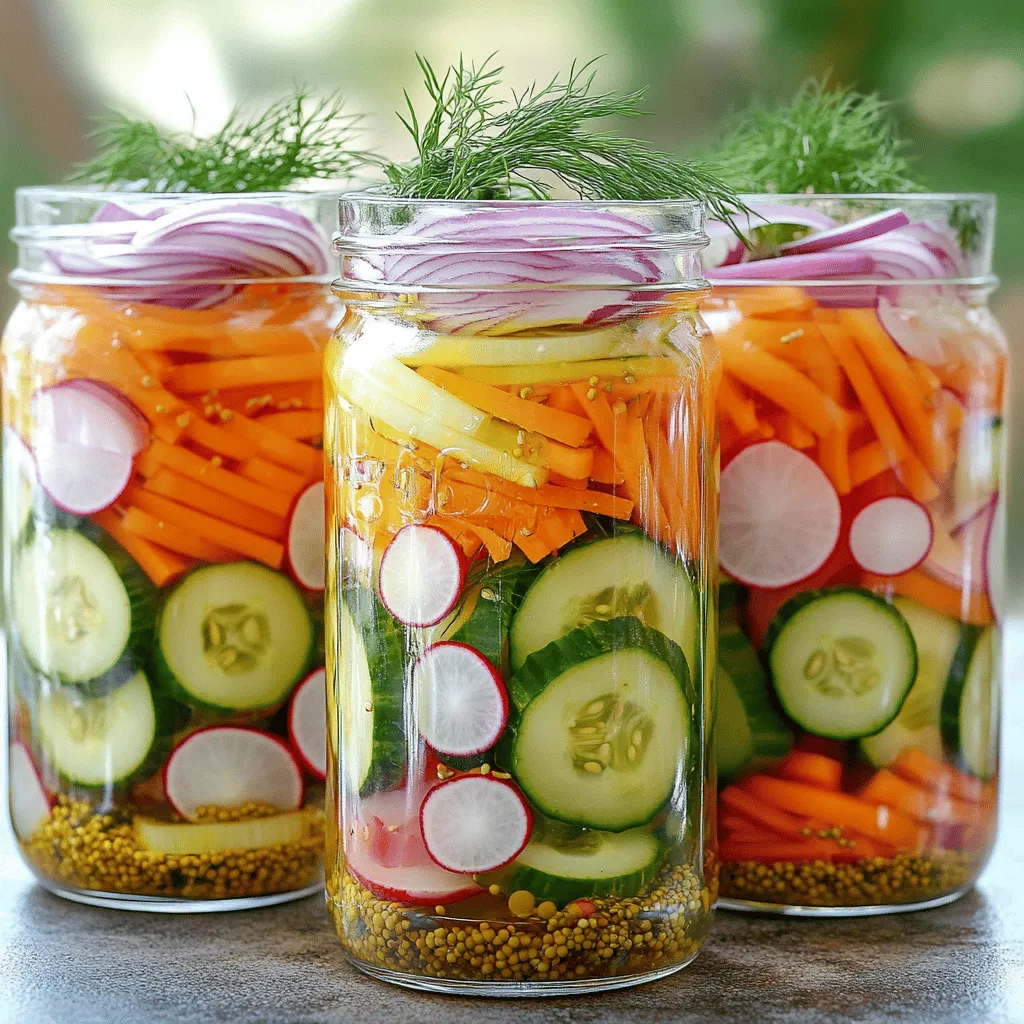
Are you looking for a tasty and healthy snack option? Pickled vegetables are the perfect choice! They are crunchy, tangy, and packed with nutrients. In this guide, I’ll share everything …
 for more details on how to make this delicious casserole! To keep your Tomato Zucchini Casserole fresh, store it after it cools. Place leftovers in an airtight container. Refrigerate them right away. This helps avoid spoilage. It can last in the fridge for up to four days. If you want long-term storage, freeze the casserole. Cut it into portions for easy use later. Wrap each piece in plastic wrap, then place it in a freezer bag. This keeps it fresh for up to three months. When it's time to eat your leftovers, reheating is easy. You can use the oven or the microwave. For the oven, preheat it to 350°F (175°C). Place the casserole in a baking dish. Cover it with foil to keep moisture in. Heat for about 20-25 minutes, until hot. If you prefer the microwave, place a piece on a microwave-safe plate. Heat it for 1-2 minutes, checking often. This method is quicker but may change the texture. Always make sure it is heated all the way through. Enjoy your meal with the same great flavors! For the full recipe, check out the detailed instructions above. Can I make this casserole ahead of time? Yes, you can prepare this casserole a day in advance. Just follow the steps, but stop before baking. Cover it and keep it in the fridge. When you are ready, bake it according to the instructions. This saves time and makes dinner easy! What can I serve with Tomato Zucchini Casserole? This casserole pairs well with a fresh salad or crusty bread. You could also serve it with grilled chicken or fish for a complete meal. The light flavors of the casserole balance nicely with hearty sides. How do I know when the casserole is done cooking? Look for a golden, bubbly top. After baking, you can insert a knife in the center. If it comes out hot and clean, your casserole is ready. Let it cool a bit before slicing to help it set. Is this recipe suitable for a vegetarian diet? Absolutely! This recipe is fully vegetarian. It uses fresh vegetables and cheese, making it a tasty option for veggie lovers. You can also make it vegan by using plant-based cheese. You now have all the steps needed to make a delicious Tomato Zucchini Casserole. You learned about key ingredients and how to layer them for the best flavor. Remember to cool your casserole before slicing for neat pieces. Explore variations that suit your taste, and try different methods for cooking. Store any leftovers properly, and follow reheating tips to keep it tasty. Enjoy your cooking adventure and share this dish with family and friends! Your table will shine with this delightful meal.](https://roastedflavors.com/wp-content/uploads/2025/07/47161b8d-8a19-4593-afd0-0a843594c4cf.webp)
Are you looking for a simple yet delicious dish? Look no further than this Tomato Zucchini Casserole! I’ll guide you through easy steps to create a flavor-packed meal that’s sure …