Protein Cottage Cheese Chocolate Mousse Delightful Treat
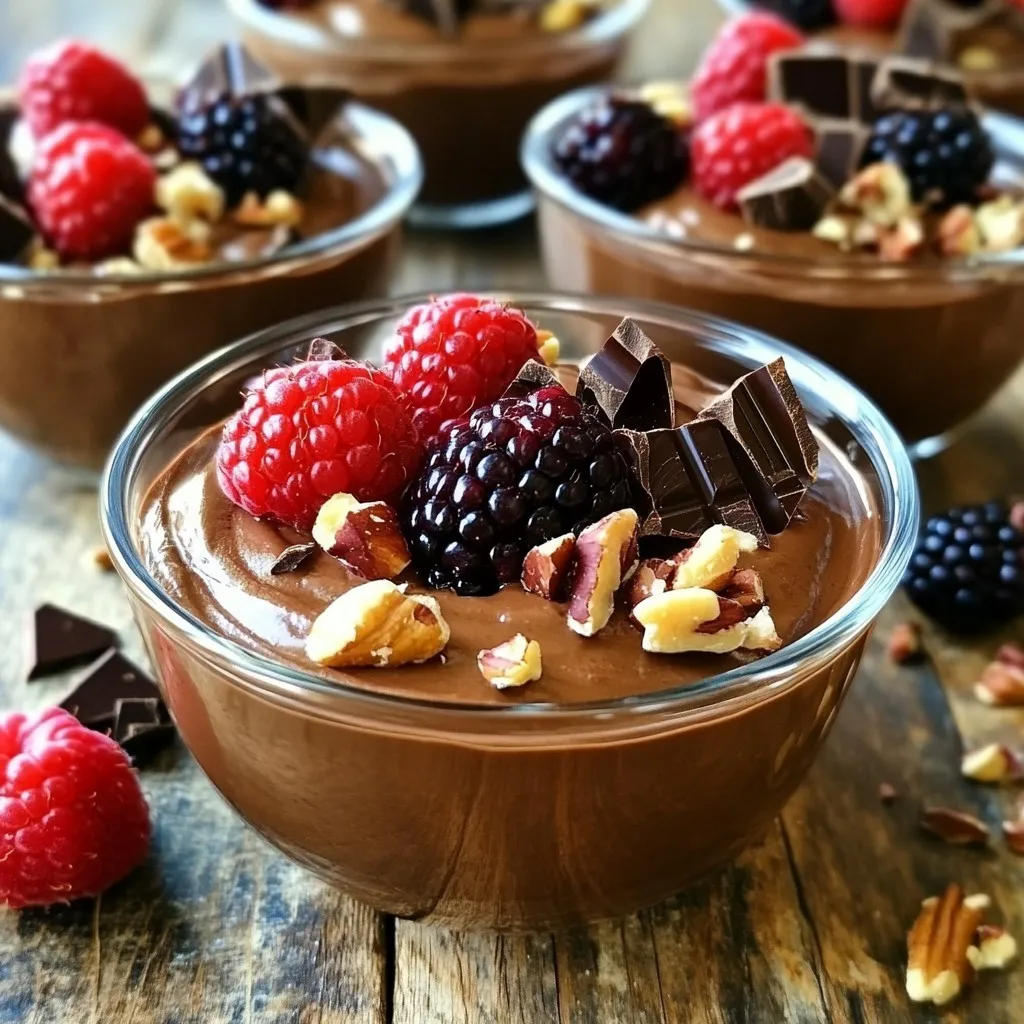
Looking for a dessert that’s both delicious and packed with protein? You’re in the right place! This Protein Cottage Cheese Chocolate Mousse is not just tasty; it’s also healthy. In …