Honey Glazed Salmon Savory and Simple Recipe Guide
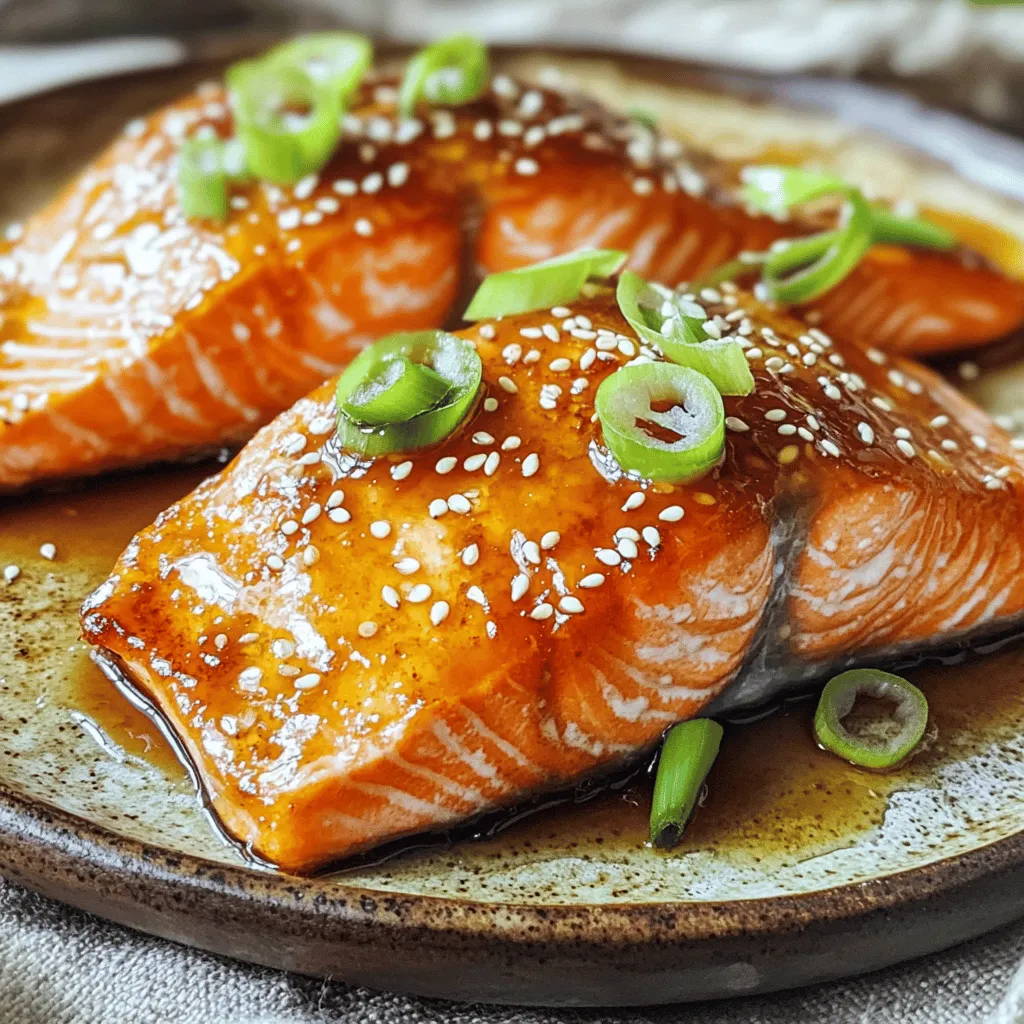
Are you ready to impress your family or friends with a delicious Honey Glazed Salmon? This savory dish is simple to make and bursting with flavor. In this guide, I’ll …
Are you ready to impress your family or friends with a delicious Honey Glazed Salmon? This savory dish is simple to make and bursting with flavor. In this guide, I’ll …
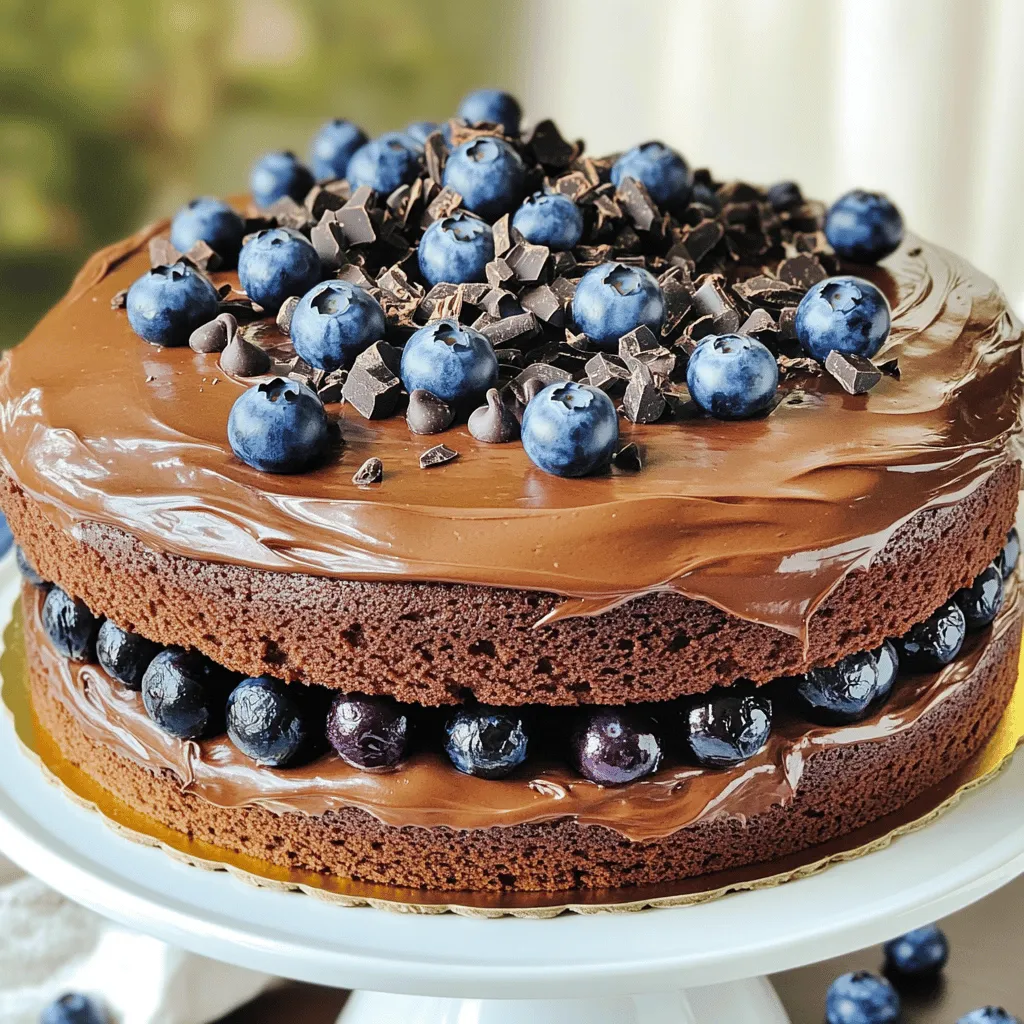
Are you ready for a delicious twist on dessert? My Savory Blueberry Chocolate Cake combines rich cocoa and juicy blueberries for a treat you won’t forget. Imagine the warm aroma …
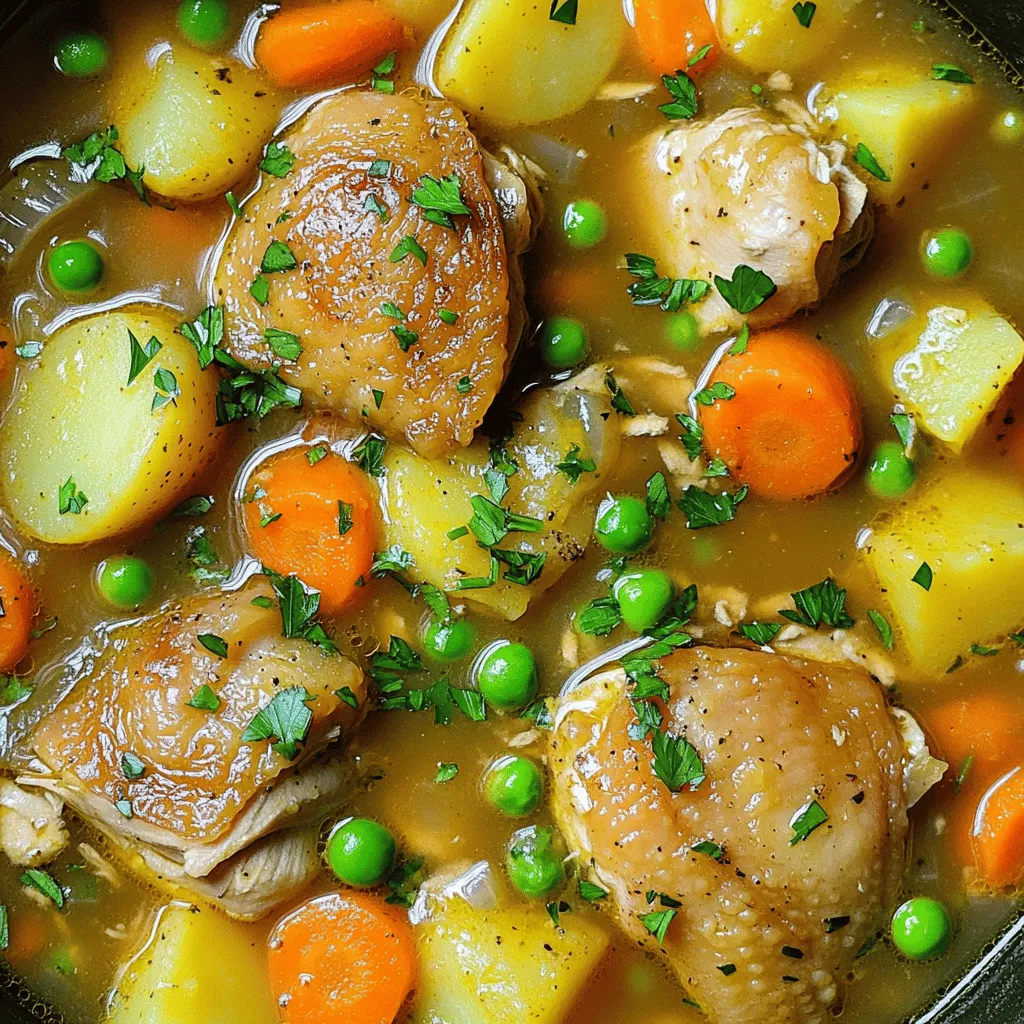
If you want a warm, hearty meal, you need to try this Slow Cooker Chicken Stew. With just a few simple steps, you’ll create a dish that fills your home …
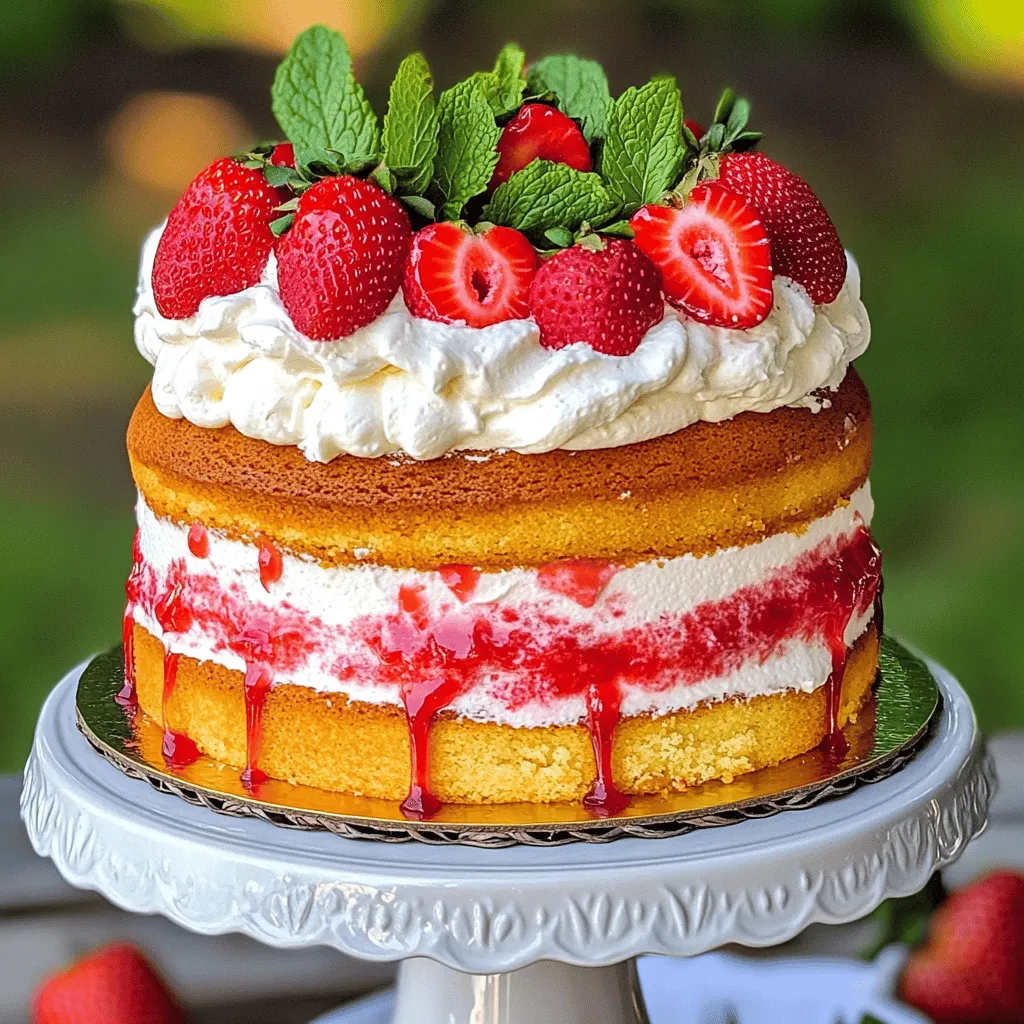
If you love cake and berries, you’re in for a treat! This recipe for the best strawberry cake ever is simple, fun, and packed with flavor. Imagine bites of fluffy …
. In this post, we covered how to make delicious pickled asparagus. I shared the key ingredients, from fresh asparagus to spices, and provided step-by-step instructions. You learned tips for crunch and flavor, along with variations for your taste. Remember to store your pickles correctly to enjoy them longer. Making and enjoying pickled asparagus can be simple and fun. With a little practice, you’ll have tasty snacks ready at home. Happy pickling!](https://roastedflavors.com/wp-content/uploads/2025/07/a9261fd7-c9c5-4f0b-ab94-1f6b0e0c74d6.webp)
Are you ready to add a crunchy, flavorful twist to your meals? Pickled refrigerator asparagus is the perfect snack or side dish! With just a few fresh ingredients and simple …
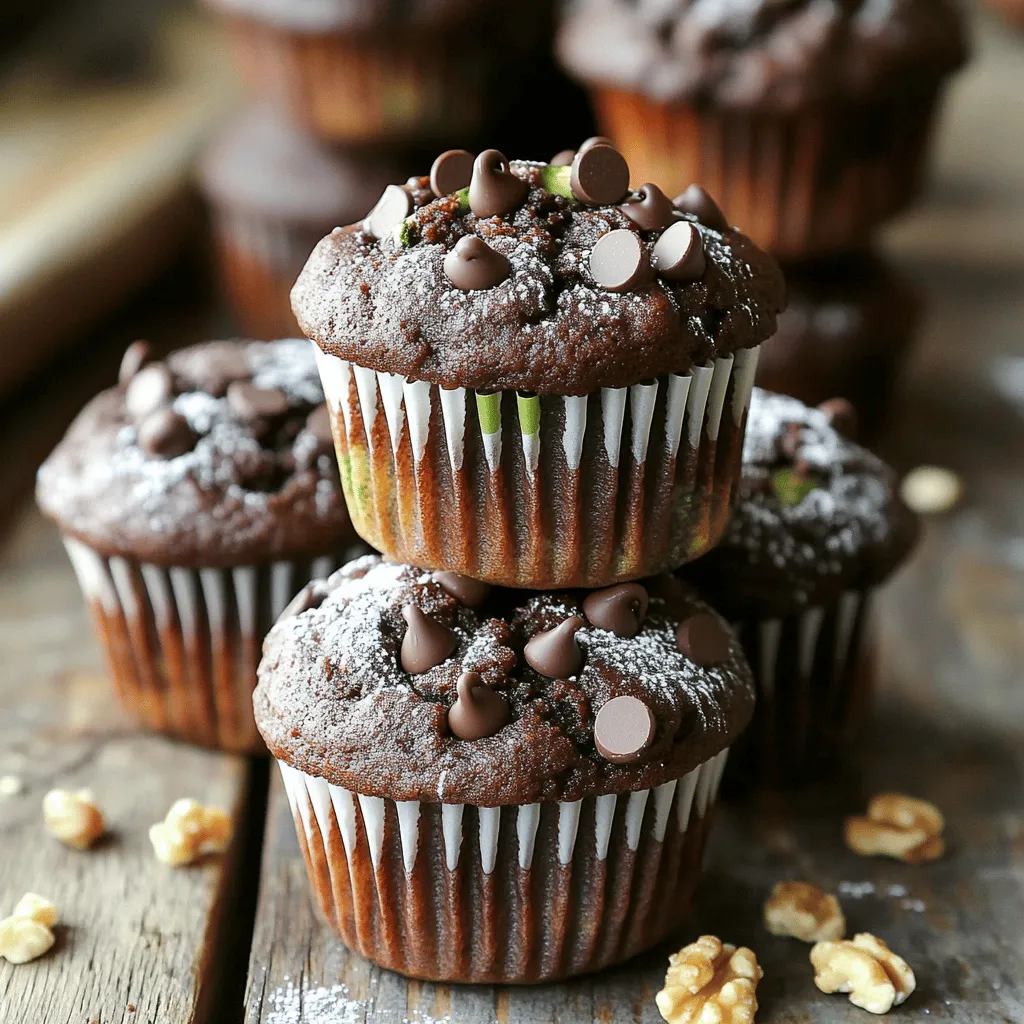
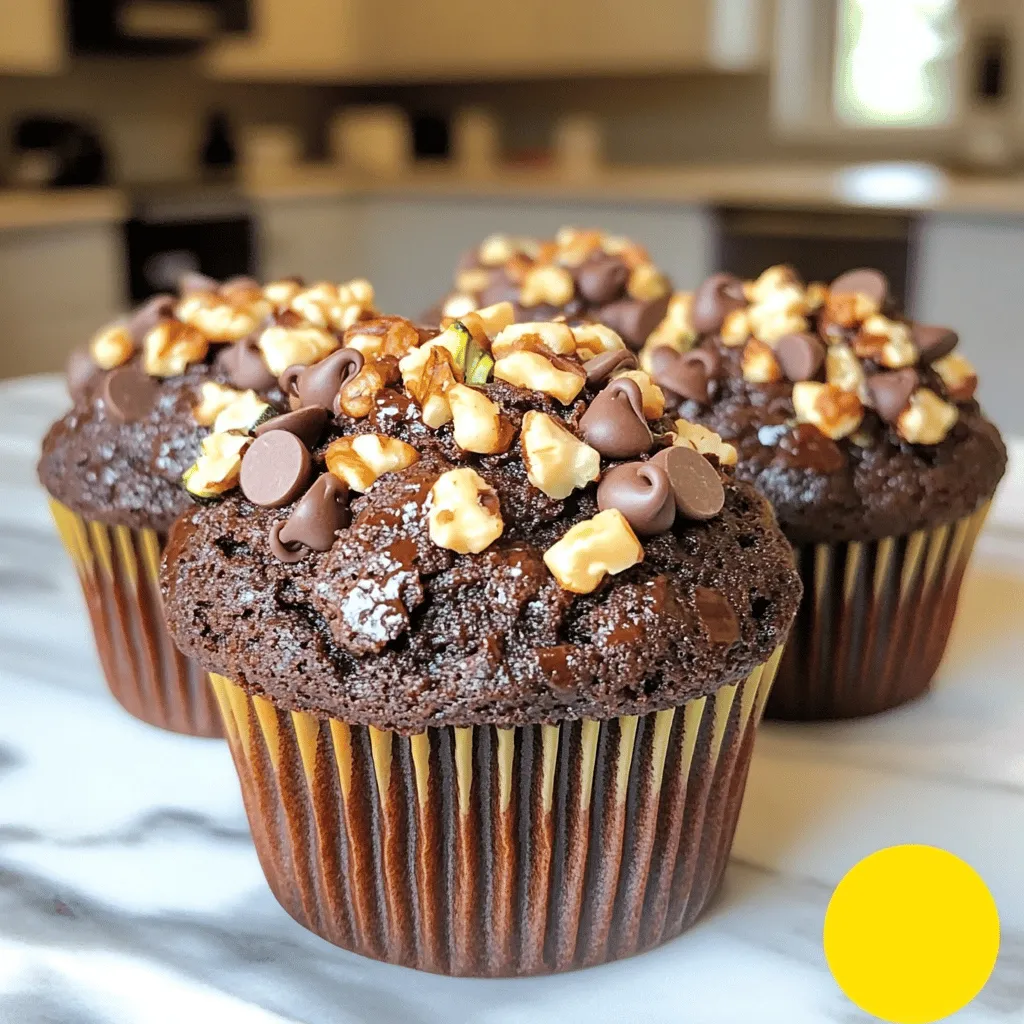
If you love rich and moist muffins, you’re in for a treat! Our Bakery Style Double Chocolate Zucchini Muffins are the perfect blend of chocolate and hidden veggies. These tasty …
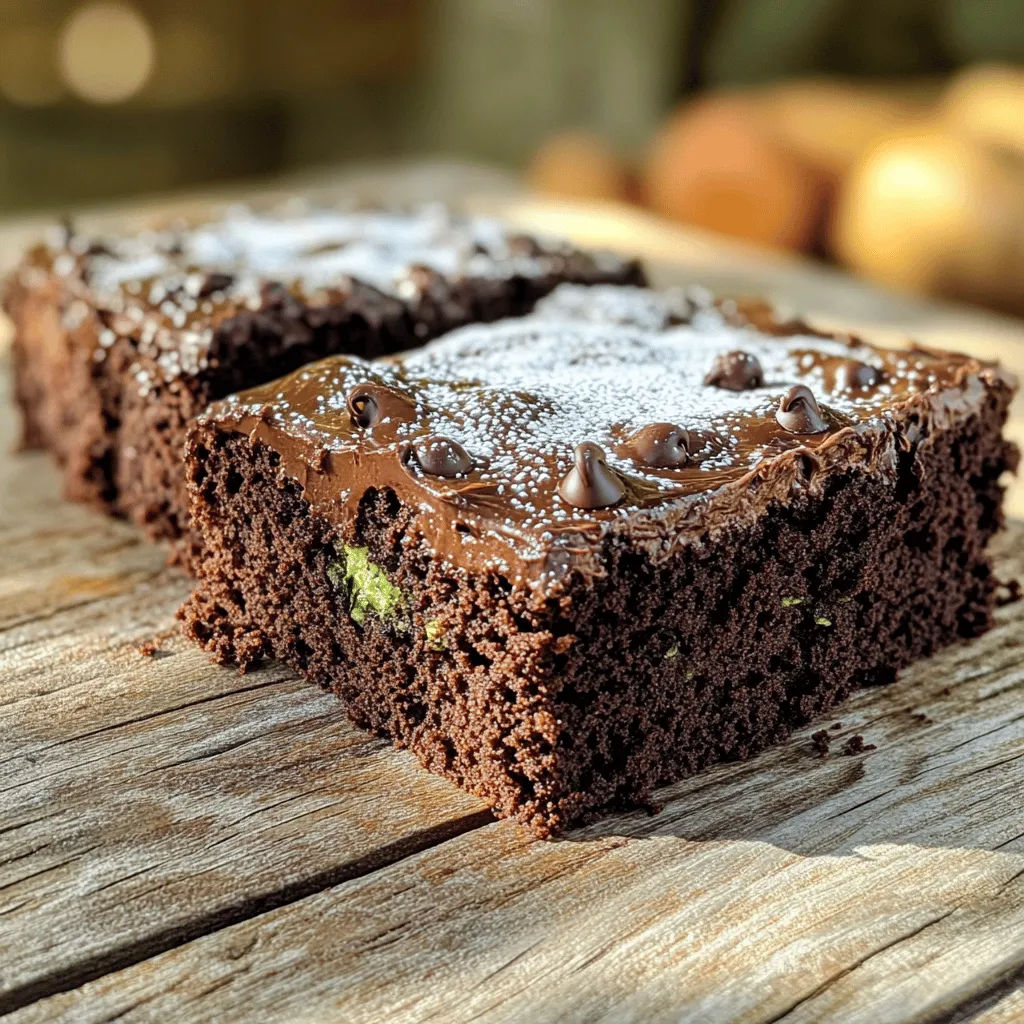
Are you ready to indulge in a rich, chocolaty delight that’s also secretly healthy? My Double Chocolate Zucchini Cake combines moist zucchini with rich chocolate flavors for an unforgettable treat. …
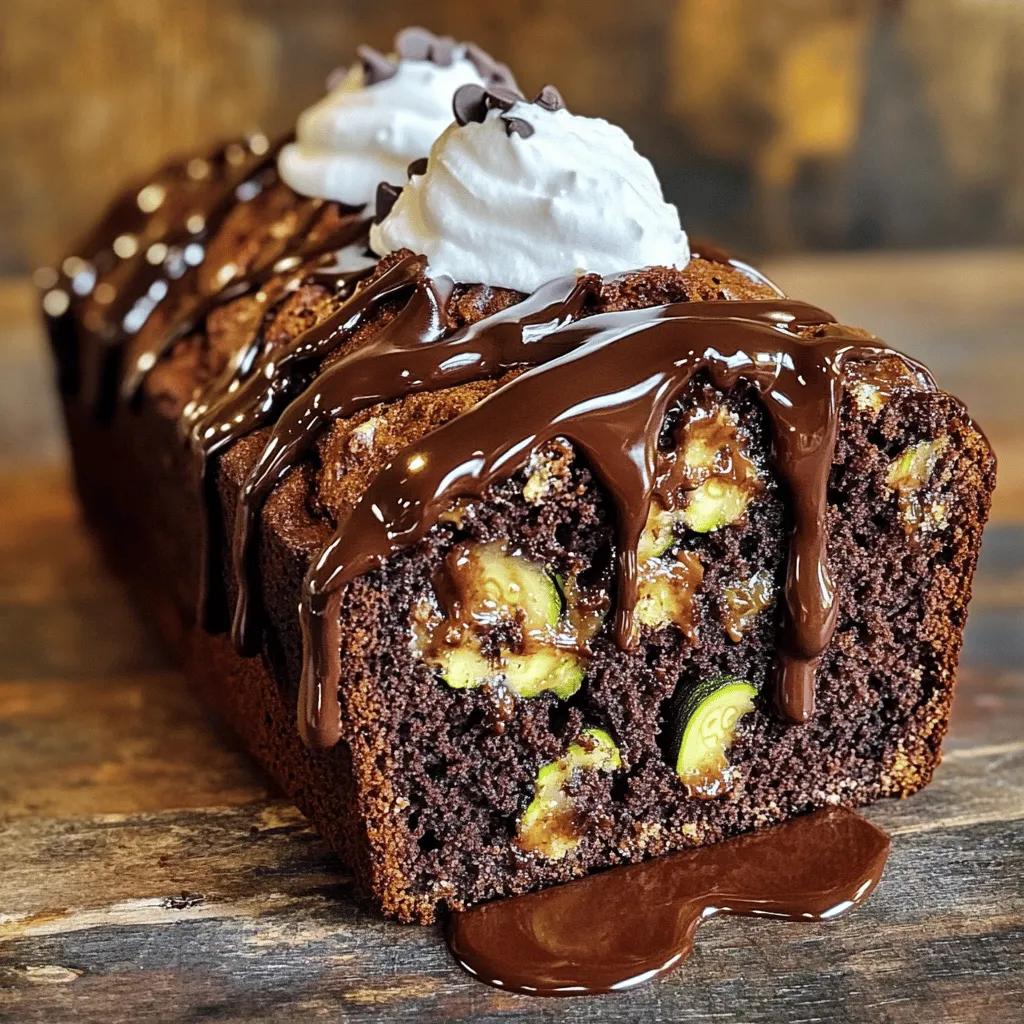
If you’ve ever craved a delicious treat that’s both sweet and wholesome, you’re in for a treat! My Irresistible Chocolate Zucchini Banana Bread combines rich chocolate flavor with sneakily healthy …
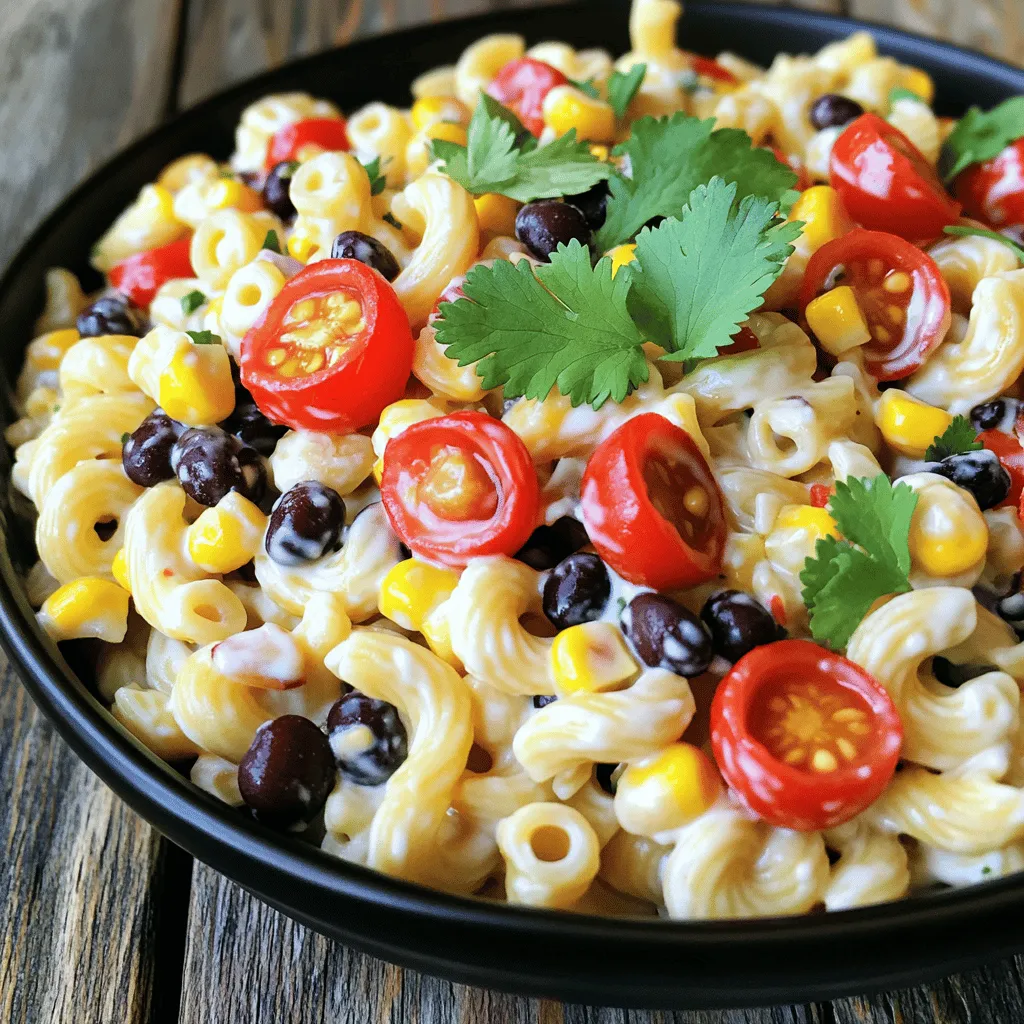
Craving a dish that’s both tasty and easy to whip up? Look no further! My Southwest Chipotle Pasta Salad packs a punch with flavor and freshness. Filled with simple ingredients …
If you love a sweet treat that feels light yet rich, you’ll adore these Moist Zucchini Chocolate Muffins. This recipe blends fresh zucchini with chocolate to create a delightful bite …