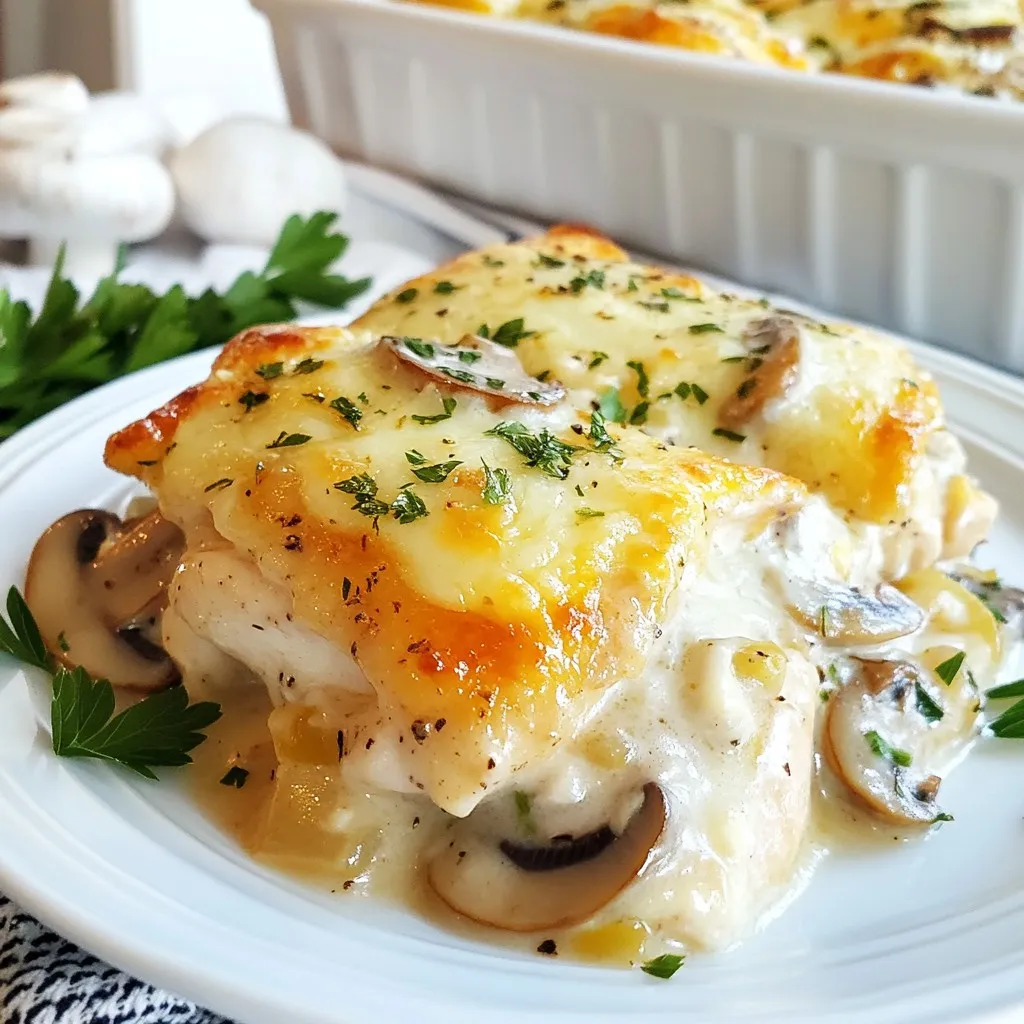
Sheet-Pan Lemon Garlic Chickpeas & Veggies Delight
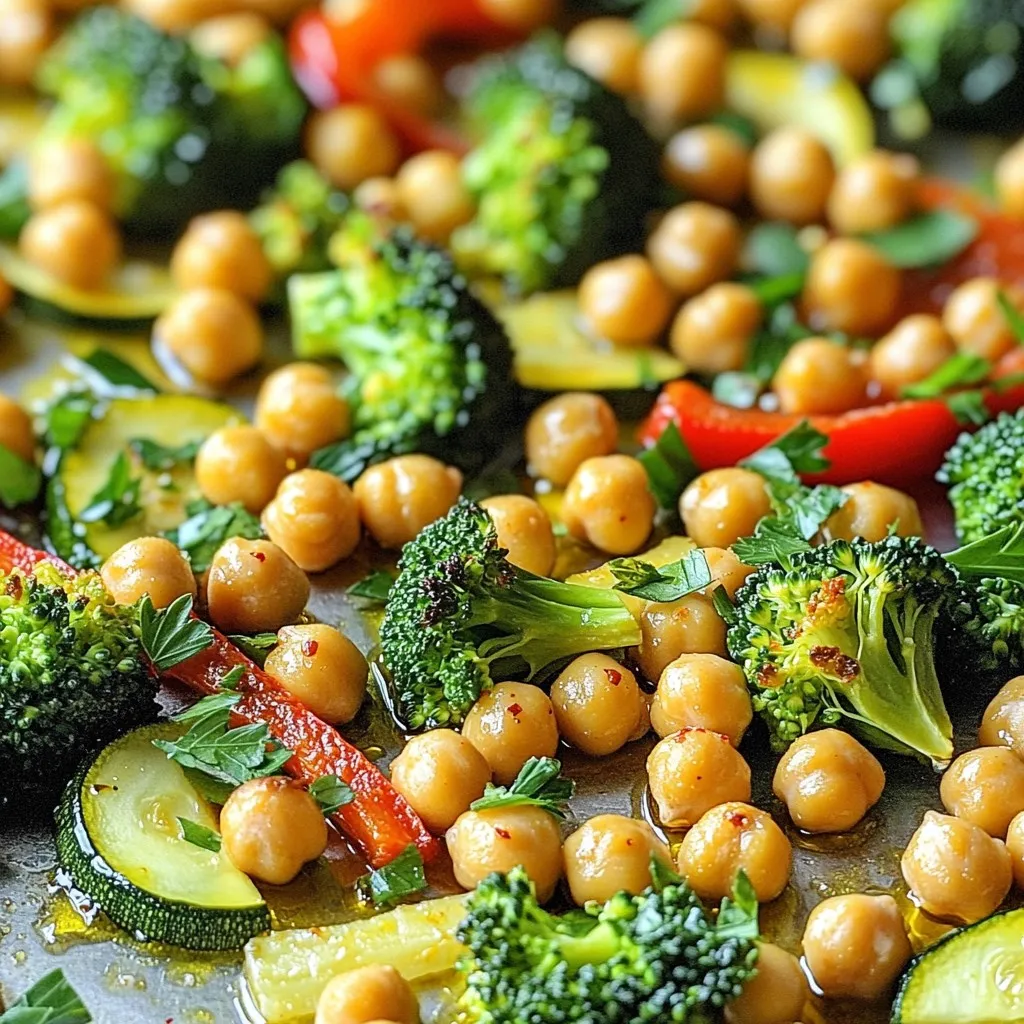
Looking for a quick, healthy meal? Let me introduce you to my Sheet-Pan Lemon Garlic Chickpeas & Veggies Delight. This dish brings together tender chickpeas, fresh veggies, and zesty lemon …