Thick Blackberry Syrup for Pancakes Delightful Recipe
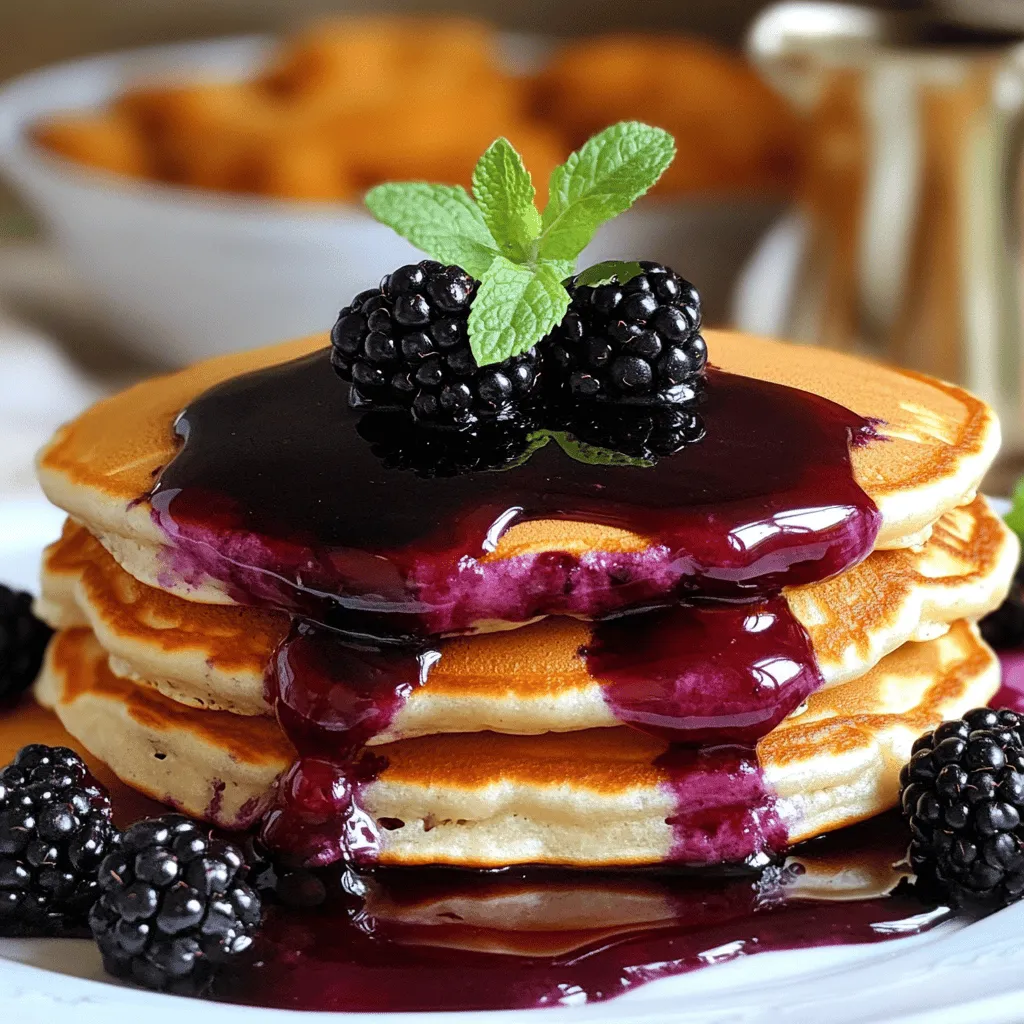
Are you ready to transform your pancakes into a culinary delight? This thick blackberry syrup recipe will make your breakfast unforgettable. With its sweet, tangy flavor, you’ll make your family …