Mexican Street Corn Pasta Salad Flavorful and Fresh
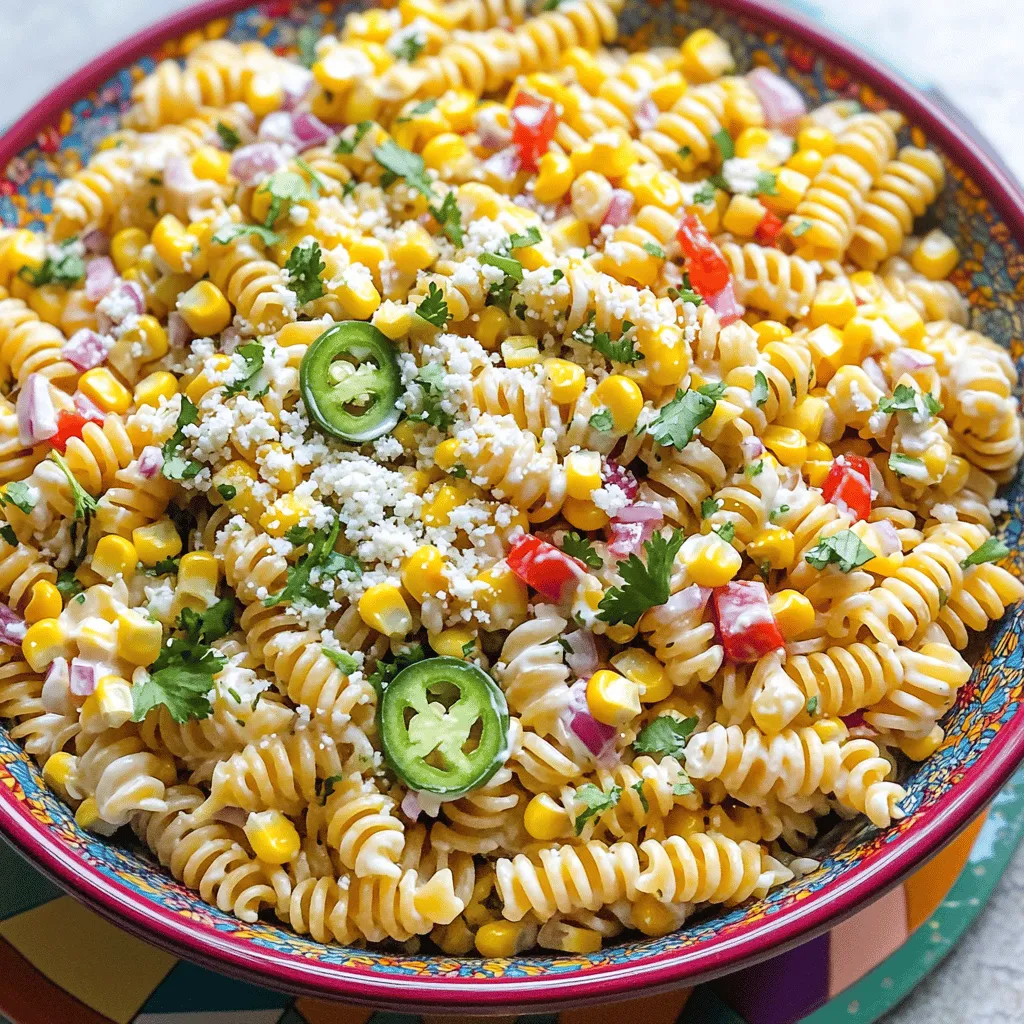
Are you ready to take your taste buds on a trip to Mexico? This Mexican Street Corn Pasta Salad is bursting with fresh flavors and bold ingredients. It’s the perfect …
Are you ready to take your taste buds on a trip to Mexico? This Mexican Street Corn Pasta Salad is bursting with fresh flavors and bold ingredients. It’s the perfect …
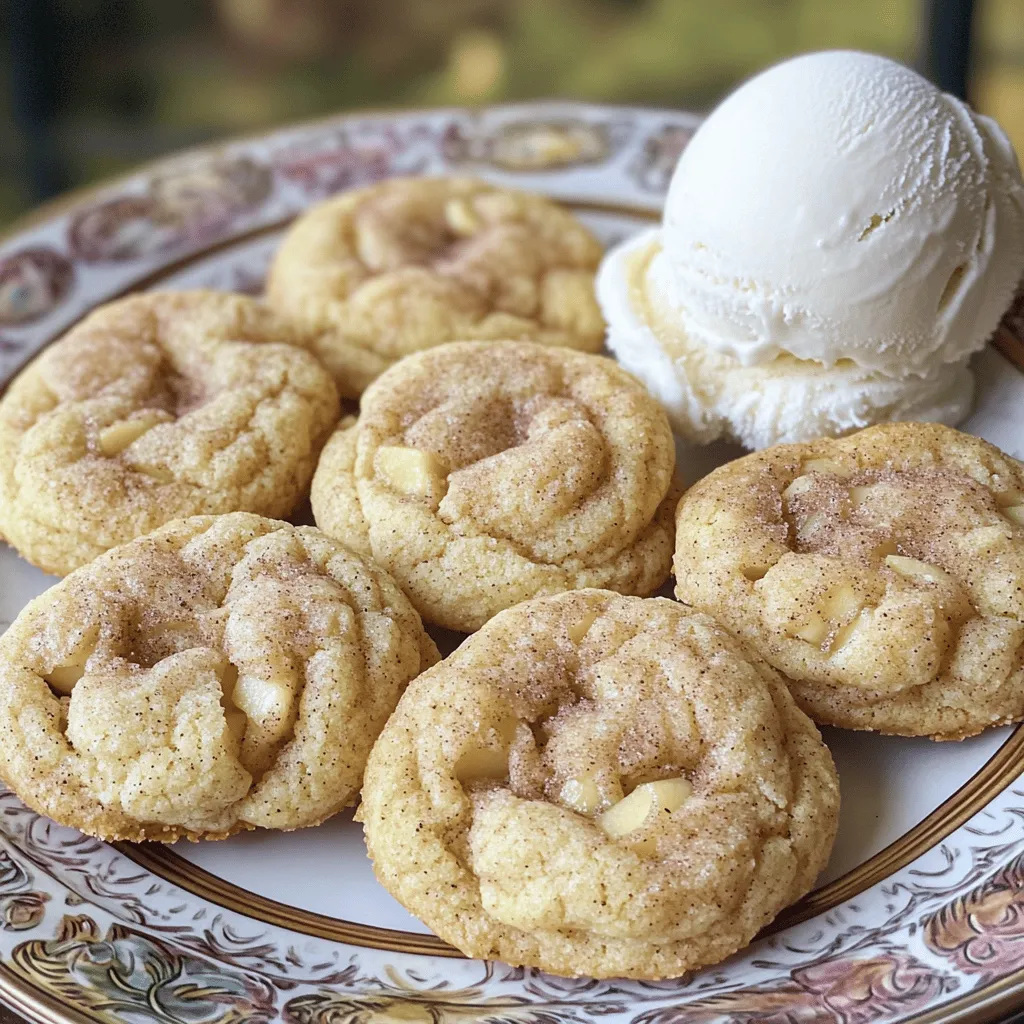
Craving a dessert that combines warm apple pie charm and soft snickerdoodle goodness? Look no further! These Apple Pie Snickerdoodles deliver a comforting mix of flavors that will delight your …
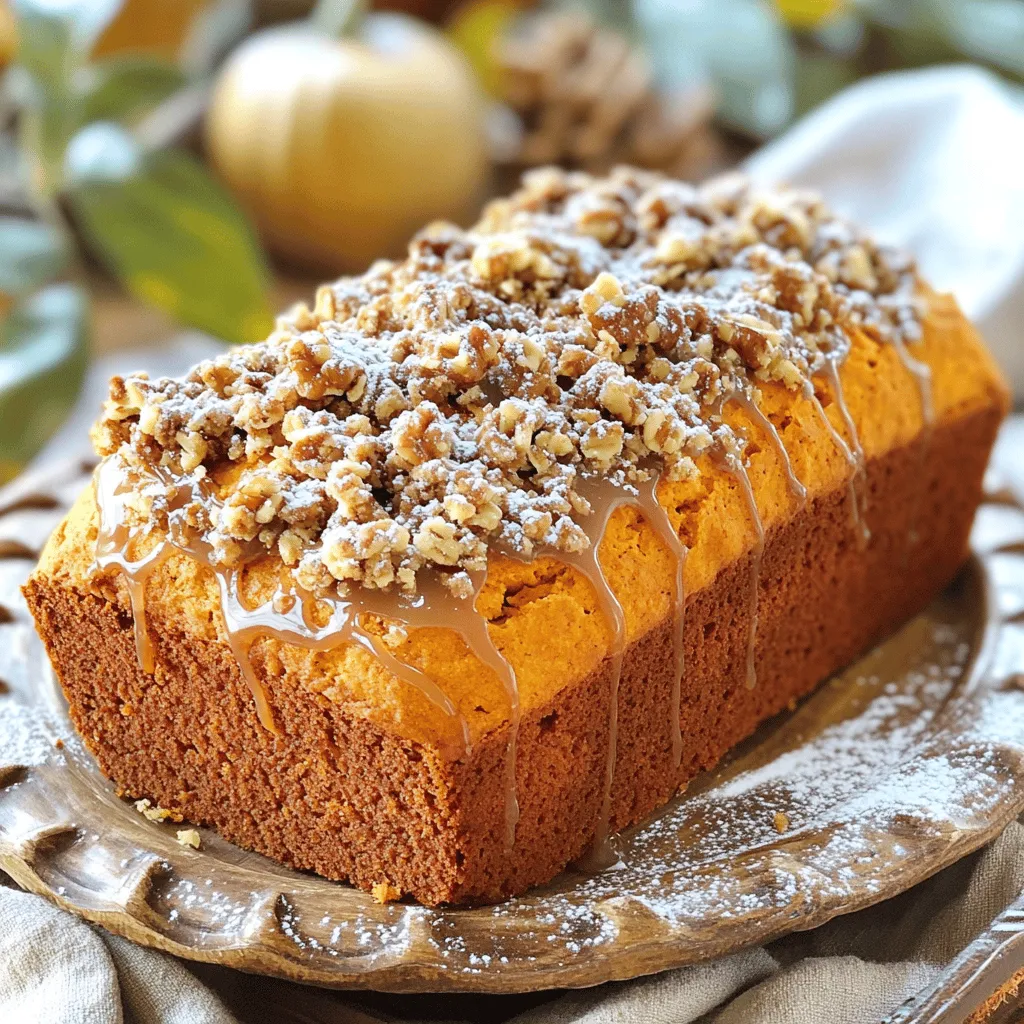
Fall is here, and it’s time to embrace the season with something special. Imagine the sweet, warm aroma of Pumpkin Streusel Maple Glaze Bread filling your kitchen. This easy recipe …

Are you ready to dive into a delicious world of flavor? Crockpot Birria Tacos are simple to make and bursting with taste. This recipe uses tender beef, rich spices, and …

Are you ready to spice up your weeknight dinners? My Sheet Pan Green Chile Chicken Taquitos are packed with flavor and easy to make! Using just a few simple ingredients, …

Welcome to a delicious adventure with my Applesauce Cake with Cinnamon Cream Cheese Frosting! This recipe blends sweet applesauce and warm spices into a soft, moist cake. It’s topped with …

Looking for a comforting treat that delights every time? This Cinnamon Swirl Bundt Cake is simple and delicious, perfect for any occasion. With its rich flavors and moist crumb, it …

Are you ready to impress your friends with a delicious Baked Elote Dip? This creamy delight combines sweet corn, rich cheeses, and zesty spices for a flavor fiesta that everyone …

Get ready to indulge in a sweet treat that combines the warmth of apples with a crunchy topping and a dreamy cinnamon drizzle! In this blog post, I will guide …

Get ready to delight your taste buds with fluffy pumpkin cinnamon rolls! This simple treat combines the warm flavors of pumpkin and cinnamon, making it perfect for fall. You’ll be …