Pumpkin Cinnamon Sugar Donuts Irresistible Batch Recipe
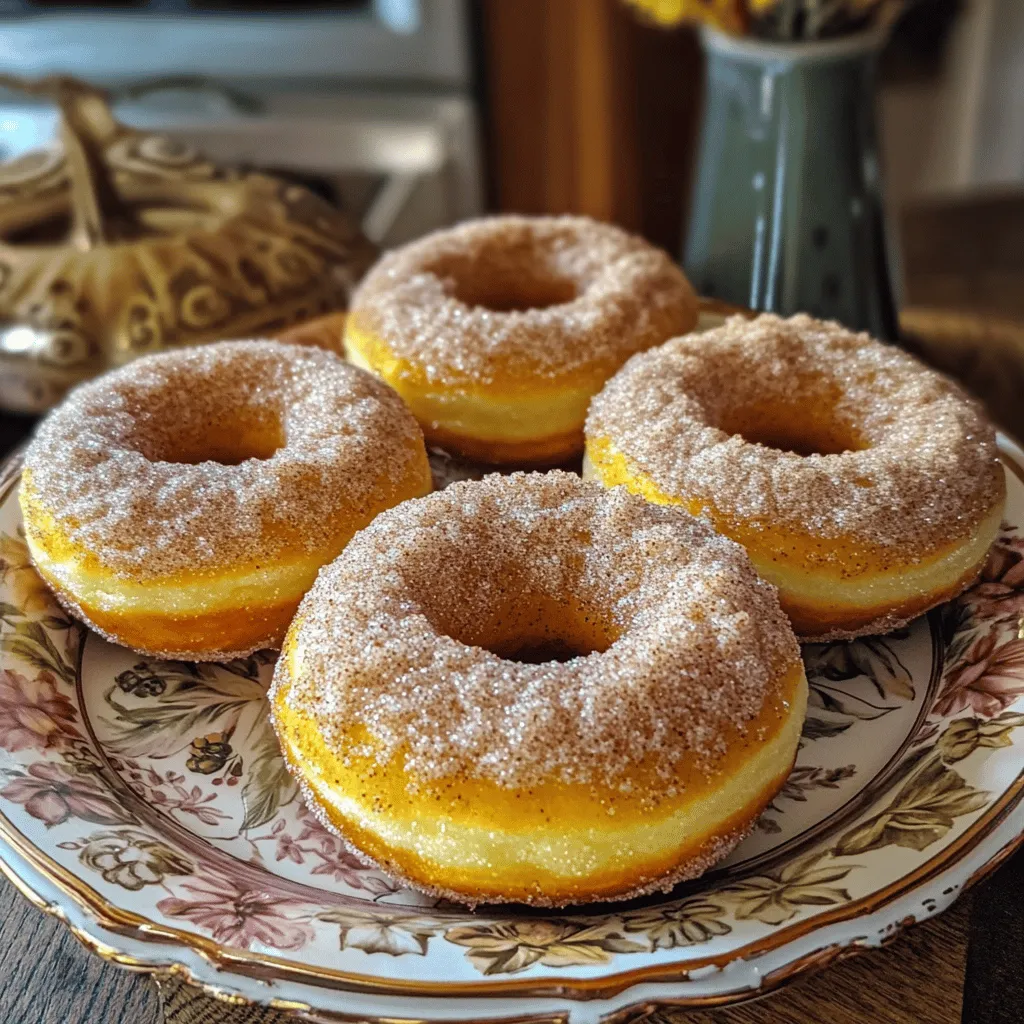
Get ready to indulge your senses with my Pumpkin Cinnamon Sugar Donuts! This easy recipe combines warm spices with creamy pumpkin puree for a delightful treat. Perfect for breakfast, dessert, …