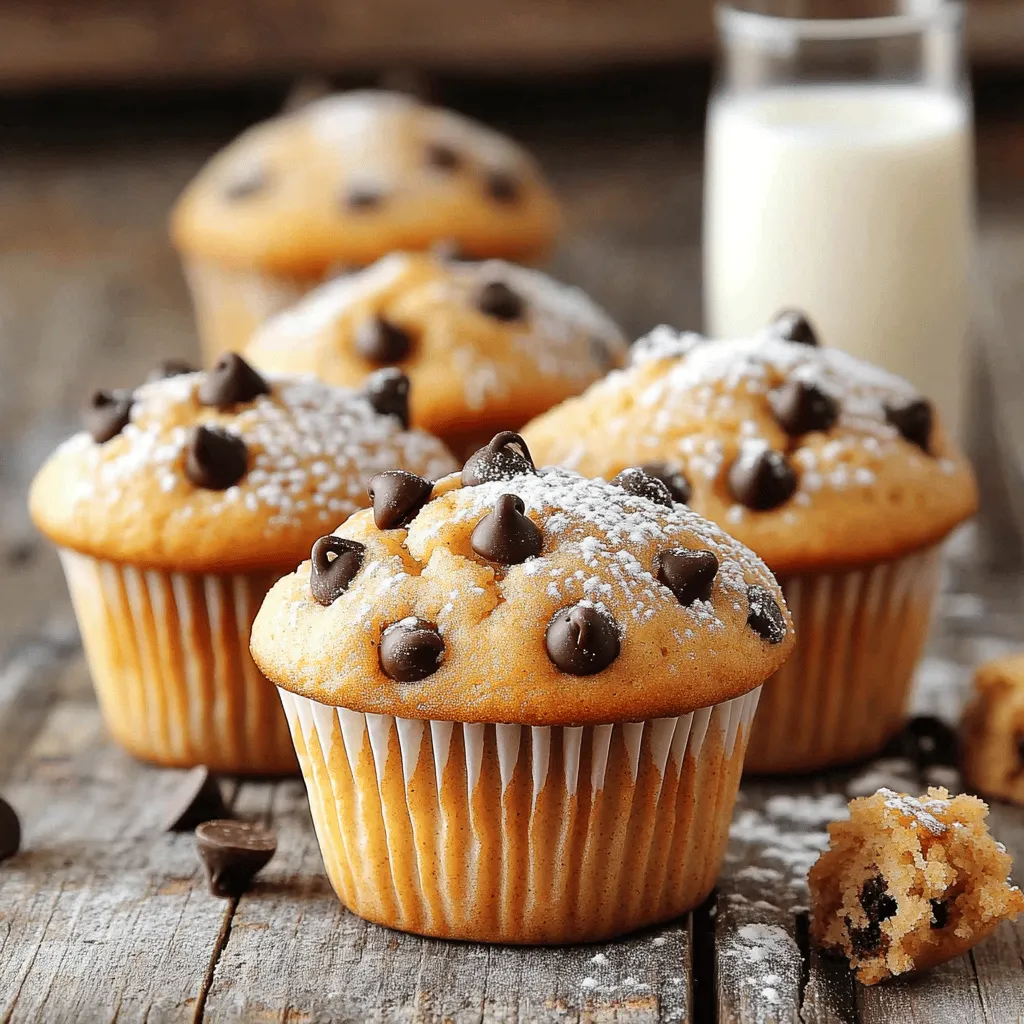
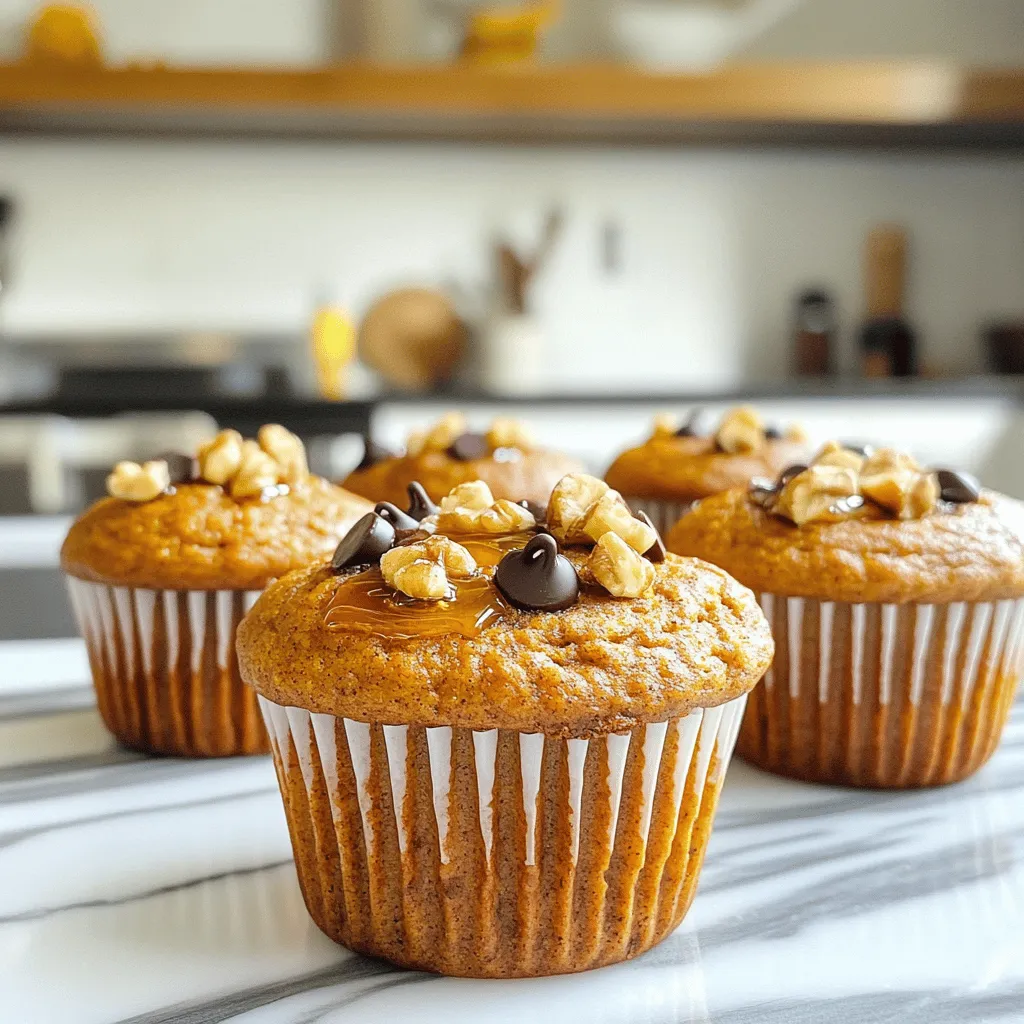
Ingredient Healthy Muffins Simple and Tasty Recipe
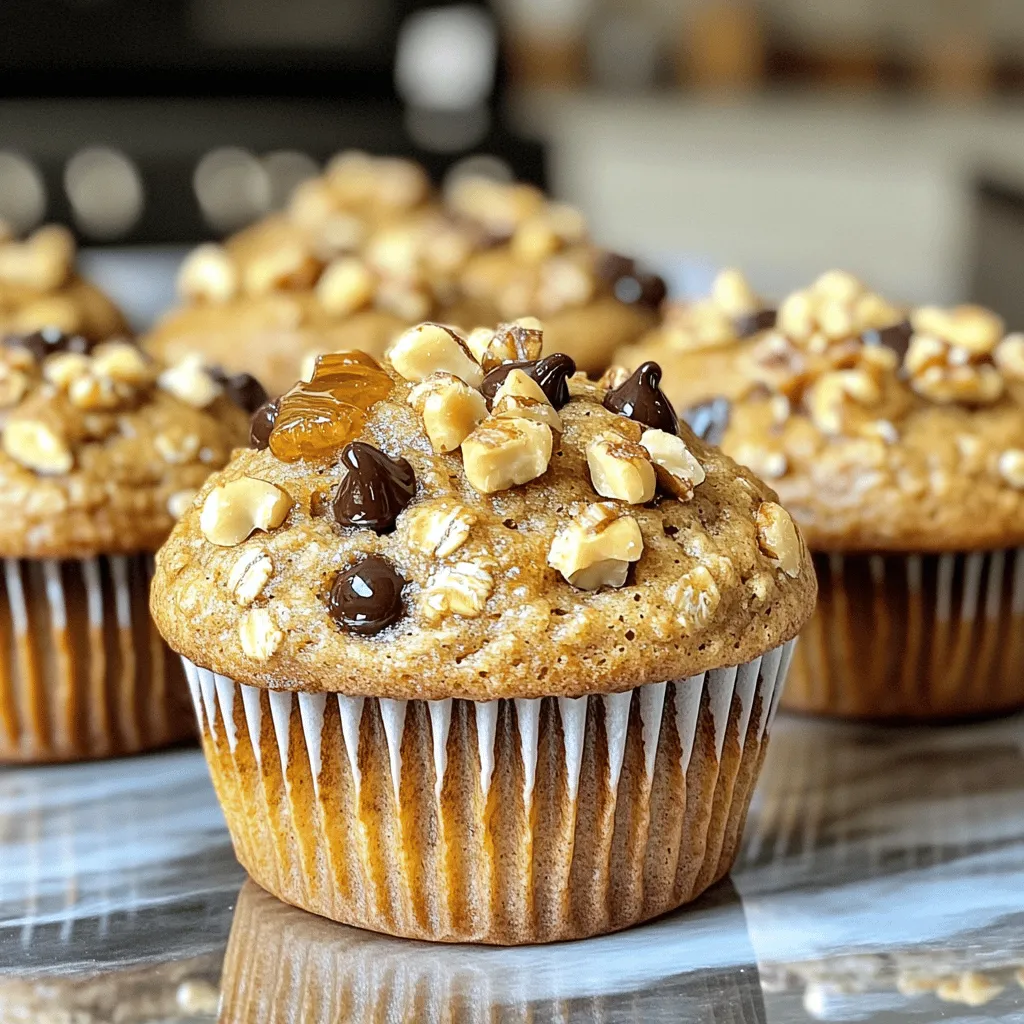
Are you ready to bake some delicious and healthy muffins? This simple and tasty recipe uses fresh ingredients that boost nutrition while satisfying your cravings. Whether you want a quick …