Apple Crisp with Oats Irresistible Dessert Recipe
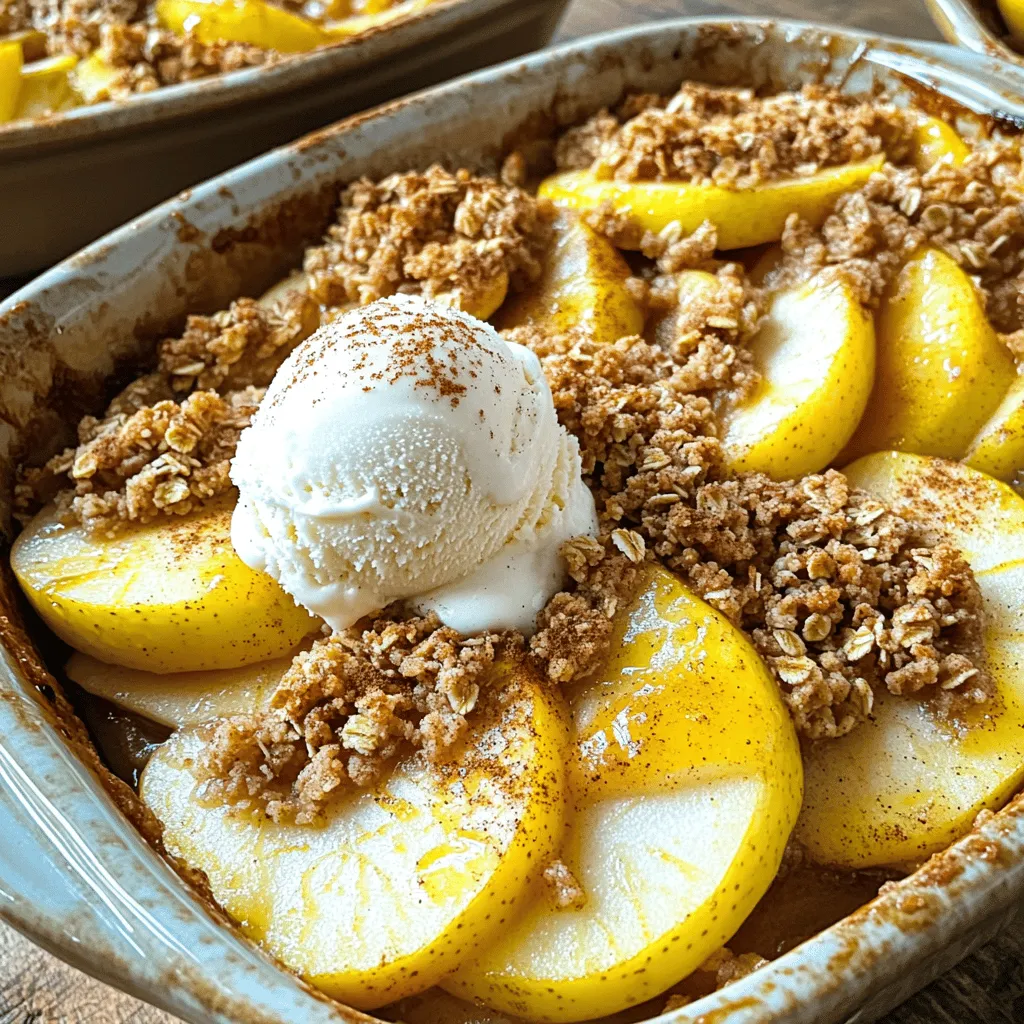
Looking for a sweet treat that’s easy to make? This Apple Crisp with Oats recipe is perfect for you! Bursting with warm apples, a crunchy oat topping, and a hint …
Looking for a sweet treat that’s easy to make? This Apple Crisp with Oats recipe is perfect for you! Bursting with warm apples, a crunchy oat topping, and a hint …
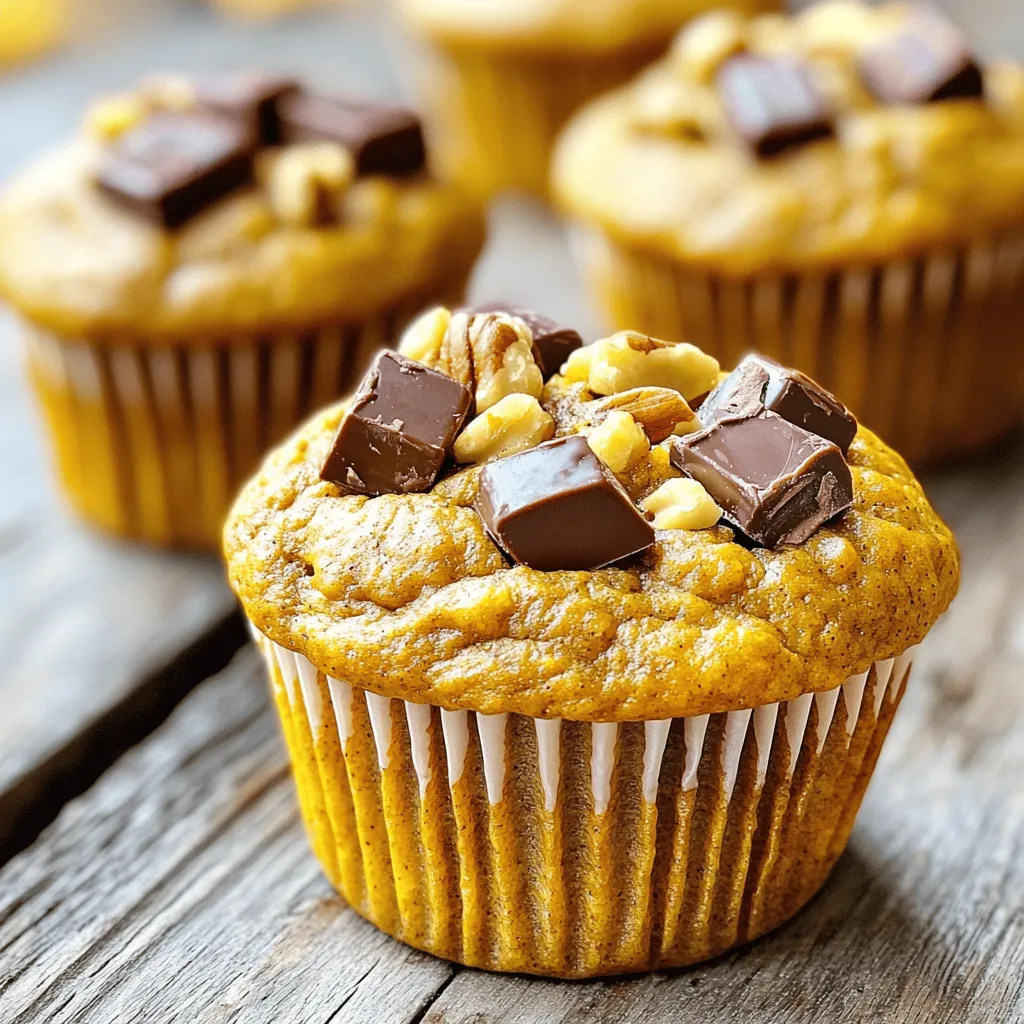
If you’re looking for a healthy snack that’s also delicious, you’ve found it! These Pumpkin Protein Muffins are packed with flavor and nutrients. I’ll walk you through simple steps using …
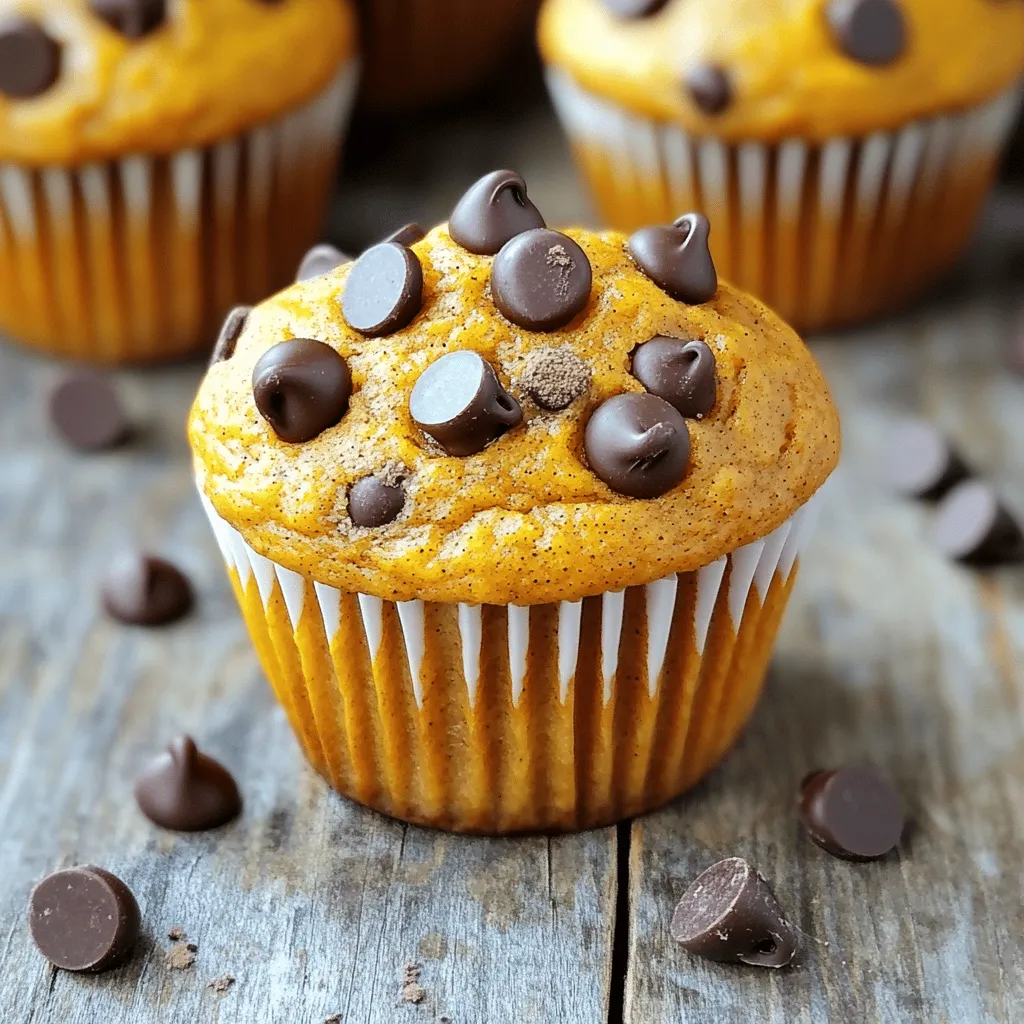
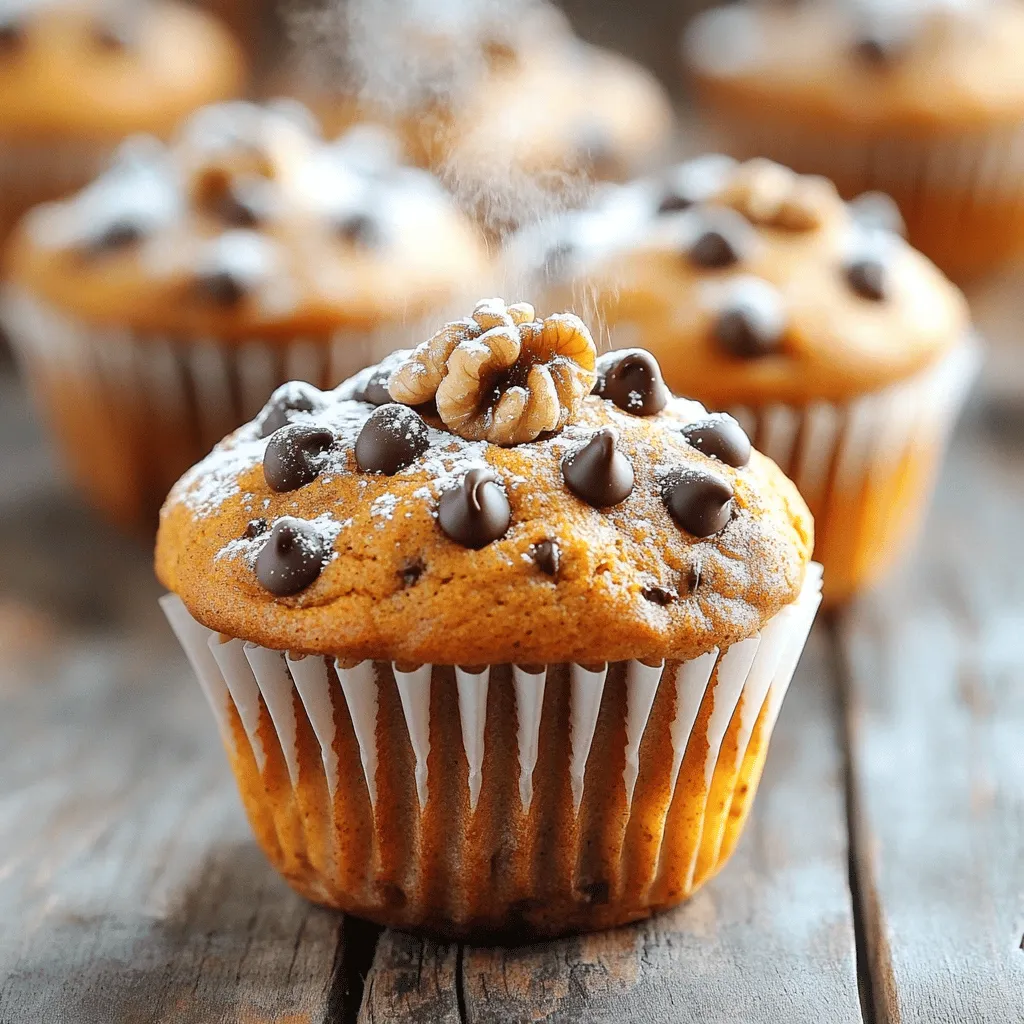
Craving a delicious treat? Look no further than these Pumpkin Chocolate Chip Muffins! They’re a perfect blend of sweet and healthy, making them the ideal snack for any time. In …
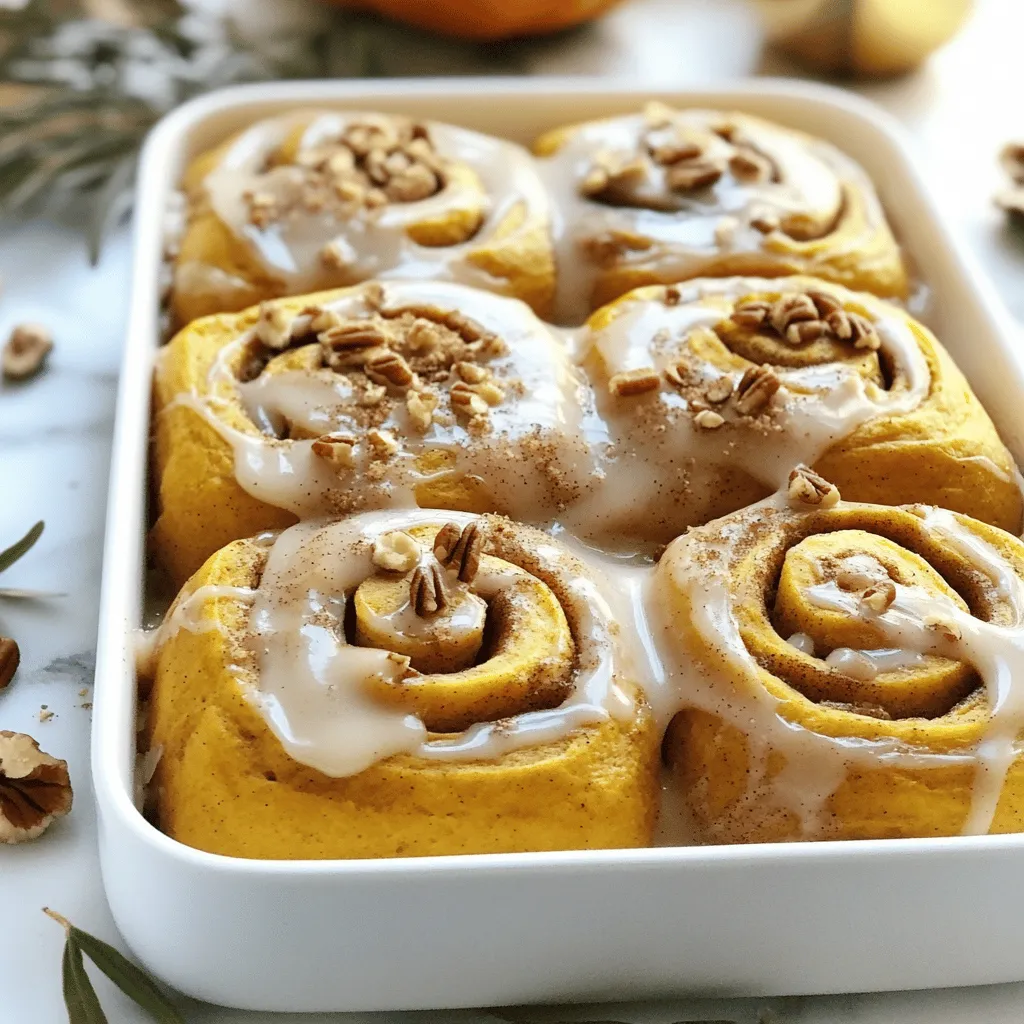
Craving a sweet fall treat without the wait? These No Yeast Pumpkin Cinnamon Rolls are your answer! Soft, fluffy, and packed with warm spices, they’re perfect for any occasion. With …
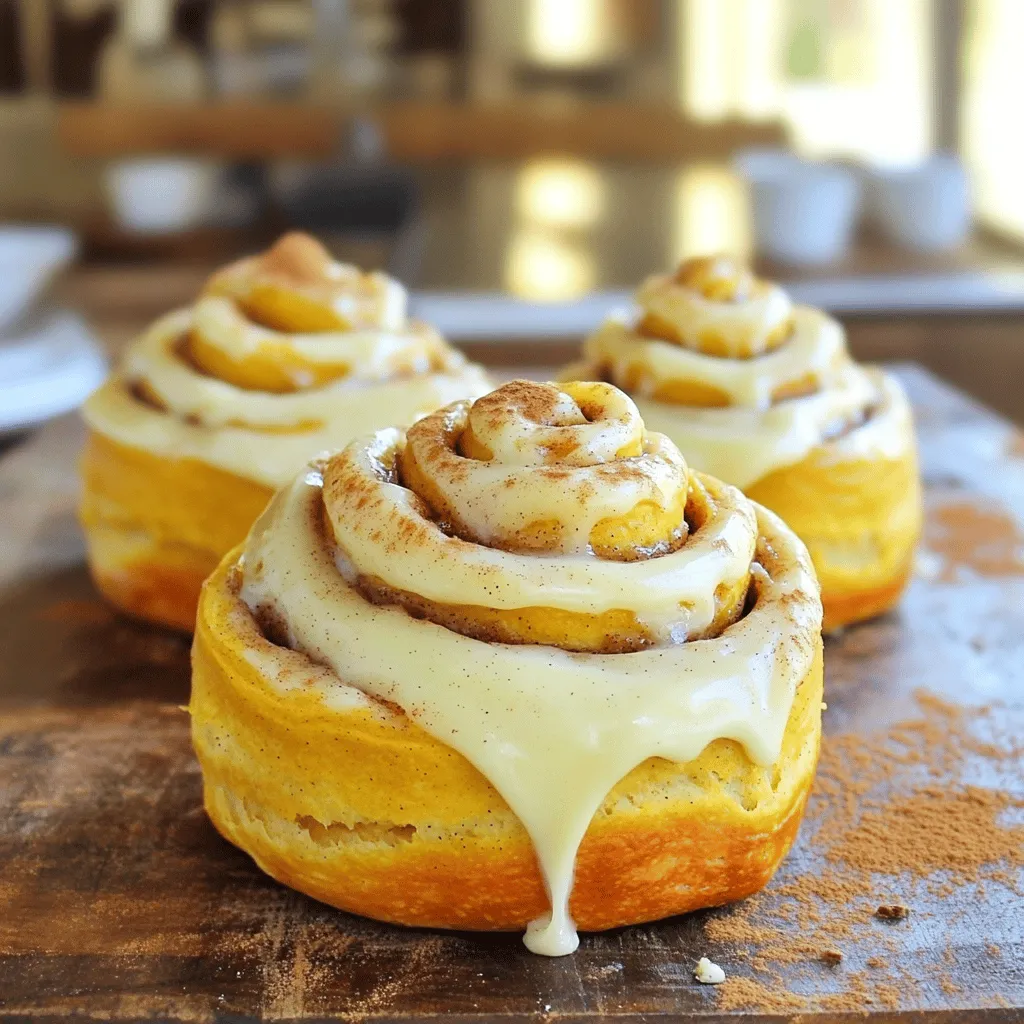
Fall is here, and it’s time to indulge in warm, cozy treats! These Easy Pumpkin Cinnamon Rolls with Cream Cheese Frosting are the perfect blend of spice and sweetness. With …

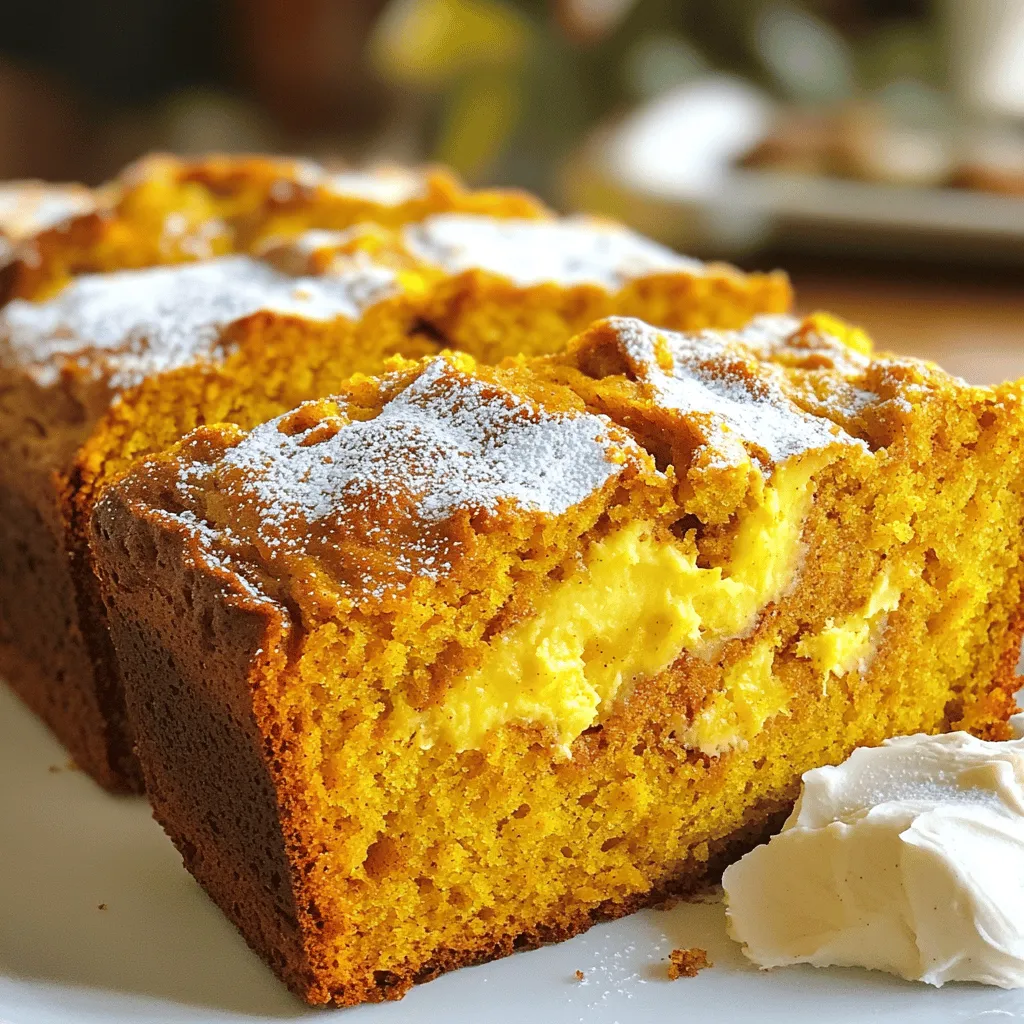
Fall is the perfect time to enjoy a slice of Maple Glazed Pumpkin Bread, and I’m here to share my favorite recipe! This bread is not just moist; it’s packed …
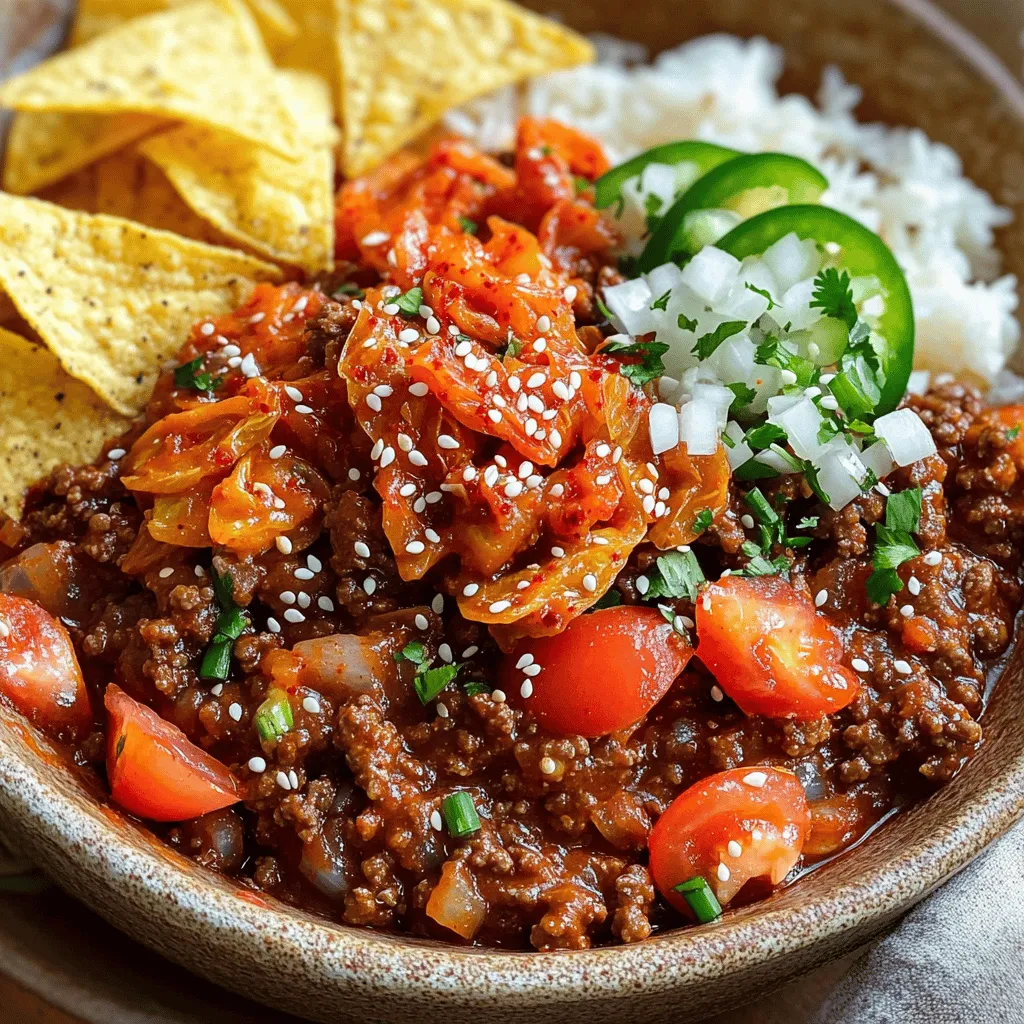
Are you ready to elevate your chili game? This Korean Chile Con Carne recipe packs bold flavors and hearty textures into one comforting dish. I’ll walk you through each step, …
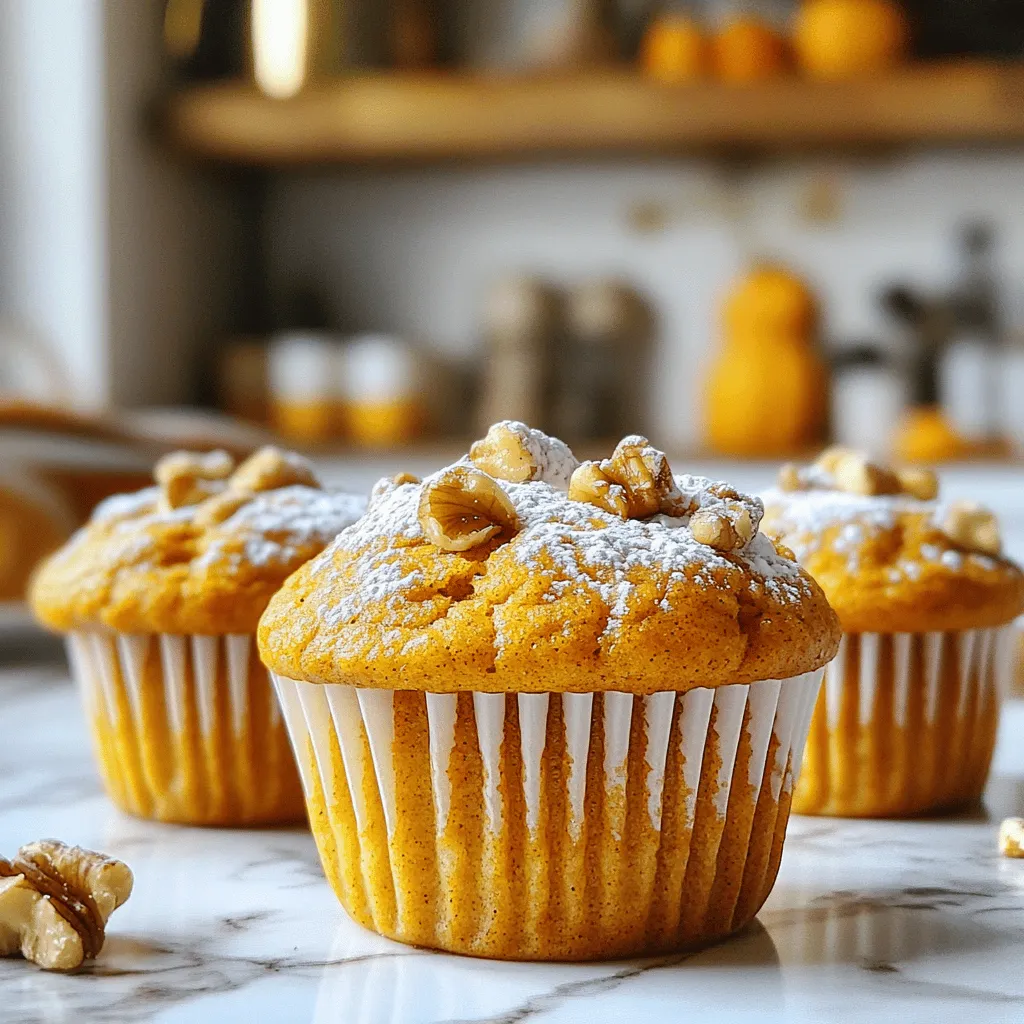
Fall baking is here, and what better way to embrace the season than with Easy Pumpkin Muffins? These delicious treats are soft, flavorful, and perfect for cozy mornings or evening …
Get ready to fill your kitchen with the warm aroma of fresh Bakery Style Pumpkin Muffins! This easy recipe turns simple ingredients into moist, flavorful treats that rival your favorite …
Looking for the perfect fall treat? This Yeasted Pumpkin Bread recipe combines warm spices with a soft texture, making it a delightful addition to any table. I’ll guide you step-by-step …