Microwave Chocolate Chip Mug Cookie Quick and Easy Treat
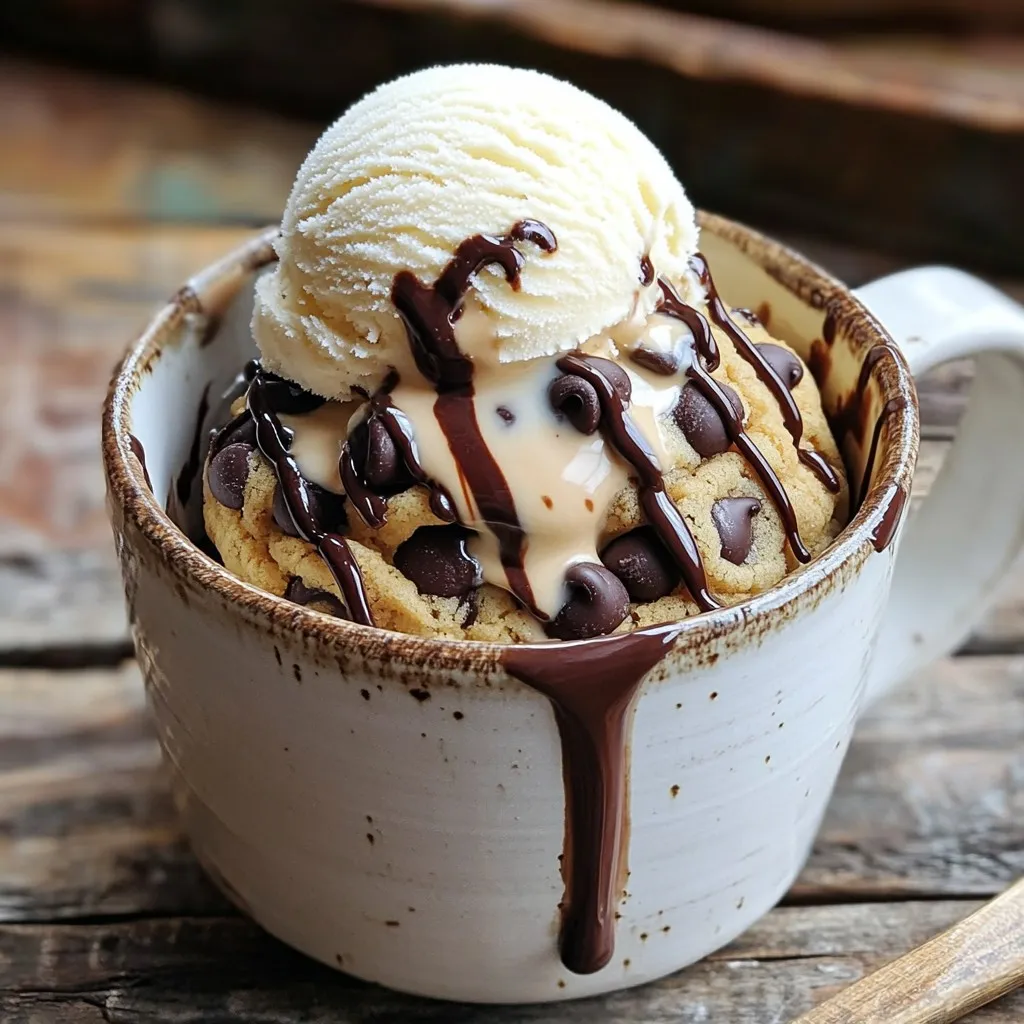
Craving a warm, gooey chocolate chip cookie but short on time? You’re in luck! This Microwave Chocolate Chip Mug Cookie recipe is your ticket to a sweet treat in just …
Craving a warm, gooey chocolate chip cookie but short on time? You’re in luck! This Microwave Chocolate Chip Mug Cookie recipe is your ticket to a sweet treat in just …
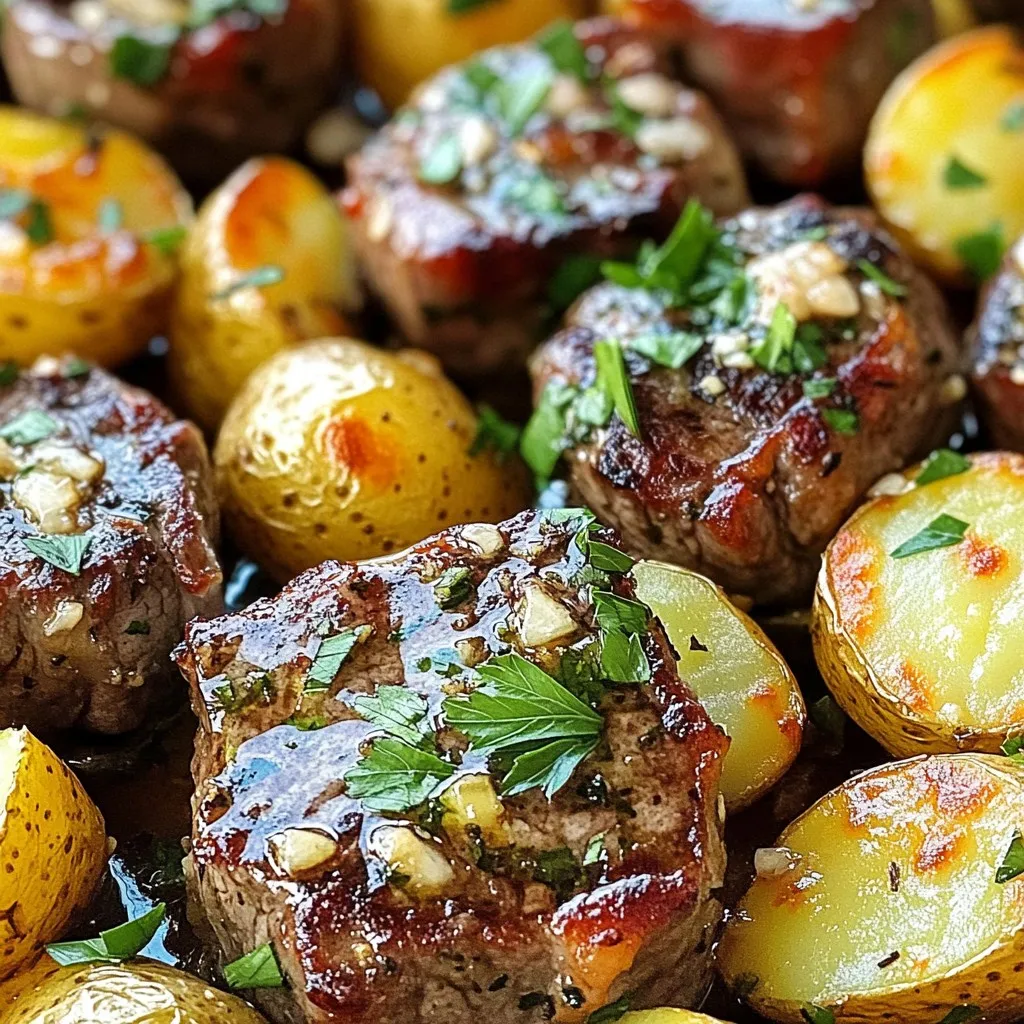
Craving a quick, tasty meal that feels special? Look no further than this Garlic Butter Steak Bites and Potatoes recipe! In just a few simple steps, you’ll enjoy tender steak …
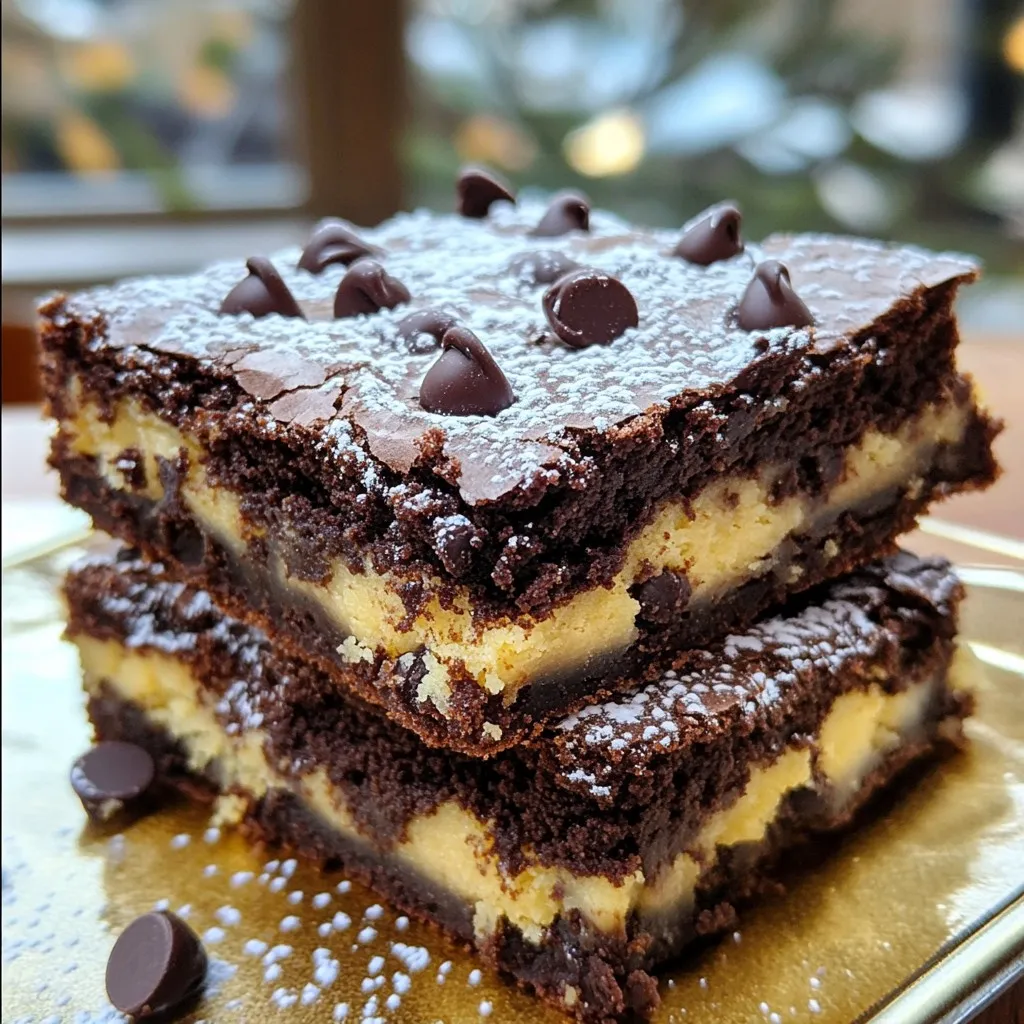
Are you ready to dive into the world of Fudgy Chewy Brookies? These delicious treats blend brownies and cookies into one irresistible dessert. I’ll guide you through the simple steps …
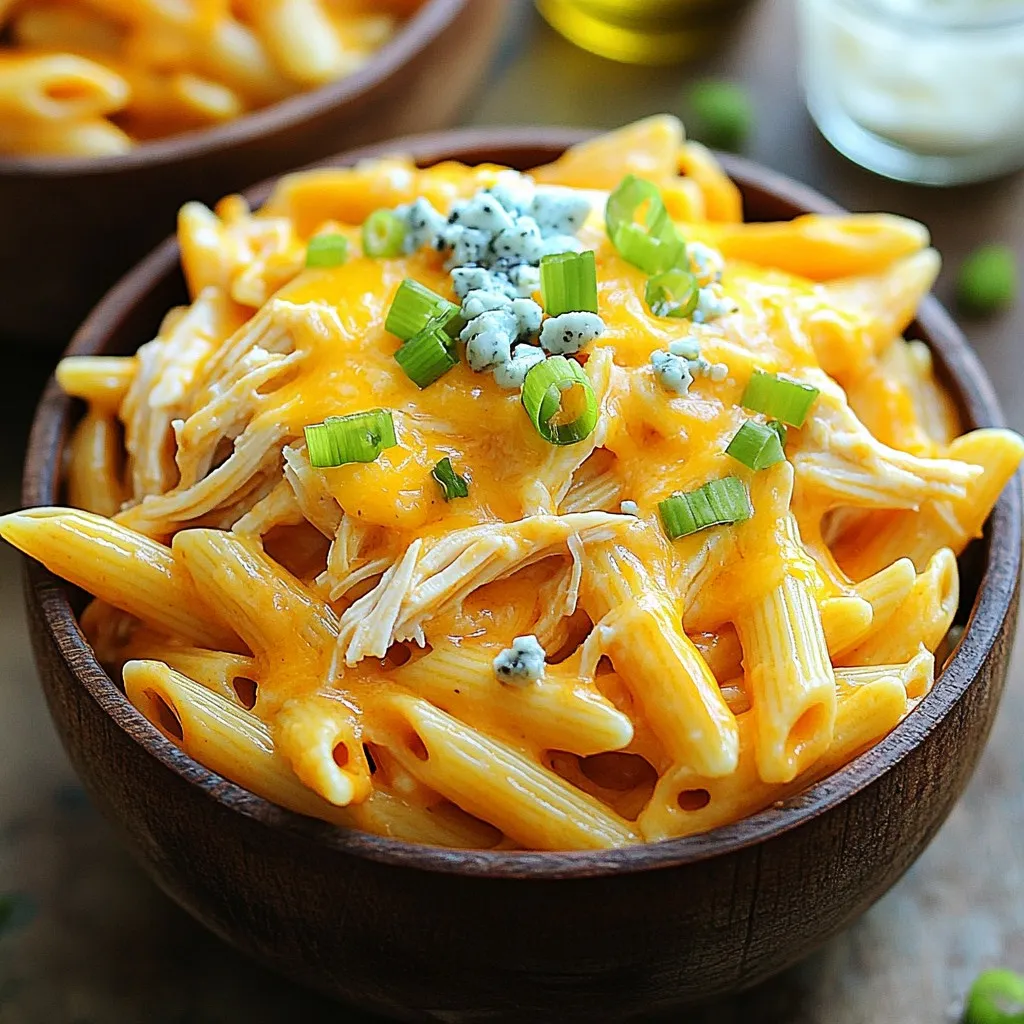
Looking for a dish that packs a punch of flavor? Let’s dive into Buffalo Chicken Pasta! This creamy, cheesy delight is a perfect way to spice up your dinner routine. …
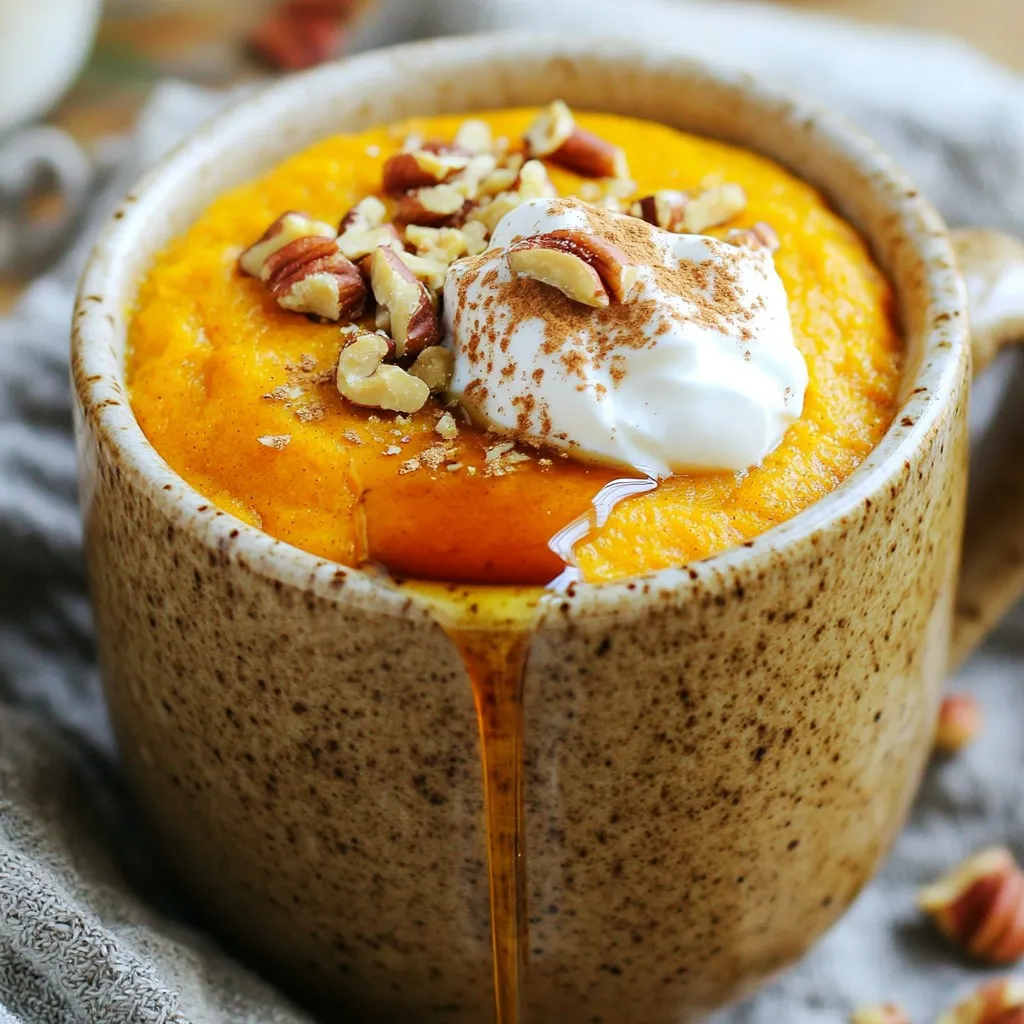
Are you craving something warm and sweet, but short on time? I’ve got just the thing! This Pumpkin Spice Protein Mug Cake is your quick and delicious answer to a …
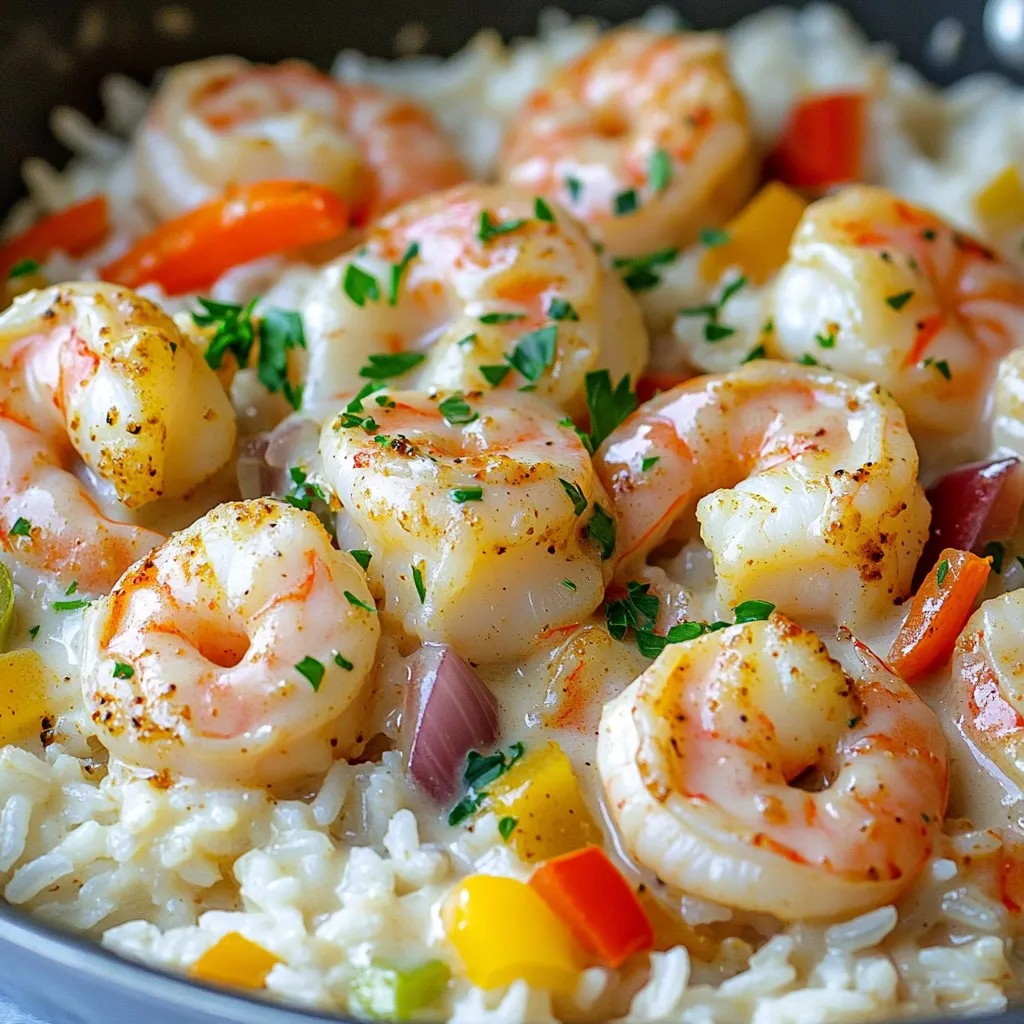
Welcome to my kitchen, where I’m excited to share my One-Pan Creamy Cajun Shrimp and Rice Delight! This dish is packed with flavor and so easy to make. You’ll love …
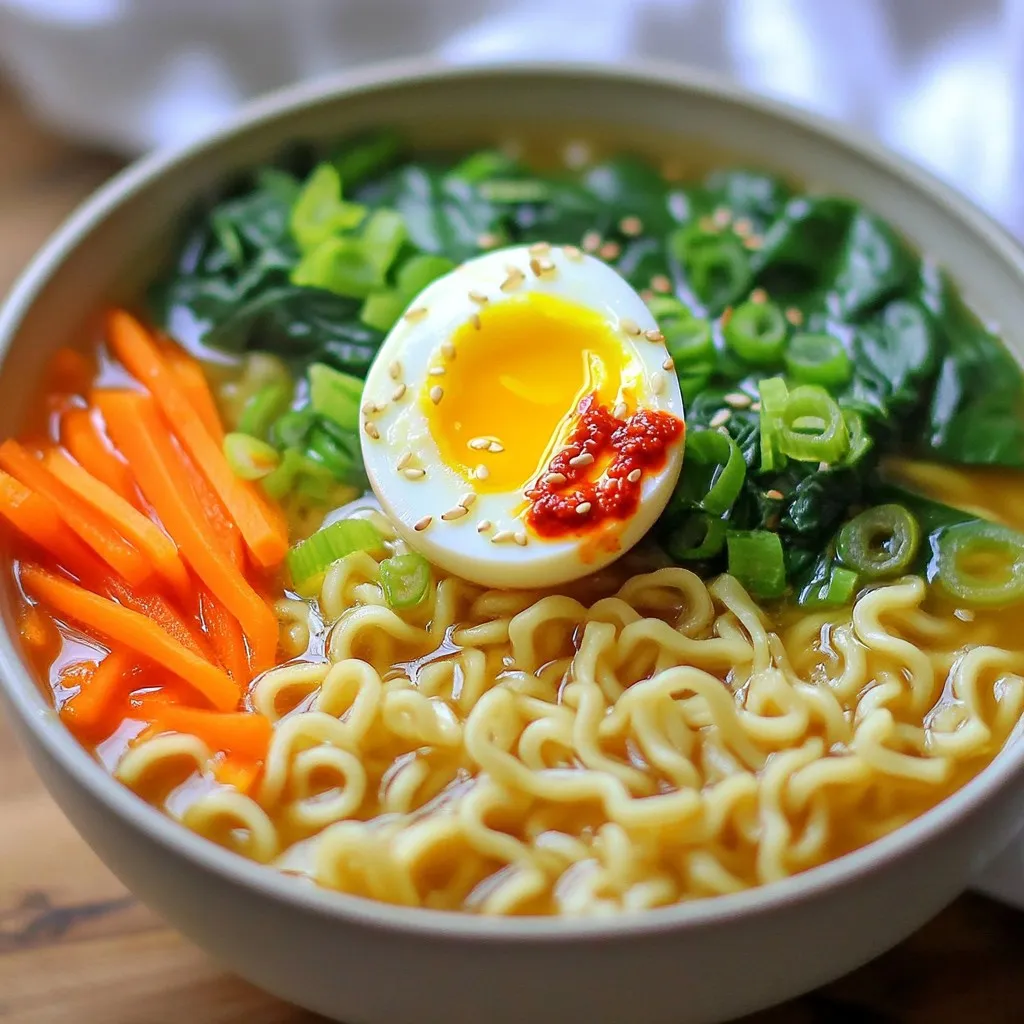
Are you craving something quick, spicy, and packed with garlic flavor? I’ve got just the thing for you: Minute Spicy Garlic Ramen Bowls! In this blog post, you’ll discover how …
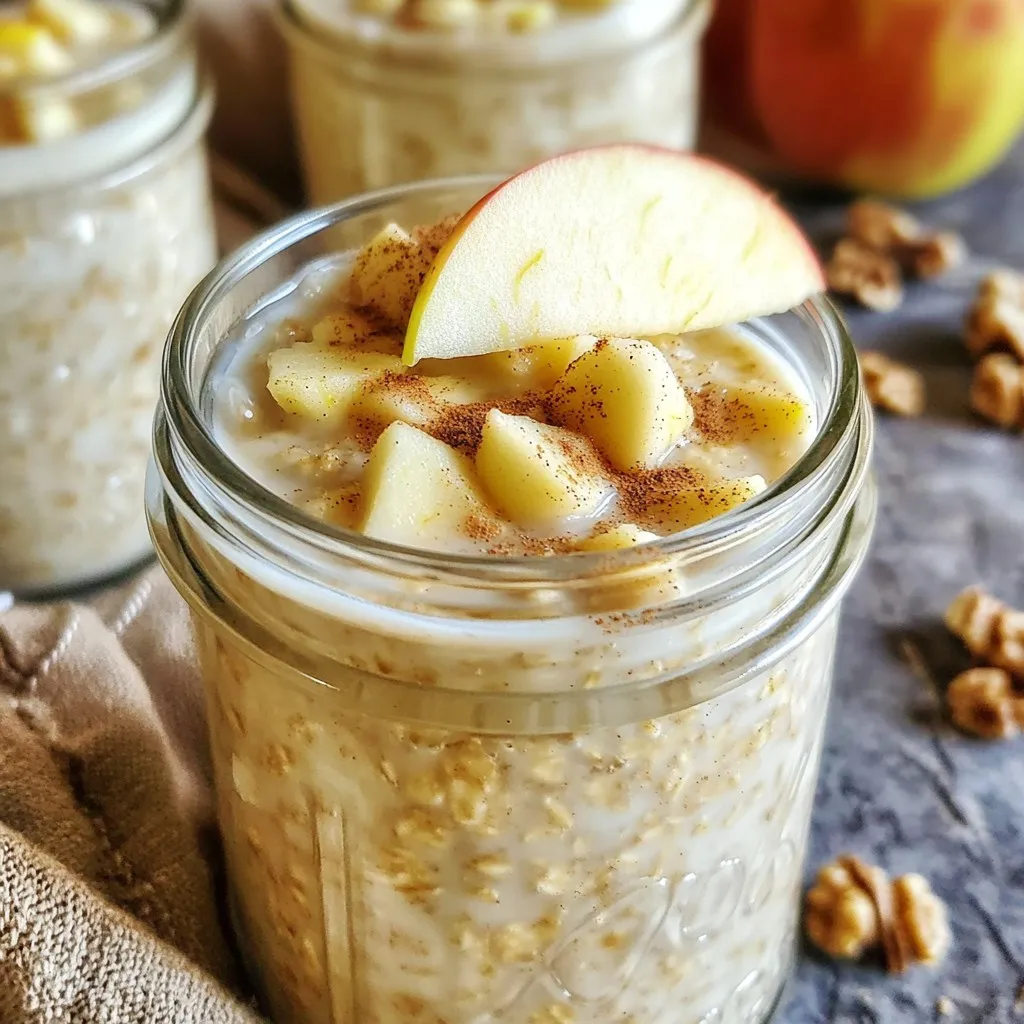
Dive into a delicious twist on breakfast with my Savory Apple Pie Protein Overnight Oats recipe! Packed with flavors and nutrients, these oats will not only satisfy your taste buds …
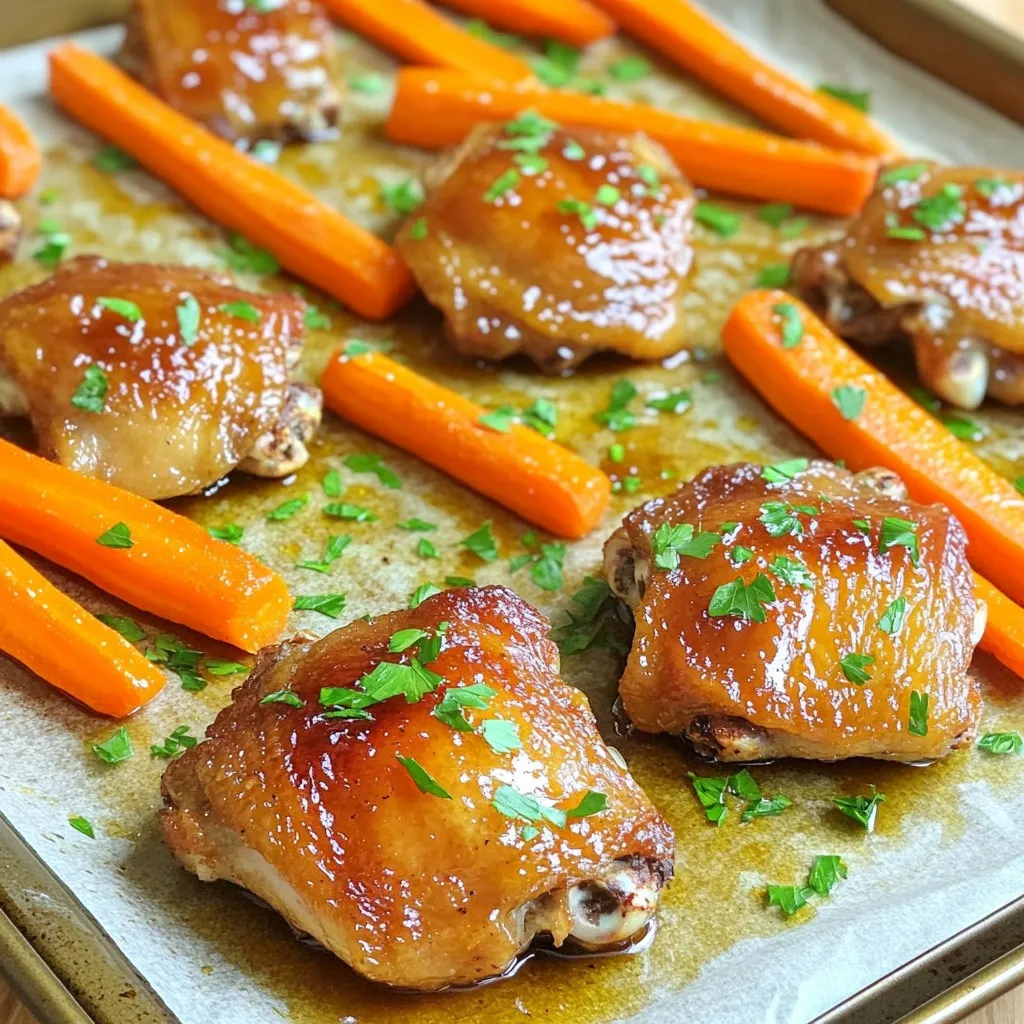
Welcome to my kitchen, where I’m all about easy and tasty meals. Today, I’m sharing my favorite Maple Glazed Chicken & Carrots Sheet Pan Delight. This dish is quick to …
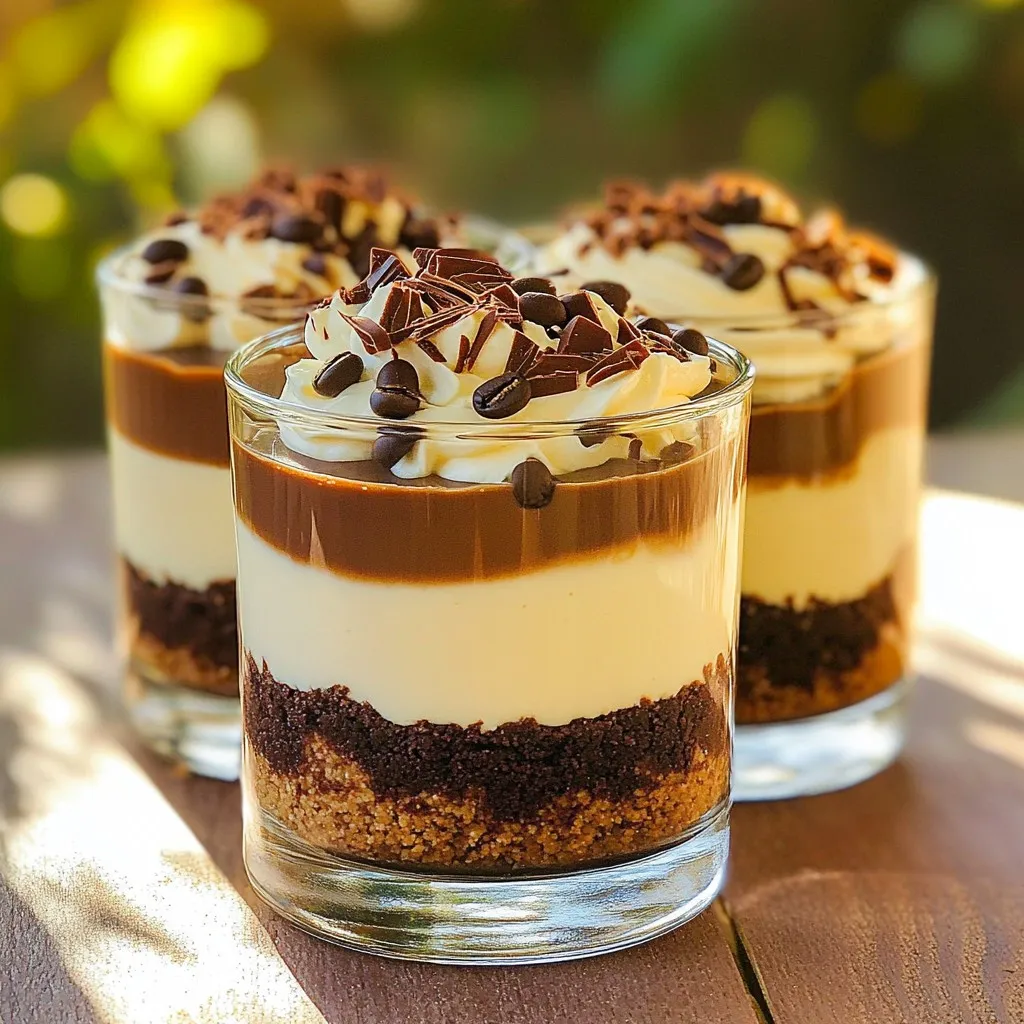
Looking for an easy dessert that dazzles? These No-Bake Mocha Cheesecake Cups are the answer! Combining rich chocolate flavors with creamy cheesecake, this treat is simple to whip up and …