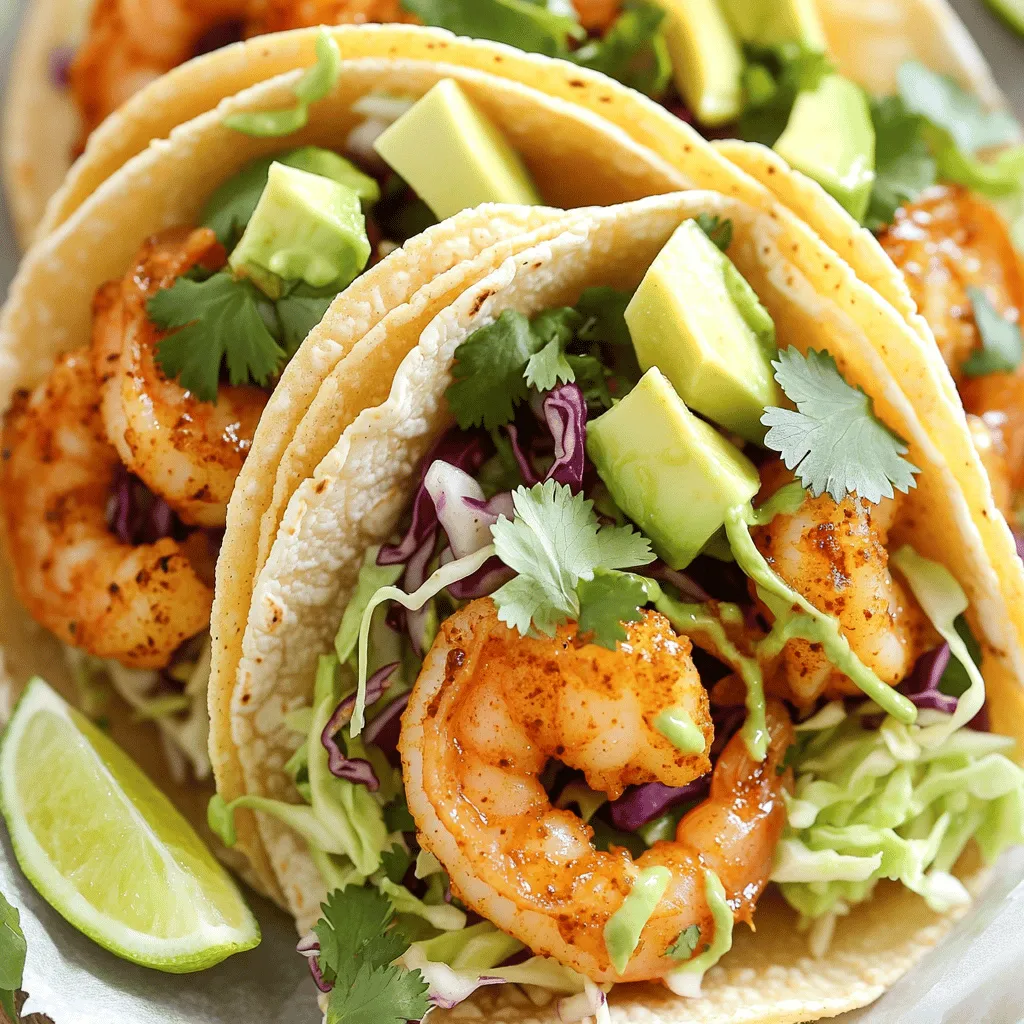
Spicy Garlic Butter Shrimp Tacos Quick and Tasty Meal
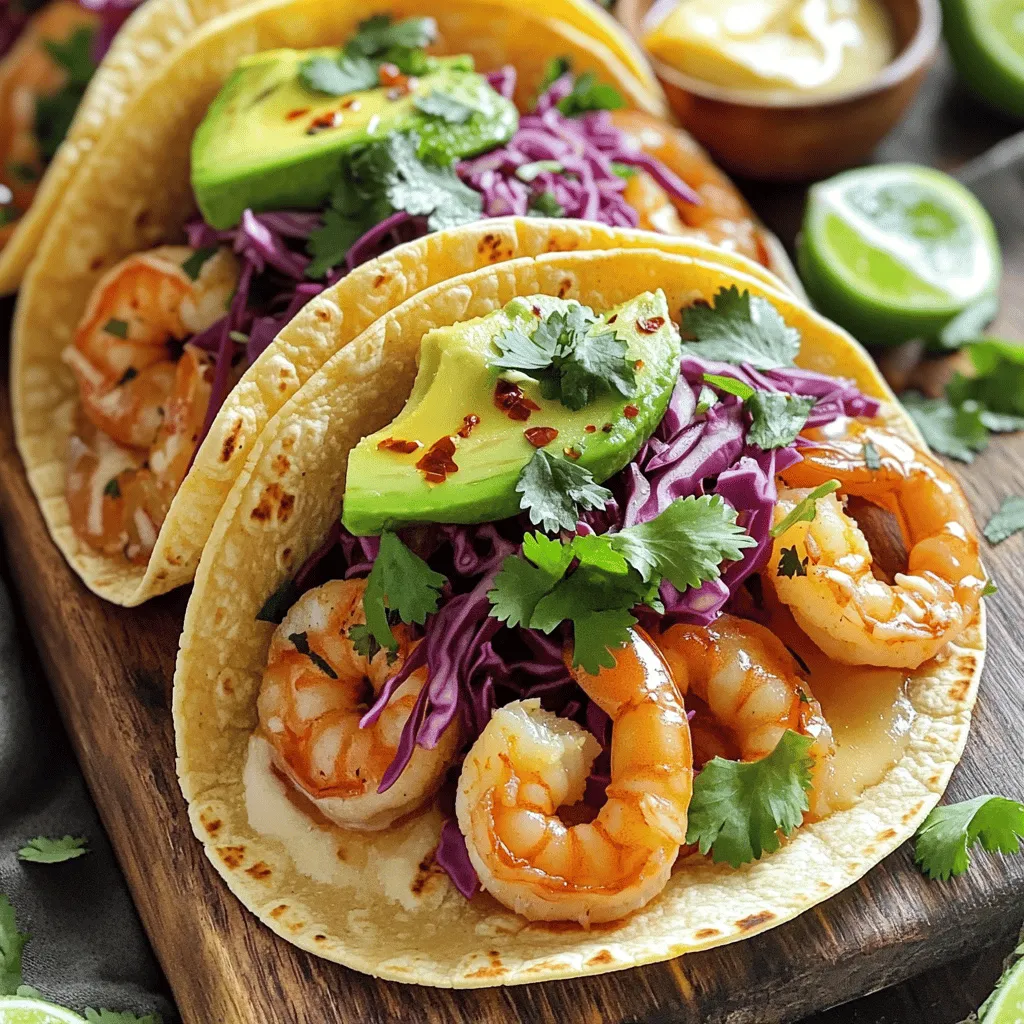
Get ready to elevate taco night with my Spicy Garlic Butter Shrimp Tacos! This quick and tasty meal packs bold flavors and a simple prep. Whether you’re a busy parent …
Get ready to elevate taco night with my Spicy Garlic Butter Shrimp Tacos! This quick and tasty meal packs bold flavors and a simple prep. Whether you’re a busy parent …
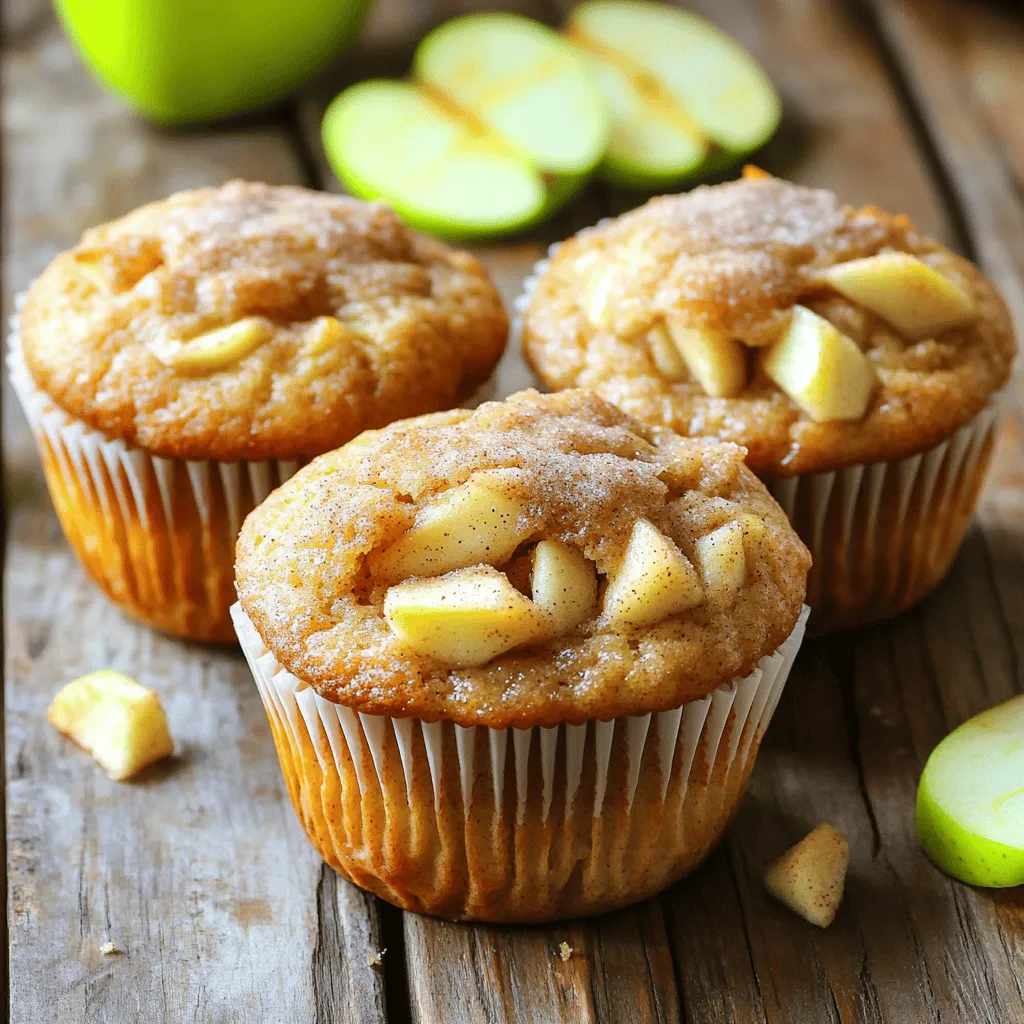
Who doesn’t love the warm, comforting smell of fresh muffins baking? In this post, I’ll show you how to make Bakery Style Cinnamon Apple Muffins that taste just like your …
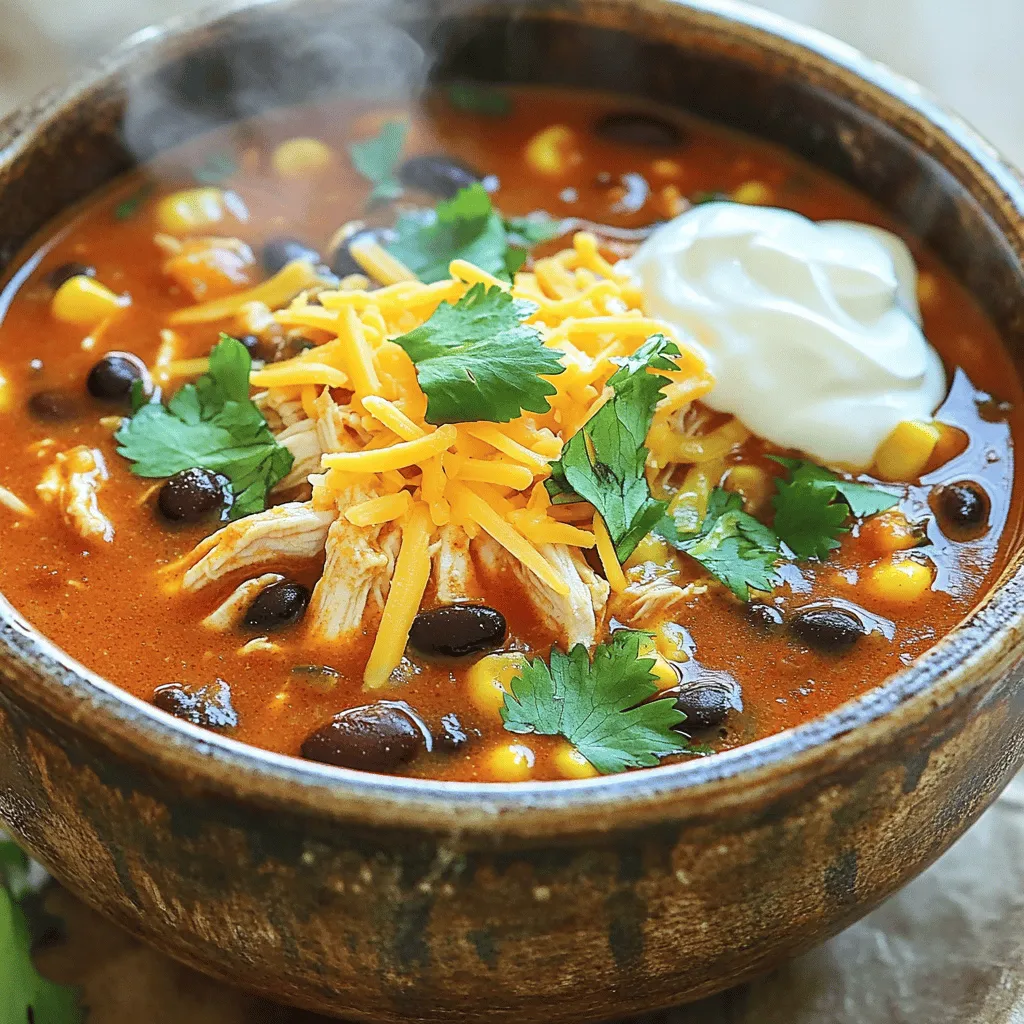
Are you ready to elevate your dinner game? My Slow Cooker Chicken Enchilada Soup is not just easy to make; it’s packed with bold flavors that will wow your taste …
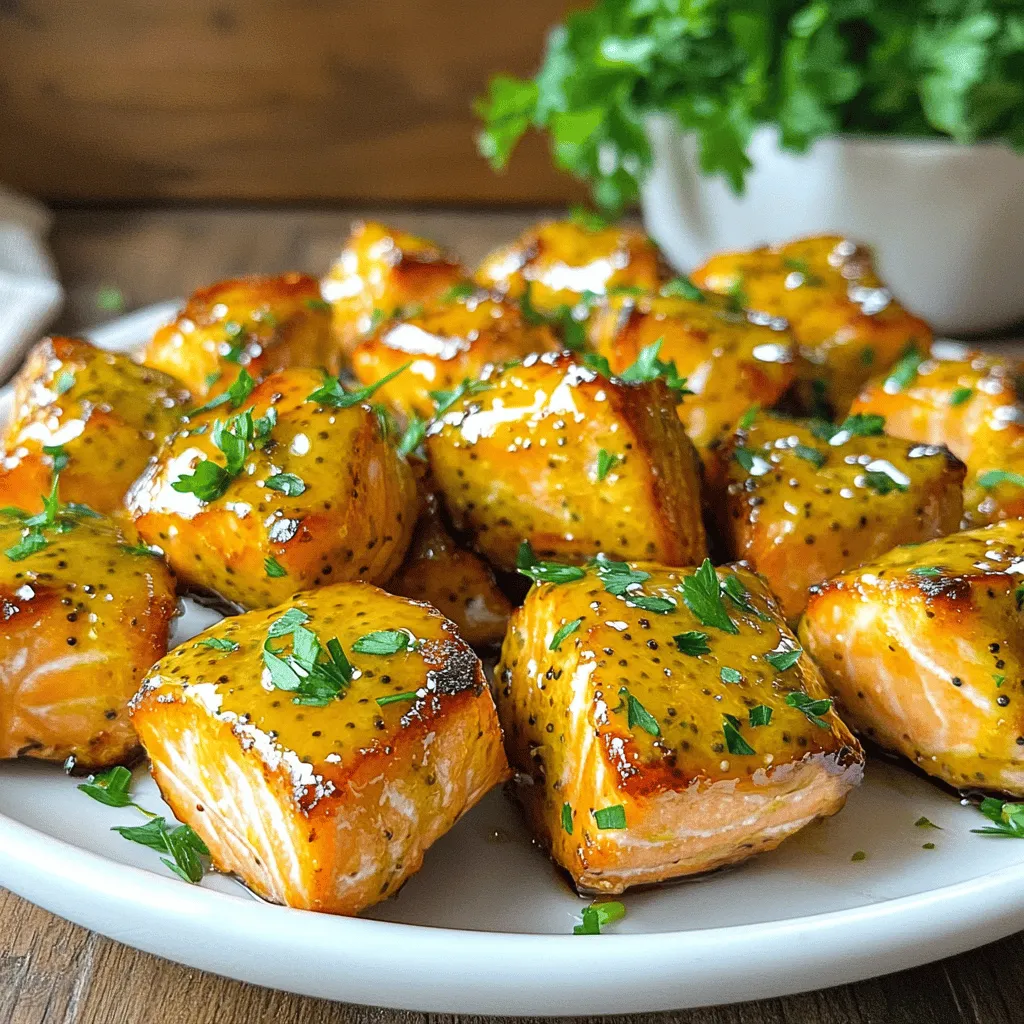
Craving a quick and tasty meal? My Air Fryer Honey Mustard Salmon Bites are just what you need! This easy recipe transforms fresh salmon into a flavorful dish that’s perfect …
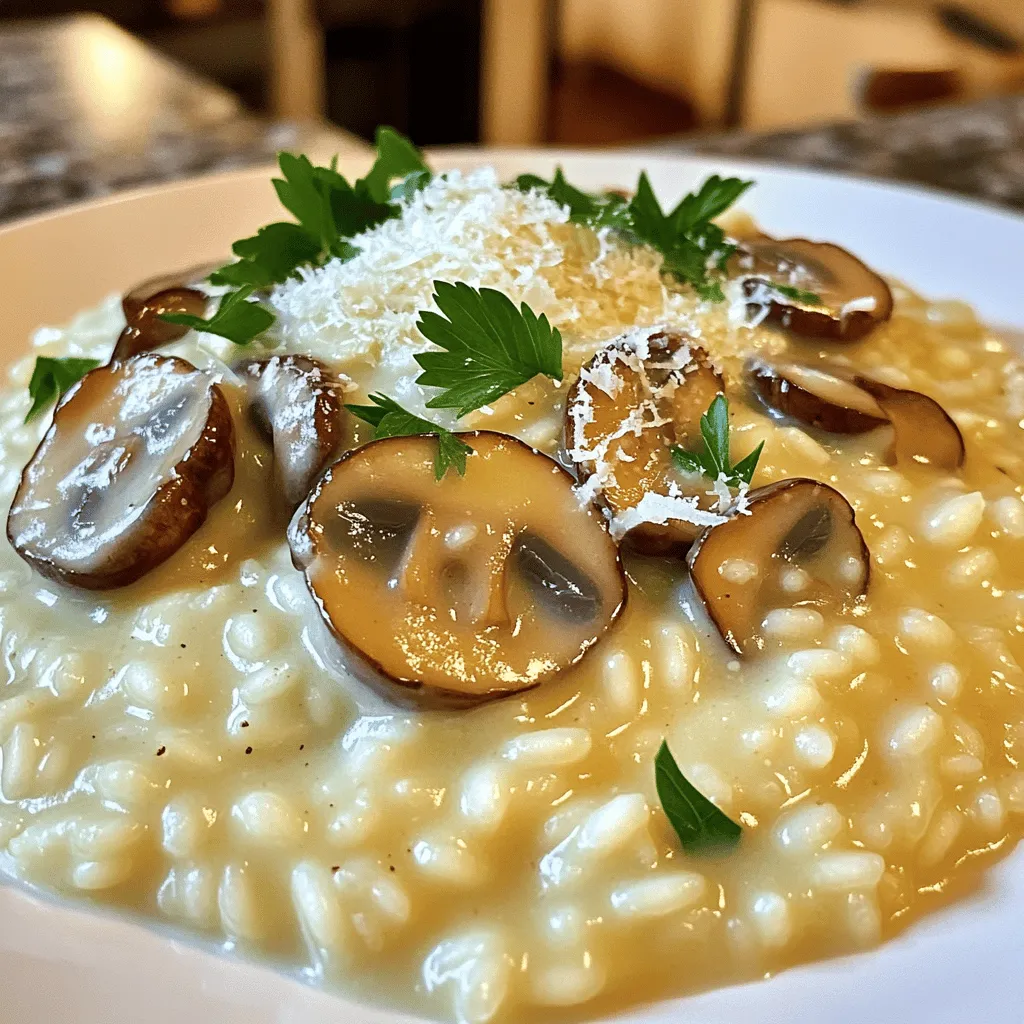
Welcome to the world of Creamy Garlic Mushroom Risotto! This meal is rich, flavorful, and perfect for any occasion. You’ll learn how to pick top-notch ingredients for a wonderful taste. …
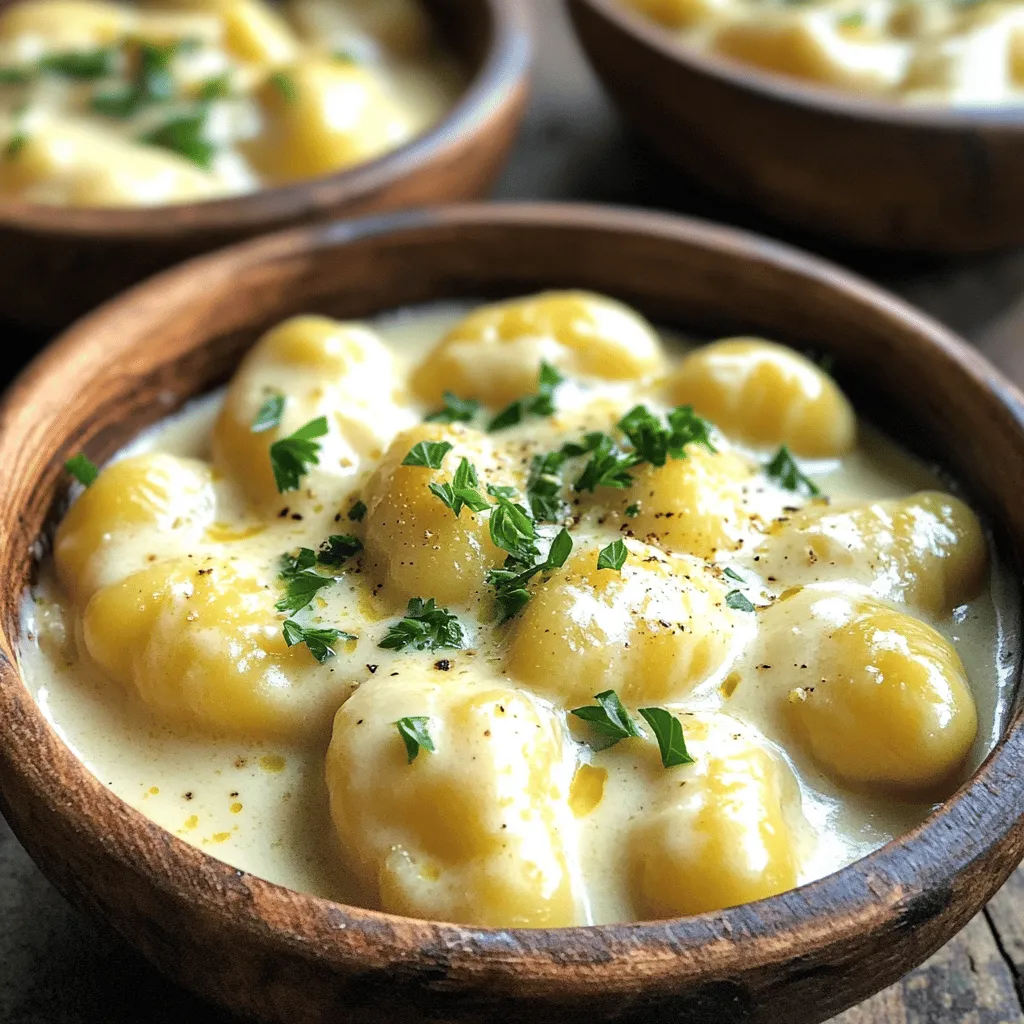
Looking for a quick and tasty meal? You’ll love my Minute Creamy Garlic Gnocchi! In just minutes, you can whip up this comforting dish that combines soft gnocchi with a …
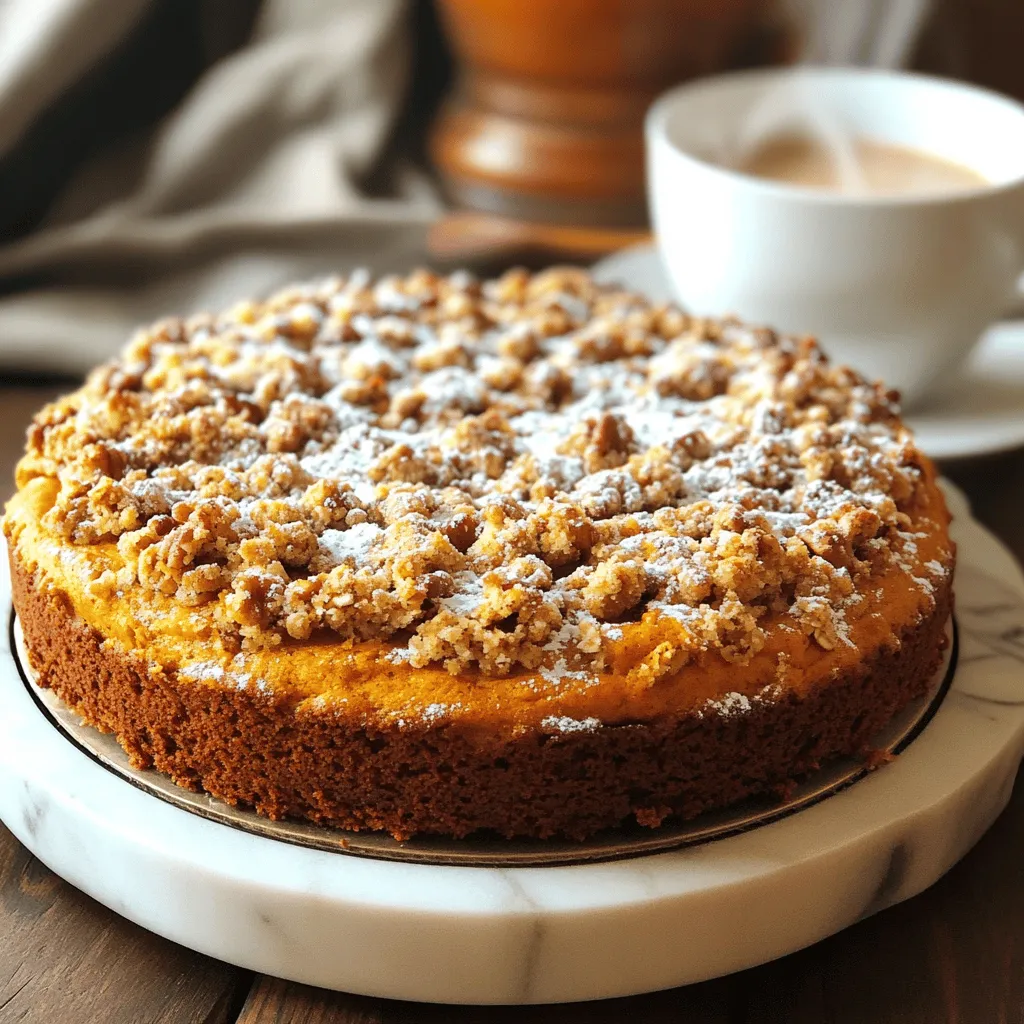
Fall is the perfect time to enjoy warm, spiced treats, and this Pumpkin Streusel Coffee Cake is a must-try! With a soft, moist crumb and a sweet streusel topping, it’s …
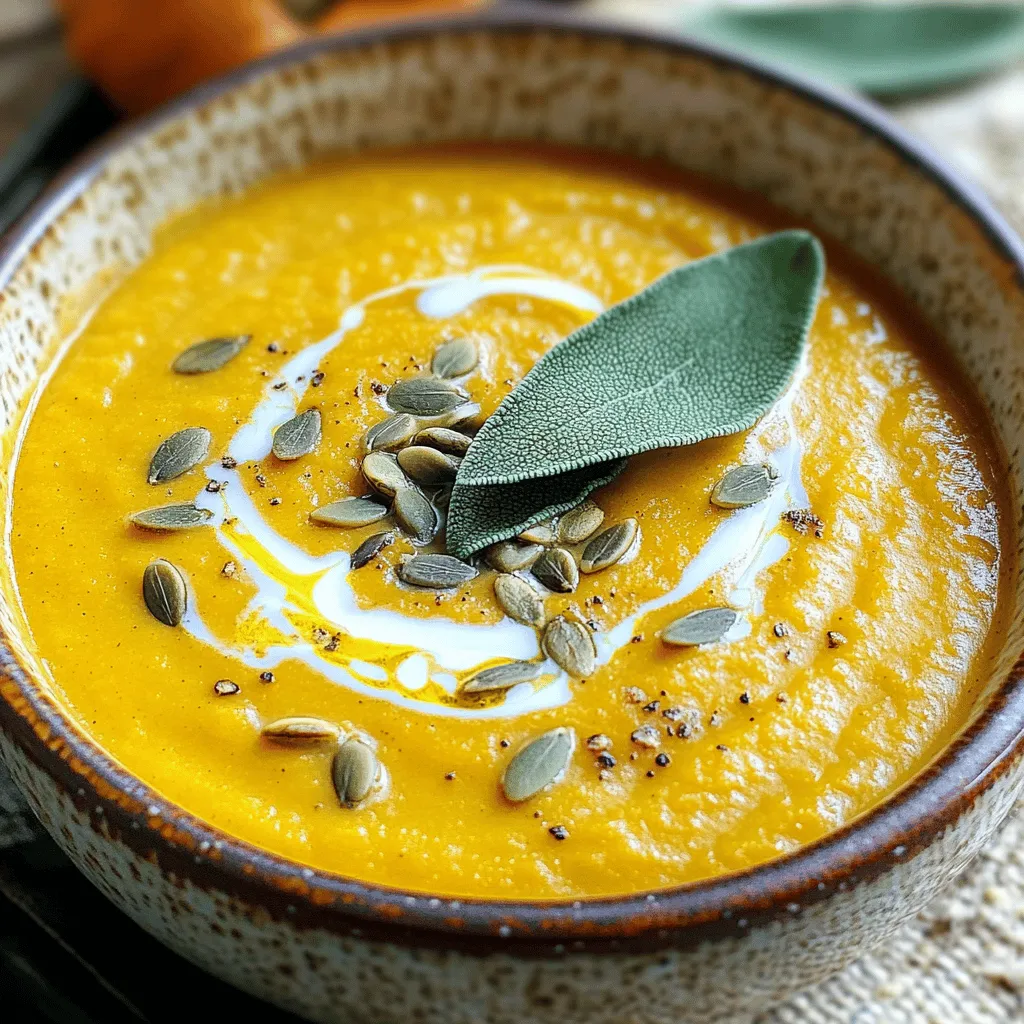
Are you ready to warm up with a simple and tasty dish? My Slow Cooker Butternut Sage Soup is the perfect mix of comfort and flavor. With just a few …
Craving a zesty, easy meal? Look no further than my Air Fryer Chili-Lime Shrimp Tacos! Bursting with bright flavors, these tacos are a quick way to impress your family or …
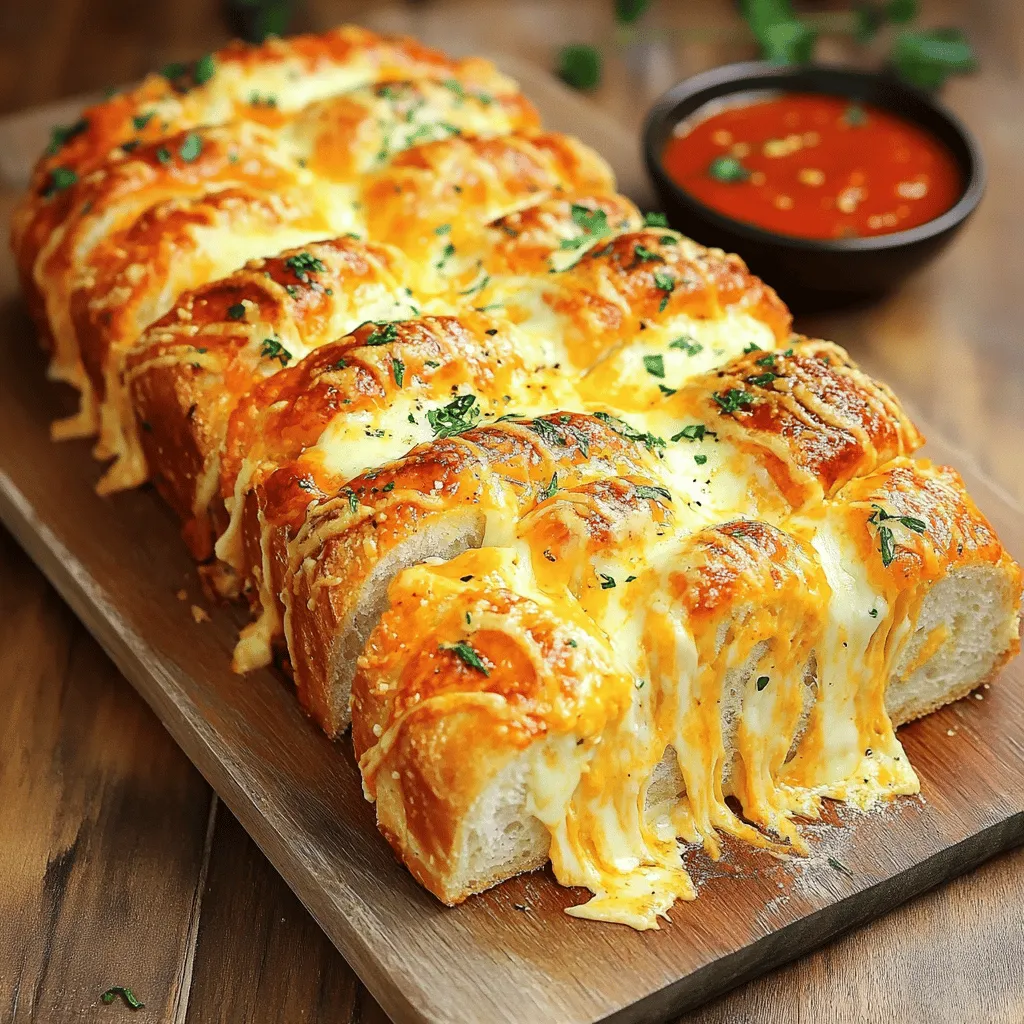
Are you ready to delight your taste buds? This Cheesy Garlic Pull-Apart Bread is the ultimate snack for cheese lovers! With gooey mozzarella and cheddar stuffed in warm, crusty bread, …