Bakery-Style Apple Fritters Tasty and Quick Recipe
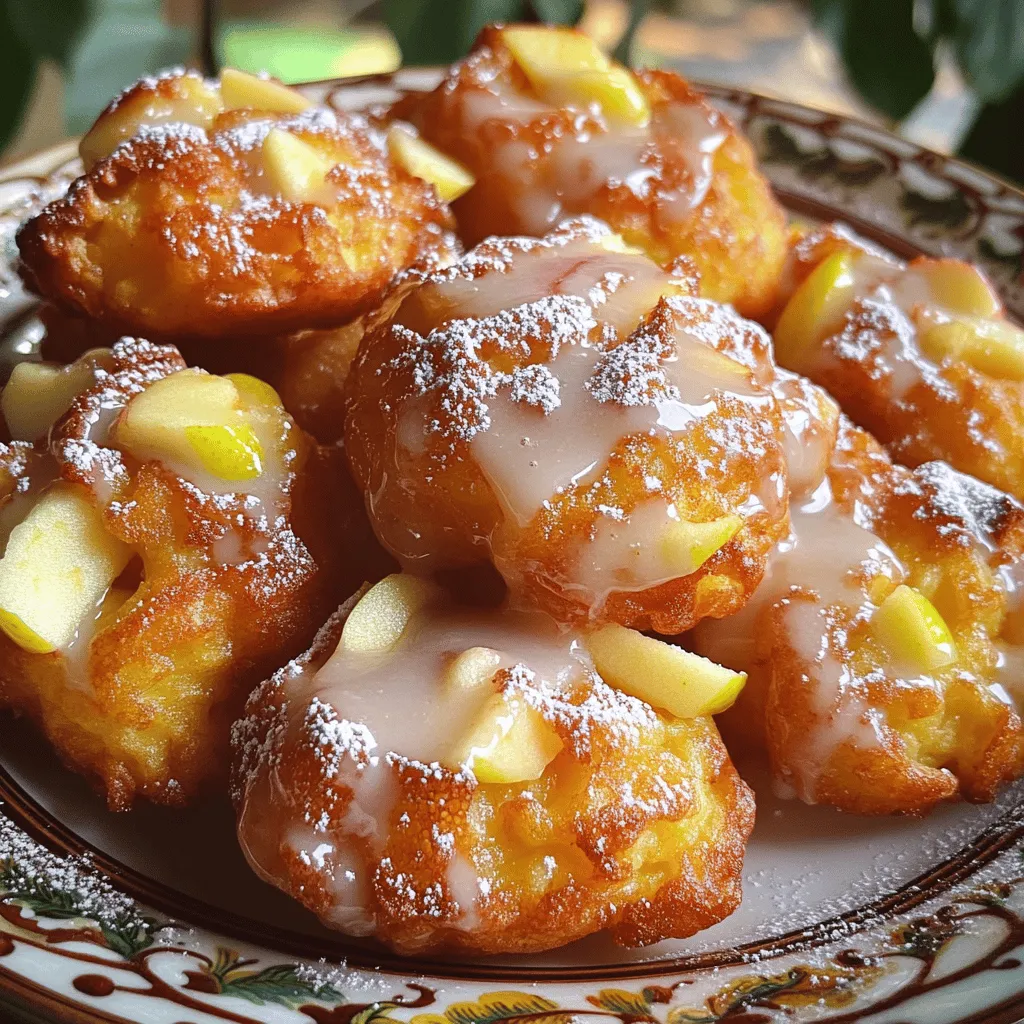
Are you ready to whip up some delicious bakery-style apple fritters? In this quick recipe, you’ll learn how to make these warm, crispy treats from scratch. With just a few …
Are you ready to whip up some delicious bakery-style apple fritters? In this quick recipe, you’ll learn how to make these warm, crispy treats from scratch. With just a few …
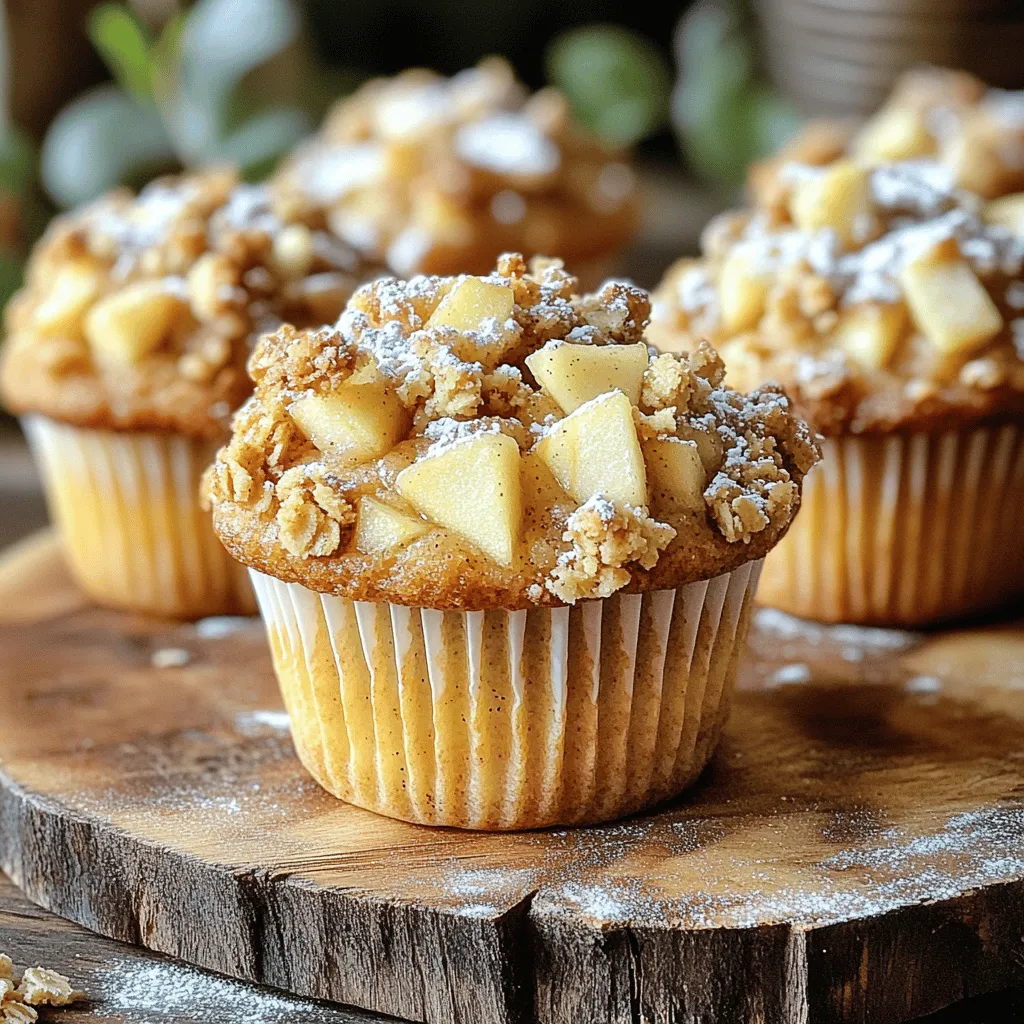
Craving a sweet kitchen treat? Let’s bake Apple Crumble Muffins! These muffins are soft, packed with juicy apples, and topped with a crunchy crumble you’ll love. In this blog, I’ll …
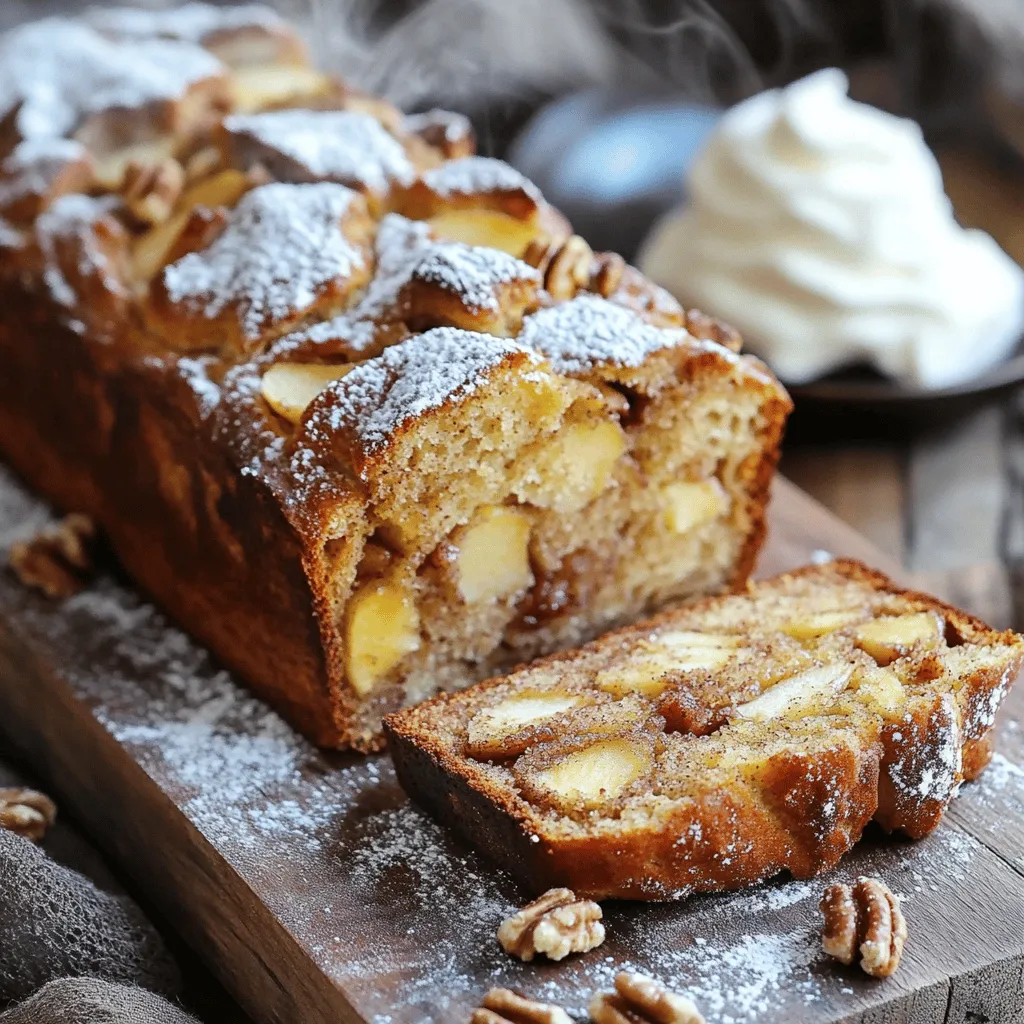
If you crave a warm, sweet treat that’s simple to make, you’ve found it! My Easy Cinnamon Apple Bread recipe is packed with flavor and perfect for any occasion. With …
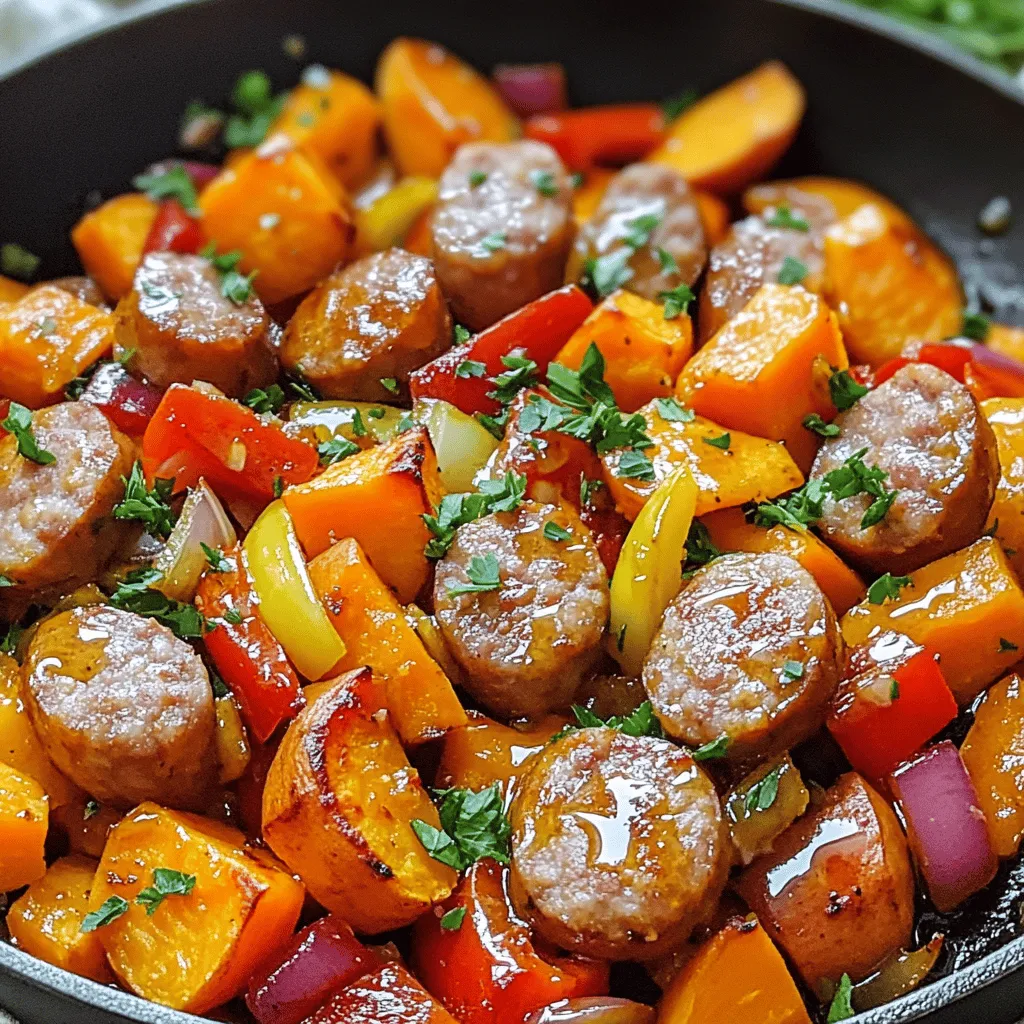
Are you ready for a meal that combines comfort and flavor? In this blog post, I’ll show you how to make a tasty Honey Garlic Sausage & Sweet Potatoes Skillet. …
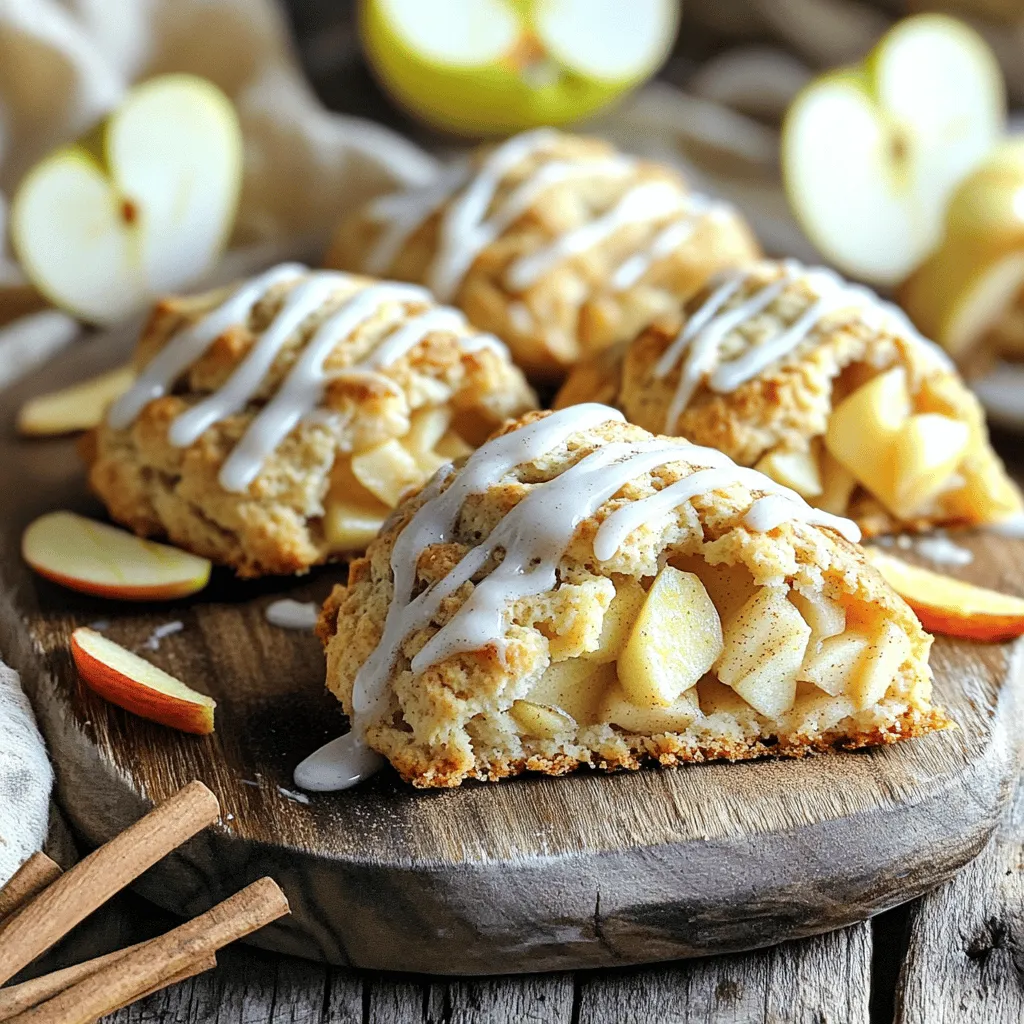
Warm, buttery, and infused with sweet cinnamon, these Cinnamon Apple Scones with Vanilla Drizzle are a treat you won’t forget. In this blog post, I’ll guide you step-by-step through the …
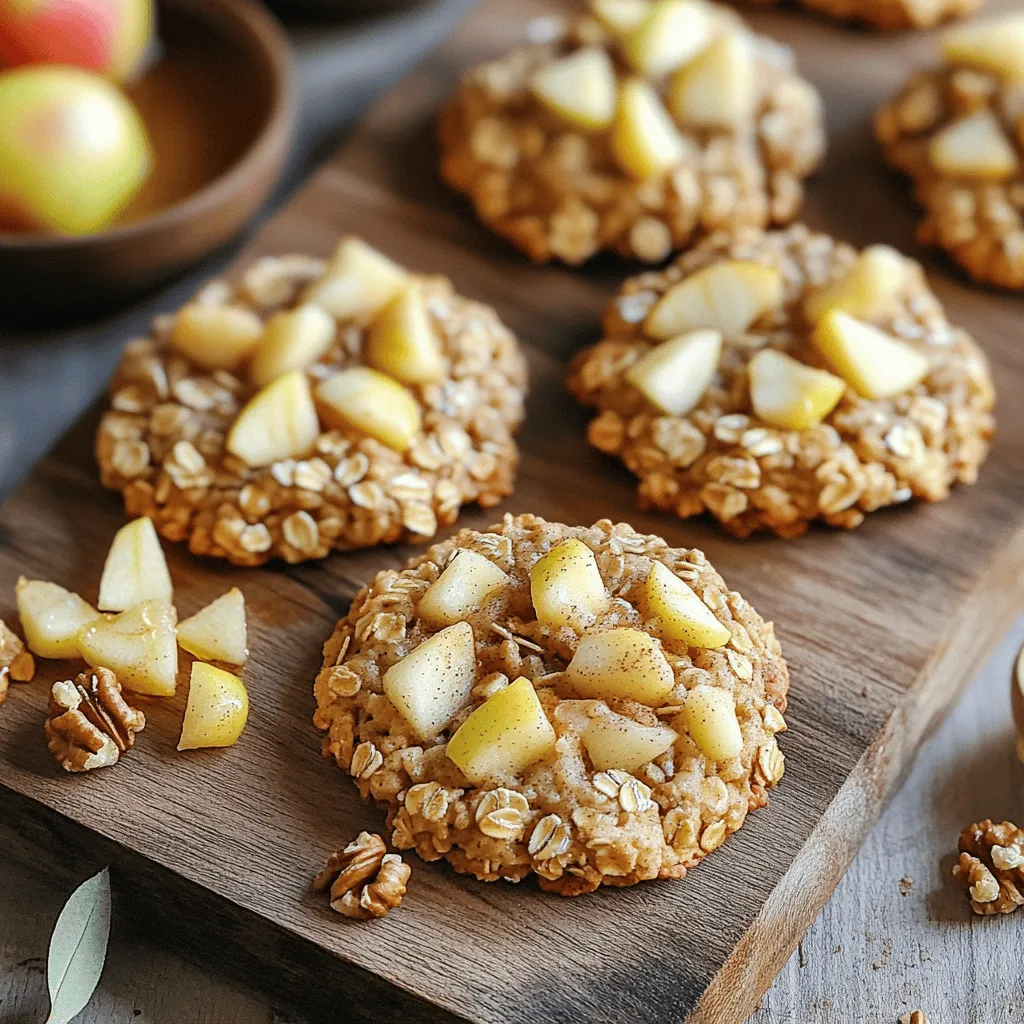
Start your day with a delicious twist on breakfast! Apple Pie Oatmeal Breakfast Cookies combine the flavors of classic apple pie with wholesome oats. They are easy to make and …

When the chill of winter hits, nothing warms the soul quite like a Slow Cooker Hearty Beef Veggie Stew. This dish is not only easy to make, but it’s full …
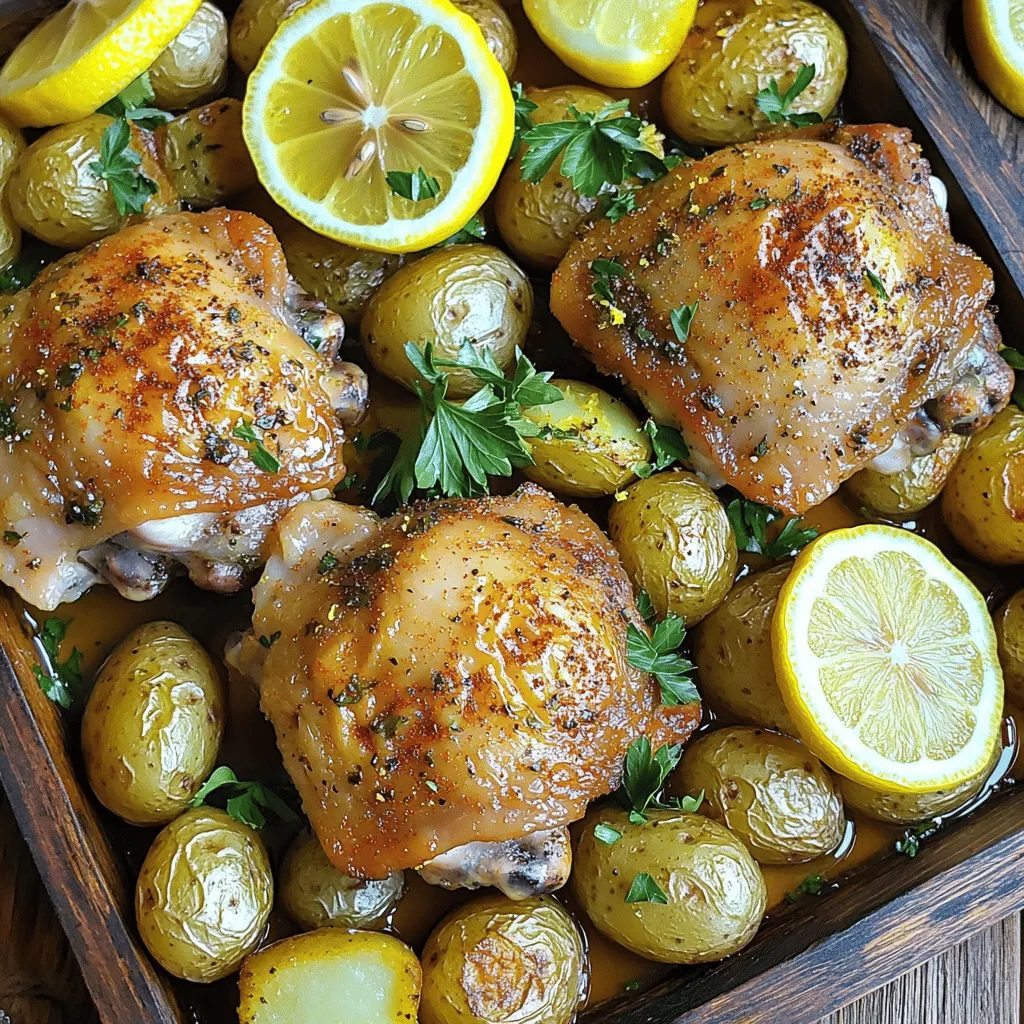
Looking for a simple and delicious dinner? This Sheet Pan Lemon Herb Chicken and Potatoes Delight is your answer! With juicy chicken thighs, tender baby potatoes, and vibrant flavors, you’ll …
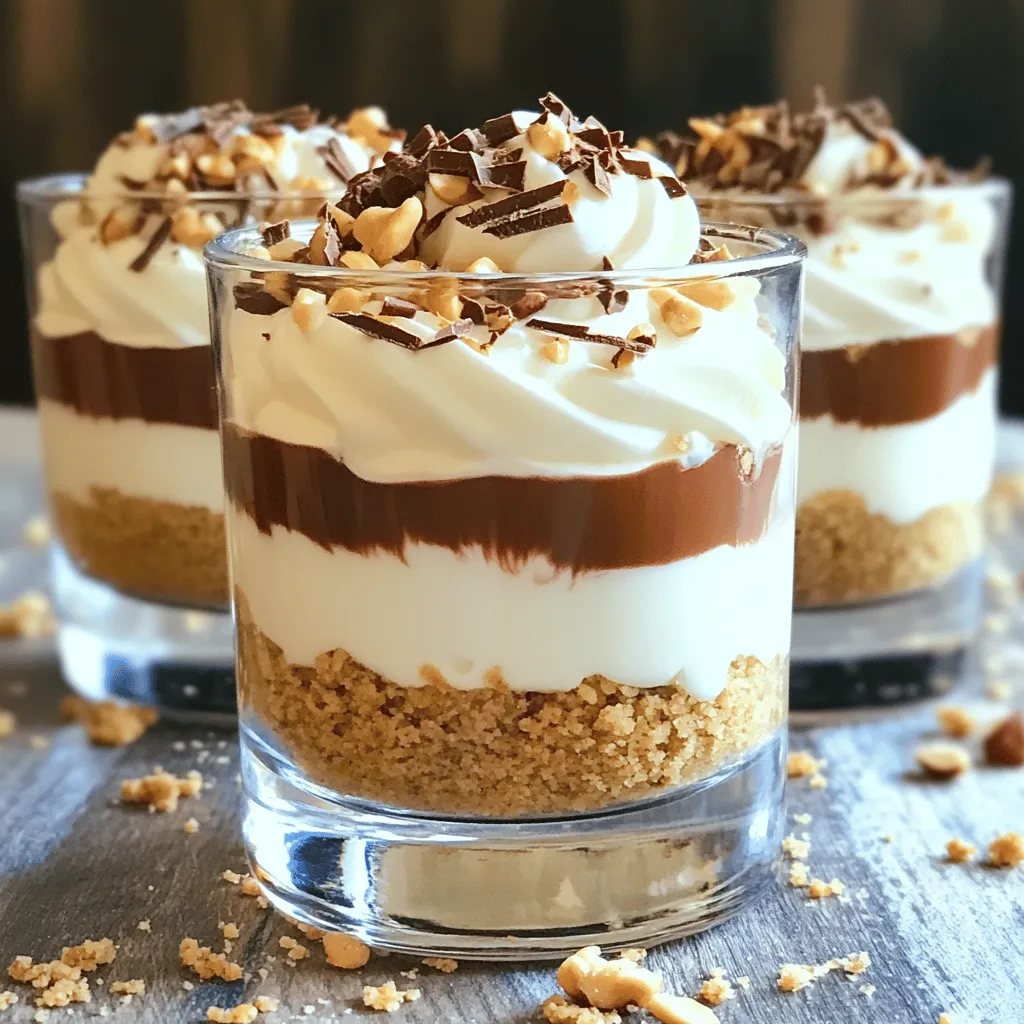
Are you ready for a treat that’s both easy and delicious? These No Bake Nutella Cheesecake Cups are perfect for chocolate lovers. With just a few simple ingredients, you can …
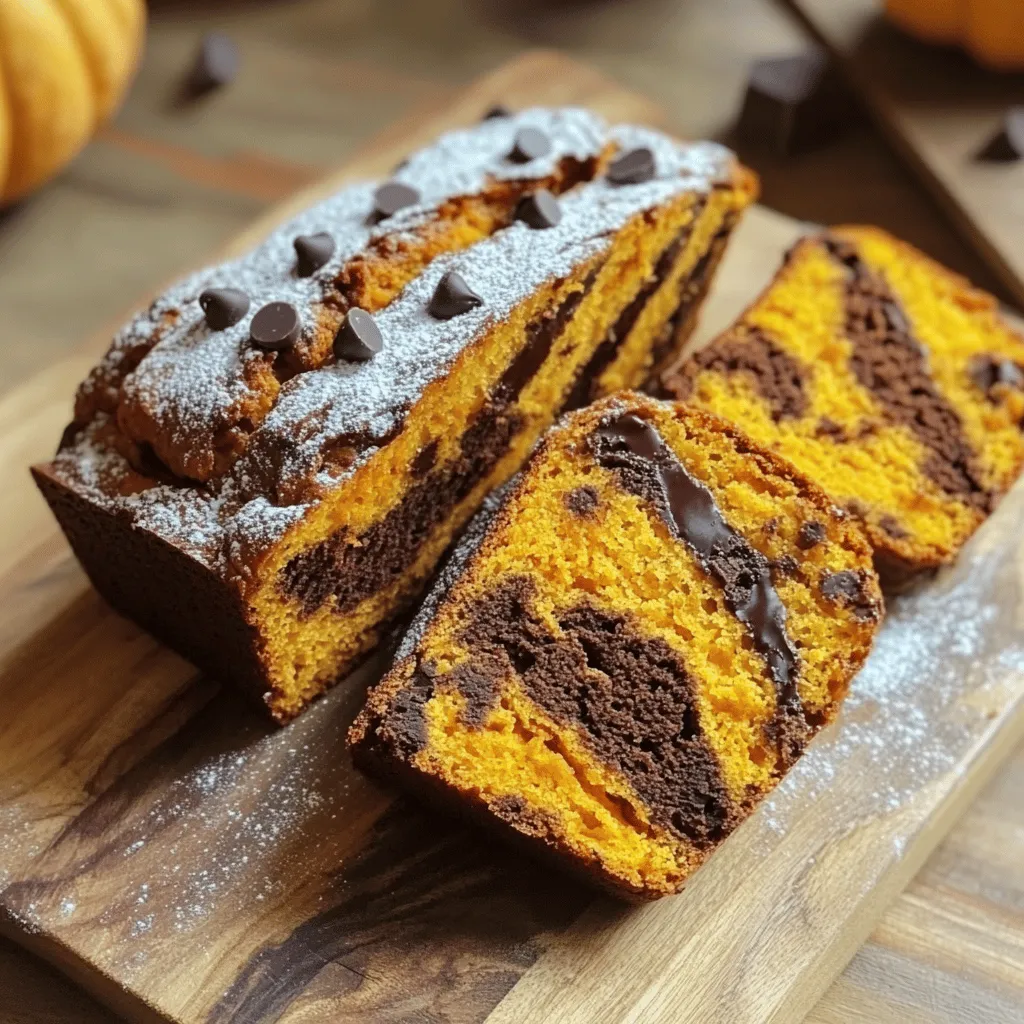
Looking for a simple and tasty treat that combines pumpkin and chocolate? You’ve found the right recipe! This Pumpkin Chocolate Marble Bread is moist, flavorful, and perfect for any occasion. …