Strawberry Protein Overnight Oats Easy and Nutritious
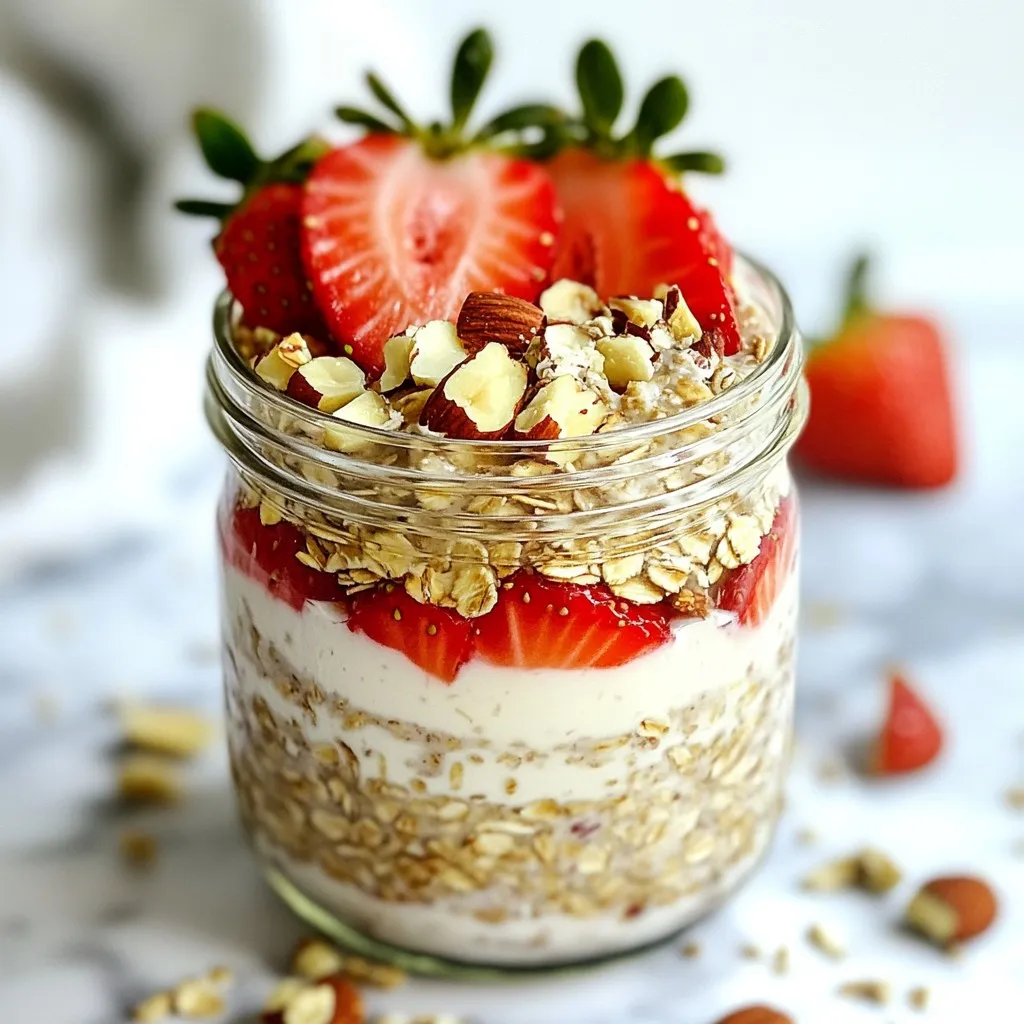
Start your day right with Strawberry Protein Overnight Oats—easy, tasty, and full of goodness. These oats are not only simple to make but also packed with nutrients to fuel your …
Start your day right with Strawberry Protein Overnight Oats—easy, tasty, and full of goodness. These oats are not only simple to make but also packed with nutrients to fuel your …
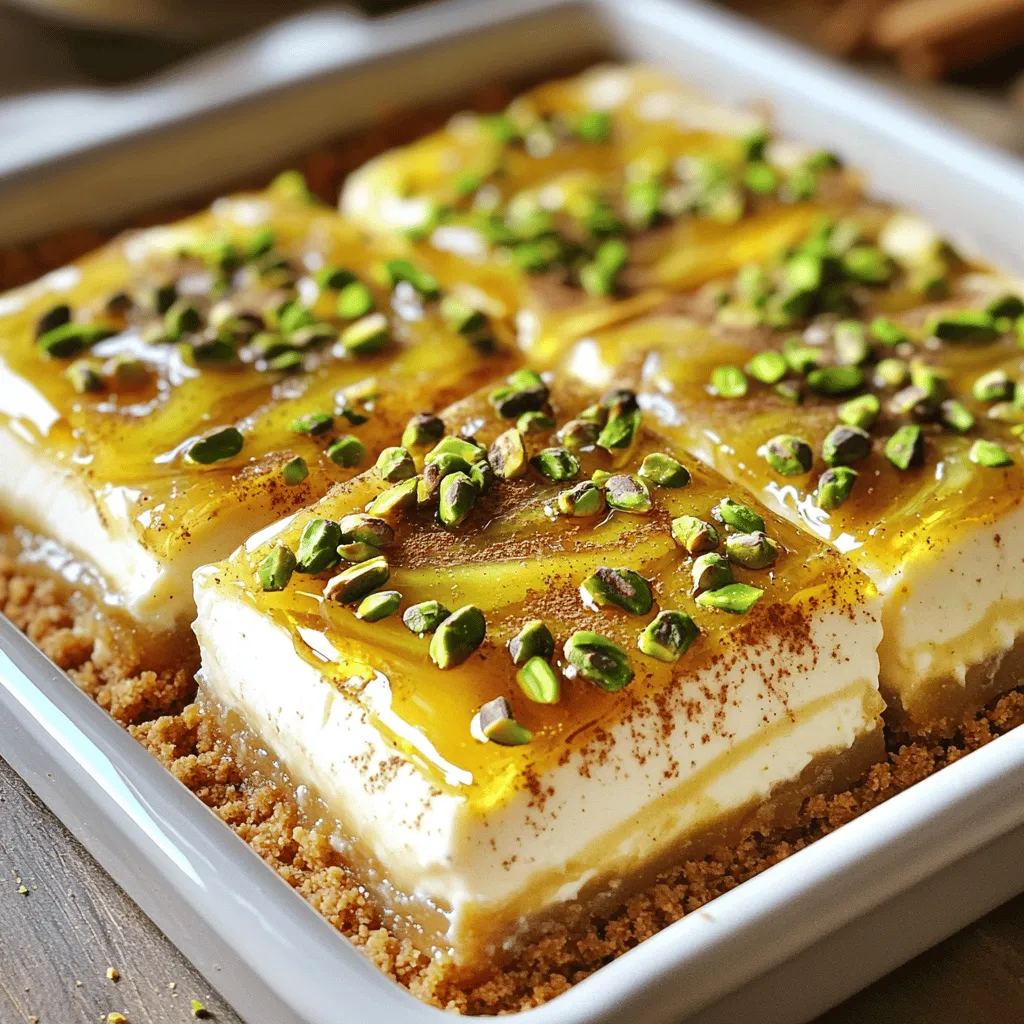
If you’re craving a sweet treat that’s easy and delightful, I’ve got the perfect recipe for you: No-Bake Pistachio Baklava Cheesecake Bars! These bars combine creamy cheesecake with the rich …
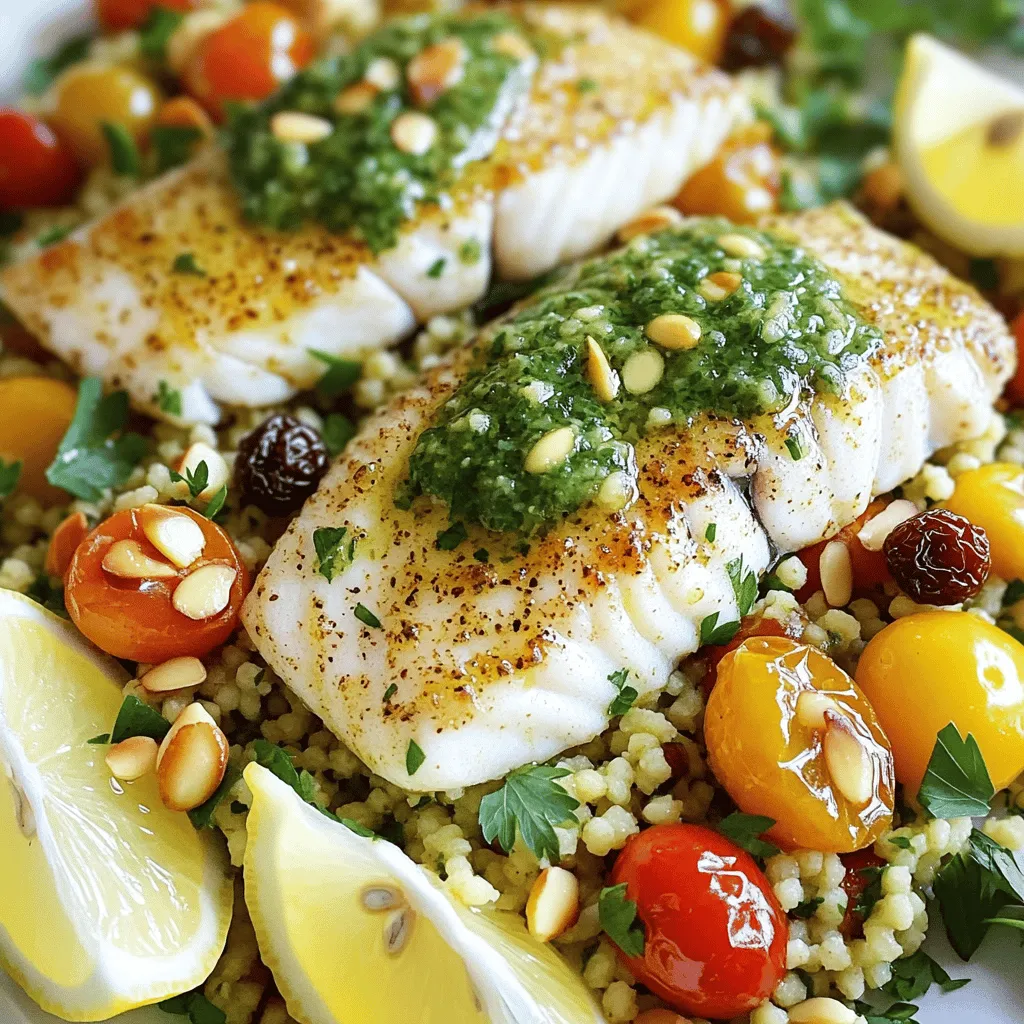
If you’re craving a burst of flavor, this Moroccan Chermoula Baked Fish with Herb Couscous is for you! Chermoula is a zesty marinade that elevates fish to a new level. …
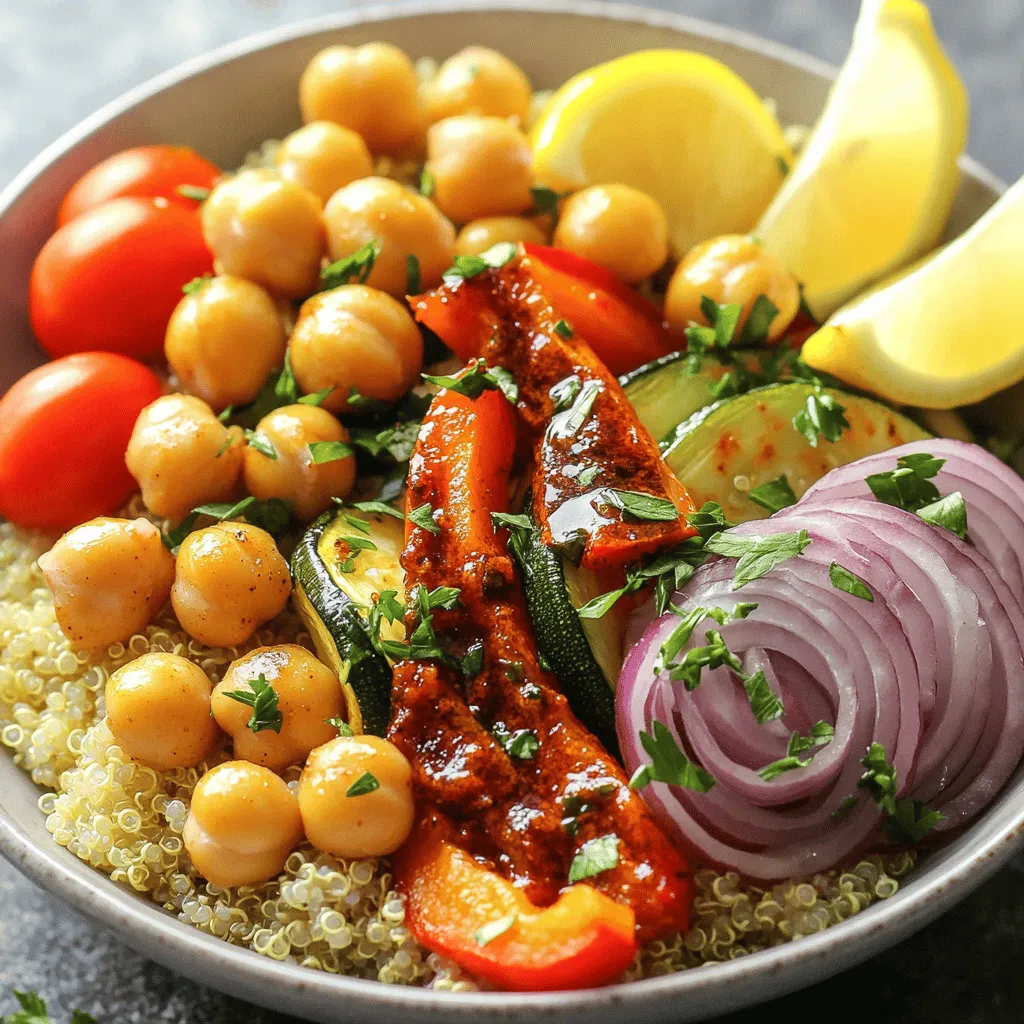
Looking for a healthy and tasty meal? Your search ends here! Smoky Harissa Veggie & Chickpea Bowls are packed with flavor, nutrients, and easy steps. This dish features roasted veggies, …
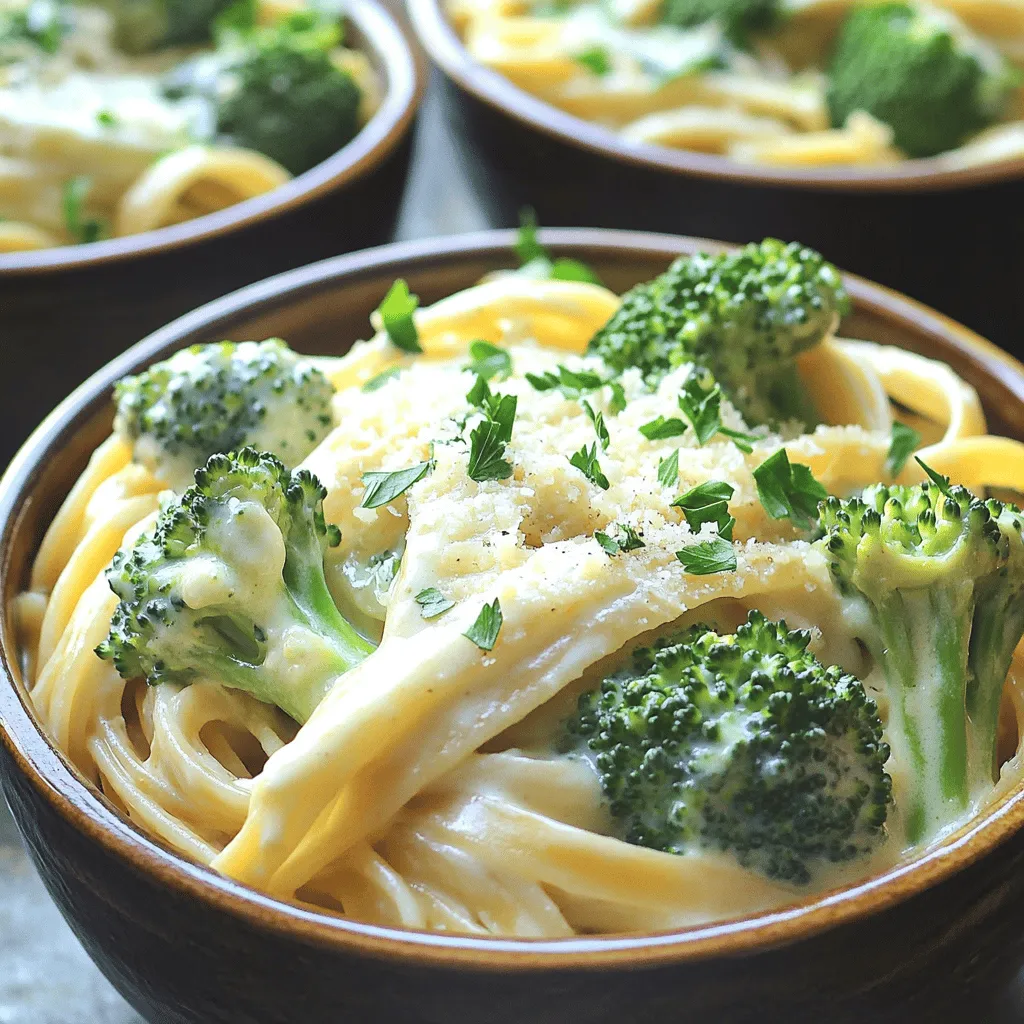
Looking for a tasty meal that packs a protein punch? Try my High-Protein Cottage Cheese Alfredo with Broccoli! This creamy dish is not only easy to make, but it’s also …
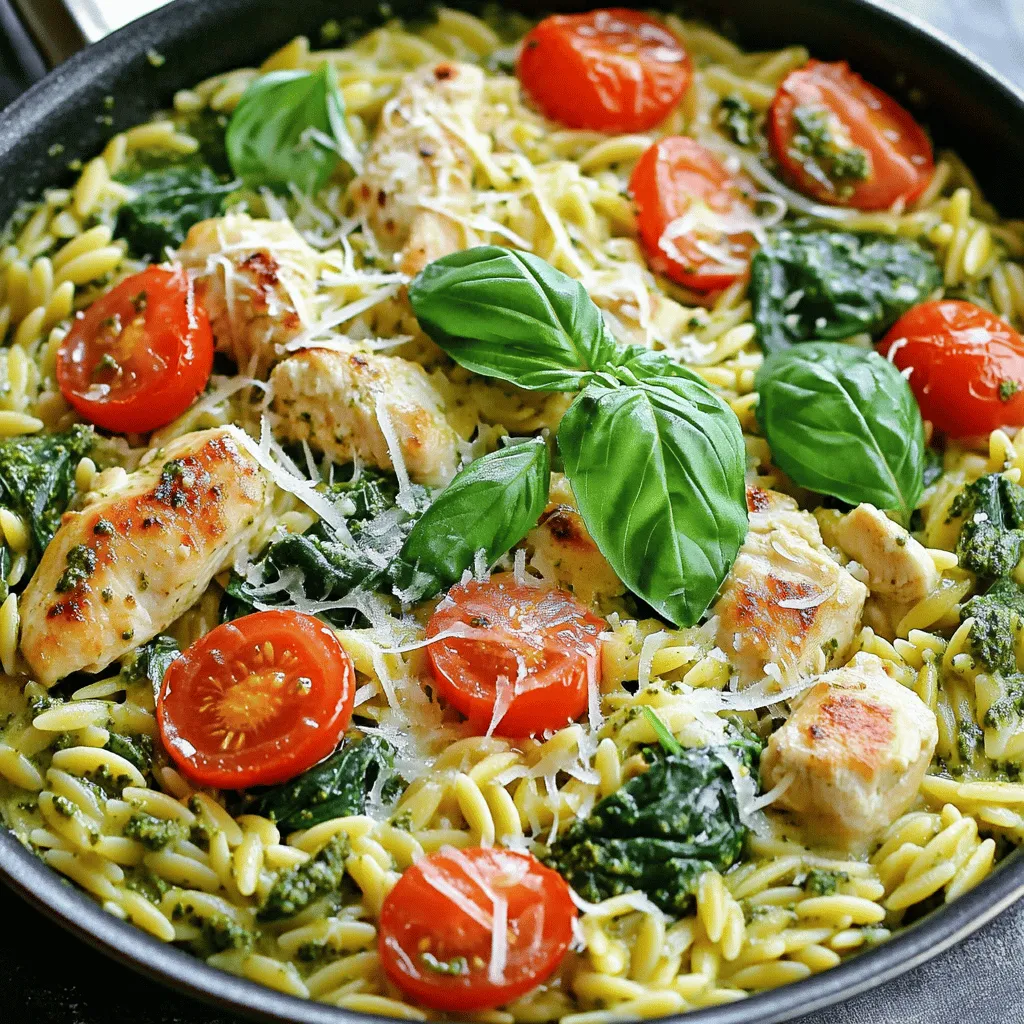
Are you ready to whip up a simple yet delicious meal? My One-Pan Creamy Pesto Chicken Orzo recipe is perfect for a quick dinner. With juicy chicken, tender orzo, and …

Get ready to spice up your dinner with my Air Fryer Honey Chile Crisp Chicken Thighs recipe! This dish combines sweet and spicy flavors, creating a tasty meal that’s easy …

If you crave juicy, flavorful tacos that melt in your mouth, you’re in the right place! In this blog, I’ll show you how to make Slow Cooker Birria Beef Tacos …
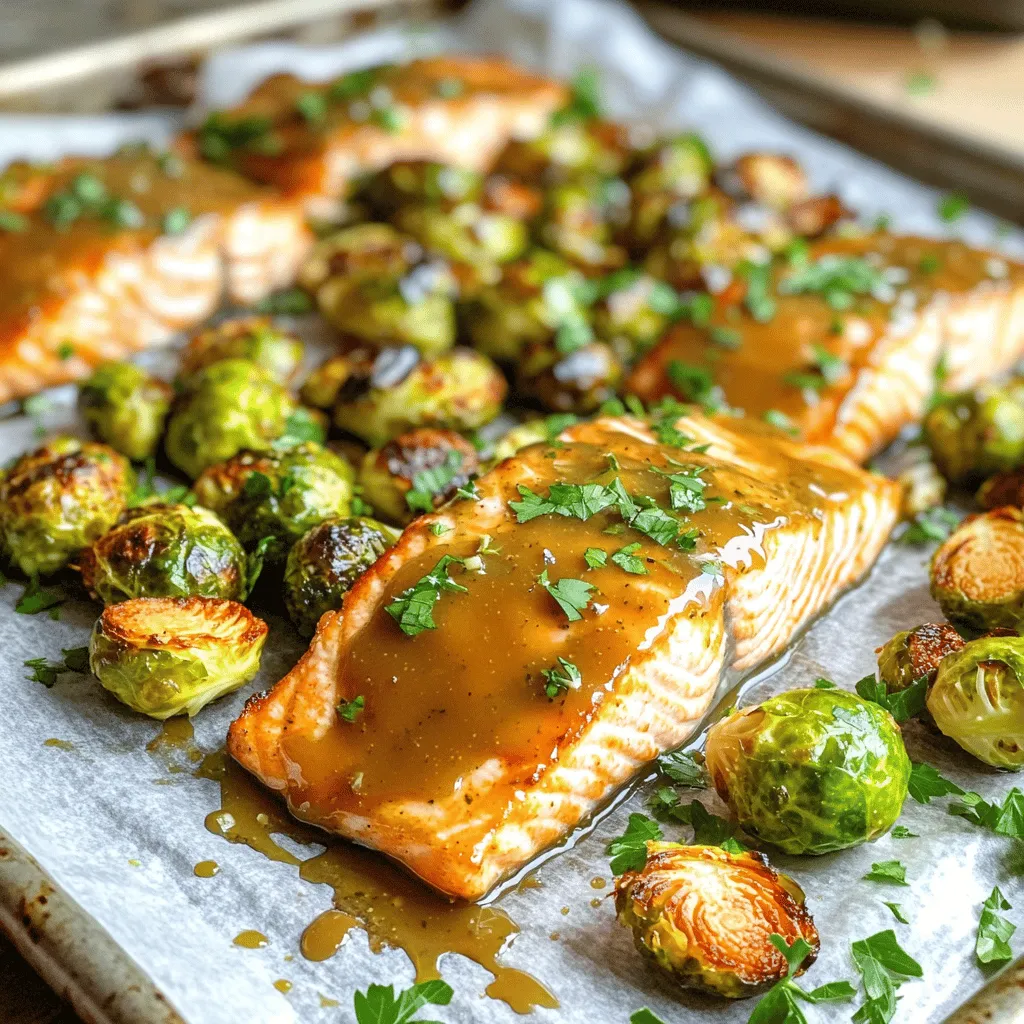
Welcome to my kitchen! Today, I’m excited to share a simple yet delicious meal: Maple Dijon Salmon & Brussels Sheet Pan Delight. This recipe is full of flavor and easy …

If you’re looking for a simple, quick meal, you’re in the right place! This Minute Garlic Butter Shrimp Orzo is fast to make and full of flavor. With just a …