No-Bake Strawberry Cheesecake Parfaits Delightful Treat
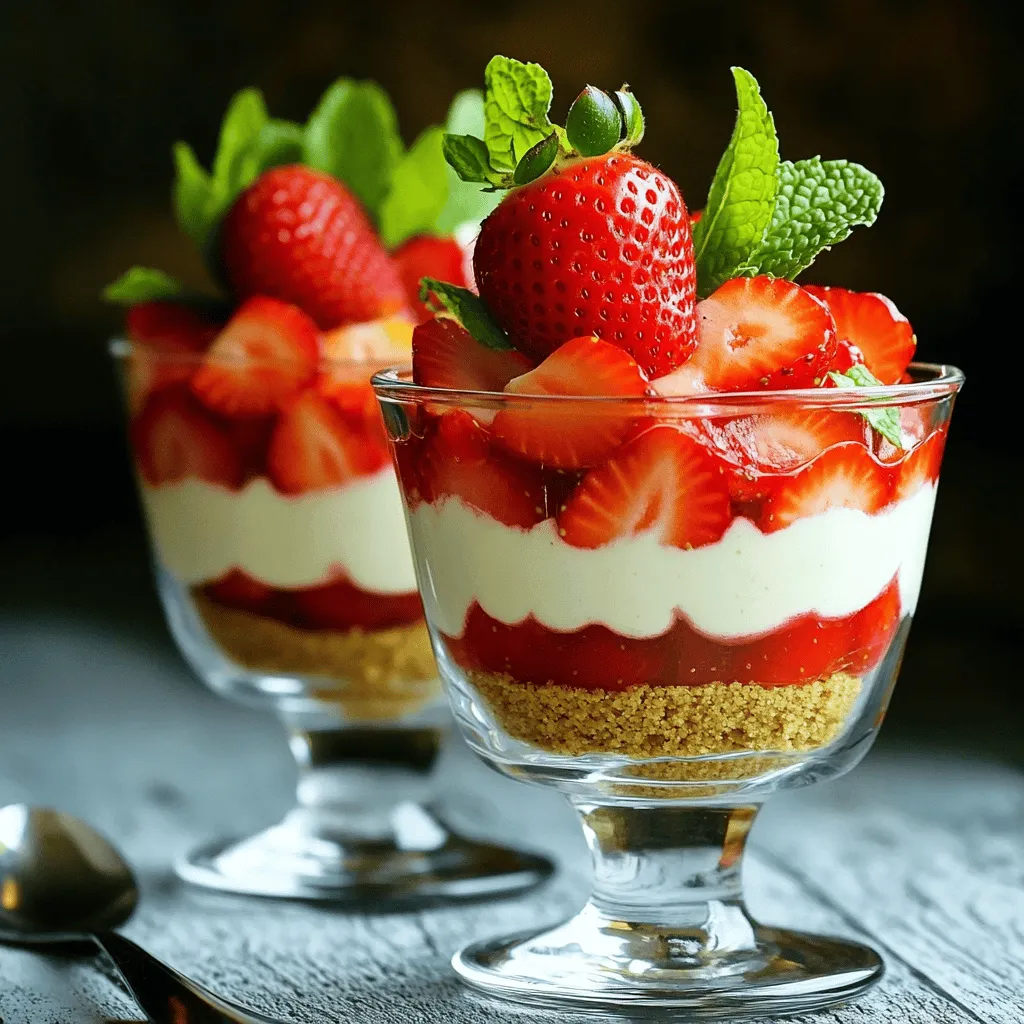
Indulge your sweet tooth with my No-Bake Strawberry Cheesecake Parfaits! This delightful treat is simple to make and perfect for any occasion. You’ll need just a few fresh ingredients and …