Pumpkin Streusel Muffins Delightfully Flavorful Recipe
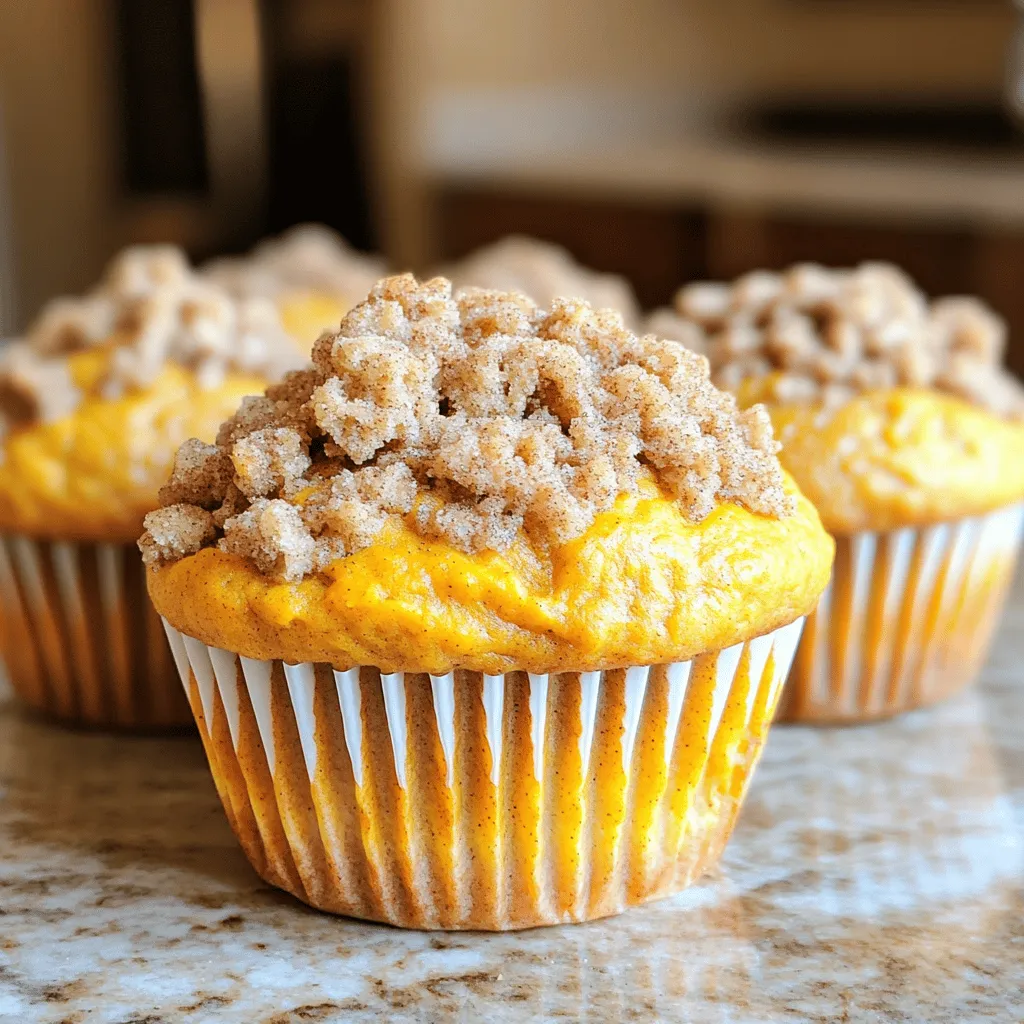
Welcome to the delightful world of Pumpkin Streusel Muffins! If you love warm, spiced treats, this recipe is for you. I’ll guide you step-by-step to create moist, flavorful muffins, topped …