High-Protein Hot Cocoa Cottage Cheese Mousse Delight
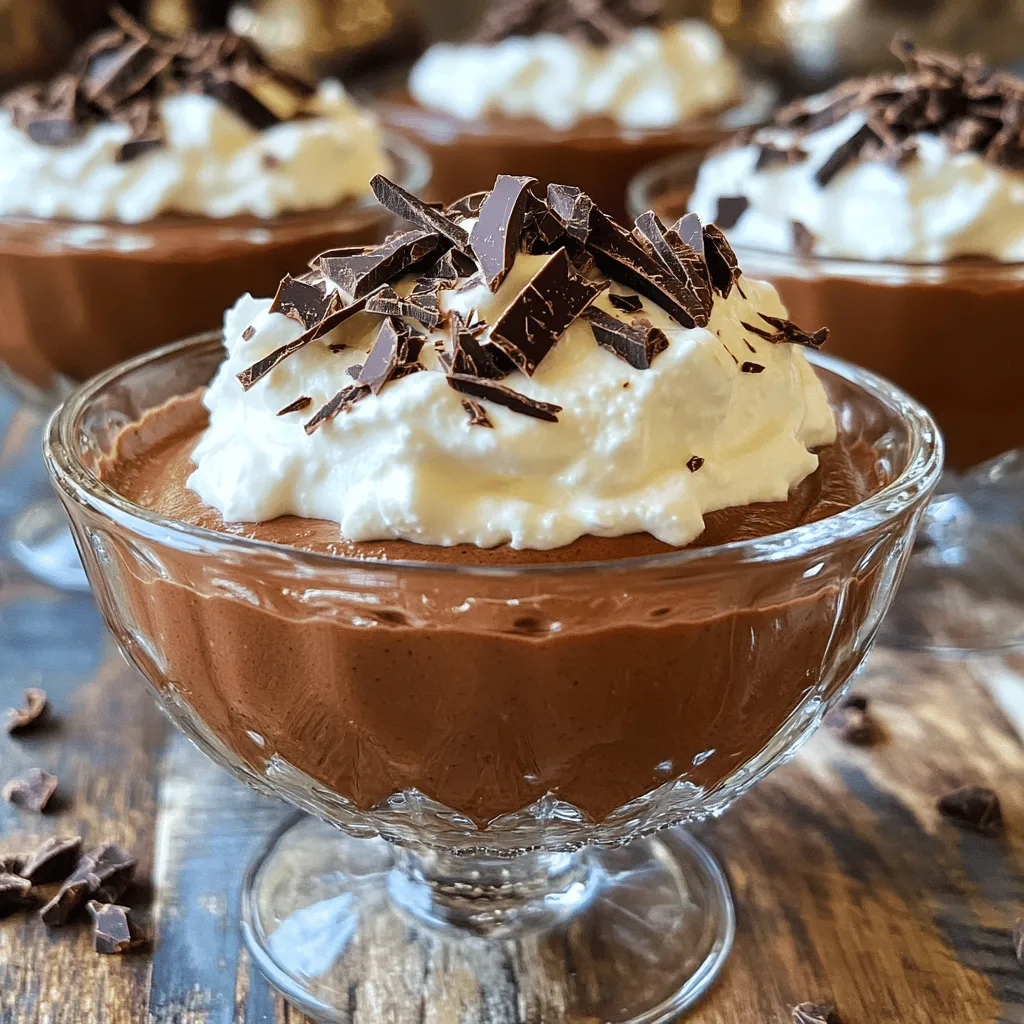
Craving a cozy dessert that’s both delicious and healthy? Let me introduce you to my High-Protein Hot Cocoa Cottage Cheese Mousse Delight! Packed with protein from low-fat cottage cheese and …