Strawberry Crunch Cheesecake Tacos Delightful Treat

If you’re searching for a fun and delicious treat, you’ve come to the right place! I’m excited to share my easy recipe for Strawberry Crunch Cheesecake Tacos. These sweet tacos …
If you’re searching for a fun and delicious treat, you’ve come to the right place! I’m excited to share my easy recipe for Strawberry Crunch Cheesecake Tacos. These sweet tacos …

Looking for a fun, treat that brings smiles? Try my Funfetti Marshmallow Popcorn! It’s a sweet snack perfect for every celebration. With fluffy popcorn, gooey marshmallows, and colorful sprinkles, this …

Are you ready to bake a treat that’s as fun as it is tasty? Strawberry Crunch Shortcake Cookies are the perfect way to enjoy fresh strawberries in a delightful cookie …
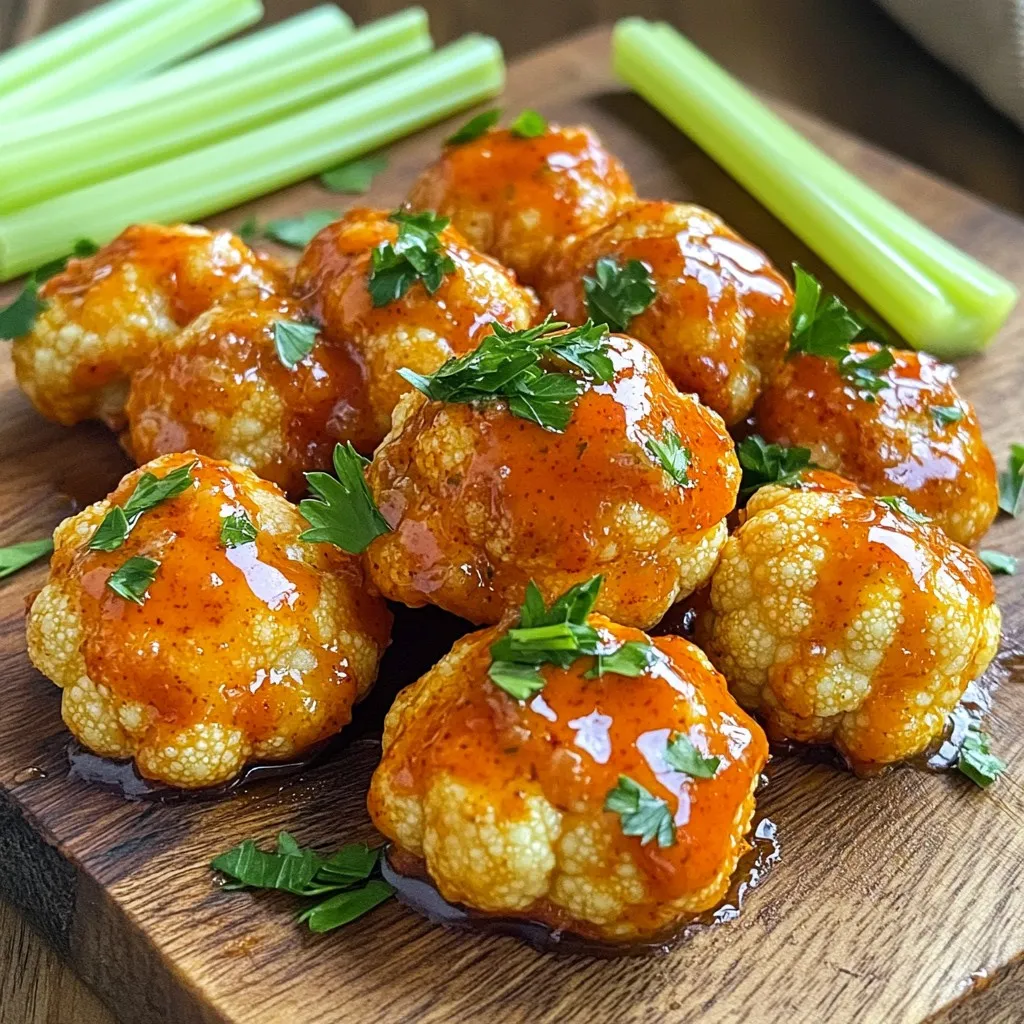
Looking for a bold and flavorful dish that satisfies your cravings? You’ve found it! Air Fryer Buffalo Cauliflower combines crispy goodness with a zing of spice. It’s the perfect way …

Craving a warm and rich dish that’s easy to make? You’re in the right place! This Quick Butter Chicken recipe packs flavor and comfort in just a few steps. I’ll …

Are you ready to take your burger game to the next level? Let’s dive into the world of Crack Burgers, where juicy beef meets crunchy potato chips for an unforgettable …
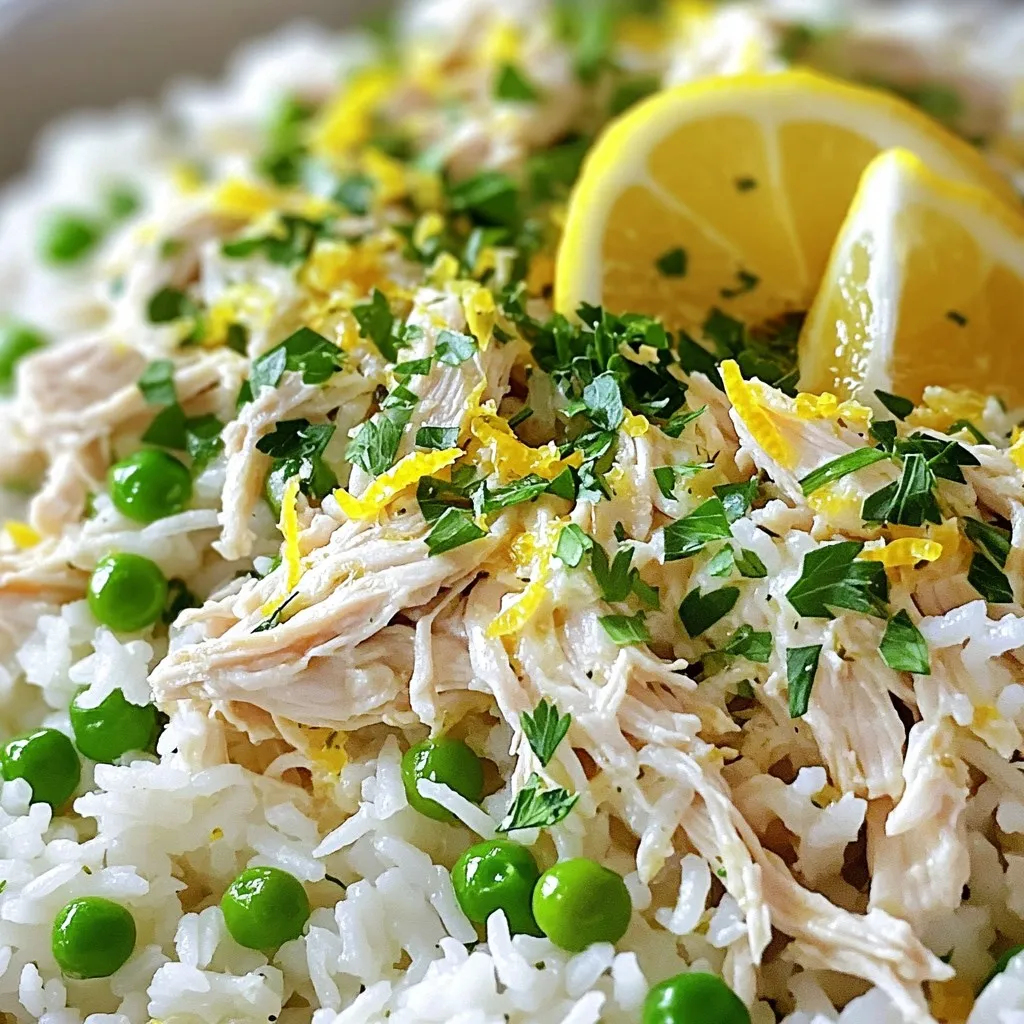
Welcome to a delicious journey with my Slow Cooker Lemon Herb Chicken and Rice Delight! This simple recipe packs bright flavors and nutrients, making it perfect for busy days. You’ll …
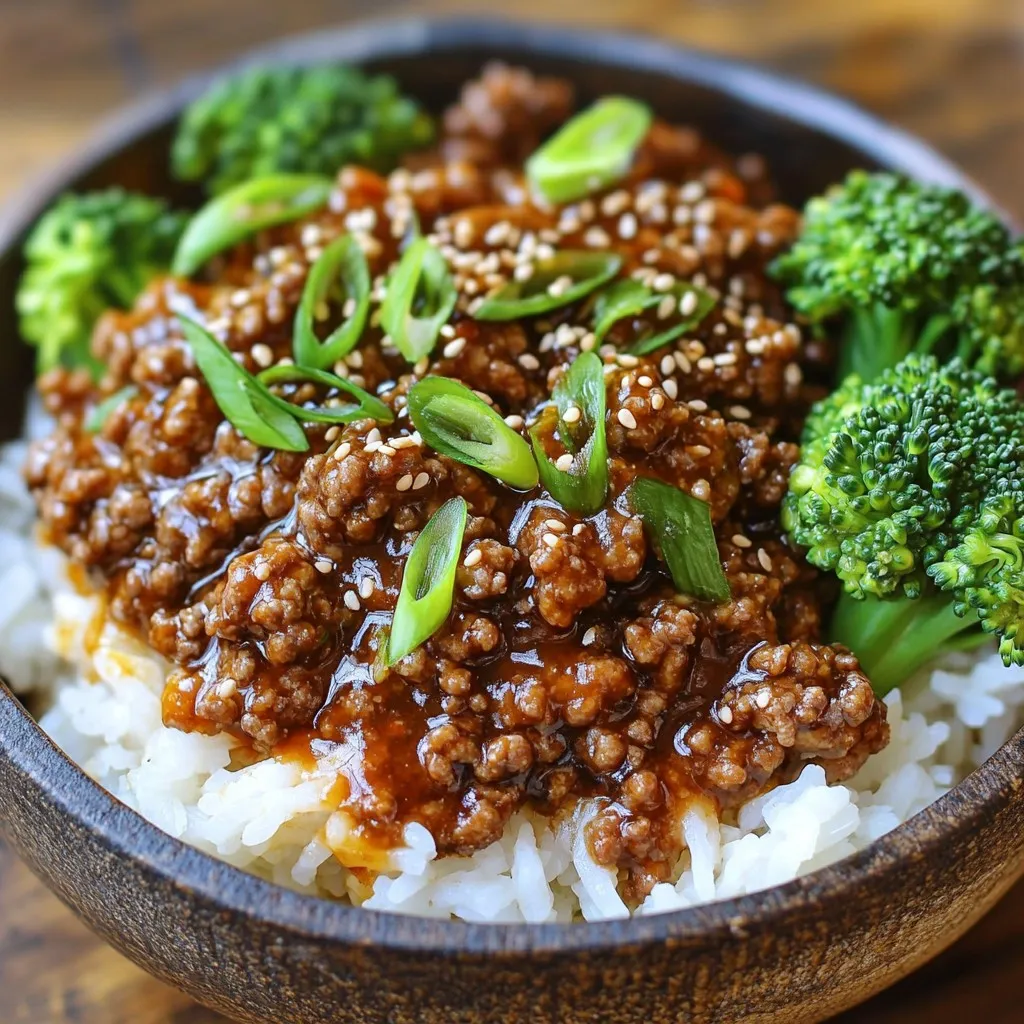
Looking for a quick, tasty meal? You’ve hit the jackpot with my Korean Ground Beef Bowl! This dish packs flavor and is easy to make, perfect for a busy night. …

Get ready for a flavor explosion with my Cheesy Ranch Potatoes with Smoked Sausage Delight! This dish combines tender potatoes, savory smoked sausage, and melted cheddar cheese, all drenched in …

Looking for a simple and tasty dish that your whole family will love? You’ve found it! This Cheesy Chicken Pasta Bake is packed with flavor and gooey cheese. It’s easy …