Minute Garlic Butter Cod & Lemon Rice Delightful Dish
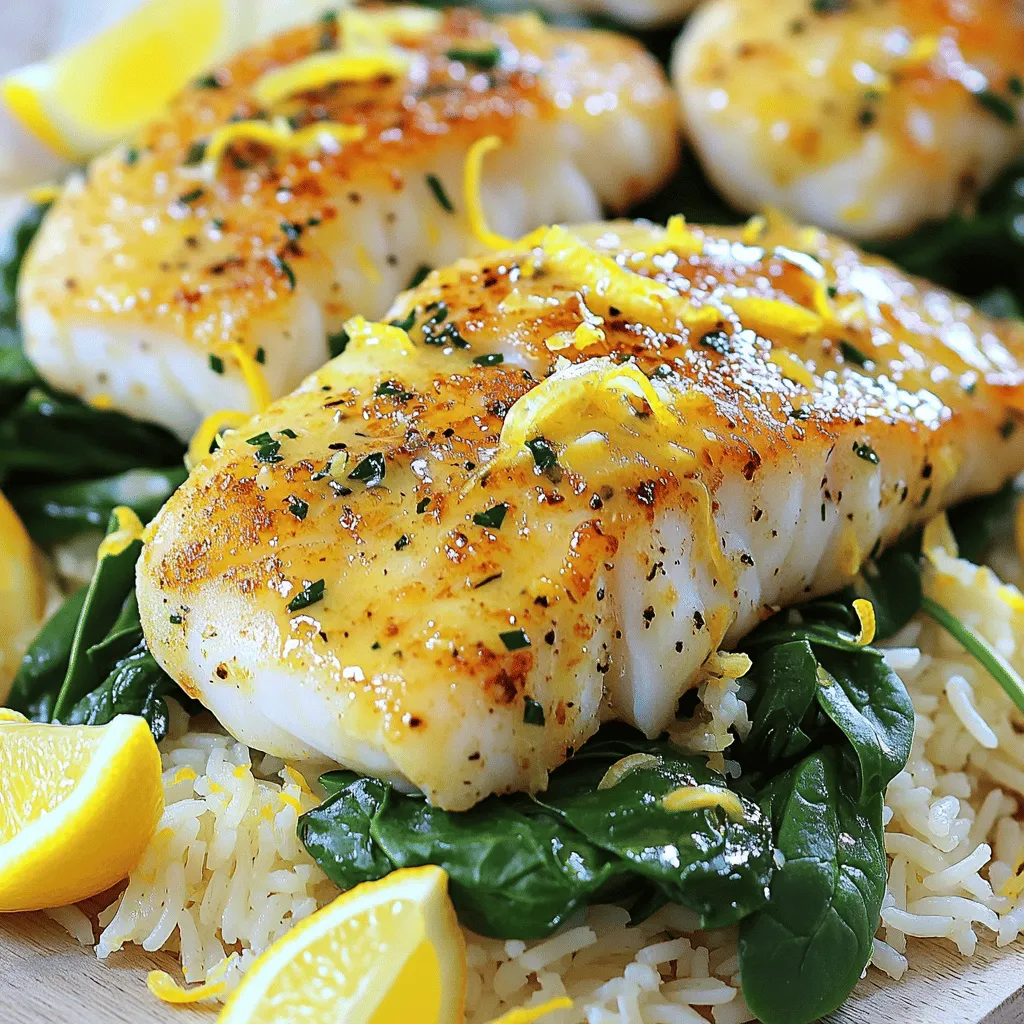
Looking for a quick, tasty meal? You’ll love my Minute Garlic Butter Cod & Lemon Rice! This dish is easy to make and packed with flavor. Fresh cod fillets are …
Looking for a quick, tasty meal? You’ll love my Minute Garlic Butter Cod & Lemon Rice! This dish is easy to make and packed with flavor. Fresh cod fillets are …
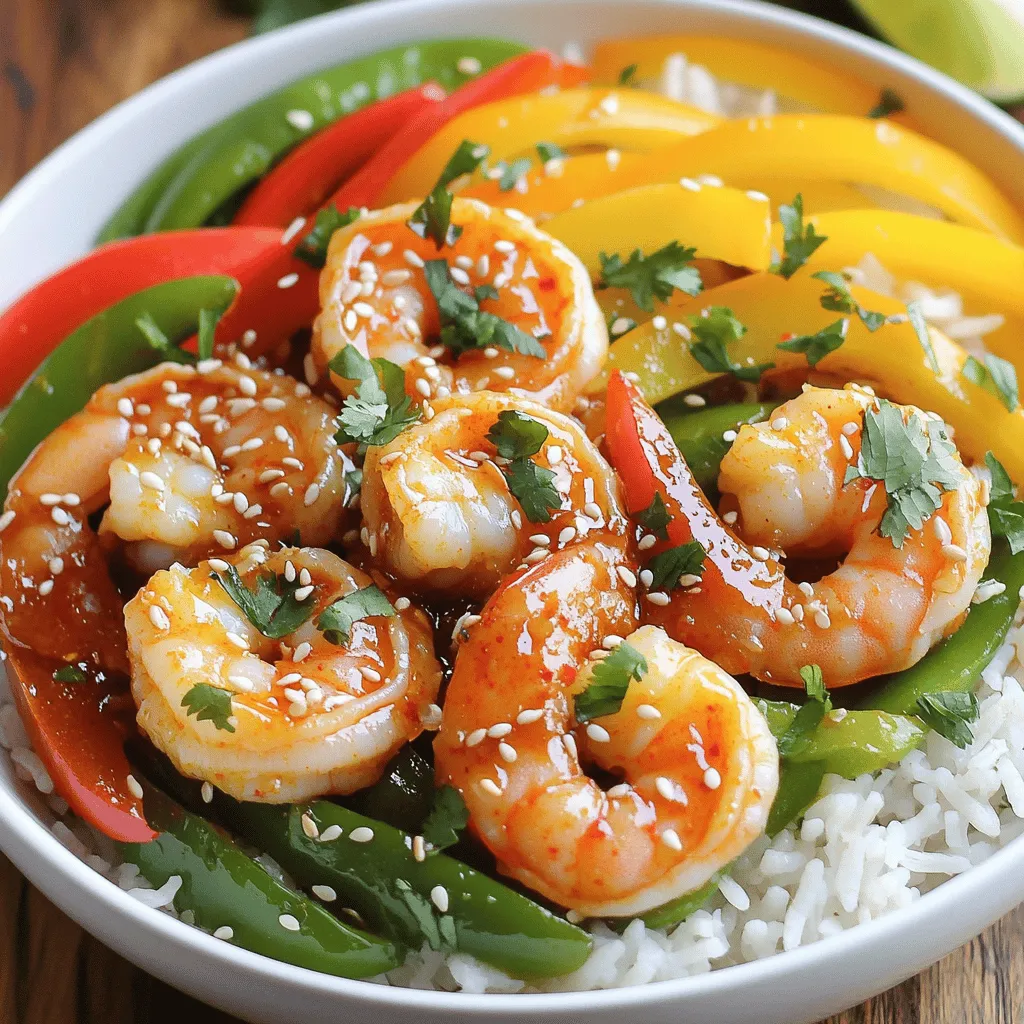
Looking for a quick and tasty meal? My Sweet Chili Shrimp Bowls are packed with flavor and super easy to make! In this guide, I’ll share everything from the simple …
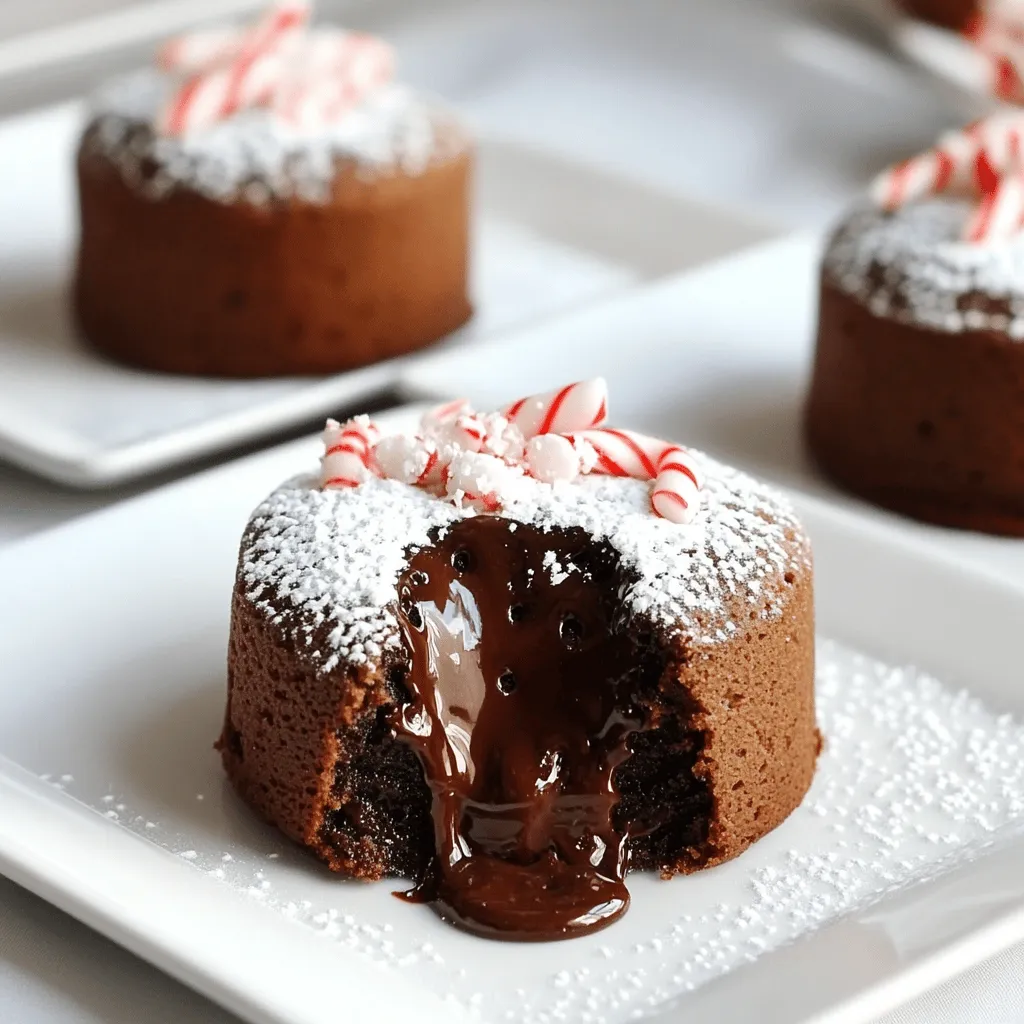
Indulging in Peppermint Chocolate Lava Cakes is pure joy. These little desserts burst with rich chocolate and refreshing peppermint flavor. They have a gooey center that melts in your mouth. …
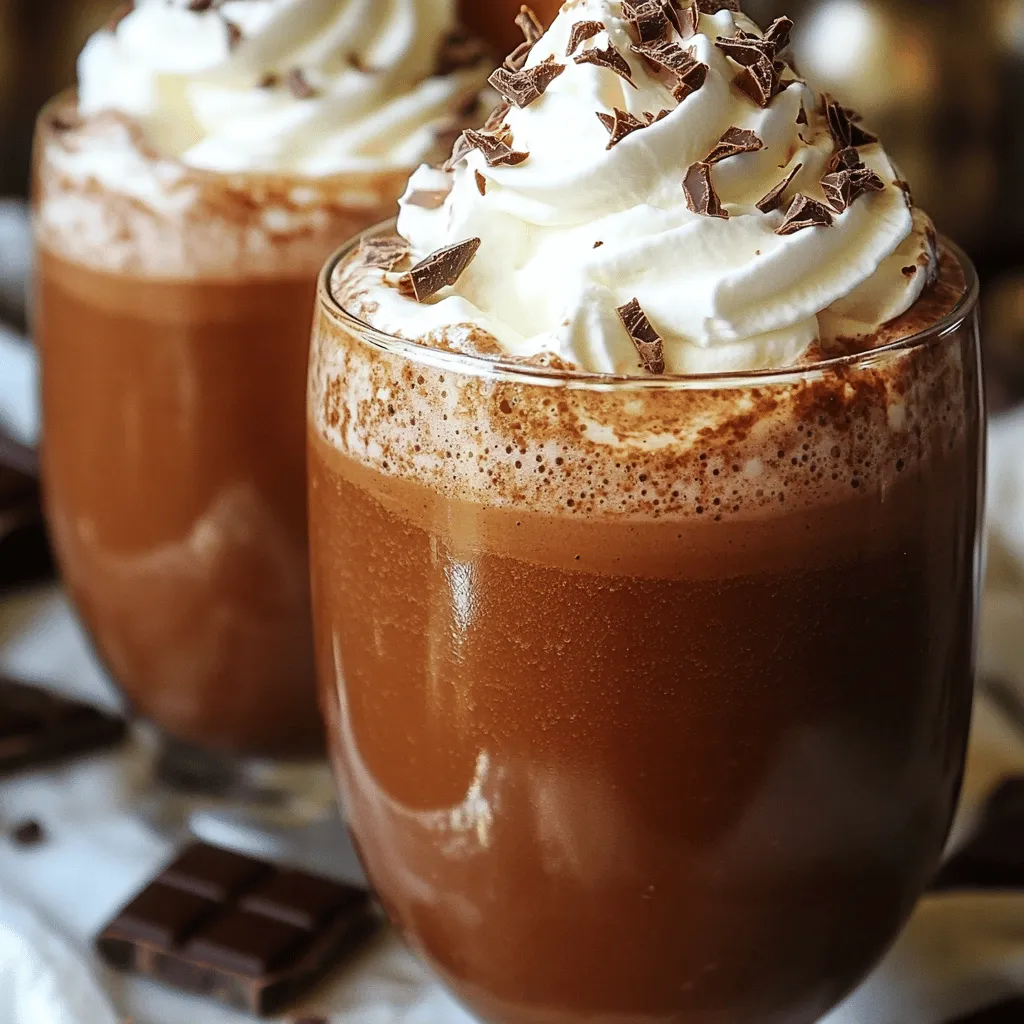
Indulging in a creamy Protein Hot Cocoa Shake with Whipped Cream is a treat you can enjoy guilt-free! This delicious drink combines rich chocolate flavor with protein power. Whether you …
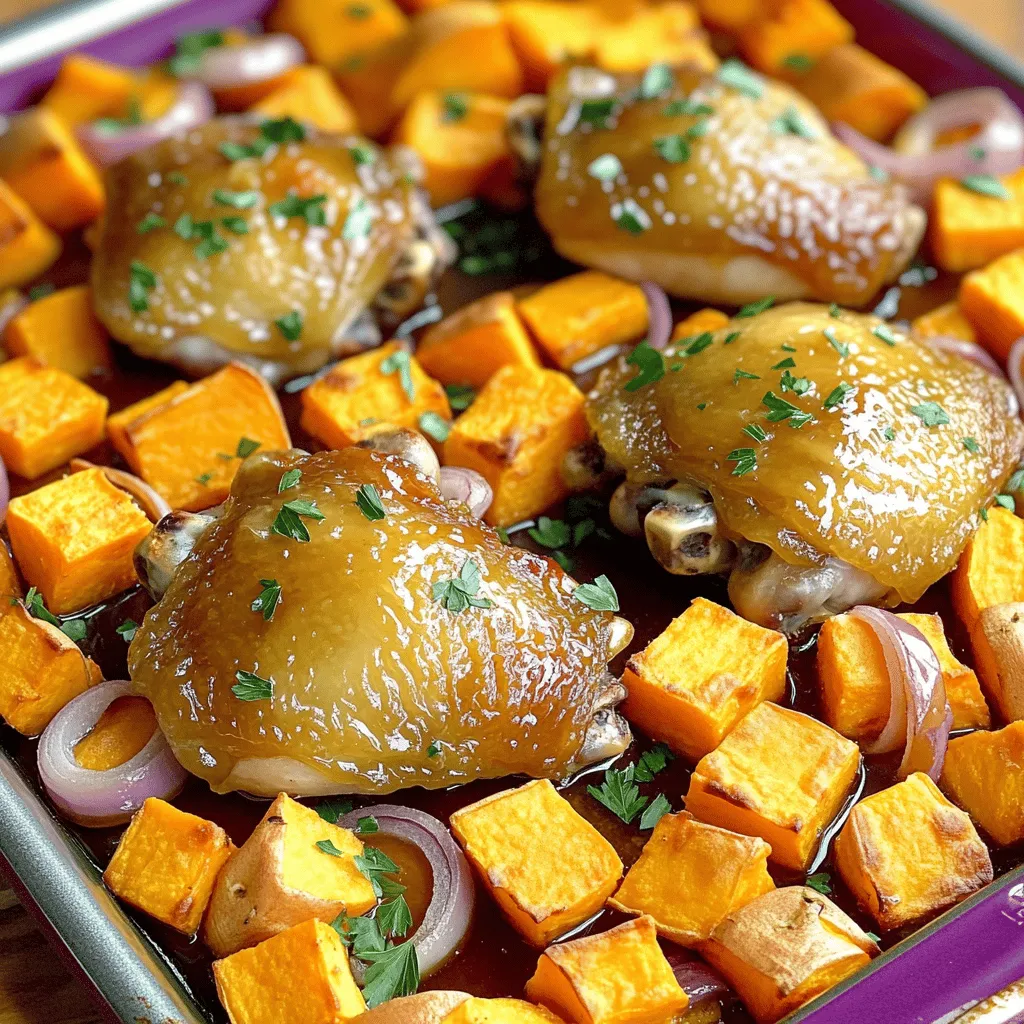
Looking for a simple, tasty meal? Try my Maple Glazed Chicken & Sweet Potato Sheet Pan Delight! This dish blends juicy chicken thighs with sweet potatoes and onion, all roasted …
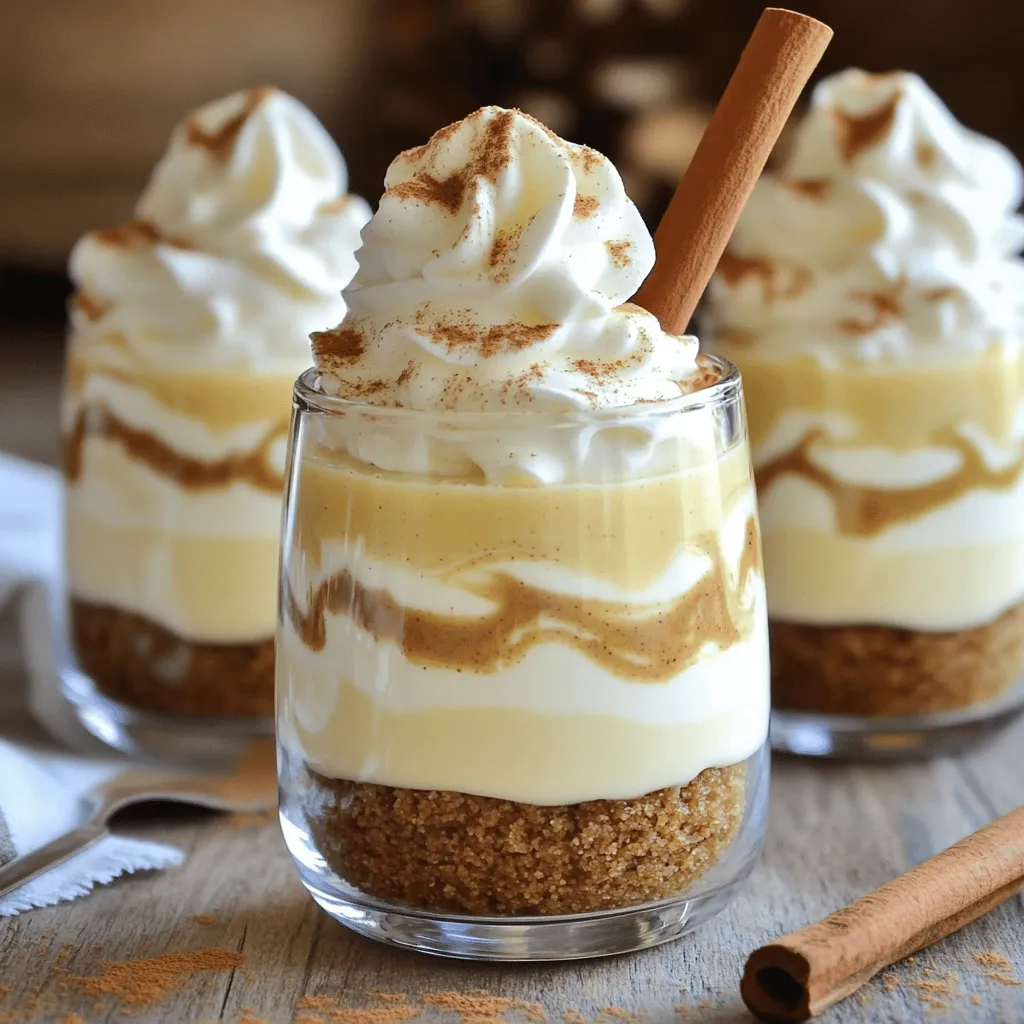
Looking for a delightful holiday treat that’s quick and easy? You’ve come to the right place! These No-Bake Eggnog Cheesecake Cups are rich, creamy, and full of festive cheer. I’ll …

Get ready to savor the sweet, cozy flavors of the season with my Air Fryer Cinnamon Sugar Gingerbread Donut Holes! These delightful bites combine warm spices and a soft texture, …
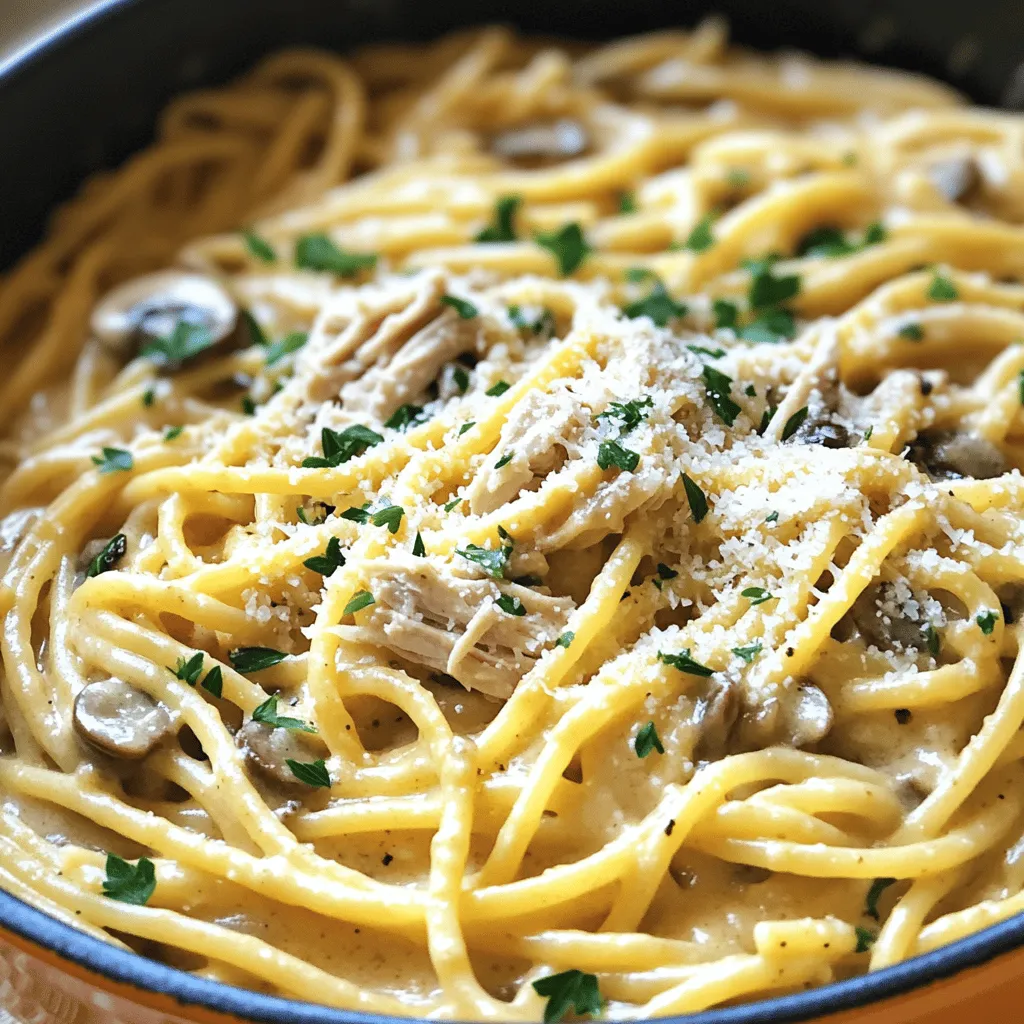
Ready to elevate your weeknight dinners? This One-Pot Creamy Garlic Parmesan Turkey Tetrazzini is your new go-to comfort food. It’s rich, creamy, and comes together in one pot, making clean-up …

If you’re craving takeout but want something better, I’ve got just the recipe for you. This Better-Than-Takeout Spicy Chicken Lo Mein is packed with flavor and made fresh at home. …

Craving a warm, sweet treat? These Cranberry Orange Scones with Vanilla Glaze will delight your taste buds. Perfect for breakfast or a cozy afternoon snack, these scones mix tart cranberries …