Slow Cooker Cranberry Orange Chicken Flavorful Delight
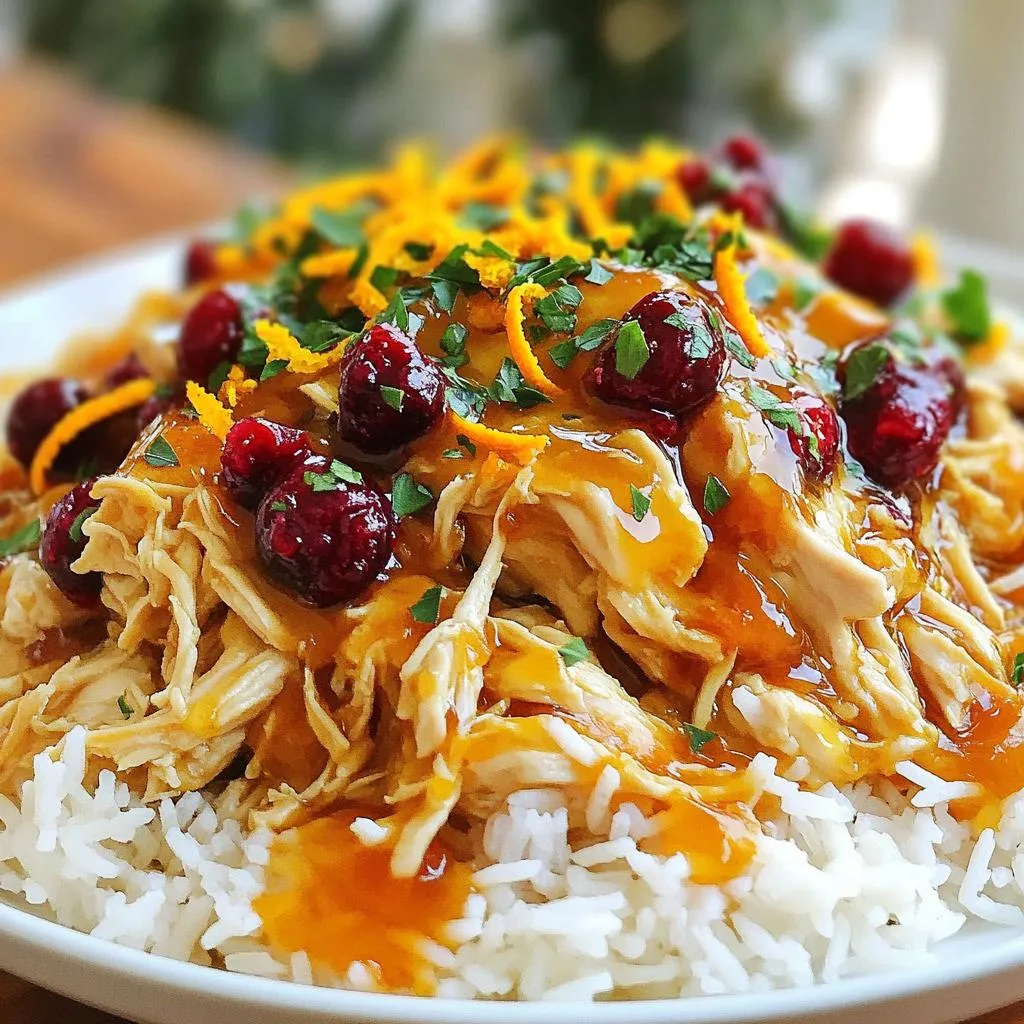
Looking for a dish that bursts with flavor? You’ll love this Slow Cooker Cranberry Orange Chicken! This recipe combines tender chicken with a sweet and tangy sauce. It’s perfect for …