Air Fryer Sweet Chili Salmon Bites Flavorful Delight
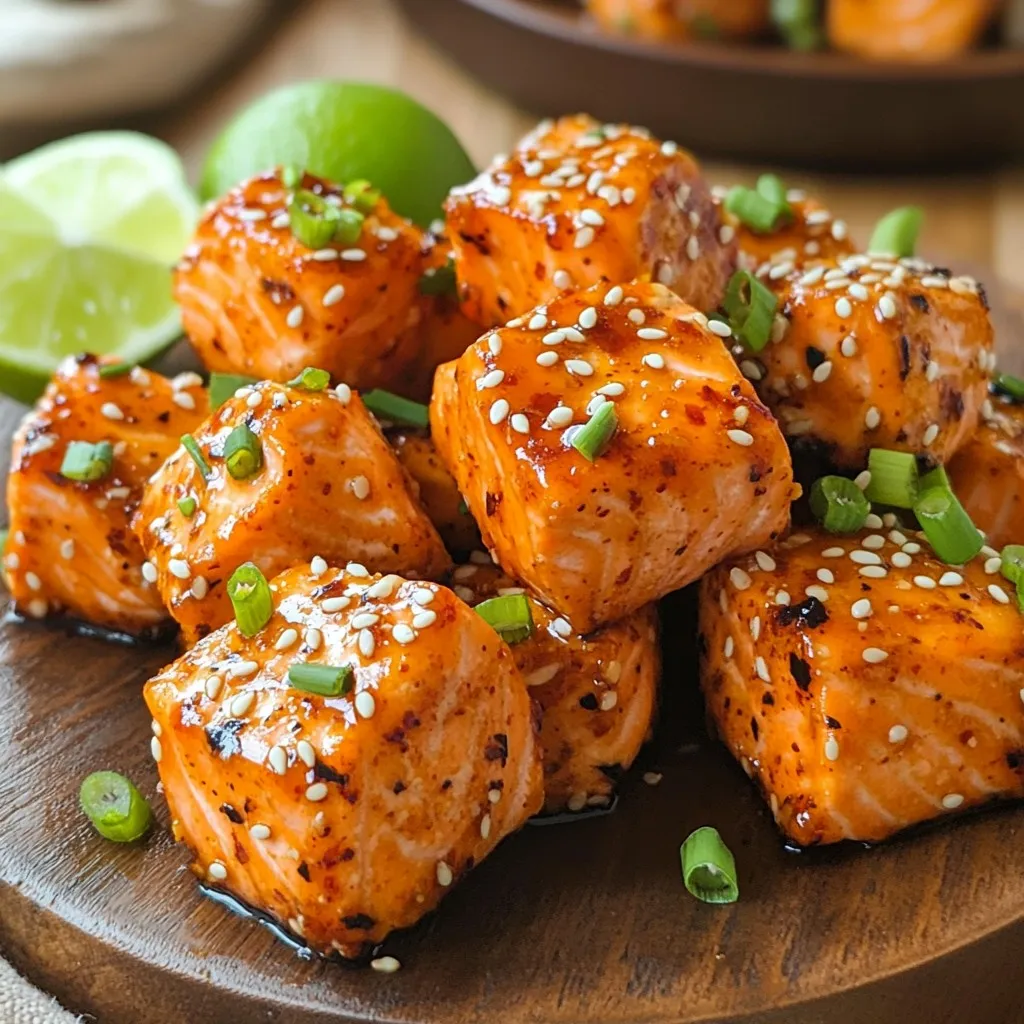
Looking for a simple yet flavorful dish that will impress? Air Fryer Sweet Chili Salmon Bites are the perfect choice! These juicy salmon cubes coated in a sweet and spicy …
Looking for a simple yet flavorful dish that will impress? Air Fryer Sweet Chili Salmon Bites are the perfect choice! These juicy salmon cubes coated in a sweet and spicy …
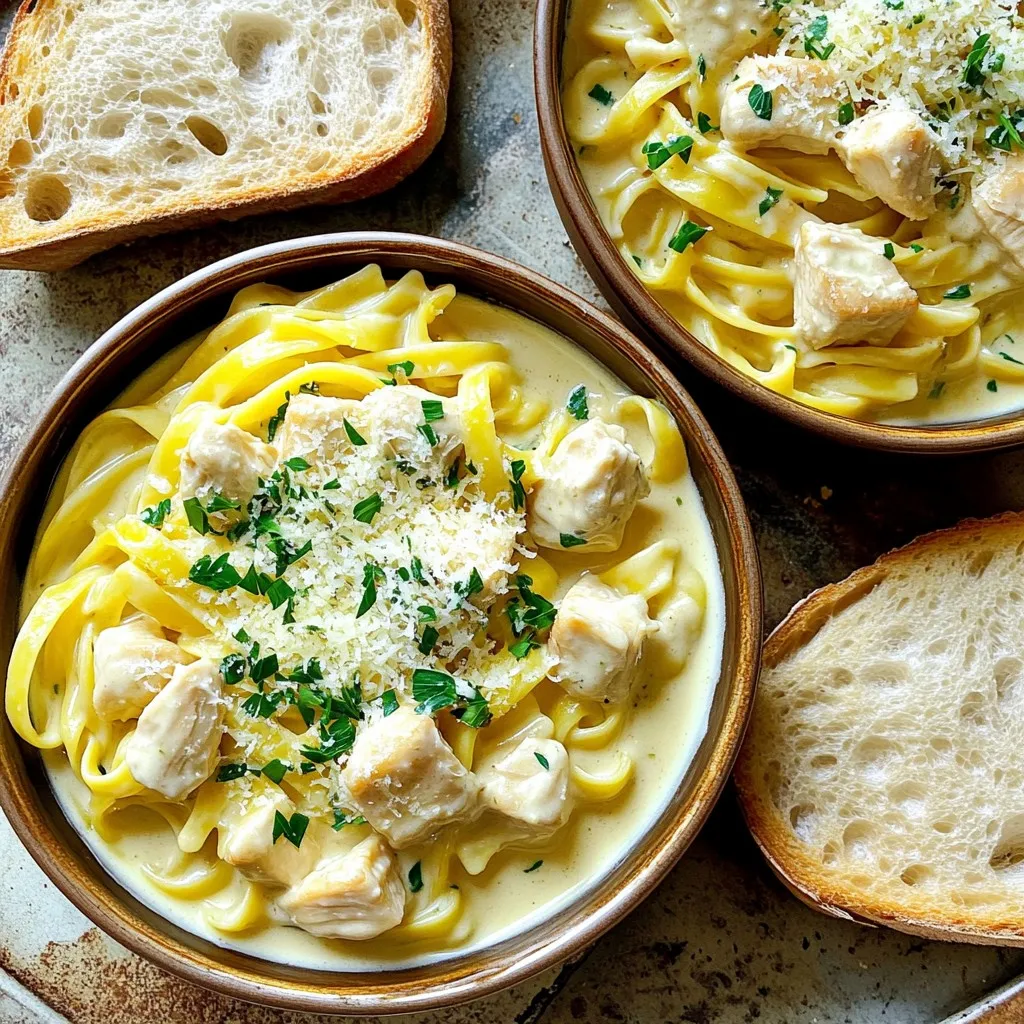
Get ready for a dinner winner with my Creamy Garlic Parmesan Chicken Pasta Skillet Delight! This dish combines tender chicken, creamy sauce, and your favorite pasta into one easy skillet …
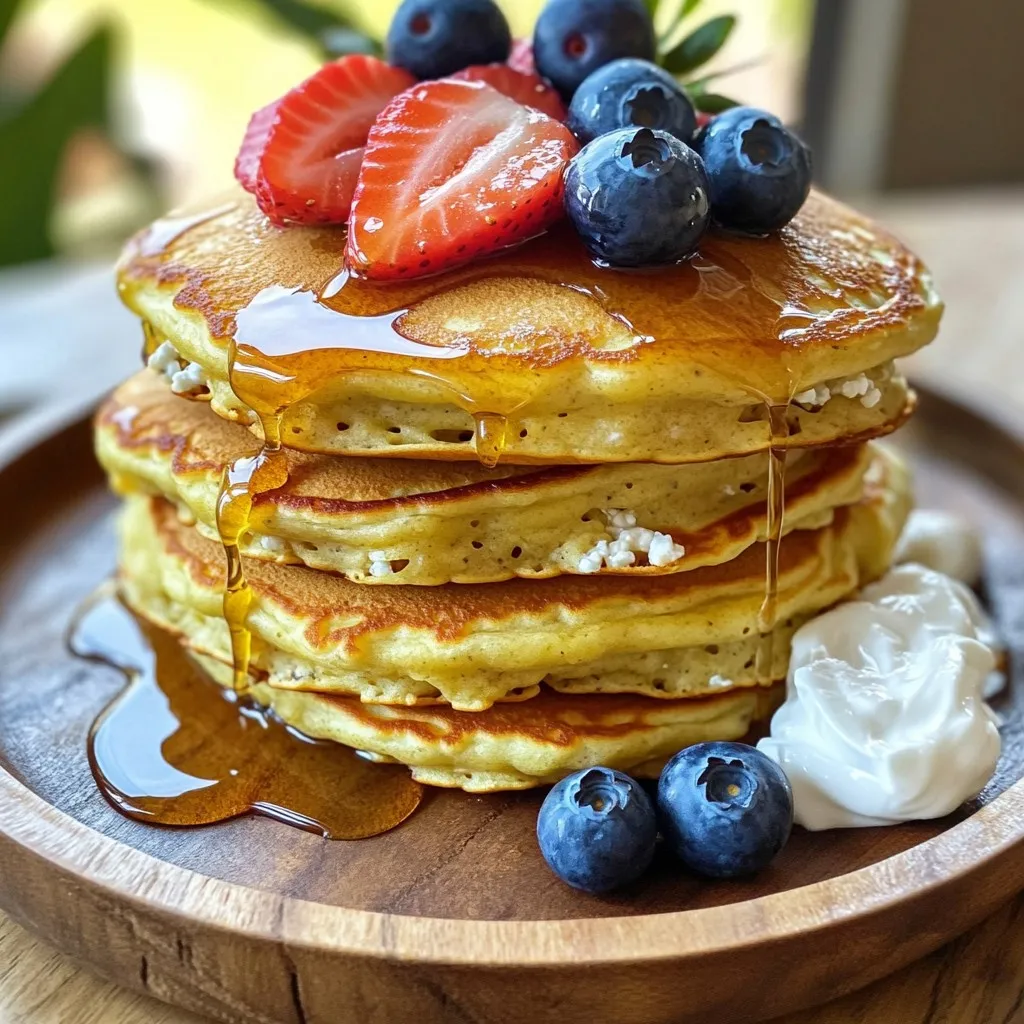
Looking for a quick and tasty breakfast? Try my Minute Protein Cottage Cheese Pancakes! Packed with protein and easy to whip up, these pancakes make mornings enjoyable. With just a …
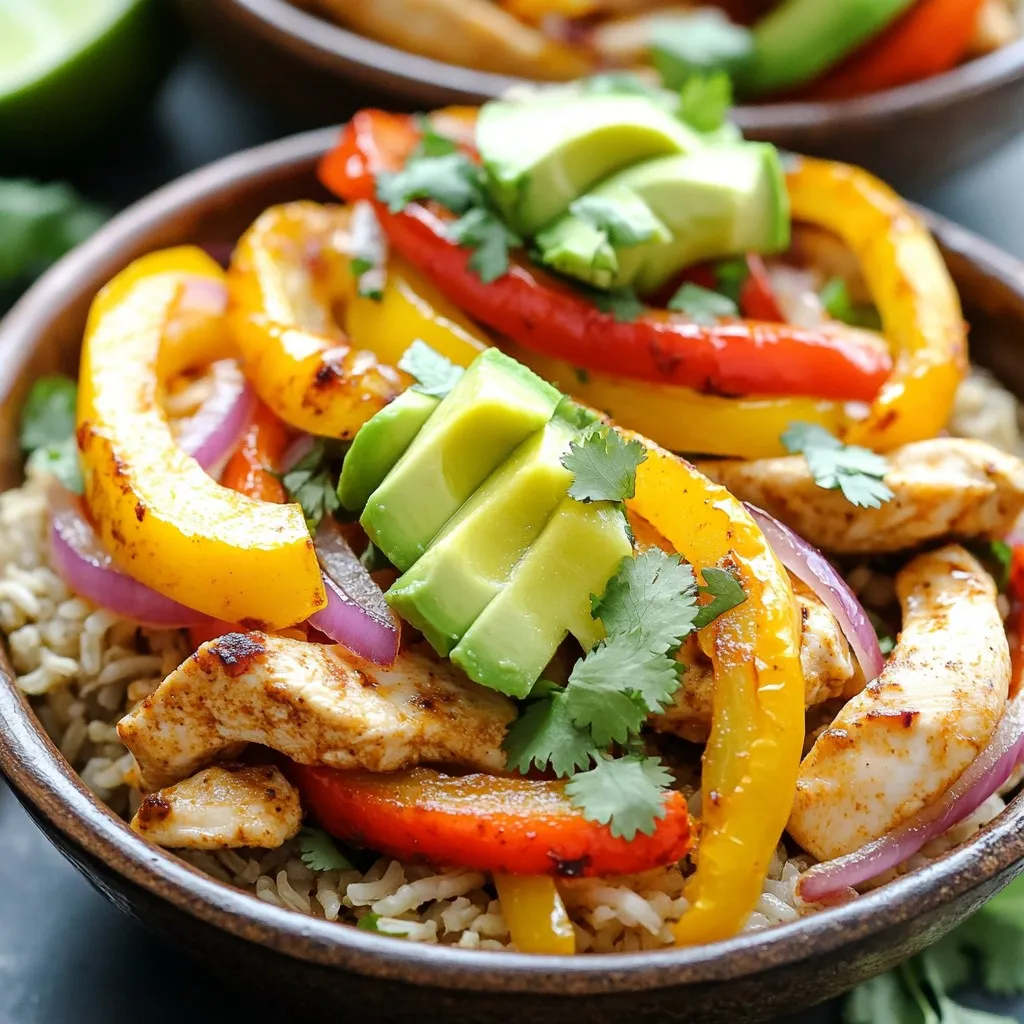
Looking for a quick and tasty dinner? Try my Sheet Pan Chipotle Chicken Fajita Bowls! This easy recipe combines juicy chicken, colorful veggies, and bold flavors, all roasted on one …
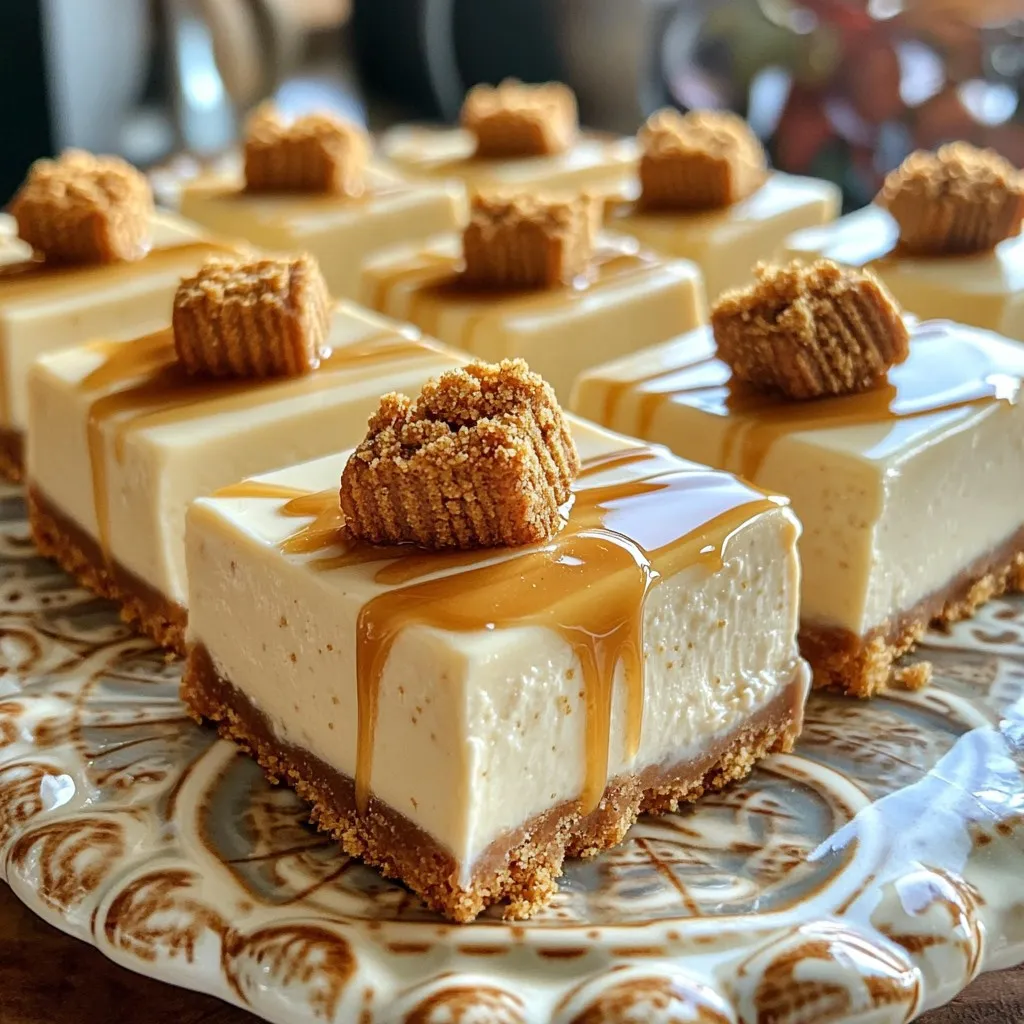
Are you ready to indulge in a dessert that requires no baking? The No-Bake Biscoff Cheesecake Bars are rich, creamy, and bursting with flavor. You can make this delightful treat …
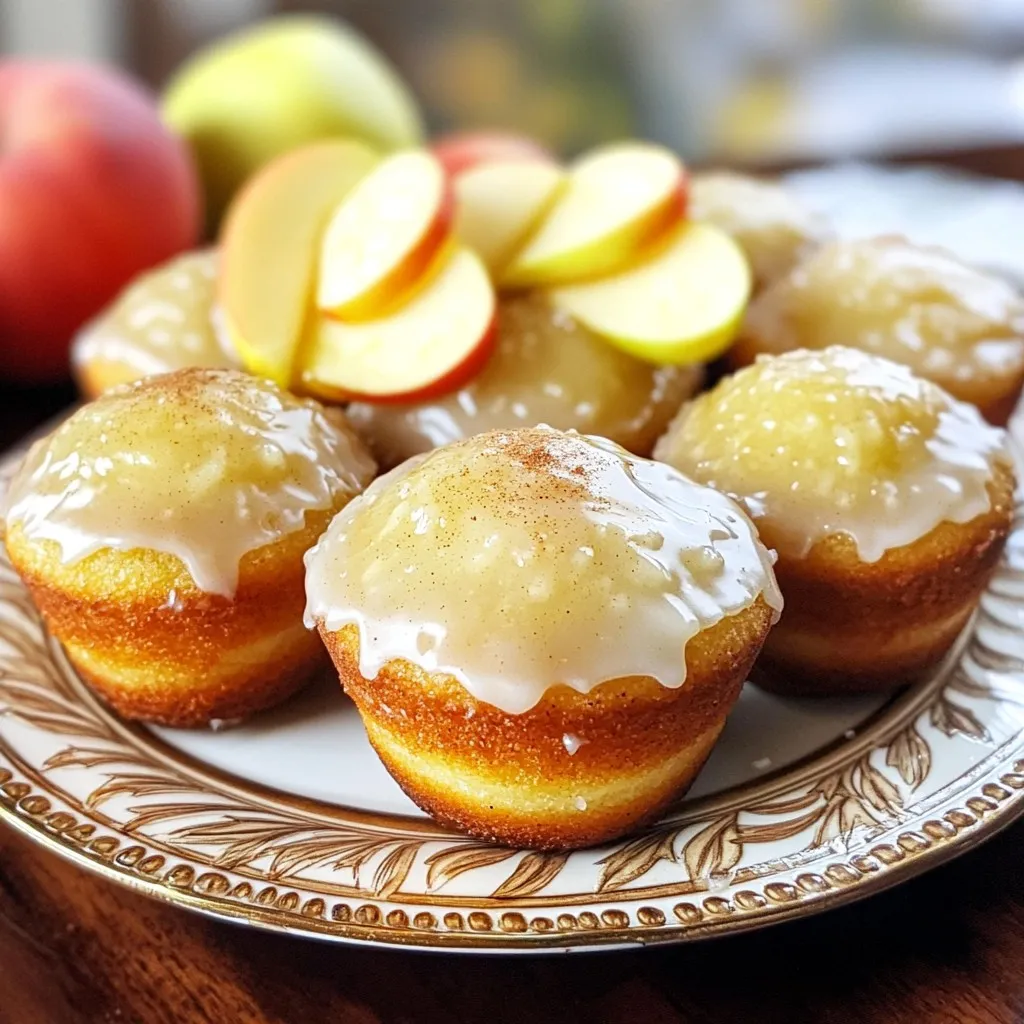
If you love the taste of fall, these Maple Glazed Apple Cider Donut Muffins will be your new favorite treat. Imagine soft muffins infused with spicy apple cider and topped …
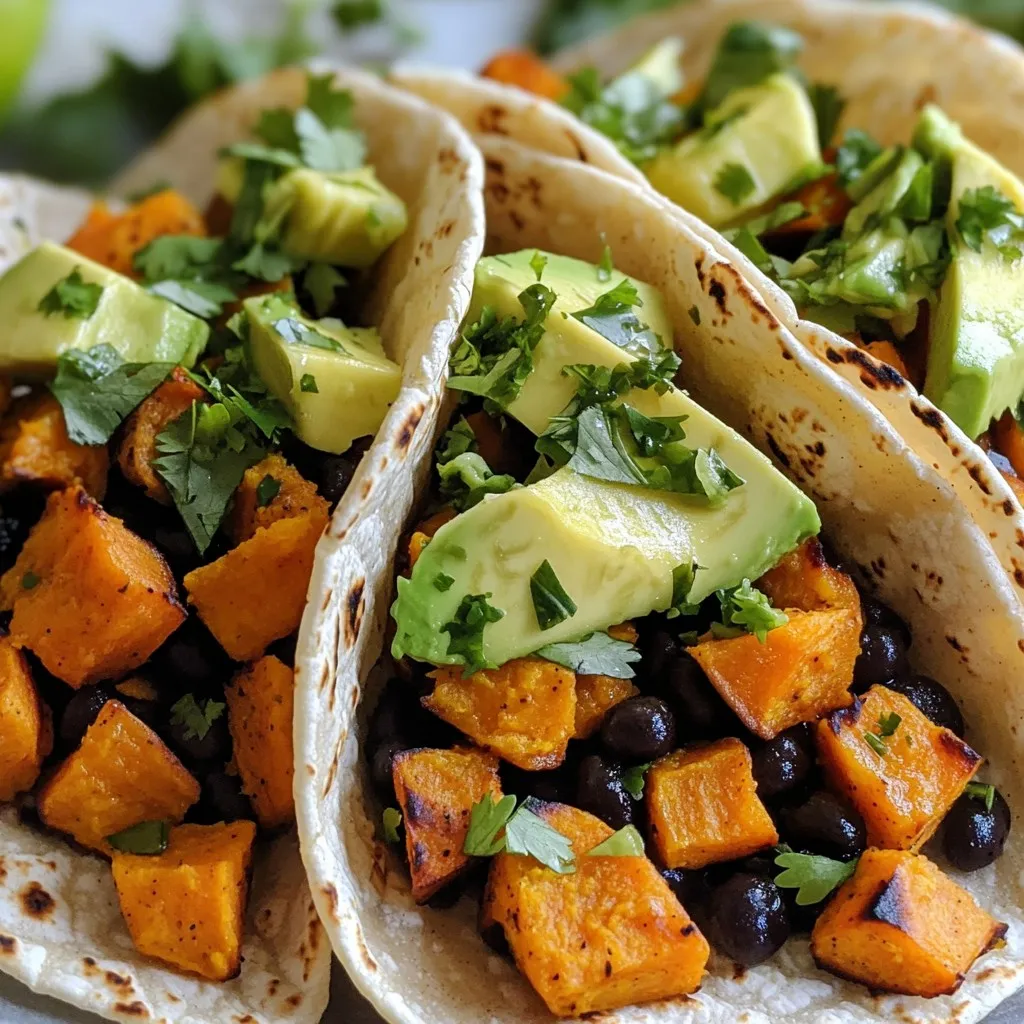
Looking for a tasty and healthy meal? You’ll love these Air Fryer Sweet Potato & Black Bean Tacos! They blend sweet potatoes and black beans into a warm, crunchy delight. …
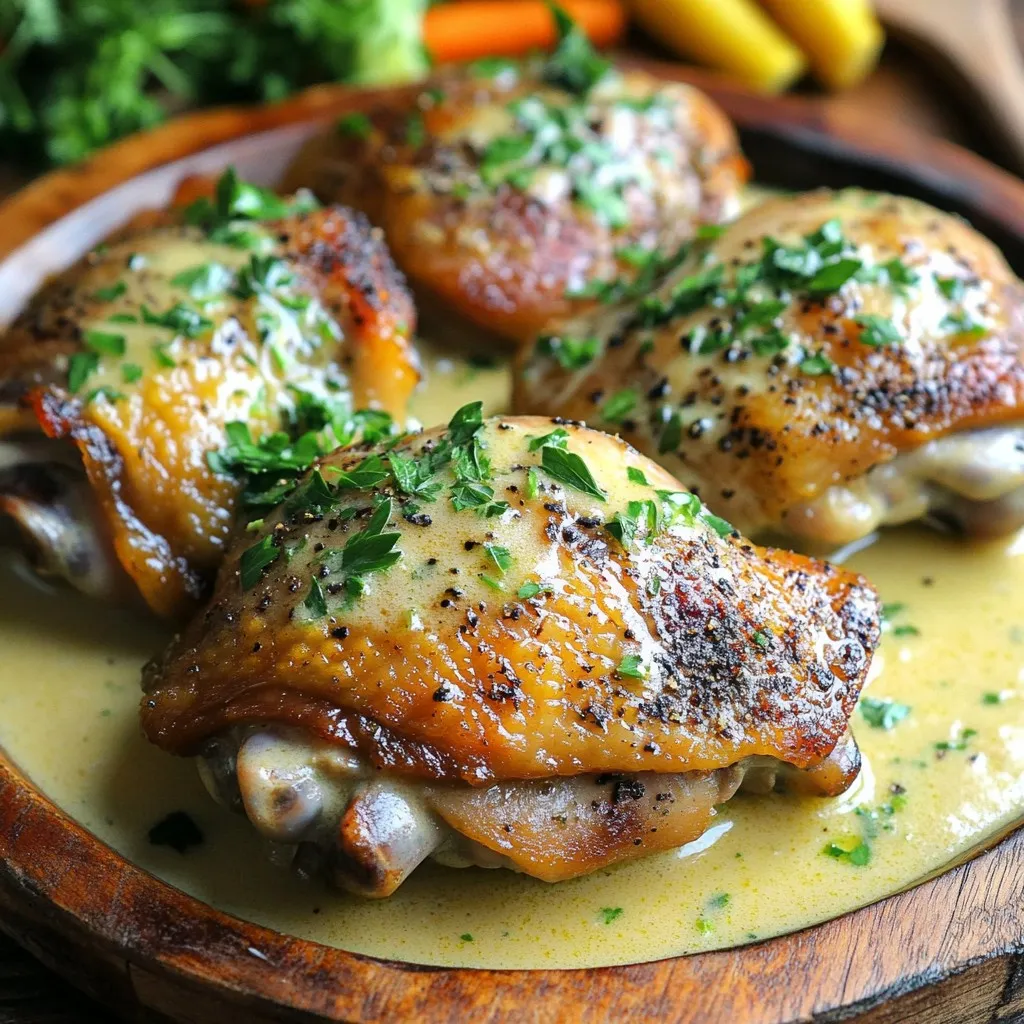
Are you ready to whip up a mouthwatering meal that’s quick and easy? Skillet Creamy Garlic Herb Chicken Thighs are here to impress! This dish boasts tender chicken thighs in …

Are you ready to make a meal that’s both tasty and easy? My Sheet Pan Balsamic Brussels and Sausage Delight combines crispy Brussels sprouts with savory smoked sausage. This dish …
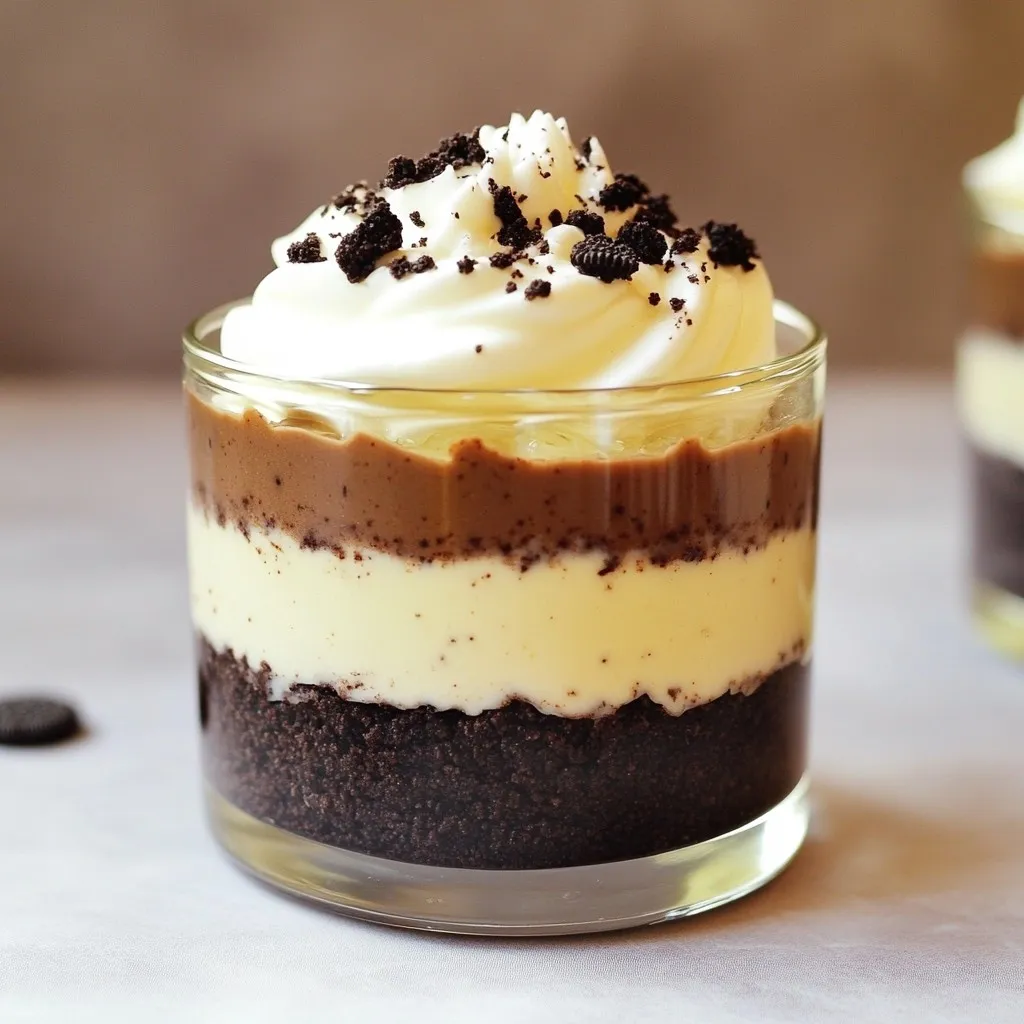
Craving a simple yet delicious dessert? You’ll love these No Bake Oreo Cheesecake Cups! They combine rich cream cheese with crunchy Oreo cookie crust for the ultimate treat. Plus, they …