Pumpkin Streusel Coffee Cake with Maple Glaze Delight
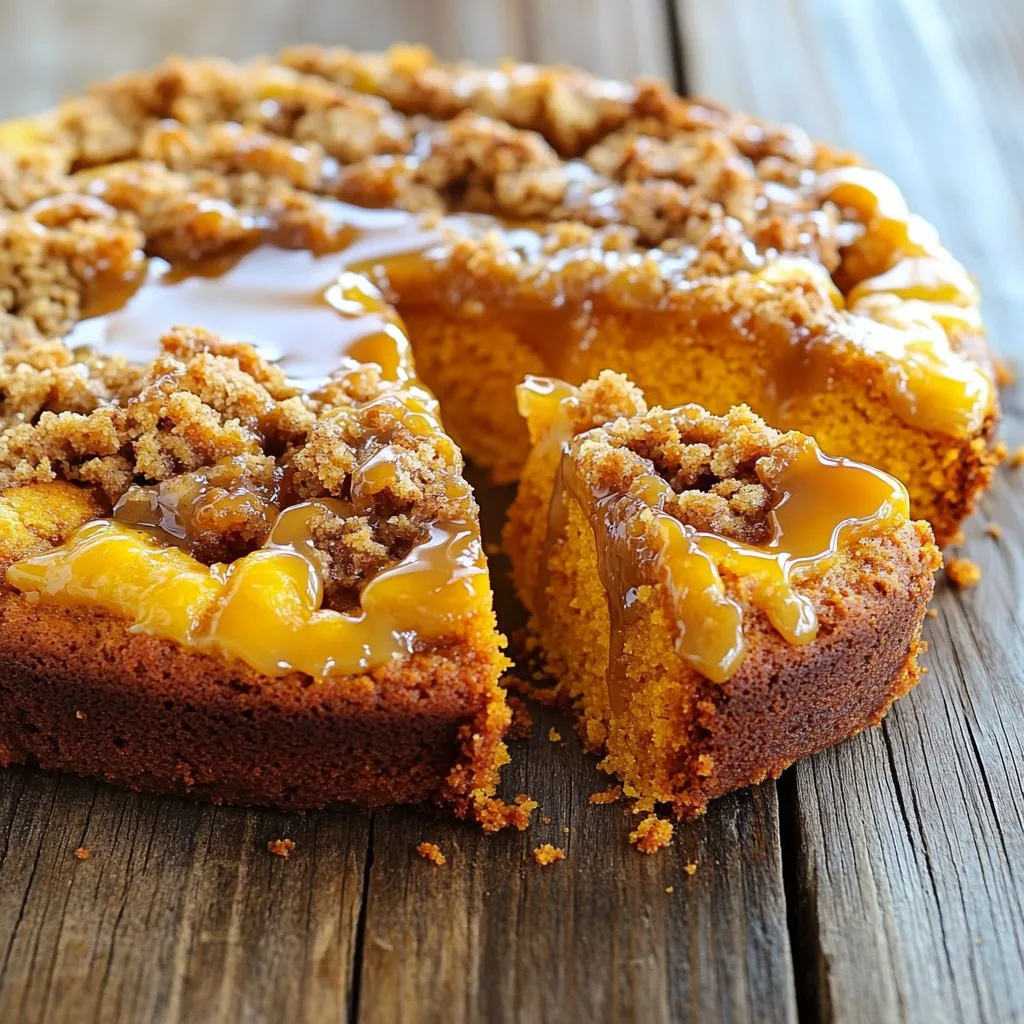
Get ready to enjoy a slice of heaven! My Pumpkin Streusel Coffee Cake with Maple Glaze will warm your heart and delight your taste buds. This cake is perfect for …
Get ready to enjoy a slice of heaven! My Pumpkin Streusel Coffee Cake with Maple Glaze will warm your heart and delight your taste buds. This cake is perfect for …

Get ready to spice up your dinner with my Air Fryer Sweet Chili Shrimp Tacos! These tacos are simple, packed with flavor, and a guaranteed crowd-pleaser. With juicy shrimp coated …
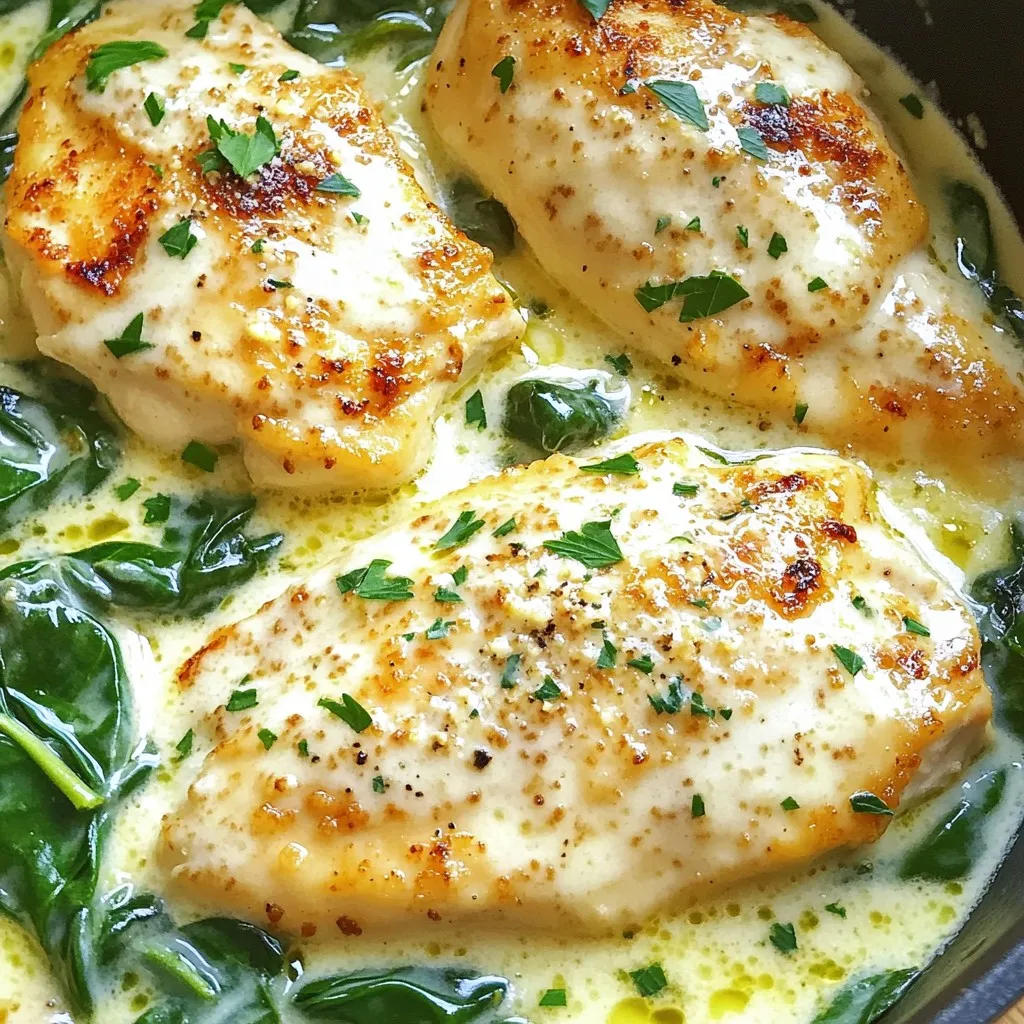
Looking for a quick and tasty dinner? This One-Pot Creamy Garlic Parmesan Chicken & Spinach Delight is your answer! With simple ingredients and easy steps, you’ll whip up a meal …

Looking for a quick and tasty meal? This Creamy Tomato Basil Gnocchi One Pot Delight is just what you need! With simple ingredients and fast prep time, you can whip …

Are you ready to spice up your dinner routine? These Savory Sweet Chili Chicken Rice Bowls are simple and bursting with flavor. Imagine tender chicken, fresh veggies, and a sweet …
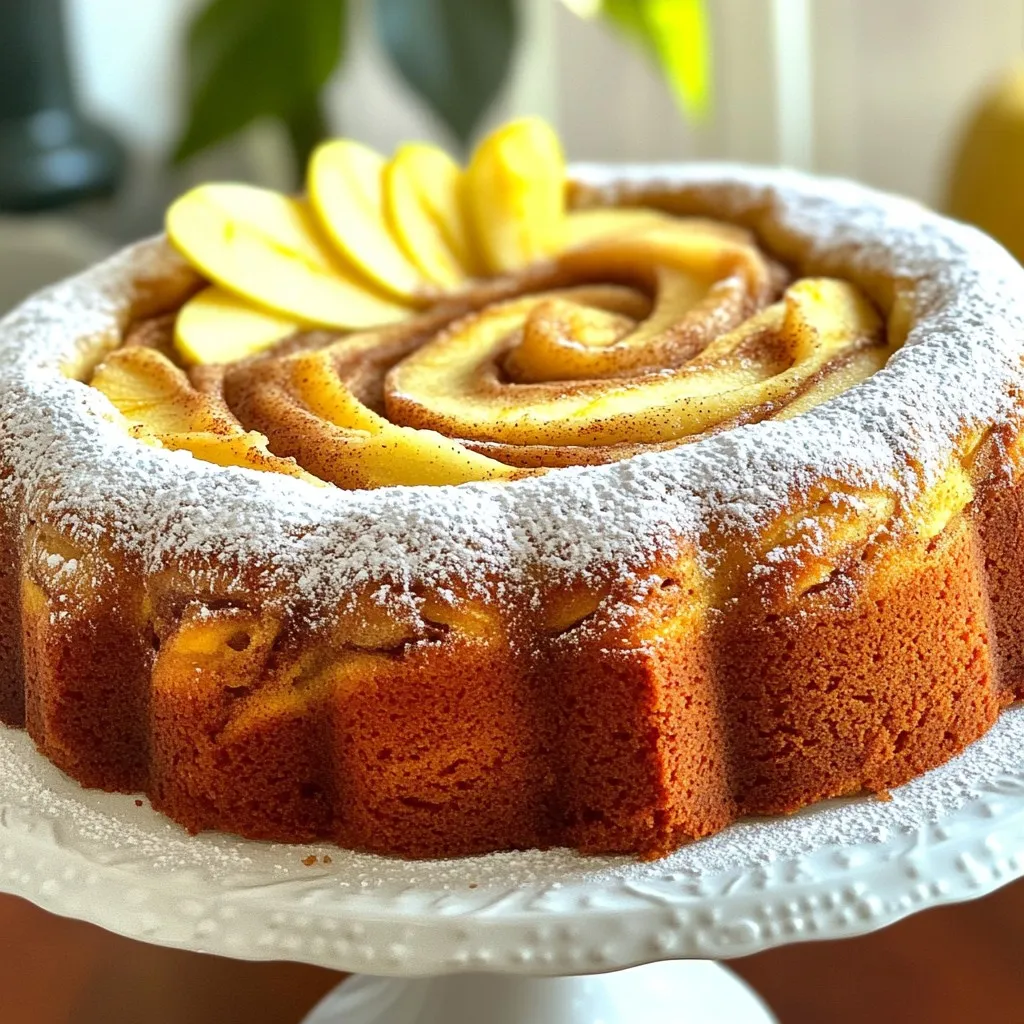
Are you ready to bake something truly scrumptious? The Apple Cinnamon Swirl Pound Cake is both delightful and soft, capturing the warm flavors of fall in every slice. This cake …
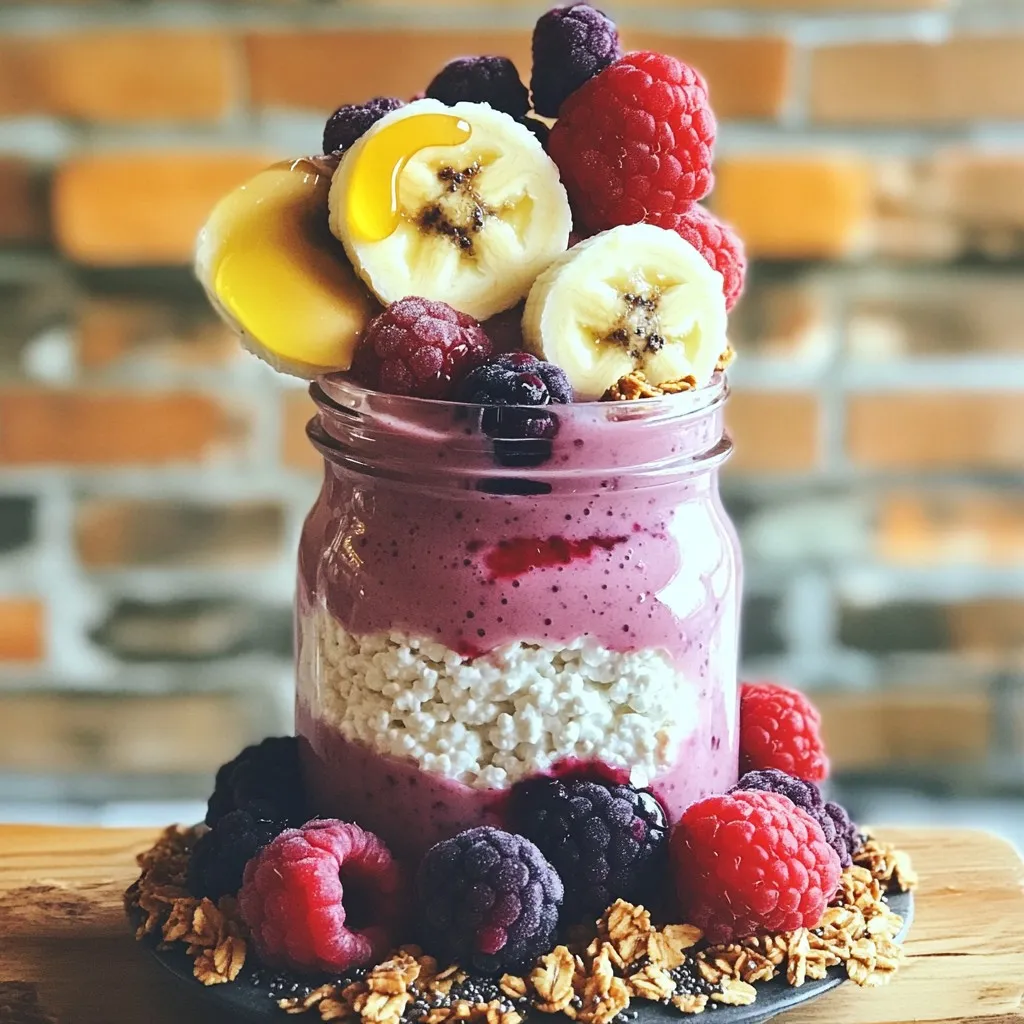
Looking for a quick and tasty way to boost your protein intake? This High-Protein Cottage Cheese Smoothie Jar is your answer! Packed with cottage cheese, delicious fruits, and nutritious extras, …

Welcome to your new favorite weeknight dinner: Sheet Pan Lemon Herb Chicken & Veggies Delight! This easy recipe fills your kitchen with fresh flavors while keeping the cleanup to a …

Looking for a cozy meal that warms you from the inside out? This Slow Cooker Chicken Alfredo Soup is the answer. You need just a few simple ingredients, and the …
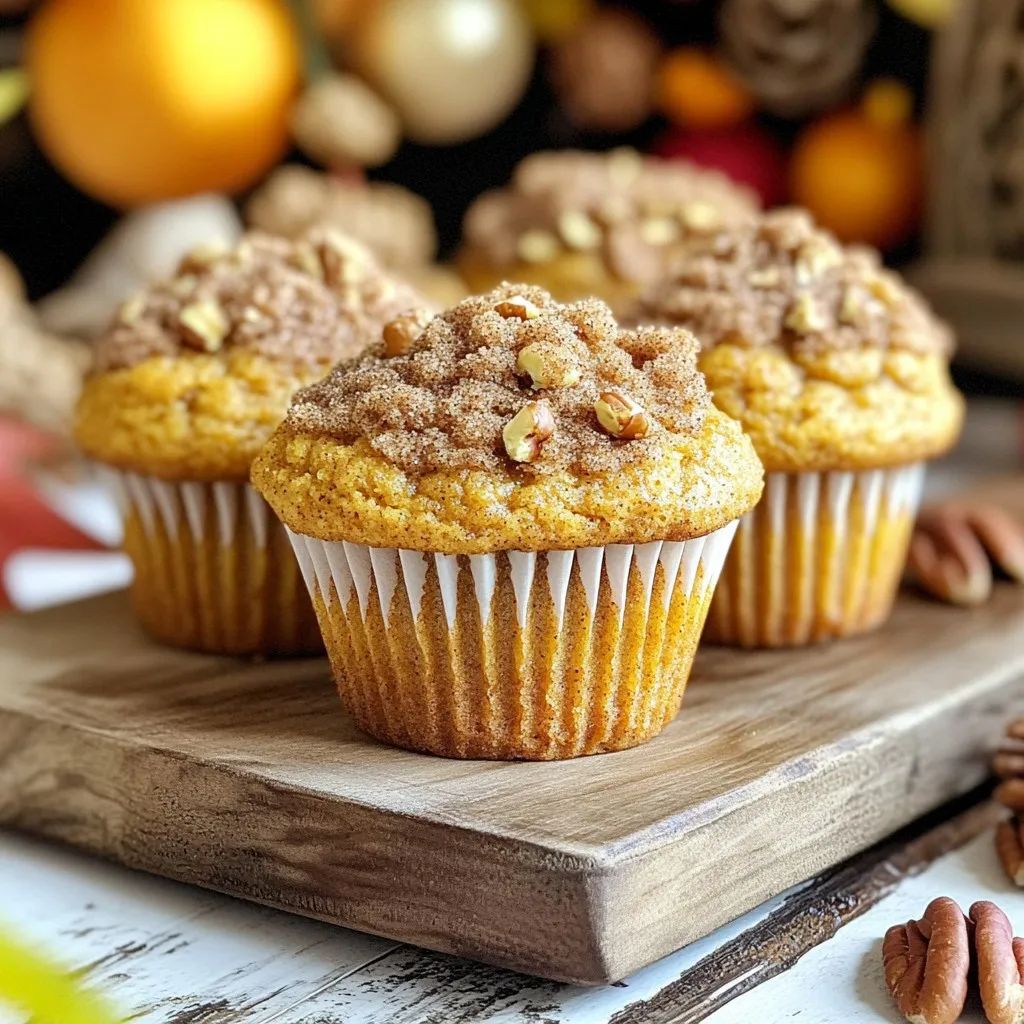
Are you ready to warm up your kitchen with the delightful aroma of pumpkin spice coffee cake muffins? These tasty treats are perfect for chilly mornings or cozy afternoons. In …