Delicious Banana Bread Cinnamon Rolls Easy to Make
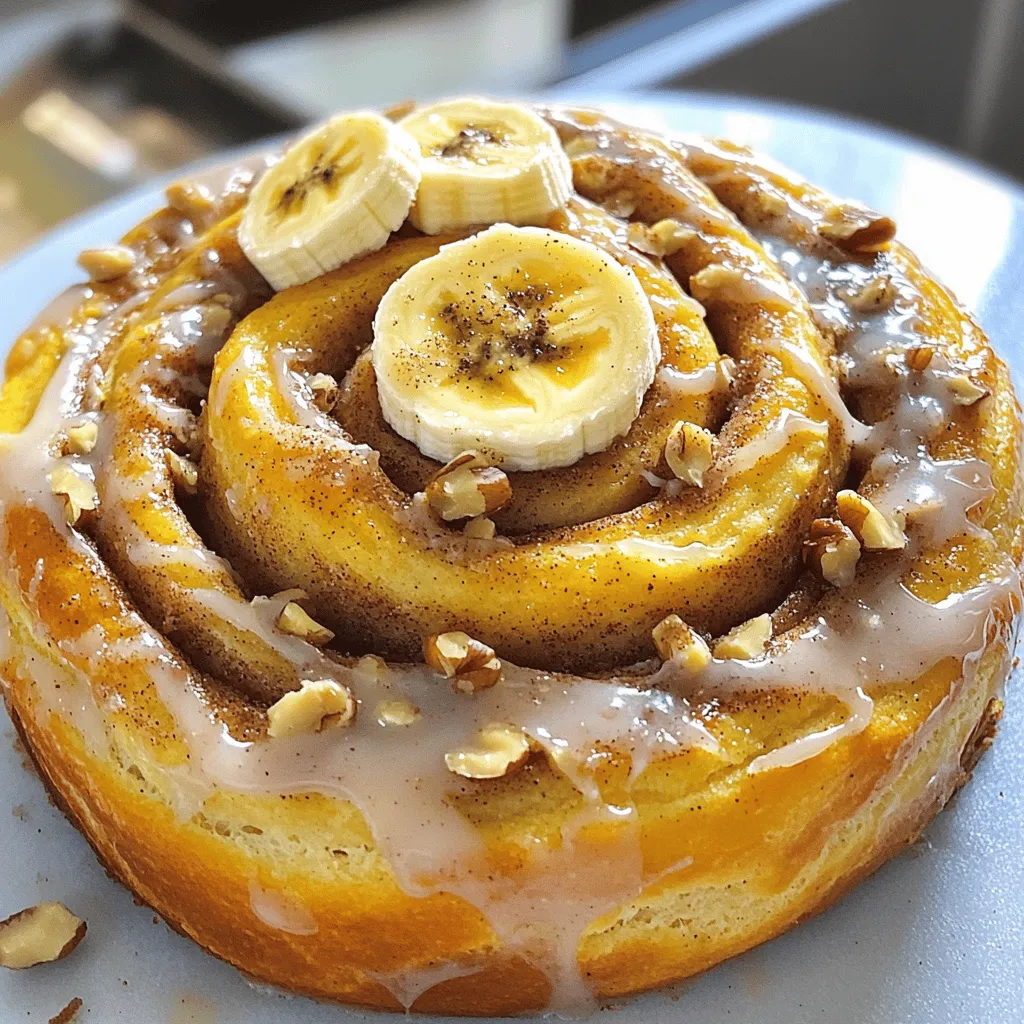
Are you ready to take your baking to the next level? In this post, I’ll show you how to make delicious banana bread cinnamon rolls that are easy and fun. …
Are you ready to take your baking to the next level? In this post, I’ll show you how to make delicious banana bread cinnamon rolls that are easy and fun. …

Indulging in Fried Strawberry Cheesecake Sandwiches is like tasting happiness. This delightful treat blends creamy cheesecake with fresh strawberries, all nestled between crispy brioche. Imagine the sweet crunch as you …

Imagine waking up to the delicious aroma of Overnight Crème Brûlée French Toast. This creamy, caramelized dish brings the joy of crème brûlée to your breakfast table. I’ll guide you …
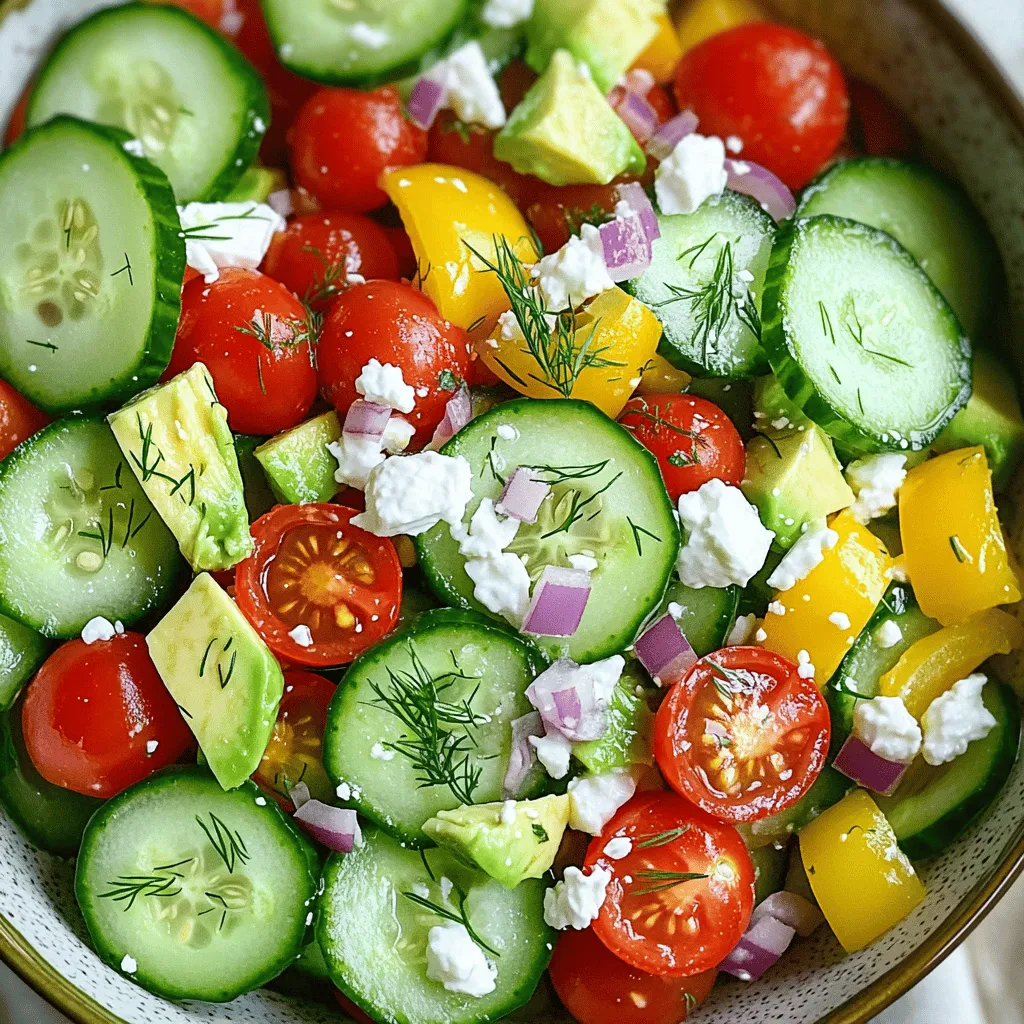
Dive into the crisp and vibrant world of the Cucumber Snack Bowl! This refreshing dish combines crunchy cucumbers, colorful veggies, and a creamy dressing to create a delightful snack. Whether …
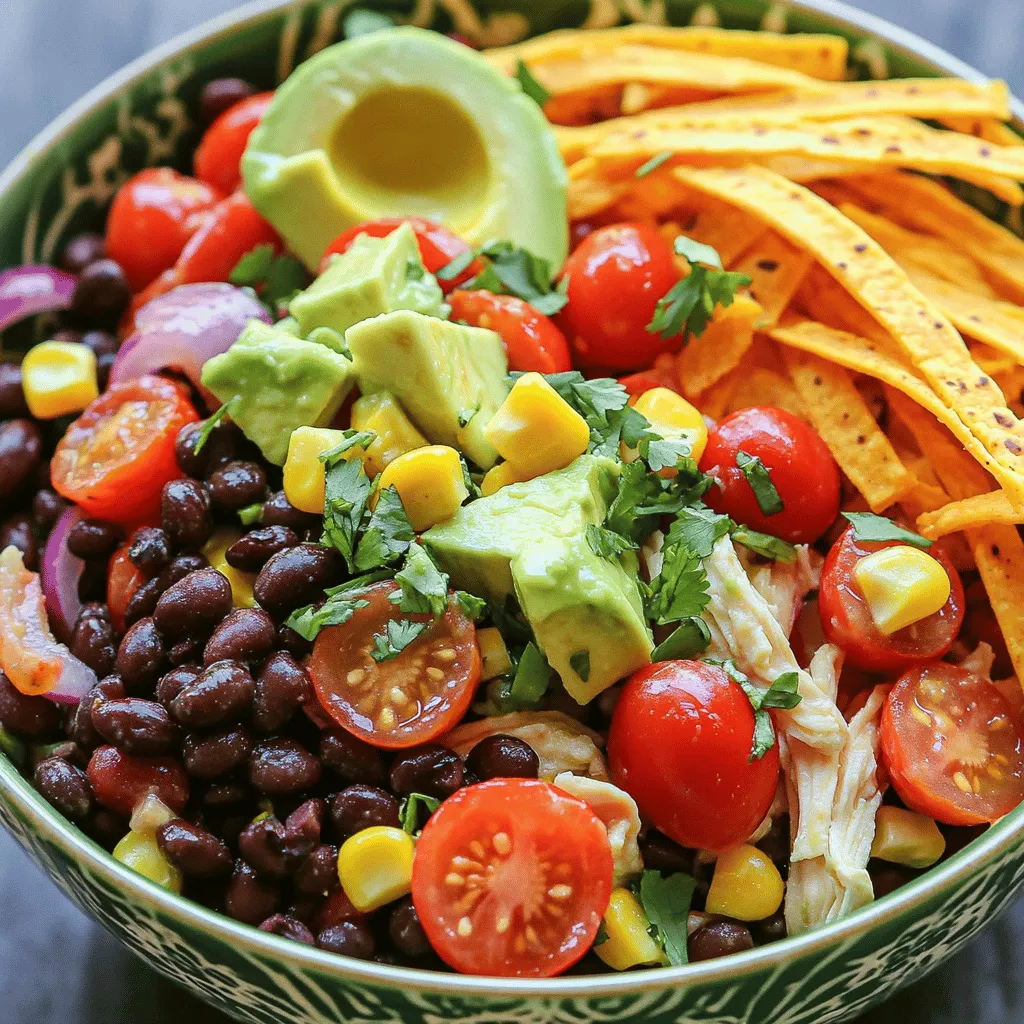
Are you ready to jazz up your lunch routine? This Zesty Southwest Chicken Salad is packed with fresh flavors and vibrant ingredients that make every bite unforgettable. Perfect for meal …
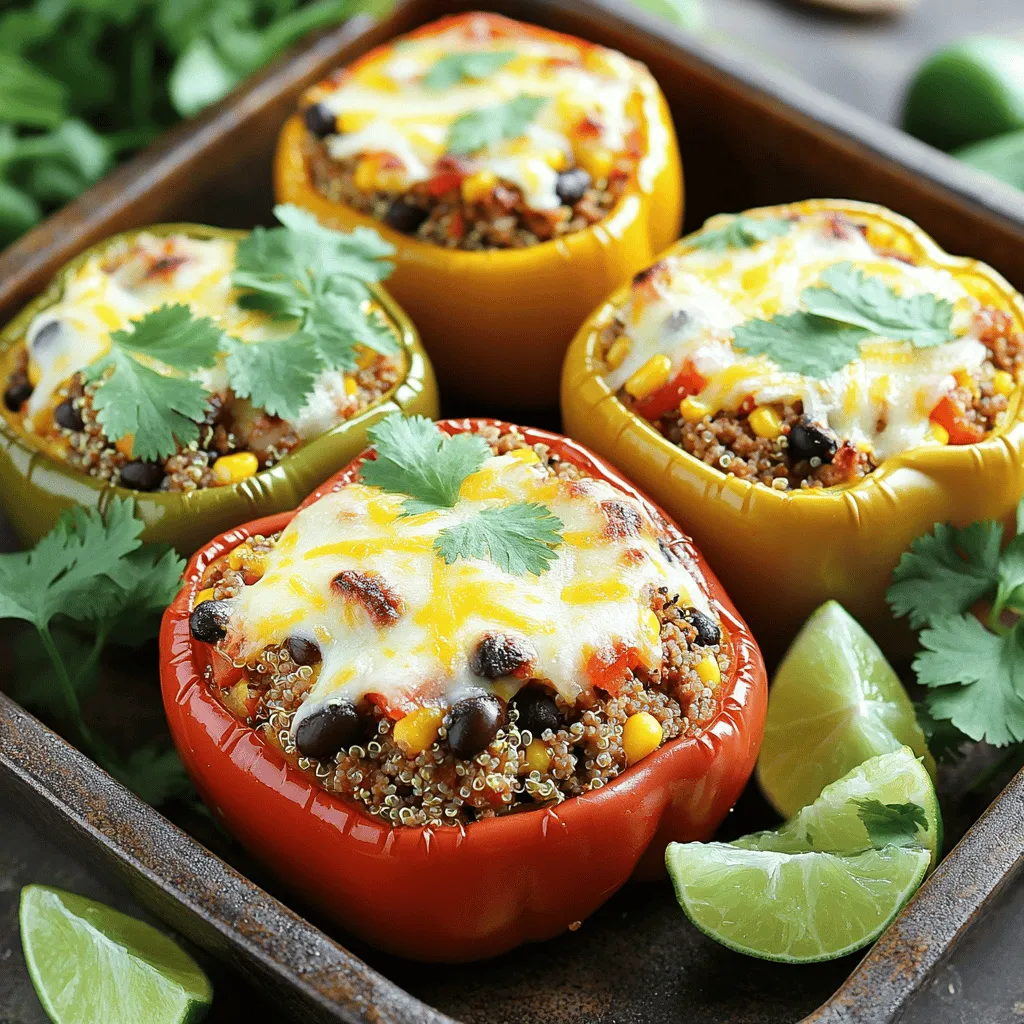
Are you ready for a meal that bursts with flavor? My Ground Turkey and Peppers recipe is a tasty, healthy choice. Packed with ground turkey, colorful bell peppers, and nutrient-rich …
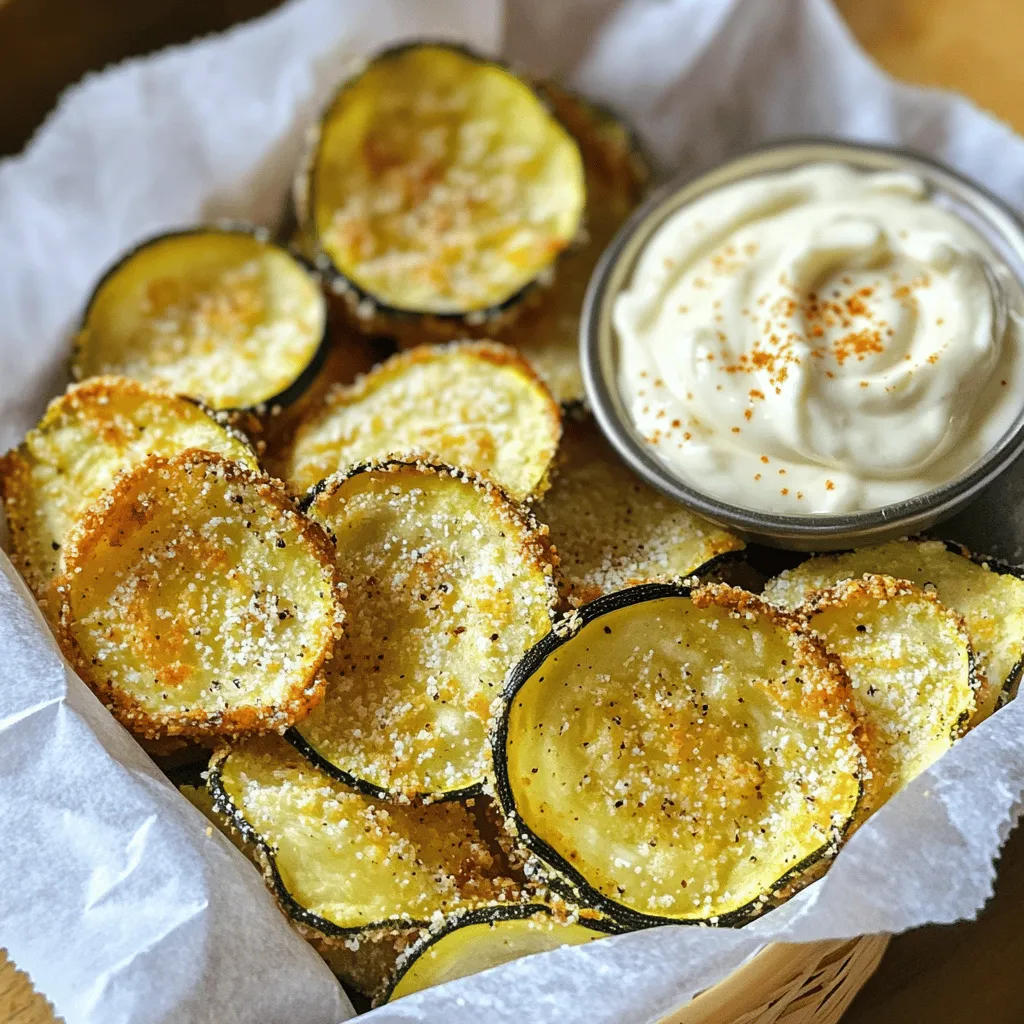
Craving a snack that’s both tasty and healthy? Look no further! My crunchy zucchini chips are perfect for you. They provide the satisfying crunch you want while being packed with …
![To make Air Fryer Crispy Onions, you'll need a few simple ingredients. Here’s the list: - 2 large onions, thinly sliced - 1 cup buttermilk or dairy-free alternative - 1 cup all-purpose flour - 1 teaspoon garlic powder - 1 teaspoon smoked paprika - ½ teaspoon cayenne pepper (optional) - Salt and freshly cracked black pepper - Cooking spray (preferably olive oil or avocado oil) These ingredients work together to create a tasty and crunchy snack. The buttermilk helps to tenderize the onions and adds flavor. The flour coating gives them that satisfying crunch. Garlic powder and smoked paprika bring out a nice depth of flavor, while the cayenne pepper adds a little heat. Don’t forget the salt and pepper; they help to enhance all the flavors. When you gather these ingredients, you will be ready to create the perfect crispy snack. Trust me, once you try them, you’ll want to make this recipe over and over again. For the full recipe, check out the details in the next sections. - Immerse onion rings in buttermilk. - Soak for at least 30 minutes. Start by slicing your onions into thin rings. Place these rings in a large bowl and pour in the buttermilk. The soaking process is crucial. It tenderizes the onions and adds flavor. Aim for a soak time of at least 30 minutes. If you have time, longer is even better! - Combine flour, garlic powder, smoked paprika, and pepper. - Whisk to mix evenly. While the onions soak, prepare the coating. In a separate bowl, mix the all-purpose flour, garlic powder, smoked paprika, and pepper. Whisk the dry ingredients well. This will give your crispy onions a tasty kick and an even coating. - Drain and toss onion rings in the flour mixture. - Shake off excess flour. After the soak, drain the onion rings from the buttermilk. Toss the rings in the flour mixture until they are fully coated. Make sure to shake off any extra flour. Too much flour can lead to clumping and uneven cooking. - Set temperature to 375°F (190°C). - Preheat for 5 minutes. Now, it's time to preheat your air fryer. Set the temperature to 375°F (190°C) and let it preheat for 5 minutes. This step helps ensure that your onions cook evenly and get that perfect crunch. - Spread rings in a single layer in the air fryer. - Air fry for 10-12 minutes, shaking halfway. Once the air fryer is hot, spread the onion rings in a single layer in the basket. Avoid overcrowding to allow air circulation. Cook the onions for 10 to 12 minutes. Remember to shake the basket halfway through. This helps them crisp up evenly. - Remove and cool on paper towels. When the onions turn golden brown and crispy, carefully remove them from the air fryer. Place them on a plate lined with paper towels. This will soak up any extra oil, keeping them crunchy. Enjoy your crispy onions as a snack or topping on your favorite dishes! For the full recipe, check out [Full Recipe]. To get those perfect crispy onions, avoid overcrowding your air fryer. When you pack too many onions in, they steam instead of crisp. This makes them soggy. Cook in batches if needed. The thickness of your onion rings matters. Thicker rings may need extra time to cook. Start with 10 minutes and check for doneness. Adjust the time based on how thick your slices are. Adding spices can take your crispy onions to the next level. Try adding a pinch of smoked paprika or a dash of garlic powder. You can also blend in some onion powder for extra flavor. To balance the flavors, season with salt and pepper. This simple step brings out the taste of the onions. Taste as you go, and adjust to your liking for the best results. Crispy onions make a great topping for many dishes. Sprinkle them on salads for a crunchy bite. They also work well on burgers, adding texture and flavor. For presentation, place them in a small bowl next to your dish. Serve with ranch dressing or spicy mayo for dipping. This gives a fun touch and makes your meal more exciting. For the full recipe, check out the detailed instructions above! {{image_4}} You can add a twist to your crispy onions with different seasonings. Here are some ideas: - Italian Style: Mix in dried oregano, basil, and a bit of grated Parmesan. - Spicy Kick: Use chili powder, cayenne, and a pinch of cumin for heat. - Herb Blend: Combine garlic powder, onion powder, and a touch of thyme. These blends can elevate your crispy onions, making them unique and flavorful. Experiment and find your favorite mix! If you need a gluten-free version, replace all-purpose flour with gluten-free flour. Here are some easy swaps: - Almond Flour: This adds a nutty flavor and great texture. - Rice Flour: This keeps the onions light and crispy. - Chickpea Flour: This adds protein and a distinct taste. These alternatives work well in the recipe, so you can enjoy crispy onions without worries. For a sweet twist, try adding caramelized sugars or balsamic glaze to your crispy onions. Here’s how: - Caramelized Sugar: Toss the onions with a bit of brown sugar before air frying. - Balsamic Glaze: Drizzle some glaze over the cooked onions for a tangy sweetness. These options give your crispy onions a fun flavor change, making them a delightful snack or topping. To keep your crispy onions crunchy, follow these tips: - Cool Completely: Let the onions cool down before storing. - Use Airtight Containers: Store in a glass or plastic container with a tight lid. - Avoid Moisture: Place a paper towel inside to absorb moisture. This helps maintain their crispiness. I recommend using small containers. This way, you can grab just what you need. Storing them in the fridge can keep them fresh for about three days. To reheat your crispy onions and keep them crunchy, use one of these methods: - Oven Method: Preheat your oven to 350°F (175°C). Spread the onions on a baking sheet in a single layer. Heat for about 5-10 minutes. Keep an eye on them to avoid burning. - Microwave Method: This method is quick but may not keep them crispy. Place the onions on a microwave-safe plate. Heat in short bursts of 15-20 seconds until warm. I prefer the oven method for the best crunch. Enjoy them as a snack or use them in your favorite dishes! Yes, you can use different onions. Yellow onions are the most common choice. They have a strong flavor and turn sweet when cooked. Red onions offer a milder taste and add color. Sweet onions, like Vidalia, bring a sugary flavor, making them great for a sweeter snack. All types can work well, but the taste and crunch might vary. To add heat, sprinkle cayenne pepper into your flour mix. You can adjust the amount based on your taste. For more spice, you could also try adding hot sauce to the buttermilk. Another option is to use spicy seasoning blends or mix in black pepper. Experiment to find your perfect heat level. Yes, you can freeze crispy onions! To do this, let them cool completely. Then, spread them in a single layer on a baking sheet. Freeze them for about an hour, then transfer to a freezer bag. This method keeps them from clumping together. Use frozen crispy onions on salads, burgers, or soups. They add a great crunch and flavor! For best results, reheat them in an air fryer or oven to restore crispiness. This blog post covered how to make crispy onions in an air fryer. We discussed the key ingredients, like onions and buttermilk, and detailed the steps for soaking and coating. Tips for achieving the perfect crispiness and flavor were shared, along with variations and storage methods. These crispy onions can enhance many dishes. With a bit of practice, you’ll master this recipe in no time. Now go make some delicious crispy onions!](https://roastedflavors.com/wp-content/uploads/2025/05/70f19e66-5c18-4280-8f2e-94b06846fc79.webp)
If you crave a crunchy snack that packs a punch, Air Fryer Crispy Onions are your answer! This simple recipe transforms humble onions into a flavorful treat that’s perfect on …
![- 1 pound of ground beef or turkey - 1 cup of fresh spinach, finely chopped - 3 cloves of garlic, minced - 1 cup of mozzarella cheese, cut into small cubes - 1/4 cup of grated Parmesan cheese For my Spinach Garlic Meatballs, I often choose beef or turkey. Both meats work well and keep the meatballs juicy. Fresh spinach adds a vibrant color and is packed with nutrients. The minced garlic gives a strong flavor that pairs well with the meat. For cheese, I use mozzarella for its melting quality. It creates a delightful surprise when you bite into the meatball. Parmesan adds a salty kick and depth to the mix. - 1/2 cup of breadcrumbs - 1 large egg - 1 teaspoon of dried oregano - 1 teaspoon of salt - 1/2 teaspoon of black pepper For binding, I add breadcrumbs and an egg. This keeps the meatballs from falling apart. Dried oregano, salt, and pepper bring out the flavors in the meat and spinach. I love using these spices because they are classic and easy to find. - 2 cups of marinara sauce (for serving) - Fresh basil leaves (for garnish) - Optional olive oil When serving, I like to pour warm marinara sauce over the meatballs. The sauce adds moisture and extra flavor. A sprinkle of fresh basil on top makes the dish even better. If you want a touch of richness, drizzle olive oil over the meatballs. You can follow the [Full Recipe] to make this dish even more special. Start by preheating your oven to 400°F (200°C). This high heat helps make the meatballs crispy on the outside. Next, line a baking sheet with parchment paper. This prevents sticking and makes for easy clean-up. Now it’s time to make the meatball mixture. In a large bowl, combine the ground beef or turkey, finely chopped spinach, and minced garlic. Add breadcrumbs, grated Parmesan cheese, the egg, dried oregano, salt, and black pepper. Use your hands or a wooden spoon to mix everything well. Ensure each ingredient is mixed evenly. For stuffing the meatballs, take a small amount of the mixture. It should be about the size of a golf ball. Flatten it slightly in your palm. Place a cube of mozzarella in the center. Carefully fold the meat around the cheese, sealing it inside. Roll it into a smooth ball. This helps keep the cheese from leaking during cooking. Repeat this process until all your mixture is shaped into stuffed meatballs. Make sure each meatball is uniform in size. This guarantees even cooking. Place the stuffed meatballs on the prepared baking sheet. Make sure they have space between them. This allows hot air to circulate, cooking them evenly. Bake the meatballs in your preheated oven for 20 to 25 minutes. They should be fully cooked, golden brown outside, and reach an internal temperature of 165°F (74°C). You can check this with a meat thermometer. Stick it in the thickest part of a meatball to get an accurate reading. Following these steps will result in flavorful, cheesy meatballs. They are perfect for serving with marinara sauce, as noted in the Full Recipe. To make your meatballs, mix the ingredients gently. Overworking the meat makes it tough. Use your hands or a spoon to fold everything together. Aim for a uniform mixture without squishing it too much. Keep your meatballs moist while baking by not overcrowding the pan. Space them out to help them cook evenly. Adding a bit of milk or broth to the mixture can also help keep them juicy. For extra flavor, try adding herbs like parsley or thyme. A touch of red pepper flakes can add some heat if you like spice. You can also swap the mozzarella for other cheeses like gouda or cheddar for a twist. If you want a different meat, ground chicken or pork can work great too. When serving these meatballs, think about how you plate them. You can serve them over spaghetti with marinara sauce for a classic look. For a fun twist, place them in a sub roll with sauce and cheese on top. Garnish with fresh basil leaves for a pop of color. A drizzle of olive oil and a sprinkle of grated Parmesan adds a nice touch. For a side, garlic bread or a fresh salad pairs well with these meatballs. For the full recipe, check out the [Full Recipe]. {{image_4}} You can easily make these spinach garlic meatballs gluten-free by using gluten-free breadcrumbs. This simple swap keeps the texture and flavor intact. For those who follow a vegetarian or vegan diet, use plant-based meat substitutes. Brands like Beyond Meat or Impossible Burger work well. Just ensure the substitutes are seasoned to match the original recipe. To add more depth, try mixing in herbs like parsley or thyme. These fresh additions can brighten the flavor. You can also play with different cheeses. Try using sharp cheddar or creamy feta instead of mozzarella for a unique twist. Spices, like crushed red pepper or smoked paprika, can give the meatballs a kick. Experimenting with these options keeps the dish exciting. These meatballs shine in various serving styles. You can place them in a sub sandwich, topped with marinara and cheese, for a hearty meal. For an appetizer, serve them on skewers with toothpicks. This makes them easy to grab and enjoy. You can also adapt them for meal prep. Just make a big batch and store them for easy family-style dining. They reheat well and stay tasty, making them perfect for busy weeknights. For the complete recipe on making these delicious meatballs, check out the Full Recipe section. To store leftovers properly, let the meatballs cool first. Place them in an airtight container. This keeps them fresh and prevents odors from mixing. In the fridge, they last about 3 to 4 days. Freezing meatballs is simple. First, let them cool completely. Then, arrange them on a baking sheet. Freeze them for about 1 hour until firm. After that, transfer them to a freezer-safe bag. Remove as much air as possible. They can last up to 3 months in the freezer. When you want to enjoy them again, thaw them overnight in the fridge. For best results, reheat them in the oven. This keeps them from getting soggy and helps them stay flavorful. To retain moisture and flavor, I recommend reheating in the oven. Preheat it to 350°F (175°C). Place the meatballs on a baking sheet and cover them with foil. Heat for about 15 to 20 minutes until warmed through. You can also use a microwave, but keep in mind it may dry them out. If using the microwave, place them on a plate and cover with a damp paper towel. This helps keep them moist, but the oven method is better for taste. For the full recipe of Spinach Garlic Meatballs Stuffed with Mozzarella, check out the details above. How can I ensure my meatballs aren't dry? To keep your meatballs moist, use ground meat with some fat. Adding fresh herbs and using an egg helps too. Do not overmix the meat mixture. This keeps the meatballs tender. Can I use frozen spinach instead of fresh? Yes, you can use frozen spinach! Just thaw it first and drain any excess water. This helps avoid soggy meatballs. How long do I need to bake these meatballs? Bake the meatballs for 20 to 25 minutes. Check them around the 20-minute mark to avoid overcooking. What temperature should the meatballs reach to be fully cooked? Your meatballs should reach an internal temperature of 165°F (74°C). A meat thermometer will help you check this easily. What can I substitute for mozzarella cheese? If you need a substitute for mozzarella, use provolone or gouda. Both melt well and add great flavor. Are there alternatives for breadcrumbs in meatball recipes? You can use crushed crackers or oats as a breadcrumb alternative. Both bind the meatballs and add texture. For a full recipe, check out Spinach Garlic Meatballs Stuffed with Mozzarella. In this blog post, we explored how to make delicious meatballs. We covered main ingredients, including meat, spinach, garlic, and cheese. We also shared tips for flavor, cooking techniques, and serving ideas. Remember, the key to great meatballs lies in proper mixing and baking. Whether you stick to the recipe or get creative with variations, delicious results await. Follow these steps, and you’ll enjoy tasty meatballs perfect for any meal. Enjoy your cooking adventure!](https://roastedflavors.com/wp-content/uploads/2025/05/a4c50d94-3d02-4f83-b0bb-3e2af46d3350.webp)
Looking for a fun and tasty way to enjoy a hearty meal? Try my Spinach Garlic Meatballs Stuffed with Mozzarella! These delicious meatballs combine fresh spinach, garlic, and your choice …
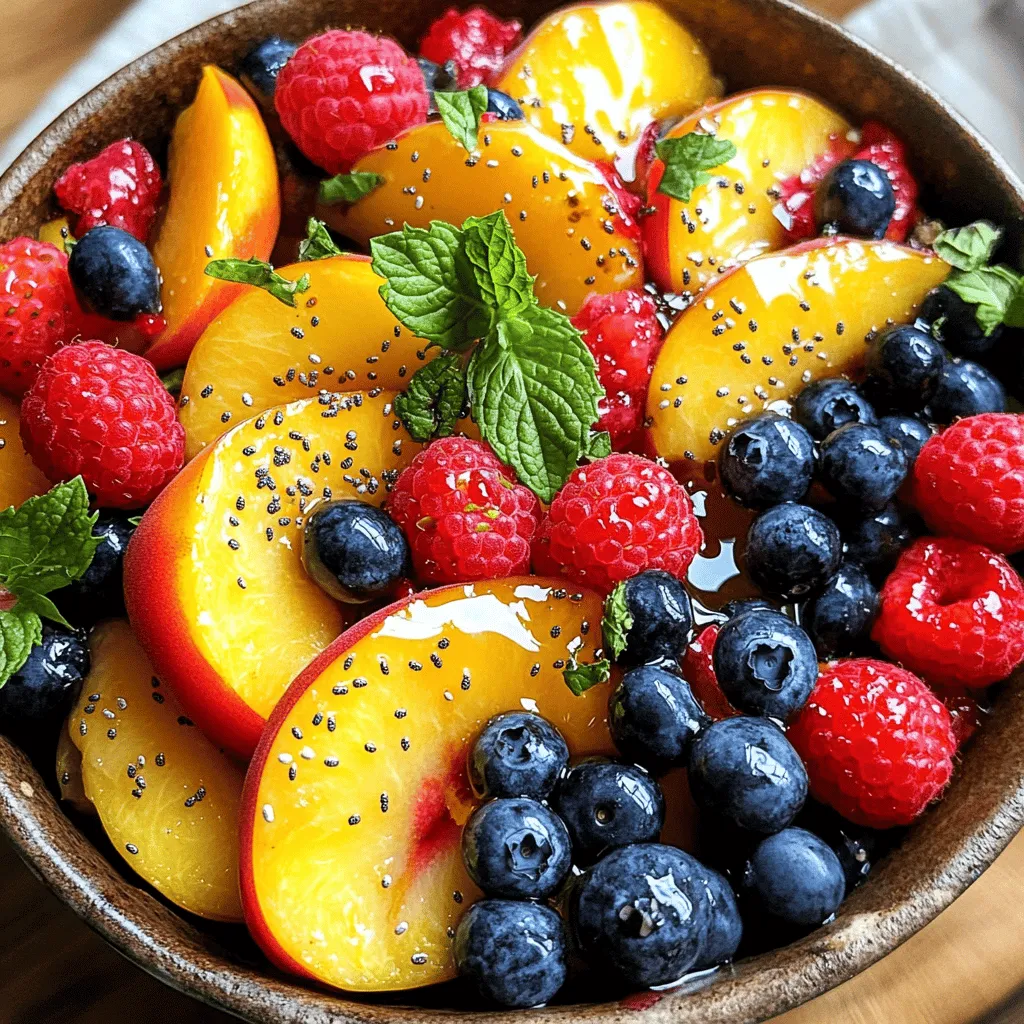
Beat the summer heat with a refreshing Peach Berry Fruit Salad! This vibrant dish features ripe peaches, juicy strawberries, and tangy blueberries that burst with flavor. Perfect for a sunny …