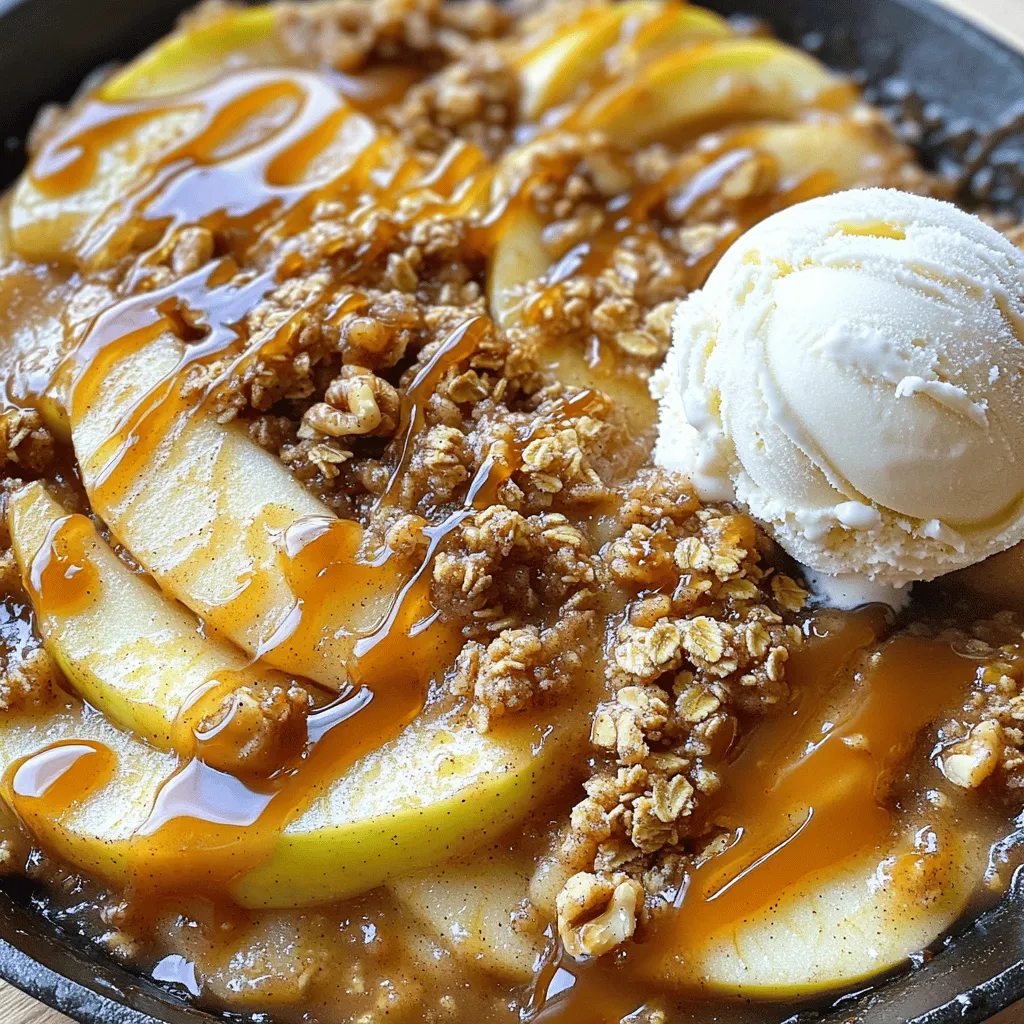
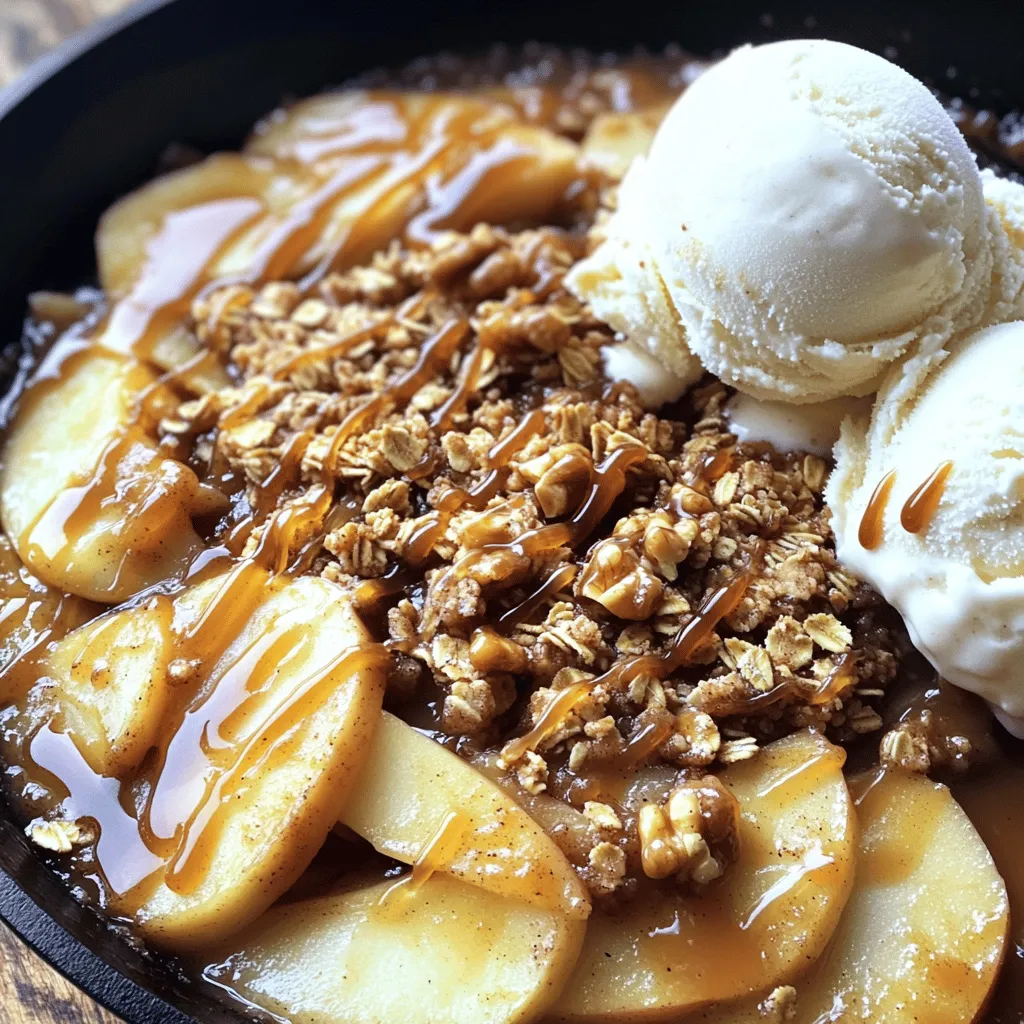
Are you ready to impress your family with a warm, sweet dessert? My Skillet Caramel Apple Crisp is simple and delightful! With juicy apples, a crispy topping, and gooey caramel, this recipe brings comfort to any gathering. I’ll guide you step-by-step through the process, share some handy tips, and even suggest fun variations. Dive in to discover how to create this classic treat that everyone will love!
Ingredients
List of Ingredients
– 4 large apples, peeled, cored, and sliced into thin wedges
– 1 tablespoon lemon juice
– 1 teaspoon ground cinnamon
– ½ cup packed brown sugar
– 1 tablespoon all-purpose flour
– 1 cup rolled oats
– ½ cup all-purpose flour
– ½ cup cold unsalted butter, cubed into small pieces
– 1 teaspoon pure vanilla extract
– ½ cup chopped walnuts (optional)
– ½ cup caramel sauce
– Ice cream for serving (optional)
To make this skillet caramel apple crisp, you need fresh apples. I like to use large, firm apples. You want apples that will hold their shape when baked. Next, the dry ingredients and spices add flavor. Ground cinnamon gives warmth, while brown sugar adds sweetness.
For the topping, rolled oats create a chewy texture. Flour makes it crispy. Cold butter binds everything together. If you want crunch, add walnuts. Finally, caramel sauce brings a rich sweetness. Ice cream pairs perfectly for a warm dessert.
Gather these ingredients, and you are on your way to a delicious treat!
Step-by-Step Instructions
Preheat the Oven
Preheating your oven to 350°F (175°C) is key. A hot oven helps the crisp bake evenly. This step ensures the topping turns golden and the apples bubble nicely. While the oven heats, you can prep the apples.
Prepare the Apples
In a large bowl, mix the sliced apples with lemon juice, ground cinnamon, brown sugar, and flour. Toss gently so the apples get coated well. Let this mixture sit for about 10 minutes. This wait time helps the apples soften and absorb flavor.
Cook the Apples in Skillet
Heat a large, oven-safe skillet on medium heat. Pour in the apple mixture. Cook for about 5-7 minutes, stirring often. The apples should start to soften but still hold some crunch. Once they’re tender, take the skillet off the heat.
Make the Crisp Topping
In a separate bowl, mix rolled oats, flour, brown sugar, and cold butter cubes. Use your fingers or a pastry cutter to combine until it looks like coarse crumbs. If you like, stir in chopped walnuts for added crunch.
Assemble the Dish
Spread the warm apple mixture evenly in the skillet. Then, sprinkle the oat topping generously over the apples. Make sure the topping covers all the apples for even baking.
Bake to Perfection
Carefully move the skillet to the preheated oven. Bake for 25-30 minutes. Look for a golden brown topping and bubbling apples around the edges. This means your dish is ready.
Add Caramel Delight
As soon as you take the skillet out, drizzle caramel sauce over the hot crisp. Timing is important here. Let it cool slightly for the flavors to mix well.
Serve and Enjoy
Scoop generous portions into bowls. For a fun twist, add a scoop of ice cream on top. The warm crisp and cold ice cream create a delightful contrast. You can also garnish with extra cinnamon or walnuts for a pretty finish.
Tips & Tricks
How to Select the Best Apples
When it comes to making a great apple crisp, the type of apples you choose matters. I like using a mix of sweet and tart apples. Some good choices include:
– Granny Smith: tart and holds shape well
– Honeycrisp: sweet and juicy
– Fuji: crisp and slightly sweet
Make sure the apples are ripe. A ripe apple has a nice color and feels firm but not hard. If they are too soft, they may turn mushy in the oven.
Perfecting the Crisp Topping
The topping is key to a delicious apple crisp. You can add flavor in many ways. Here are some ideas:
– Add spices like nutmeg or allspice for warmth.
– Mix in some brown sugar for extra sweetness.
– Use different nuts, like pecans or almonds, instead of walnuts.
If you have dietary needs, you can make swaps. Use coconut oil instead of butter for a dairy-free option. You can also use gluten-free oats and flours to keep it gluten-free.
Serving Suggestions
To make your caramel apple crisp even better, serve it with ice cream. The cold ice cream melts into the warm crisp, creating a great mix. Here are some other ideas for serving:
– Top with whipped cream for extra richness.
– Serve with a side of caramel sauce for dipping.
– Pair with a hot drink, like cider or coffee, for a cozy touch.
Variations
Gluten-Free Options
You can make this dish gluten-free easily. Swap the all-purpose flour for almond flour or oat flour. These flours work well and keep the crisp texture. You can also use certified gluten-free oats for the topping. When mixing the apple ingredients, ensure all items are gluten-free. This way, everyone can enjoy the dish.
Vegan Adaptations
Want to make this recipe vegan? Replace the butter with coconut oil or vegan butter. Both options will keep it rich and tasty. You can also use maple syrup instead of brown sugar for sweetness. This keeps the dish sweet while adding a hint of flavor. Use non-dairy ice cream for serving if desired, ensuring everyone can enjoy a scoop.
Nut-Free Alternatives
If you have nut allergies, just skip the walnuts. You can add sunflower seeds or pumpkin seeds instead. They provide crunch without the nut allergy risk. For the topping, using rolled oats alone offers a nice texture. This way, everyone can enjoy the sweet, caramel goodness without worry.
Storage Info
How to Store Leftovers
To keep your skillet caramel apple crisp fresh, place it in an airtight container. Use a glass or plastic container with a tight lid. This helps prevent air from getting in and keeps it tasty. It’s best to store it in the fridge. Make sure it cools down first before sealing it up. This way, it won’t create steam inside the container.
Reheating Instructions
When you want to enjoy your leftovers, you can reheat them in the oven. Preheat the oven to 350°F (175°C). Place the crisp in an oven-safe dish and cover it with foil. Heat for about 15-20 minutes until warm. This method keeps the topping crunchy. You can also use a microwave, but it may soften the crisp. Heat it in short bursts of 30 seconds until hot.
Freezing the Caramel Apple Crisp
To freeze your caramel apple crisp, let it cool completely. Then, place it in a freezer-safe container. You can also wrap it tightly in plastic wrap, then aluminum foil. This helps protect it from freezer burn. It will last for up to three months in the freezer. When you’re ready to eat it, move it to the fridge to thaw overnight. After thawing, reheat in the oven for the best texture.
FAQs
Can I use different types of fruit?
Yes, you can use other fruits. Pears, peaches, or berries work well. Just keep the amount the same, about four cups total. Adjust the sugar based on the fruit’s sweetness.
How long will it keep in the fridge?
Skillet caramel apple crisp lasts about three to five days in the fridge. Look for signs like a sour smell or mold. If it smells off or looks strange, toss it out.
Can I prepare it in advance?
You can make the apple mixture a day ahead. Store it in the fridge. For the topping, keep it in a separate container. When ready, just bake it fresh.
What type of skillet is best for this recipe?
An oven-safe skillet is best. Cast iron or stainless steel works great. Avoid non-stick skillets for high heat. Always check if the handle can go in the oven.
This blog post covered how to make a delicious caramel apple crisp from scratch. We explored key ingredients, step-by-step instructions, and handy tips. Whether you’re looking for a gluten-free version or ways to serve it, you now have the tools to create this treat at home. Remember, the right apples and topping make all the difference. Enjoy every bite, and share it with friends and family for the best experience. Dive into this recipe, and let your kitchen fill with warm, sweet scents!