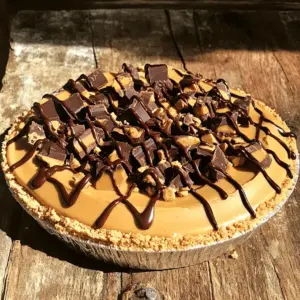
Craving a sweet treat that’s both easy and delicious? Look no further! This No Bake Butterfinger Pie uses simple ingredients to create a tasty dessert that will impress your friends and family. Forget about baking—this recipe whips up in no time, thanks to a no-bake Graham cracker crust and creamy peanut butter filling. Ready to dive in? Let’s get started on creating your new favorite dessert!
Ingredients
List of Ingredients
– 1 cup crushed graham crackers
– 1/4 cup unsalted butter, melted
– 1 cup smooth peanut butter
– 1 cup powdered sugar
– 8 oz cream cheese, at room temperature
– 1 cup whipped topping
– 1 cup Butterfinger candies, chopped
– 1/2 cup chocolate sauce
To make No Bake Butterfinger Pie, gather all the ingredients. The crushed graham crackers form the crust. Melt the unsalted butter to mix with the crumbs. This gives the crust a rich flavor.
You need smooth peanut butter for the filling. It blends well with cream cheese. The powdered sugar adds sweetness. The cream cheese must be at room temperature. It helps to mix easily.
Whipped topping makes the filling light and fluffy. You can use Cool Whip or homemade whipped cream. The chopped Butterfinger candies add a crunchy texture. Finally, chocolate sauce drizzles nicely on top.
Each ingredient plays a vital role. Using quality ingredients ensures a tasty pie. Be ready to enjoy this delightful dessert!
Step-by-Step Instructions
Preparing the Graham Cracker Crust
1. In a medium bowl, combine 1 cup of crushed graham crackers and 1/4 cup of melted unsalted butter. Mix well with a fork until every crumb is coated.
2. Press this mixture firmly into the bottom and slightly up the sides of a 9-inch pie dish. Make sure it is even and compact. Set the crust aside for now.
Making the Peanut Butter Filling
1. In a large bowl, beat 8 oz of cream cheese using a hand mixer. Mix until it is smooth and creamy.
2. Gradually blend in 1 cup of smooth peanut butter and 1 cup of powdered sugar. Keep mixing until it is silky and well combined.
3. Now, gently fold in 1 cup of whipped topping. Use a spatula and be careful not to deflate the mixture.
4. Stir in 1 cup of chopped Butterfinger candies, saving some for later.
Assembling the Pie
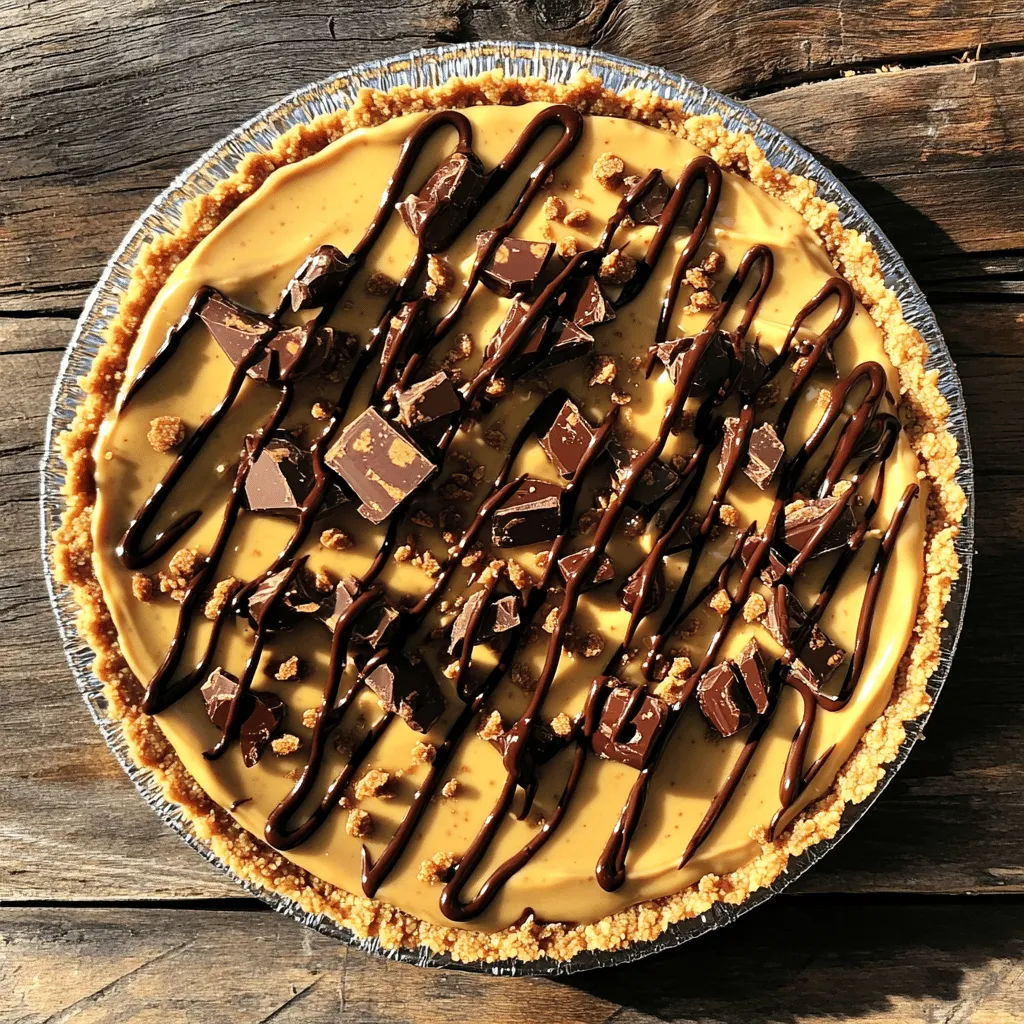
1. Spread the peanut butter filling evenly over the graham cracker crust. Use a spatula to smooth the top.
2. Cover the pie with plastic wrap and place it in the fridge. Let it chill for at least 4 hours, but overnight is better. Enjoy your no-bake treat!
Tips & Tricks
Ensuring a Creamy Texture
To get a creamy texture, soften your cream cheese first. Let it sit at room temperature for about 30 minutes. This helps it mix well.
When mixing, use a hand mixer or stand mixer. Beat the cream cheese on medium speed. This makes it smooth. Gradually add peanut butter and powdered sugar. Keep mixing until the filling is silky and well combined.
Achieving the Perfect Crust
For the crust, press the graham cracker mix evenly into the pie dish. Use the bottom of a measuring cup to flatten it. Press hard to avoid a crumbly crust.
If you want a change, use chocolate cookies or vanilla wafers instead of graham crackers. Both add a new flavor twist!
Presentation Ideas
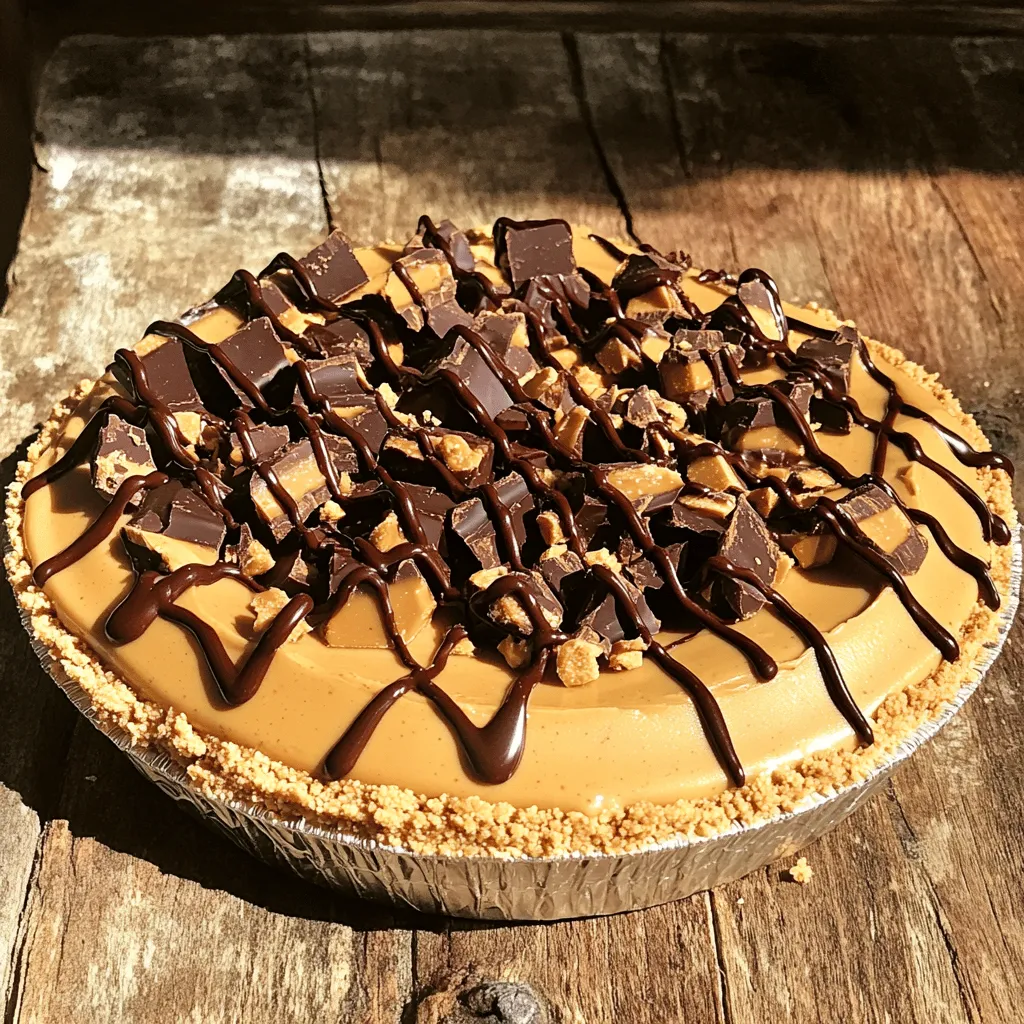
Serve slices on individual dessert plates for a nice touch. You can add a dollop of whipped topping on each slice. Drizzle some chocolate sauce on top for extra flair.
To make it more inviting, sprinkle some chopped Butterfinger candies over the pie before serving. This adds color and crunch!
Variations
Flavor Combinations
You can change up your no bake Butterfinger pie in fun ways. Adding different candies gives you a new taste. Try Snickers, Reese’s, or M&M’s for a tasty twist. You can also use flavored whipped toppings like chocolate or vanilla. This adds extra flavor and makes each bite special.
Dietary Adjustments
If you need gluten-free options, swap out the graham crackers for gluten-free cookies. Look for brands that fit your diet. For vegan substitutes, use dairy-free cream cheese and coconut whipped cream. The pie will still be creamy and delicious!
Chocolate Lovers Edition
For chocolate lovers, why not add chocolate to the filling? Mix in melted chocolate or chocolate chips for a richer taste. You can also use a chocolate cookie crust instead of the graham cracker crust. This gives a double chocolate treat that will please any chocolate fan.
Storage Info
Best Practices for Refrigeration
To keep your No Bake Butterfinger Pie fresh, cover it tightly. You can use plastic wrap or aluminum foil. Properly covering the pie helps keep it moist. Store it in the fridge for up to four days. If you have leftover pie, slice it for easier access.
Freezing the Pie
You can freeze this pie for longer storage. First, let it chill in the fridge for a few hours. Once set, cover it well in plastic wrap and then in foil. This double layer prevents freezer burn. To thaw, place the pie in the fridge overnight. This keeps the texture nice and creamy.
Shelf Life
The pie lasts about four days in the fridge. After that, the texture may change. If you notice any odd smells or colors, it’s best to toss it. Always trust your senses when it comes to food safety. Enjoy your pie while it’s fresh for the best taste!
FAQs
Can I use crunchy peanut butter?
Yes, you can use crunchy peanut butter instead of smooth. It adds a nice texture. The pie will still taste great and have that classic peanut flavor. Just make sure the crunchy bits mix well with the other ingredients.
How long should I refrigerate the pie?
You should refrigerate the pie for at least 4 hours. However, I recommend leaving it overnight. This helps the pie set properly and makes it easier to slice. The longer it chills, the better the flavors blend.
What can I substitute for whipped topping?
If you prefer, you can use homemade whipped cream. Just whip heavy cream until soft peaks form. You can also use Greek yogurt for a healthier option. Both will work well in this pie and still taste delicious.
Is it possible to make this pie ahead of time?
Yes, you can make this pie a day or two in advance. Just keep it covered in the fridge. This makes it a great choice for parties or gatherings. The flavors deepen as it sits, making each bite even better.
This blog post covered a delicious peanut butter pie recipe. We explored the key ingredients like graham crackers and cream cheese. You learned how to prepare the crust and make the filling step-by-step. We shared tips for a creamy texture and ways to present the pie beautifully. Don’t forget the fun variations and storage tips for leftovers. This pie is easy to customize, so feel free to get creative. Enjoy sharing this delightful treat with friends and family!