
Looking for a dessert that’s both sweet and simple? Let me introduce you to my Salted Honey Pie. This delightful treat combines the warm richness of honey with a hint of sea salt, creating a flavor that dances on your taste buds. With just a few easy steps and minimal ingredients, you can impress your family and friends. Ready to dive in? Let’s whip up this pie together!
Ingredients
List of Ingredients
– 1 pre-made graham cracker pie crust
– 1 cup high-quality honey (wildflower or clover recommended)
– 2 tablespoons unsalted butter, melted
– 1 cup heavy whipping cream
– 3 large eggs, at room temperature
– 1 teaspoon pure vanilla extract
– 1/4 teaspoon fine sea salt (plus extra for garnish)
– 1 tablespoon freshly squeezed lemon juice
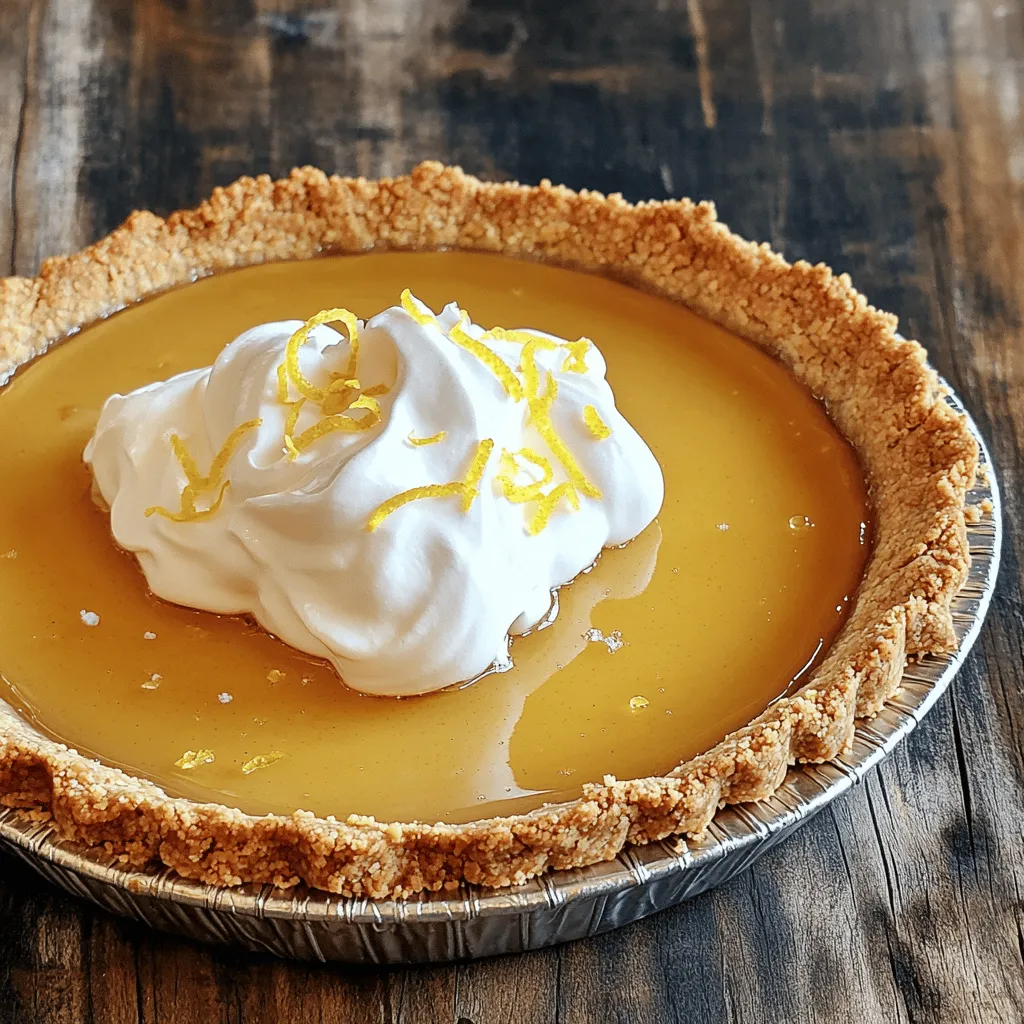
– Optional Garnish: Lightly sweetened whipped cream and zested lemon peel
To make this salted honey pie, gather these simple yet rich ingredients. The quality of your honey is key. Wildflower and clover honeys bring great flavor. The graham cracker crust offers a crunchy base that pairs well with the sweet filling.
The unsalted butter adds creaminess and depth to the pie. Heavy whipping cream creates a rich texture. Room temperature eggs help the pie set perfectly. Vanilla extract adds warmth and depth. Lemon juice balances sweetness and gives a fresh taste. The fine sea salt brings out all the flavors.
Feel free to add whipped cream and lemon zest for garnish. These toppings add elegance and extra flavor. You can find the full recipe in this article. Enjoy the process of making this delightful pie!
Step-by-Step Instructions
Preparation Steps
1. Preheat your oven to 350°F (175°C). This step is key for even baking.
2. In a medium bowl, mix the honey and melted butter together. Whisk until smooth.
3. Next, add the heavy cream, eggs, vanilla, salt, and lemon juice. Whisk until the mix is smooth and a bit airy. This gives the pie a light texture.
Baking the Pie
1. Carefully pour the honey mixture into your graham cracker pie crust. Make sure it spreads evenly.
2. Bake in the oven for about 30-35 minutes. The edges should look set, while the center jiggles slightly.
3. After baking, let the pie cool on the counter for about 30 minutes. Then, put it in the fridge. Chill it for at least 2 hours. This helps it set perfectly.
For the Full Recipe, refer back to the ingredients list and enjoy making this delightful pie!
Tips & Tricks
Perfecting Your Pie
Using room temperature eggs is key for this pie. Cold eggs can make the batter lumpy. When eggs are at room temp, they mix more smoothly. This helps create a light and fluffy filling.
Whisking the mixture well adds air. Air makes your pie light. I recommend whisking vigorously until you see bubbles form. This step is simple but very important for the pie’s texture.
Substitutions and Enhancements
You can swap honey for maple syrup if you want a different flavor. Maple syrup brings a unique taste and sweetness. For a lighter option, consider using agave nectar.
If you want a twist on the cream, try coconut cream. It gives a nice, rich flavor and works well with honey. You can also experiment with flavored extracts. Almond or orange extract can add a fun spin.
For the crust, use crushed cookies or nuts. You can even make a chocolate crust for a rich taste. The options are endless, so get creative! You can find the full recipe to explore all the possibilities.
Variations
Flavor Variations
You can change the taste of your salted honey pie to fit your mood. A great way to do this is by adding spices. You can try cinnamon or nutmeg. Just add a pinch when mixing your honey and butter. This will give your pie a warm, cozy flavor.
Another fun idea is to use flavored creams or extracts. For example, replace plain cream with a vanilla bean or almond extract. These flavors can make your pie shine in new ways. They add depth and surprise to every bite.
Dietary Adjustments
If you need a gluten-free option, you can easily swap the crust. Look for gluten-free graham cracker crusts at the store. You can also make your own using gluten-free cookies.
For those who want a vegan salted honey pie, plant-based options work well. Use coconut cream instead of heavy cream. You can also replace the eggs with flaxseed meal or chia seeds mixed with water. This keeps the pie rich and tasty without animal products.
Feel free to explore these variations and find what suits you best! For the basic recipe, check out the Full Recipe.
Storage Info
Storing Leftovers
To keep your salted honey pie fresh, wrap it tightly. Use plastic wrap or aluminum foil. This will help keep the pie from drying out. Store it in the fridge for up to five days. Make sure the pie is cool before wrapping it. If you want to enjoy it later, chilling it first is key.
Freezing Instructions
If you want to freeze the pie, follow these steps. First, let the pie cool completely. Then, wrap it in plastic wrap. Next, place it in a freezer-safe bag. This will help prevent freezer burn. You can freeze the pie for up to three months. When you’re ready to enjoy it, take it out. Thaw it in the fridge overnight for the best texture. Serve it with some whipped cream on top for a treat!
FAQs
What can I use instead of graham cracker crust?
If you want a change, try using a cookie crust. You can use vanilla wafers or digestive biscuits. For a healthier option, consider an almond flour crust. Each option gives a unique taste and texture.
How do I know when the pie is done baking?
Check the pie at 30 minutes. The edges should look set but the center will jiggle a bit. This means it is not overcooked. Once cooled, it will firm up nicely.
Can I make this pie in advance for gatherings?
Yes, you can make this pie ahead of time. It keeps well in the fridge for up to three days. This makes it a great choice for parties. Just chill it and serve with whipped cream when ready. For the full recipe, check out the instructions above.
This pie combines a crispy crust with smooth honey filling. You learned how to prepare, bake, and store it. Remember to use room temperature eggs for the best texture. Feel free to get creative with flavors and adjustments.
A well-made pie is always a crowd-pleaser. Simple steps ensure you create a dish everyone will love. Enjoy every bite and share it with friends. Your kitchen is now a sweeter place!
