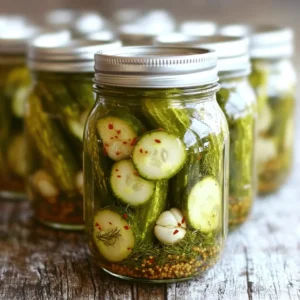
Are you ready to crunch into some delicious homemade sour pickles? In this guide, you’ll discover a recipe that brings out fresh and bold flavors with each bite. I’ll share simple ingredients, easy steps, and expert tips to ensure your pickles are crisp and tangy. Whether you’re a beginner or a pro, this recipe will turn your cucumbers into a tasty treat you can’t resist. Let’s get started on making the best sour pickles!
Ingredients
Main Ingredients for Sour Pickles
– 6-8 small pickling cucumbers
– 1 cup distilled white vinegar
– 1/3 cup kosher salt
For the best sour pickles, start with small pickling cucumbers. They are firm and have a great crunch. Choose cucumbers that are fresh and blemish-free for the best flavor. The vinegar adds the tangy taste, while kosher salt helps in preserving and flavoring.
Flavoring Ingredients
– 4 garlic cloves
– 2 tablespoons dill seeds or a handful of fresh dill sprigs
– 1 teaspoon black peppercorns
– 1 teaspoon mustard seeds
– 1 teaspoon red chili flakes (optional)
Garlic gives a strong flavor to your pickles. Dill seeds or fresh sprigs add a lovely herbal note. Black peppercorns and mustard seeds enhance the taste, while chili flakes can add extra heat if you like spicy pickles.
Measurement Guide
The right balance of brine to cucumbers is key. Use 4 cups of water for every cup of vinegar and 1/3 cup of salt. You can adjust the salt and vinegar based on your taste. If you like it more tangy, add more vinegar. If you prefer less salty, reduce the salt. This Full Recipe helps you get it just right.
Step-by-Step Instructions
Preparing the Cucumbers
Wash your cucumbers under cold water. This removes dirt and helps them stay fresh. Trim off the ends to cut bitterness. Choose firm, small pickling cucumbers. They give the best crunch and flavor.
Making the Brine
In a large pot, mix vinegar, water, and kosher salt. Heat this over medium heat. Stir until the salt fully dissolves. Once dissolved, remove it from heat and let it cool to room temperature. This cooling step is key. It prevents cooking the cucumbers when you pour the brine on them.
Packing and Sealing the Jars
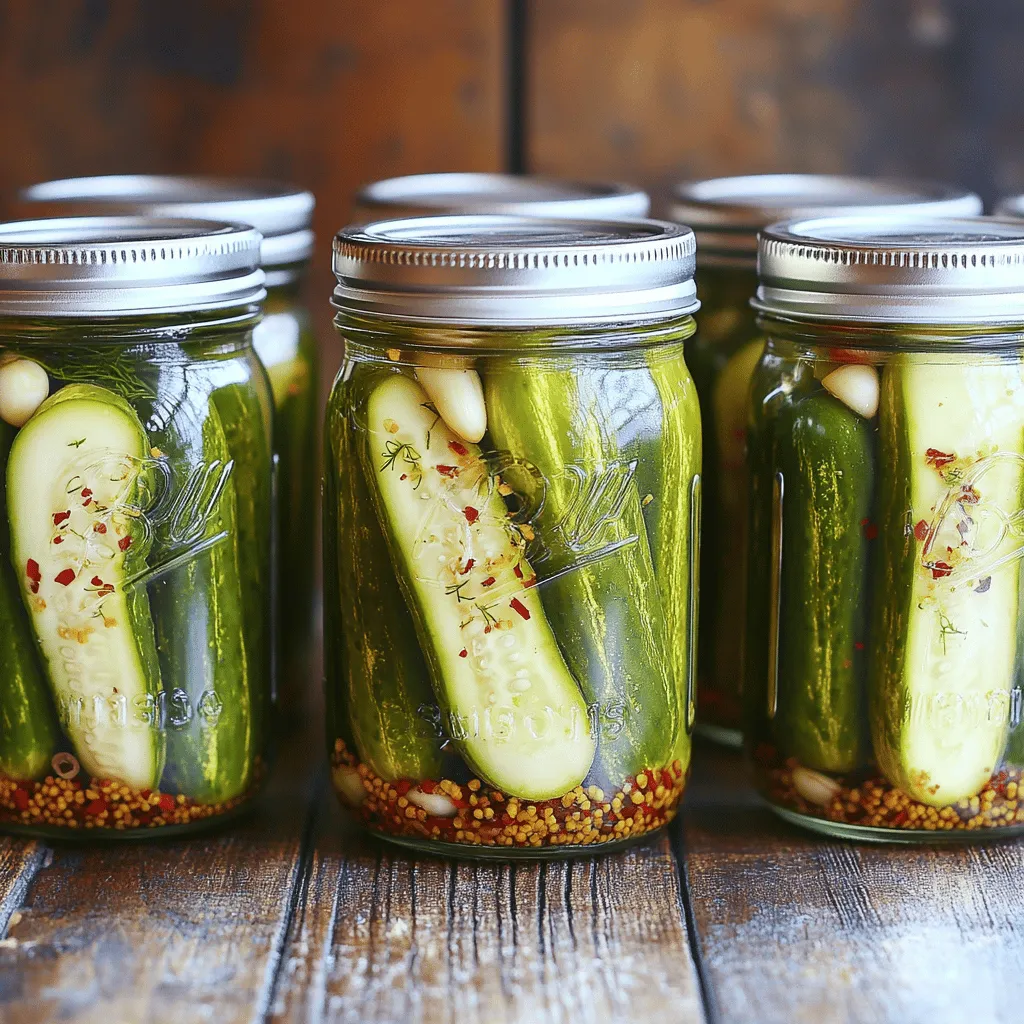
First, sterilize your jars by boiling them for 10 minutes. This keeps your pickles safe. Let the jars cool before packing. Start adding smashed garlic cloves, dill seeds, black peppercorns, and mustard seeds to each jar. Then, pack the cucumbers standing up. Make sure they fit snugly. If you want spice, add red chili flakes between the layers.
Next, pour the cooled brine over the cucumbers. Ensure they are fully submerged. Leave half an inch of space at the top of each jar. This lets the brine expand during fermentation. Finally, wipe the rims of the jars and seal them tightly. Store the jars in a cool, dark place for 1 to 2 days to ferment. After that, pop them in the fridge. For the best taste, let them sit for at least one week.
Tips & Tricks
Achieving the Perfect Flavor
To get the best flavor, balance the saltiness and tanginess. Use just the right amount of salt. Too much can make your pickles salty. Too little will leave them bland. I recommend sticking to the recipe for the best results.
Fermentation time is key. It can change the taste and texture of your pickles. Let them ferment for 1 to 2 days at room temperature. This helps develop great flavors. After that, place them in the fridge for at least one week. The longer they sit, the better they taste.
Common Mistakes to Avoid
One mistake to avoid is overpacking your jars. If you cram in too many cucumbers, they won’t pickle properly. Pack them snugly, but leave some room for the brine to flow.
Another common mistake is skipping the sterilization process. Always sterilize your jars before packing. This step helps keep your pickles safe and tasty. Boil the jars for 10 minutes to kill any germs. Let them cool before adding your cucumbers and brine.
Enhancing the Crunch
To enhance the crunch, pre-soak your cucumbers in ice water for 1 to 2 hours. This simple step makes a big difference. It helps the cucumbers stay firm during fermentation.
You can also try using grape leaves or a bit of alum in your brine. These options help maintain that satisfying crunch. Just remember, fresh ingredients lead to the best pickles. For the complete method, check the Full Recipe above.
Variations
Spicy Sour Pickles
To make spicy sour pickles, add chili flakes to the brine. Just one teaspoon gives a nice kick. You can also infuse the pickles with spices like coriander or cumin for more flavor. Experiment and find your perfect heat level!
Sweet and Sour Pickles
For sweet and sour pickles, mix sugar into the brine. Start with half a cup and taste. You might want more or less sugar based on your preference. Adjust spices too, like adding cinnamon or allspice. This creates a unique twist on the classic recipe.
Herb-Infused Pickles
Using herbs like tarragon or thyme can change the taste of your pickles. Add a few sprigs to each jar for a fresh flavor. You can also combine different seasonings, like dill with oregano. This gives a fun and tasty variety to your pickles.
Try these variations to find your favorite! Each one adds a new twist to the best sour pickles recipe.
Storage Info
How to Store Your Pickles
Store your sour pickles in the fridge. They stay fresh and tasty this way. Use clean, airtight containers like mason jars. This keeps the pickles crisp for a long time. Make sure to submerge them in the brine.
Shelf Life of Sour Pickles
Fermented pickles last longer than unfermented ones. You can keep fermented pickles in the fridge for up to six months. Unfermented pickles, on the other hand, last about one month. Watch out for signs of spoilage. If you see mold or an off smell, toss them out.
Freezing Options
Can you freeze pickles? Yes, but it may change their crunch. If you want to freeze them, use freezer-safe bags. Remove as much air as you can. Label the bags with the date. They can stay in the freezer for up to a year. However, plan to use them in cooked dishes for the best taste. For the full recipe, check out the Crunchy Dill Pickles section.
FAQs
How long do homemade sour pickles last?
Homemade sour pickles last about 2 to 3 months in the fridge. Keep them in a sealed jar. You may notice they taste better as they sit. After a while, the flavor gets deeper. If you see any mold or smell something off, it’s time to toss them.
Can I use regular cucumbers instead of pickling cucumbers?
Yes, you can use regular cucumbers. However, pickling cucumbers are firmer and crunchier. This firmness makes them ideal for pickling. If you use regular ones, they might turn soft and mushy. For the best results, choose small, firm cucumbers, like English cucumbers or Kirby cucumbers.
What is the best way to serve sour pickles?
Sour pickles shine on a charcuterie board. They add a tangy bite next to meats and cheeses. You can also serve them with sandwiches or burgers for extra crunch. Another fun option is to cut them into spears and serve with toothpicks for easy snacking.
– Presentation Tips:
– Use clear jars to show off the vibrant colors.
– Arrange pickles neatly on a platter.
– Add herbs or fresh veggies for a pop of color.
Why are my pickles not crunchy?
If your pickles are not crunchy, it could be due to a few reasons. One common issue is over-soaking the cucumbers in brine. This can cause them to lose their crispness. Another reason may be the type of cucumbers used. Old or soft cucumbers will not have the right texture.
– Troubleshooting Texture Issues:
– Use fresh, firm cucumbers.
– Avoid soaking them too long in the brine.
– Consider adding a few grape leaves or a piece of horseradish to the jars. These can help keep pickles crunchy.
Making sour pickles at home is easy and fun. You learned the key ingredients, like cucumbers, vinegar, and salt, along with essential flavorings. I shared steps on preparing, brining, and packing your pickles for the best results. Use tips to avoid common mistakes and enhance crunchiness. Lastly, explore variations to suit your taste.
Enjoy your pickling journey, and remember, practice makes perfect! Your next batch could be even better.